Timing

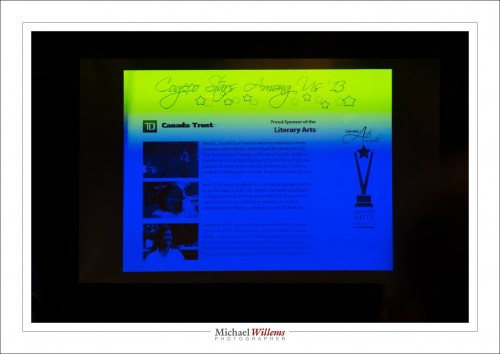
OK. What happened here, at the annual local Arts Council Awards Media Kickoff ceremony? The projector that created this image was broken? The lamp was old?

No, nothing like that. Like fluorescent light, the projector effectively (by virtue of the LCD that blocks the light, or not, and does this for the three primary colours of red, green and blue) flashes on and off at a rapid rate, and if your shutter speed is anything faster than the rate of flashing, this kind of thing will result. This image was taken at 1/2500th second. At that speed, every picture is different, and none are good.

The best strategy is to expose at a multiple of 1/60th second, since 1/60th sec is the power grid frequency and also traditional TV screen refresh frequency.  Multiple meaning 1/60th, or 1/30th, or 1/15th… and so on.

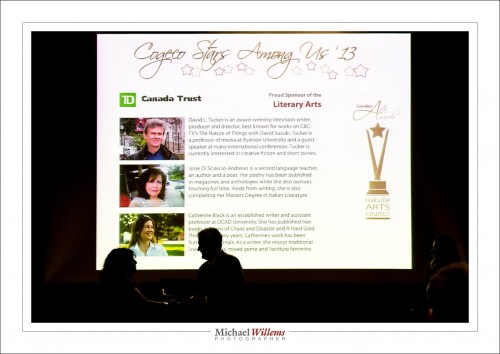
So I shot the second shot at 1/60th second (obviously using lower ISO and smaller aperture):

And hey presto. Good exposure (and just enough back light on the mayor and the award recipient to make it a good picture).

Yeah, I received an award also, for being one of three finalists in the Digital Arts category. The winner will be announced later in the year.

Always nice when my photography is recognized.


Exposure Compensation!

Expposure Compensation (“Exp.Comp”, or the “plus/minus” button). What does it do?

Not magic. The only ways to make a picture darker are:

  1. Lower ISO
  2. Larger F-number
  3. Faster shutter

..and the opposite for a brighter picture.  There’s nothing else. Nothing!

So what does it do, this exposure compensation?

  • If you are in Aperture Priority mode, it changes the shutter speed (or possibly the ISO, if you are using auto ISO) to a slightly different one than the camera would otherwise use.
  • If you are in Shutter Priority mode, it changes the aperture (or possibly the ISO, if you are using auto ISO) to a slightly different one than the camera would otherwise use.
  • If you are in program mode, it can change either the aperture or shutter or both (or possibly the ISO, if you are using auto ISO) to a slightly different one than the camera would otherwise use.
  • On some cameras, if you are in manual mode, it simply changes the meter reading.

My opinion? Why make things complicated for yourself!

It is best to:

  • Use manual exposure mode and not use exposure compensation, which after all is a meaningless concept when you are doing the setting.
  • Alternately, when the light changes quickly, you use aperture mode (or shutter mode), combined with exposure compensation for light or dark subjects.
  • In all cases you do not use auto ISO!

Simple once you know. Keep things easy for yourself, and learn the three quantities (aperture, shutter, ISO) and how they affect your pictures.

Of course as speedlighters know, when using flash, there is a fourth quantity: flash power!)


Focus

In yesterday’s self portrait, I mentioned I pre-focused. I did the same in the panning shot of a few days ago. “How?”, I am asked.

Good question. And it’s simple.

  1. Select one focus point (centre, say, or any other)
  2. Aim that where the subject will be – that is, at an object the same distance the subject will be (I used the front of the bed). When shooting in a studio, I put an “X” on the floor, then put a light stand with a hat on the “X”, and focus on that. Then as the self timer counts, I replace the light stand with me.
  3. Focus, and hear the beep to indicate focus has been achieved
  4. Lift your finger from the shutter (or focus-) button
  5. Set the lens to MANUAL focus

Now you are pre-focused at the correct distance, so you can set the camera to self-timer and shoot, if it’s a self portrait. If it is a panning shot, no time is lost when shooting. As long as you keep the camera where it is, and you ensure that the object indeed will be at the distance that you focused at.

This is a technique I use quite often. Also, for instance, when shooting fireworks or night scenes, when focus is hard to achieve.


Learn Focal Lengths

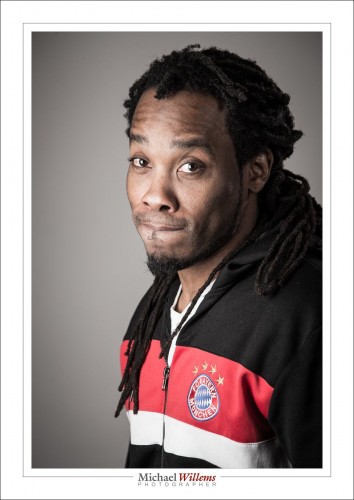
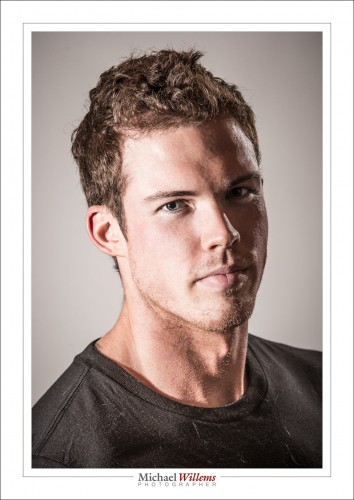
One thing that good photographers know is  “what focal lengths do”. There is such as thing as “the right focal length for a picture”, or perhaps better, “the right types of picture for a given focal length”. And a good photographer knows these. The pictures tend to then fall into place.

We all know – I hope – that you do not do a headshot with a 16mm lens. And we all know that landscapes and travel do like that focal length.

But in general, what is appropriate?

It depends. On you and your taste. But there’s often a good range. Look at the following examples – and keep in mind, the lengths I mention are for a full frame camera. If you have a crop camera, divide by 1.5/1.6. So a 35mm lens in my examples would need you to use a 24mm lens on a crop camera.

With that in mind, let’s look at some portraits.

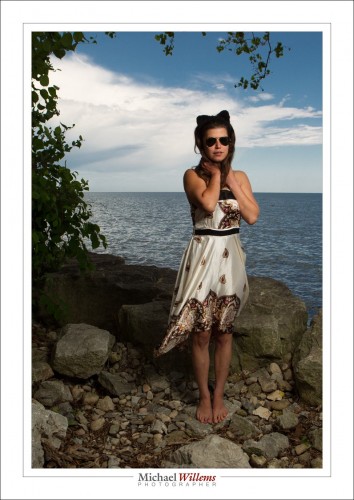
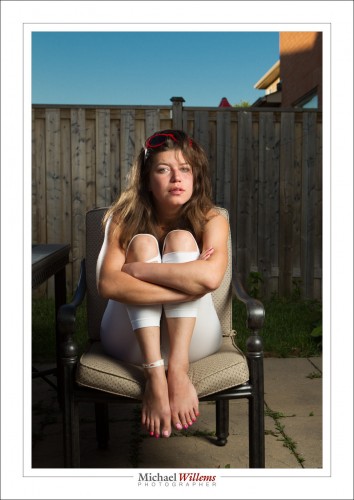
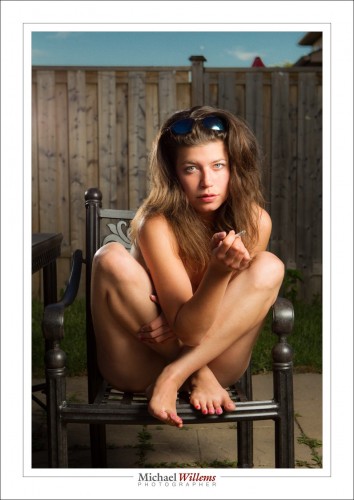
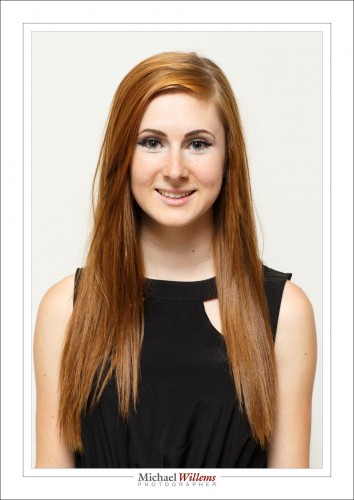
35mm:

50mm:

65mm:

85mm:

200mm:

Are you beginning to see patterns? Develop your own preferences and “usual lenses” – they probably will not vary much from mine – and you will be much quicker deciding how to shoot what. A prime lens is a great way to learn, by the way. It’s why we love primes.


Team

Now that I am good and back from the Niagara School of Imaging (NSI), here’s the team picture we made the other day:

Again, I had a great team of students. NSI, held every third week of August, is invigorating.

Exposing the background well (i.e. not overexposing it; rather, underexposing it a little) gives us saturated colours, and any picture with saturated red, green and blue will look good. Then I lit the team with a softbox, and added splashes of colour with gelled speedlights. I used the 10 second self timer, of course. Flashes were fired with a pocketwizard.

Sunday afternoon, the Oakville Photo Walk. Monday, off to Timmins for a few days, for a little private training and shooting etc.


Pullback

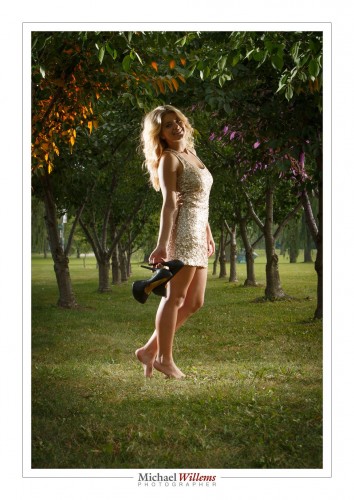
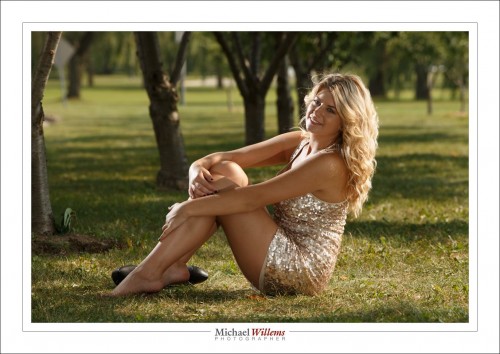
I have advised you here again and again to do a pullback shot every time you shoot. Like for yesterday’s picture:

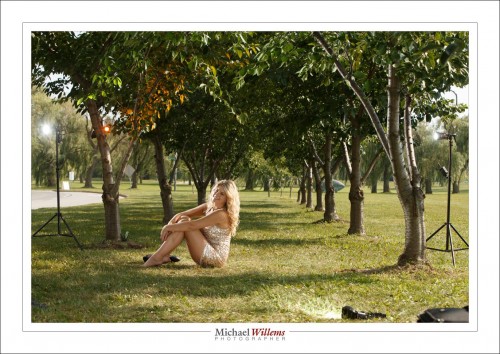
Here’s how I set it up:

As follows:

  1. One flash direct, on a light stand camera left, just behind model aiming at her.
  2. One flash direct, on a light stand camera right, just behind model aiming at her.
  3. One flash direct by my legs, on the ground, aiming at model
  4. One flash in tree left, clamped, with Egg Yolk Yellow Honl Photo gel
  5. One flash in tree right, clamped, with purple Honl Photo gel

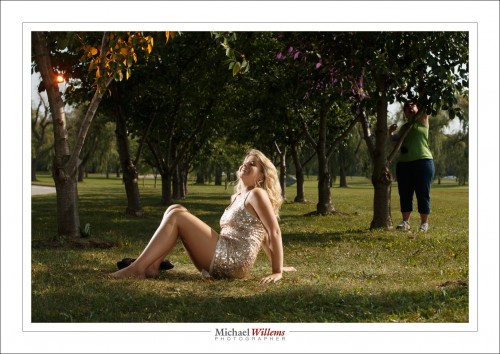
Yes, that purple flash is there – here’s Lori fixing it:

The point is that I would have forgotten the setup quickly if I had not had this pullback shot. With five speedlights, forgetting what was where is easy!


That long look

As you all know, there are three ways to get “blurry backgrounds”:

  1. Large aperture (“low f-number”).
  2. Get close.
  3. Use a long lens focal length (“zoom in”).

The first one is the one everyone thinks about – but the last one has a very recognizable look. Like this, yesterday, at 190mm at f/8:

Compare that look and that background blur with this, taken at 70mm:

Both nice, but the first one (viewed full size) has that distinct “long look”, and the background is blurrier. Reason I like the 70-200mm lens for fashion shoots if I have enough space!

___

Want to learn this? There are a couple of spots still open on my Oakville Photo walk, this coming Sunday from 1-5pm. Go to www.cameratraining.ca/Schedule.html and follow the BOOK link.

Using Your Screen

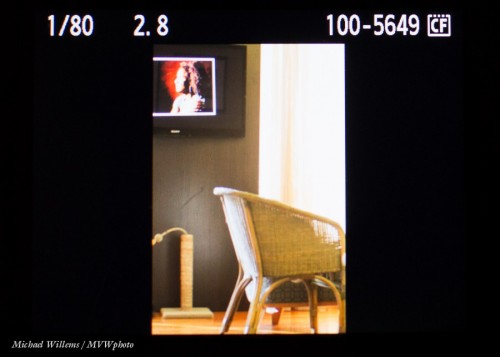
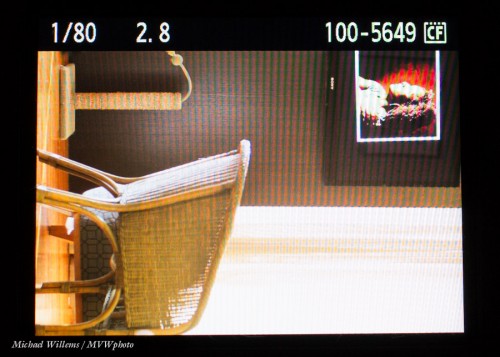
When you use the screen at the back of the camera for playback, you may have noticed that for portrait-orientated pictures, you get just a small “letterboxed” view:

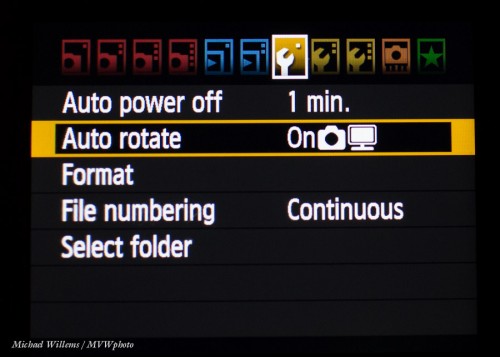
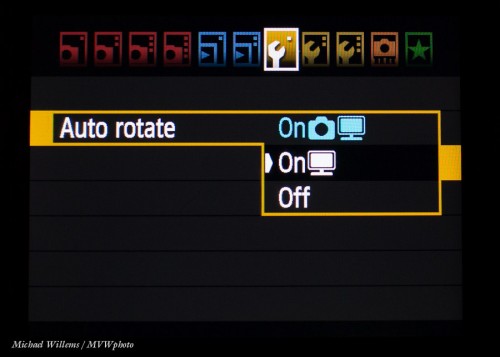
The solution is simple on most cameras. Go to the menu and find the display rotation function. On Canon, you can choose “what happens in the picture” and “what happens on the back of the camera”.

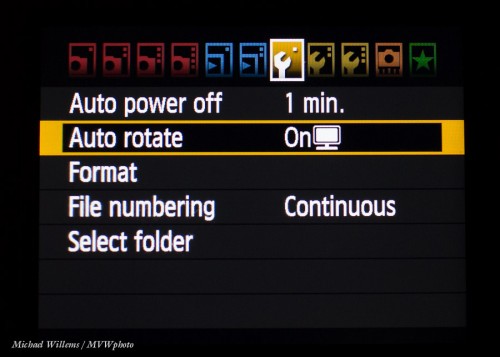
I set my Canon cameras, that have this ability, to rotaing in the image, but not on the camera screen:

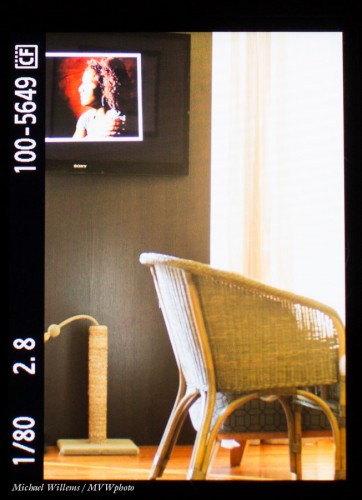
So now while the image is unchanged, I see this:

Now when reviewing just turn the camera 90 degrees:

..and now you are using the entire screen real estate, not just a part of it.


Learn Photography – what and how?

Learning photography entails more than just knowing the camera, but it starts there.

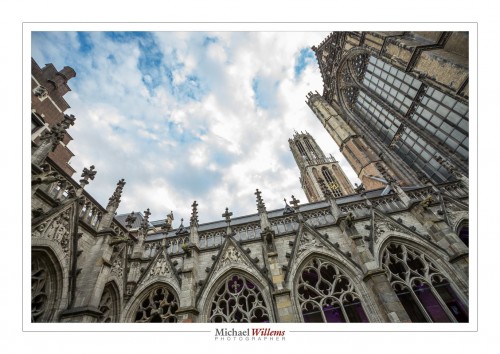
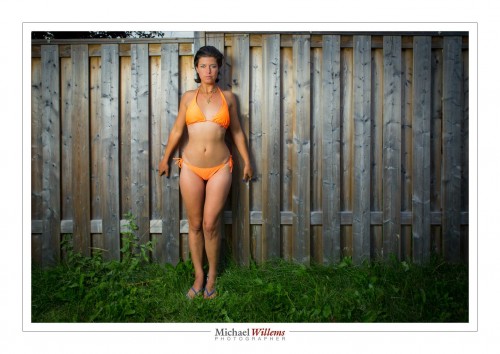
Look at a few photos to get you in the mood:

Rule of Thirds, by Michael Willems

These, and all other photos that are worth looking at, rely on you to know a whole bunch of stuff:

  1. The camera and its operation, modes and menus
  2. Basic photography: Aperture, Shutter, ISO
  3. Lenses and their use
  4. Supporting tools (from light meters and pocket wizards to light stands and tripods)
  5. Flash
  6. Computer techniques
  7. Light and colour, in general
  8. Composition
  9. A little history and art
  10. People.

And then mix at all together and practice.

A CURIOUS OBSERVATION: Men usually start at 1 and work their way down; women tend to start at the bottom and work their way up. And guess what? I don’t care which approach you take. You need both for consistently good pictures.

And it is easier than you think. Which is why I help:

  • Here on www.speedlighter.ca. Read back to the start, and learn everything I know in bits. All I ask is: tell all your friends.
  • By buying and reading and practicing my two photography ebooks.
  • On photo walks like my August 25 walk: maximum ten students, so book soon.
  • Aug 18-22 you get the chance to learn from me in a very intensive 5-day workshop at the annual Niagara School of Imaging, held at Brock University. There are still a few spots open: book now if you dig flash as much as I do.
  • By coming to one of my courses in Hamilton and Oakville: www.cameratraining.ca
  • By doing private training, the best way to get there quickly.

Take advantage of these opportunities and make your life last forever by creating great art.

And I have a special offer for you to help you get started: Until the end of September I offer a two hour individual portfolio review and general review of strengths and weaknesses (and help with the latter) for $99 (normally, $190) plus tax. You can do this at my Oakville location or via the Internet using Skype/Google. Simply pay via e-transfer or via http://www.michaelwillems.ca and send me an email to pick your time (24/7 in principle). You will find this an excellent way to kick start your photography!


Shaky Top Ten

…or rather, I will teach you how not to shake it all up. What do you do to avoid motion blur? A quick repeat of a common beginner’s lesson here this morning: the Top Ten techniques to avoid motion blur due to camera shake in your pictures.

First, make sure you distinguish motion blur from lack of focus. If it is motion blur, it has “streaky” lines.

If indeed you are experiencing motion blur, it means the shutter is slow with respect to the angular speed. And to avoid that, you can do the following:

  1. Ensure your shutter speed is fast enough. A rule of thumb is “one divided by the lens length” – so for a 50mm lens, stay faster than 1/50th second, and for a 24mm lens, stay faster than 1/24th second – etc. So ensure you stay well above these speeds – increase your ISO if needed, or use a faster lens (one with a lower “f-number”).
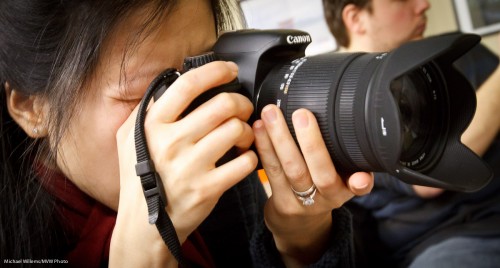
  2. Hold the camera with an underhand grip, not the amateur’s overhand grip. This is more stable. It also makes you look like a pro. See the picture below.
  3. Use the viewfinder, not the screen on the back of the camera.
  4. Hold your eye against the camera, now away from it.
  5. Steady yourself; elbows pressed into your sides, legs slightly apart.
  6. Do not breathe, or just steadily breathe out, while shooting.
  7. Use a wide angle lens! The longer your lens, the more motion blur you will see. The wider the lens, the less you will see.
  8. Use a tripod! Unless your subject is moving, of course.
  9. Use a stabilized lens. VR (Vibration Reduction) / IS (Image Stabilization) are great technologies, worth every penny – they give you several extra stops of usable shutter speeds.
  10. Take several shots, if you cannot avoid slow shutter speeds. One of them will be sharp, accidentally. 🙂

How to hold a camera properly

Once you do the above properly, you will no longer have motion-blurred pictures. It is as simple as that.