Be in control of your light

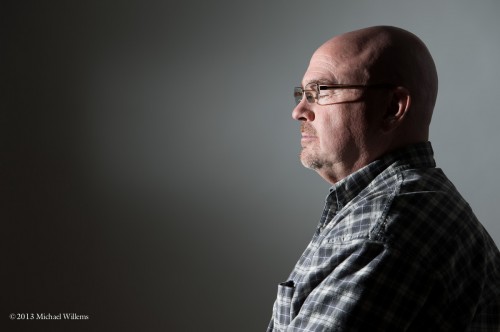
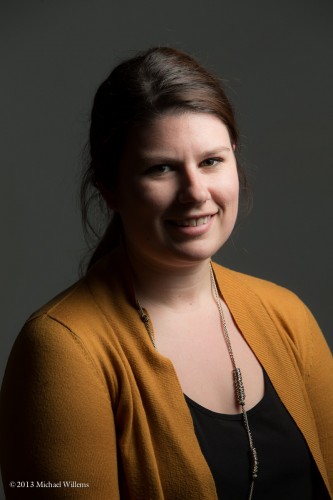
Look at the picture of Sam here, shot last night with the Nikon D4, using a single flash aimed straight at him:

Not bad. Yes, as you all know, direct unmodified flash can work fine – if the flash is not where your camera is.

And the background is nice! But that is a mere accident: the flash is lighting up the white backdrop, too.

But what if we did not want this effect for the background? Say we want it to be back, or to be lit differently, or to have colour?

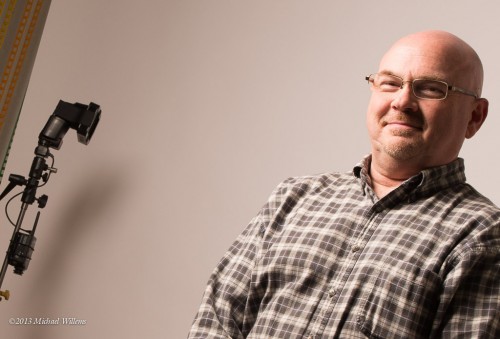
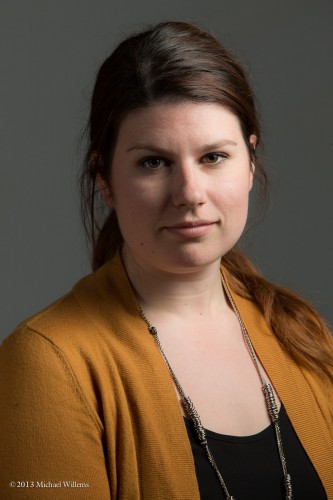
Well then is paramount to keep the face flash off the wall. And we do this by fitting a grid to the flash:

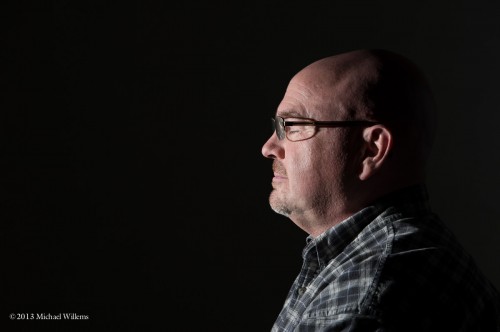
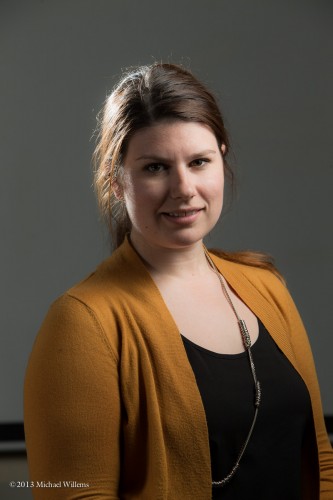
The grid restricts the area lit by the flash – basically it just lights a circle straight ahead. So now we get this:

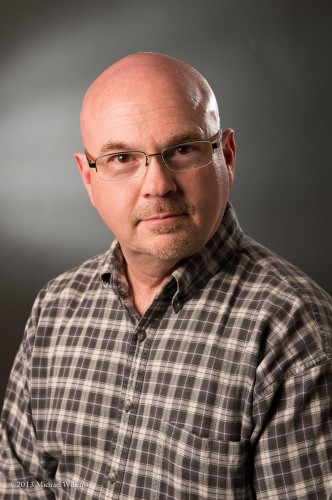
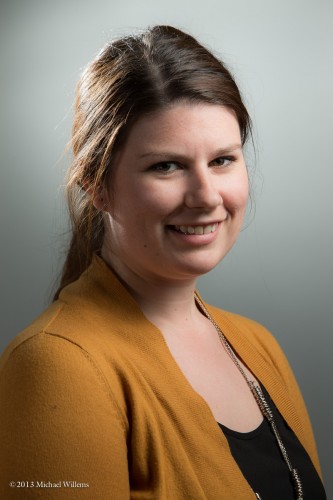
So now we have a dark wall. That does not of course mean we need to keep it dark, but now where and how we light is is under our control. We could do these shots:

If we had not used a grid to keep the initial background dark, we could not have coloured it.

The D4 with the Nikon 24-70 performed very well, by the way!


Building a studio portrait

A “standard” studio portrait is very simple to build if you have three or four flashes; and it is entirely repeatable, that is its beauty. Here’s how you do it in six easy steps:

ONE set the camera to settings where the ambient light does “nothing”. Like 100 ISO, 1/125th sec, f/8. Test this by taking a non-flash picture: it should be dark.

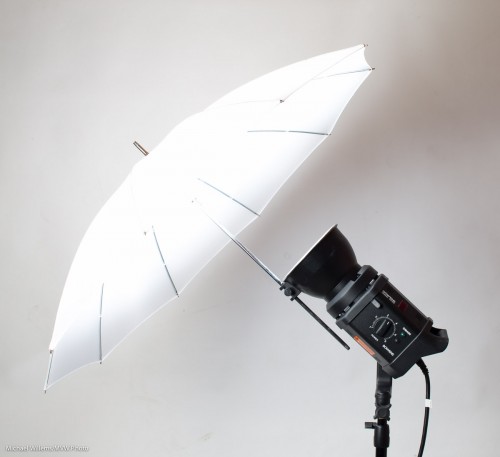
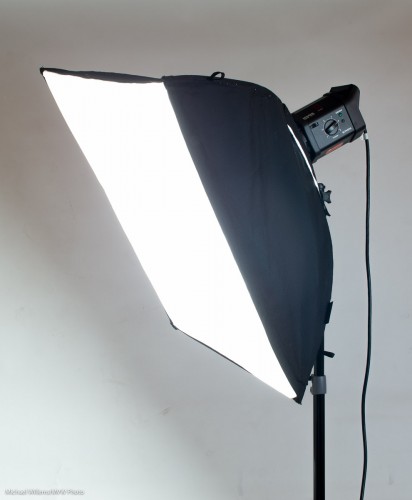
TWO set up your main light, using softbox or shoot-through umbrella, at 45 degrees from the subject, 45 degrees up. Turn your subject into that light.

THREE then add a fill light on the opposite side. You can use a reflector, or another flash with umbrella, set two stops darker than the main (“key”) light.

FOUR then add a hair light, for that shampooey goodness™. This is a light from behind at an angle, using a snoot or grid to avoid lighting all of your subject.

FIVE then add a background light – another flash.

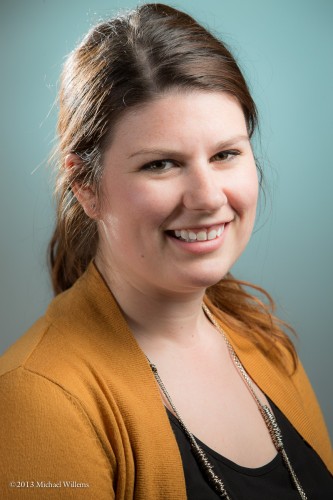
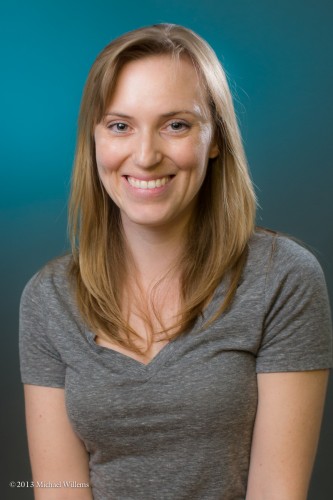
SIX then decide if you want colours anywhere – like the background. I used a complementary colour here – complementary to the subject and her clothing:

A Studio Portrait (Photo: Michael Willems Photographer, www.michaelwillems.ca)

Done!

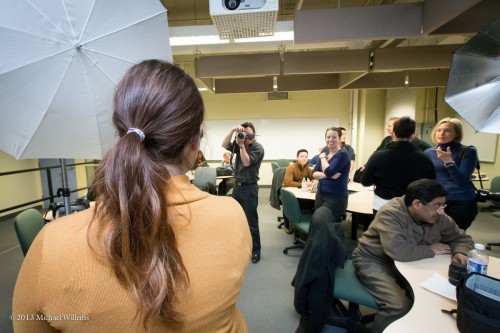
Here’s my Sheridan College class on Monday, practicing this:

___

Want to learn this? Next week’s workshop (April 10) in Hamilton, Ontario is about this very subject: studio photography. In one evening, learn to do this, use a light meter, use pocketwizards, compose, etc. There are still spaces, but this small, intimate studio workshop is limited to 10 students, so book right now!

http://photonetworkexpo.com/ : come see me talk this weekend in Toronto about Flash Photography, and even better: book online and use promo code Michael2013 to get 50% off a weekend pass. See you then!

What is wrong here?

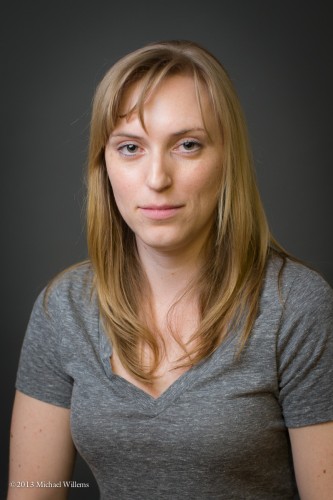
Look at this picture – a demo shot I made during a recent course, to show what not to do.

Can you see what is wrong here?

Yes, her eyes and face are all shadowy. Becuase I aimed my on-camera flash straight up. I see many people do this; it is seldom a great idea. Instead, of course, aim it behind you:

Note you need to have some kind of ceiling or wall behind you above that will reflect light. You may need to go to a higher ISO; in a large room, much higher, which is fine nowadays.

You can drive this “the umbrella is where you aim your flash” thing to extremes. Aim at the floor for eerie light – simply rotate your camera upside down, and you get:

Nice warm floor reflection!

Now, to see how fine modern cameras are with regard to ISO: a camera like my 1Dx goes to ridiculously high ISO values. 51,200 ISO with some noise reduction in Lightroom:

Yours will probably not be quite as good, but no problem if you want to go to a higher-than-usual ISO. Do it, and live with the grain – better than bad light or motion blur!

Light

I shot a few pictures featuring light, Monday night.

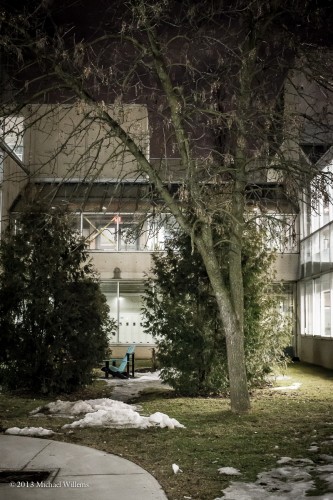
Light can be depressing.

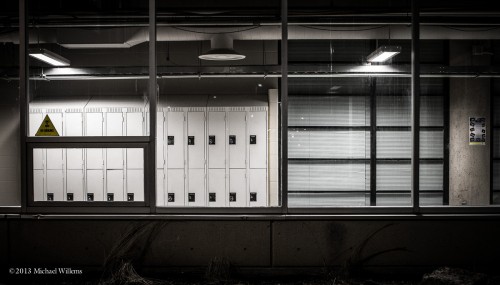
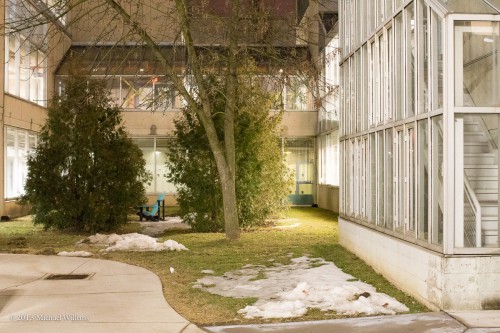
Light can show as bright, in courtyards that to us look pitch black. Just turn up the ISO, lower the f-number, and slow down the shutter speed:

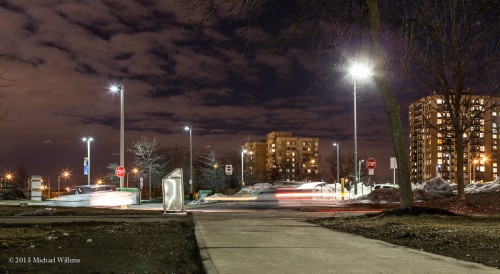
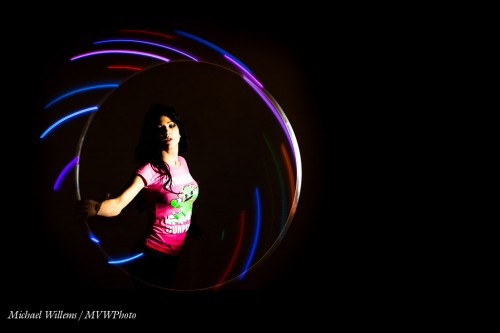
Light can leave trails:

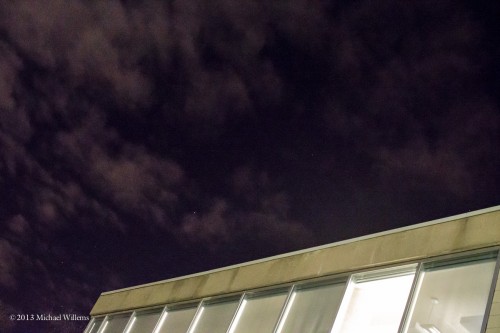
Light can show you things we cannot see… to my eyes, this sky was pitch black:

In other words, light can help make your image in more ways than you might at first imagine.

Tip: when shooting and looking for “creative light”, look for:

  • Shadows.
  • Ways to make “what we see as dark” light, or vice versa.

That way, you get intriguing images. Give it a go. The images above took about, what, three minutes. Given half an hour, what could I have come up with? With eyes wide open, a lot.


Rhonda

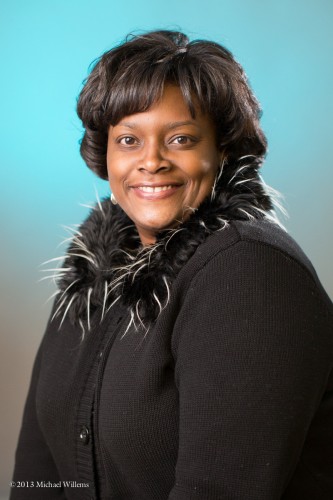
Here, from Friday’s workshop, is a photo of Rhonda:

Wonderful smile, truly! So that photo is good before we even start – how can you fail with a subject like that?

And yet, we have to get the focus and exposure right. Especially exposure is worth mentioning. hence this post.

Yesterday’s shots (scroll to yesterday to see them) had a pale-skinned subject in light clothing. Today, a darker-skinned person with dark clothing. So after the first person, do I need to, like, adjust anything?

If you are using manual flash settings (a typical studio shoot, with flash power set manually, perhaps using Pocketwizards): no. It’s set right, then it’s set right, never mind the subject.

If you are using TTL flash (automatic flash), then yes. You need to adjust flash exposure compensation – down. Down, somewhere between, say, -1 to -2 stops perhaps. Else the metering circuit will try to expose this shot just as light as the last one, and Rhonda will look light grey.

So remember: TTL (automatically metered) flash is convenient, but you have to know how it works and realize that depending on the subject, it potentially works differently each time you click.

Shampooey Goodness™

You have heard the term “hair light”? It’s the Shampooey Goodness™ look that makes hair look alive and wonderful. That is why we use it in portraits.

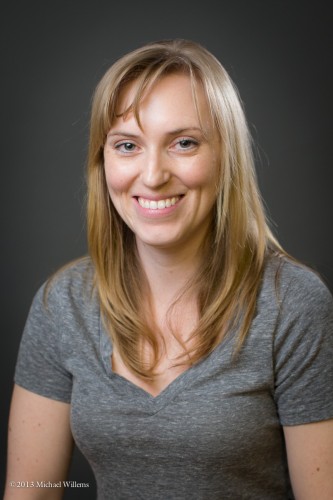
In yesterday’s flash course, I shot a few images of one of the wonderful students, especially to show you in today’s post. Here’s Becky lit with a single TTL flash (a 580EX shot through an umbrella) without the Shampooey Goodness™ secret ingredient added:

Pretty – but now let’s add a second flash, behind her, fitted with a Honl Photo Speed Snoot (a rolled up tube, that concentrates light). That gives us the desired Shampooey Goodness™, and now, in this scientifically objective and neutral comparison, we get:

See what I mean? That’s why we so often in portraits like to add a “hair light”.

Of course there’s something else missing from this image. Can you see what?

Yes – that background is a little dull. So we add a third flash, fitted with a blue-green gel:

Bingo. A great subject, soft light, Shampooey Goodness™, and a lit background. That’s how you do a portrait. Three TTL flashes with simple, small modifiers.

___

NEW: Learn this from me personally in Hamilton, Ontario on April 10 or May 14: www.cameratraining.ca/Studio-Ham.htmlsee the full schedule on www.cameratraining.ca/Schedule.html and sign up today.


Umbrella or softbox?

Umbrella or softbox? That’s the question. Whether t’is nobler in the mind to… never mind. But the question is valid: when you want to diffuse light, like in a portrait, which one do you use?

An umbrella:

  • Is light and small and affordable.
  • Can be used shoot-through (eg to get a nice round catchlight without “black blob”) or “into”.
  • Loses relatively little light.
  • Throws light everywhere.

A softbox:

  • Is not as small, light, or affordable. Does not fold into “nothing”.
  • Takes more time to set up.
  • Eats up a little more light than an umbrella.
  • Gives you wonderful light – but the catchlight is square.
  • Is more directional than the umbrella – it soes not light up the entire studio.
  • Is not necessarily square: can be long and thin, too (a “lightstrip”)

I prefer softboxes for their light quality and for their ability to selectively light; but I prefer umbrellas for their simplicity and portability.

So as so often: “it depends”. Get one of each!

And get to know them.

___

Special opportunity: I am teaching my “Canon/Nikon TTL Flash” in Hamilton, Ontario, tomorrow night, Friday 22 March, 7-10pm, in a wonderful studio (hamiltonstudio.ca). The class is small, and I have a special opportunity for you: if you attend, you will get a free copy of my eBook, “Photography Cookbook”. You will learn TTL flash on camera, off-camera, remote TTL using the built-in wireless control system, and much more. See http://www.cameratraining.ca/Flash-TTL.html and forego hanging around in bars tomorrow: sign up now, and make your Friday night into a special one that you will remember!


Tools Matter

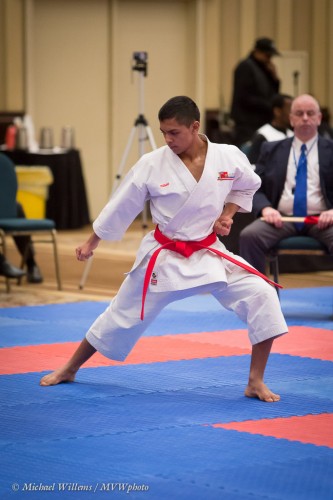
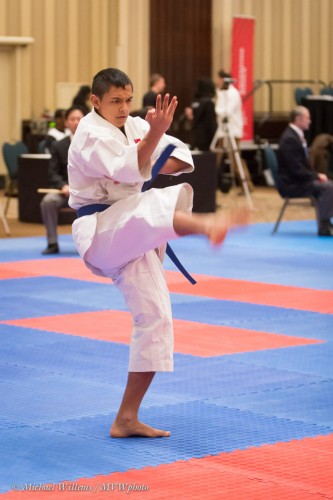
For the past two days, I photographed a lot of this:

The national championships were held in Toronto in the Grand Ballroom at the Sheraton Hotel. And the photo may not show it, but grand ballrooms are dark, lit by rather dim tungsten light chandeliers.

How dark?

With my 1Dx and 70-200 f/2.8IS lens I had to shoot this morning at:

  • f/2.8
  • 10,000 ISO
  • 1/160th second

Yes, that is 10,000 ISO. Think of 1600, then add one stop (3200), then one more stop (6400), then two thirds of a stop (now you are at 10,000). Almost three stops more than I was comfortable with just a year ago. And I needed this to get to 1/160th second – I would have liked much faster, in fact.

Is there anything you could have done if you were using an “ordinary camera”? Many shooters came up to me to ask. Poor people with Rebels and 60Ds and D3100s and f/3.5-5.6 lenses. Think about it:

  1. If you have an f/5.6 lens you need two stops more ISO than I had at f/2.8 (the lens lets in less light).
  2. So if you want a fast enough shutter speed, like mine, you would need 40,000 ISO.
  3. But you can only use, perhaps, 1600 or -pushing it- 3200 ISO while maintaining good quality.

Is there a solution?

Well, yes. Use a 50mm prime lens on your camera, which gives you an 80mm equivalent lens, say at f/1.8. Now you are better than my zoom, one and one third stops better, so you can go to a lower ISO (around 4,000; or perhaps 3200 ISO at 1bout 1/125th second). One shooter, an intelligent young woman, got it, and pulled out her 50mm f/1.8. Saved!

And yes, you need those fast shutter speeds. Even at 1/160th second, if anything moves, it shows:

The moral of this story: equipment matters. I saw many people with simple cameras and kit lenses who expect to be able to do the same work I do. It doesn’t work like that, I am afraid. You buy modern cameras and fast lenses (low “f-numbers”) for a reason, and today illustrated that reason well.


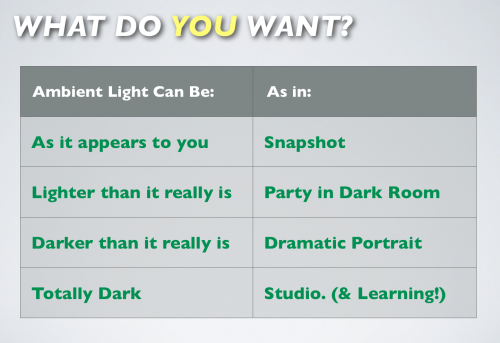
Light Shifter

Your camera, as regular readers here know, is a light shifter. It shifts light to not “what it is”, but “what you want”.


So the first question you always (always) ask when doing a flash shot is, what should the ambient light do? What do I want?

And then you arrange your exposure triangle (Aperture, shutter speed, ISO) according to that need.

And then you add the flash.

The failure to do this leads to more flash confusion than anything else. It also leads to a creative failure. The studio may be well lit, but why use it like that? Increase shutter speed, close down the aperture, and lower ISO, and you can get a bright studio looking like this:

So again, when doing any flash shot at all, your first question is not about the flash, but about the embient.

I am teaching flash tonight st Sheridan College. Saturday at Vistek in Toronto. And in the coming weeks in Hamilton:  http://www.cameratraining.ca/Schedule.html it is worth being there if you want to unleash your creativity.

Sam The Studio Man

When I prepare a tricky shot, I tend to use  stand-in model while I work on light, so the model does not need to stand there for half an hour while I adjust and move lights.

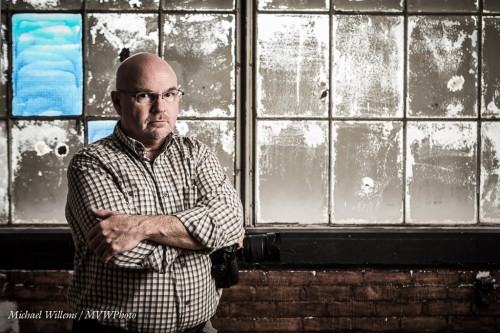
But these stand-in shots are often good, which is why I use them. While preparing to shoot model Danielle, I shot Sam Taylor, who runs the studio I teach in (see www.cameratraining.ca and click on “Schedule”).

I set my exposure for the window: 1/60th sec, f/5.6, 400 ISO. Then I added a strobe with a softbox, and I moved Sam far enough from the window so the strobe would light him up (from 45 degrees above), but would not light up the reflective inside of the window too much. And then I set flash power according to my camera settings. Finally, I did a little desaturating in Lightroom. Result:

Short lighting, great grunge, serious expression, rule of thirds, good balance of background and foreground. A tricky shot, and one I am delighted with.

One of my students remarked on how refreshing it was to see the problem solving process, and to realize that photography is in fact problem solving, yes it is. When I set up a shot, I do not have all the answers, but I see what I want, and I know how to solve problems “step by step” until I get that result.

And sometimes you change your mind. In the final model shot, I could not move the model away from the window, as she sat on the sill. Hence I could not get rid of a shadow cast by the snooted speedlight I ended up using. So then the shot changes entirely: if you cannot beat the shadow, embrace it! To spare those of you who are sensitive, I shall not show you that shot here (it’s a nude),  but if you are interested, click here to go to my tumblr feed.

(By the way: have you considered being photographed this way? if not: consider it. Some beautiful shots of yourself like this are worth making. If you don’t, you may well regret it later in life).