Learning, etc

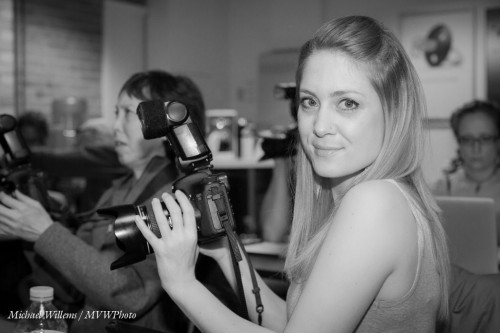
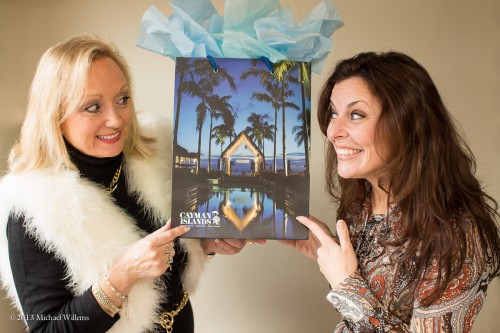
Tip: you do not always need to have people look straight into the camera! Like in this image of Jane Dayus-Hinch and Eddie Suleiman, the other day:

Try different ways of having people look at each other; look away; look at another person; and so on. Experiment – your pictures are often better if you avoid the glaringly obvious (pun intended).

Easter was busy: preparing for The Wedding Café opening, and preparing for next weekend’s courses at Toronto’s Photo Network Expo show. Come see it: click on http://photonetworkexpo.com/ for details, and what’s better: come see me talk on both days about Flash Photography, and even better: book online and use promo code Michael2013 to get 50% off a weekend pass. See you then!


Light

I shot a few pictures featuring light, Monday night.

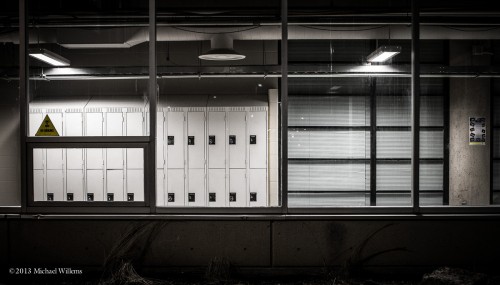
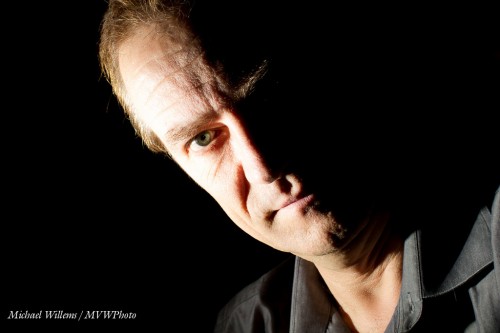
Light can be depressing.

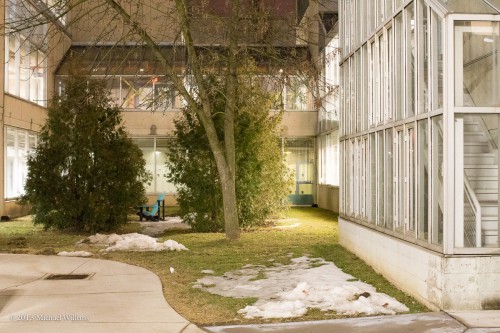
Light can show as bright, in courtyards that to us look pitch black. Just turn up the ISO, lower the f-number, and slow down the shutter speed:

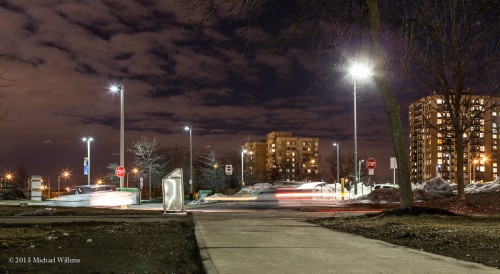
Light can leave trails:

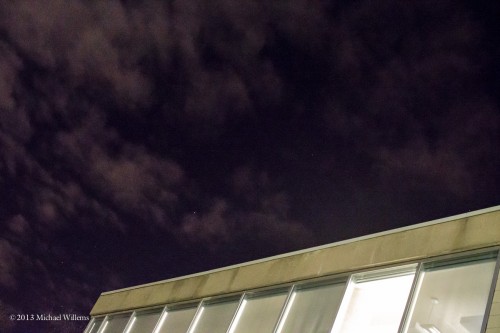
Light can show you things we cannot see… to my eyes, this sky was pitch black:

In other words, light can help make your image in more ways than you might at first imagine.

Tip: when shooting and looking for “creative light”, look for:

  • Shadows.
  • Ways to make “what we see as dark” light, or vice versa.

That way, you get intriguing images. Give it a go. The images above took about, what, three minutes. Given half an hour, what could I have come up with? With eyes wide open, a lot.


Shampooey Goodness™

You have heard the term “hair light”? It’s the Shampooey Goodness™ look that makes hair look alive and wonderful. That is why we use it in portraits.

In yesterday’s flash course, I shot a few images of one of the wonderful students, especially to show you in today’s post. Here’s Becky lit with a single TTL flash (a 580EX shot through an umbrella) without the Shampooey Goodness™ secret ingredient added:

Pretty – but now let’s add a second flash, behind her, fitted with a Honl Photo Speed Snoot (a rolled up tube, that concentrates light). That gives us the desired Shampooey Goodness™, and now, in this scientifically objective and neutral comparison, we get:

See what I mean? That’s why we so often in portraits like to add a “hair light”.

Of course there’s something else missing from this image. Can you see what?

Yes – that background is a little dull. So we add a third flash, fitted with a blue-green gel:

Bingo. A great subject, soft light, Shampooey Goodness™, and a lit background. That’s how you do a portrait. Three TTL flashes with simple, small modifiers.

___

NEW: Learn this from me personally in Hamilton, Ontario on April 10 or May 14: www.cameratraining.ca/Studio-Ham.htmlsee the full schedule on www.cameratraining.ca/Schedule.html and sign up today.


Ave Caesar

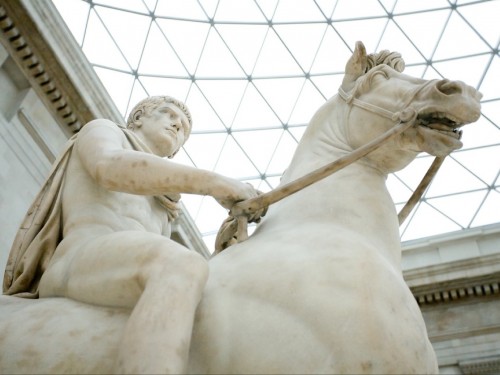
Why did I shoot this stature of a young Julius Caesar, who forgot to put on his pants, this way?

Well…

  • You might say “to make him look dramatic and powerful”.
  • You might say “to emphasize my subjugation to the mighty Roman empire”.
  • You might say “to compose using the Rule of Thirds”
  • You might say “to get three dimensionality into the shot”.
  • You might say “to offset Julius against the nice patterned glass ceiling”.
  • You might, if you were there looking over my back, even say “to get rid of all the Japanese tourists which were crowding around”.

And all of those would be correct!q


Wednesday Possibilities

Today, some shots to get your imagination going – shots that show how much is possible with little effort, and quickly. Shots I took in and between classes in mere seconds, to demonstrate specific points.

Like this quick demonstration shot showing what a great modern camera like my 1Dx can do at – wait for it – 51,200 ISO:
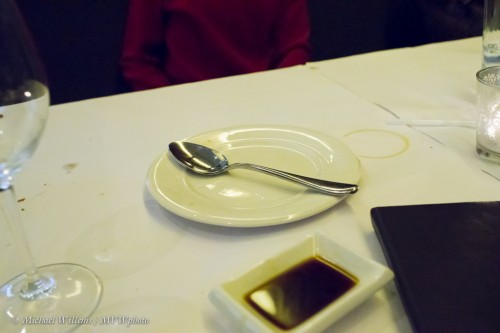
Meaning that with a new camera, you can now photograph pretty much in the dark, or mix a little flash with very low ambient light, or bounce off very high ceilings.

Especially when using off-camera flash, that opens up all sorts of possibilities. Here’s a demo shot showing what a little extra light can do; look carefully and you will see that I am using remote TTL flash (where my camera’s flash is the “master”), and my student at Sheridan college has set his flash to be the “slave”:
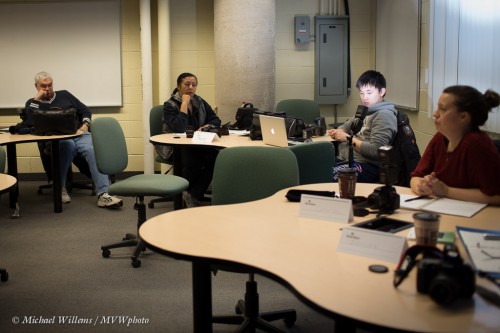
Result: he is temporarily blinded… and lit up. You can do that too, with very little extra equipment. One flash, if you have a moden camera whose popup can “command” external flashes; else, two flashes, on on the camera and one remote. Imagine what you can do when you can add a little light everywhere you like!

Then, another student lit dramatically – from below! This kind of eerie effect is easy once you can take your flash off the camera as desribed above.
Or – just turn the camera upside down and bounce flash off the table, as I did!

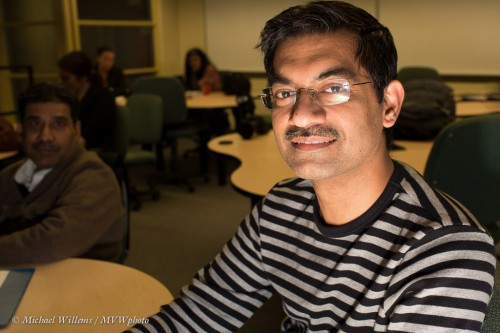
Off-camera handheld flash gives me this image, even when the flash is aimed direct, of Mr Jun:

Not bad, and that is direct light aimed into his face – as long as it is not near the camera, the flash can be unmodified and direct!

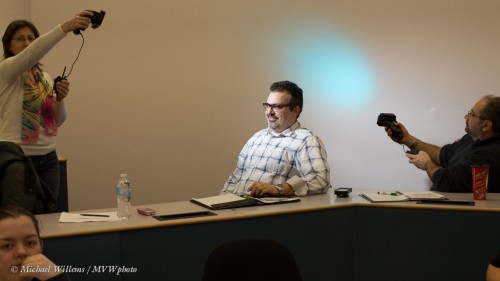
And when you have several flashes, you can do things like this:
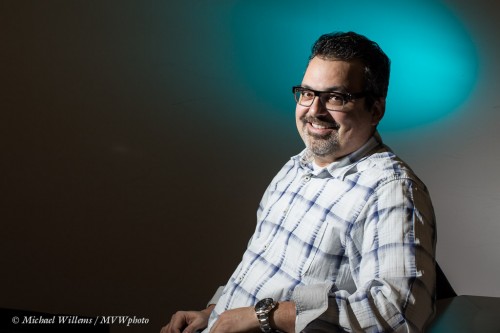
Now that is a competent portrait, taken in just a few seconds, using this setup with two off-camera flashes each fitted with a Honlphoto grid, and one with a blue-green gel; using two “biological light stands”:
But finally – do you need all those flashes? No, here’s a portrait using one flash fitted with a Honlphoto 8″ softbox:
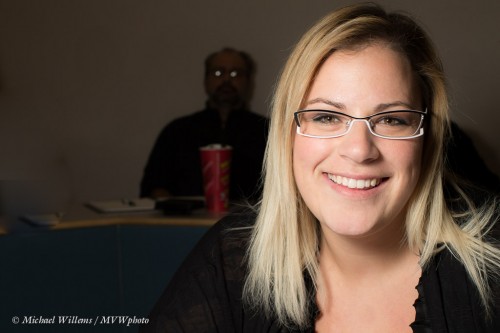
The apparent Martian in the background adds a little extra “huh?” to this photo, don’t you think? His glasses reflect the round softbox.

Anyway, these snaps demonstrate that you can achieve a lot in a very short time using simple means – you may already have every thing you need. Get creative, go outside the box, and above all, think “where is the light coming from”!

 

Simple means (redux)

For my new students, in today’s class: as you see, once you kow the techniques, you can keep it simple. Like today’s shots:

One minute’s work or less, prior to the class, self portrait. Shot “so the ambient light does nothing”: 200 ISO, 1/125th second, f/8, with the flash held in one hand and the camera in the other:

Students in today’s class with background “doing some work”, i.e. something like 400 ISO, 1/40th sec, f/4:

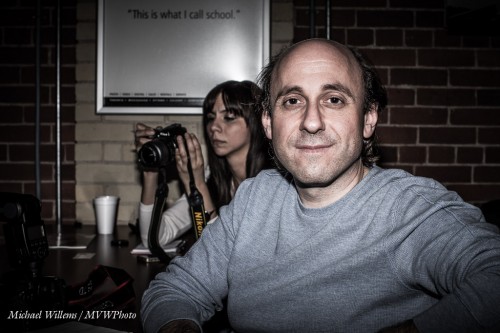
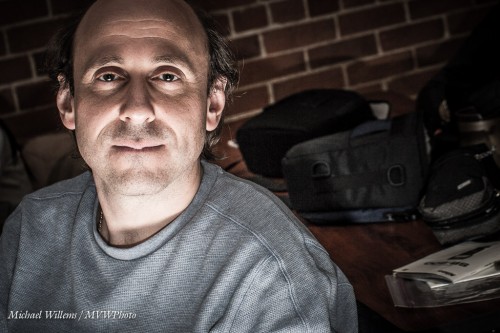
Now similar, but “this is what I call school” – the student from before, but shot again, and now with special rough direct flash plus a little post work (apologies, but it does look cool!):

Ditto, but now lit weirdly… Hallowe’en style… from below (how?):

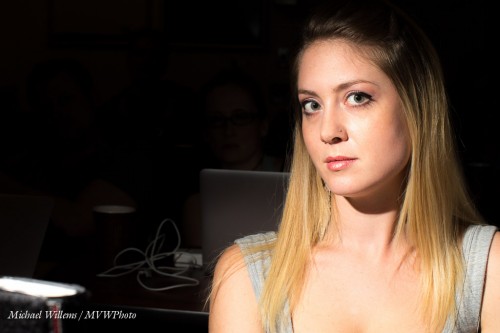
And finally, two beautiful students; as before shot with “ambient light disappeared”, i.e. at 200 ISO, 1/125th second, f/8:

As you see in these two shots, direct flash can be great and beautiful – as long as it is not near the camera. The flash is off to our left.

None of these shots needed much thinking or much work.

  1. Decide what the ambient part should be;
  2. Make it so using ISO/Aperture/Shutter;
  3. Then add flash.
  4. Keep the flash off the background if you can (you could use a grid, or keep distance between subject and background).

All you need to remember is this simple logic, plus the limitations – like “do not exceed 1/200th second shutter speed”, and “oh, my lens can only be set between f/4.0 and f/16”, and “outside, make sure the flash is close enough to the subject to have enough power”.

It really is that simple, once you understand. And flash liberates your internal artist, once you do.

___

Additional courses ready for signing up on http://www.cameratraining.ca/Schedule.html!
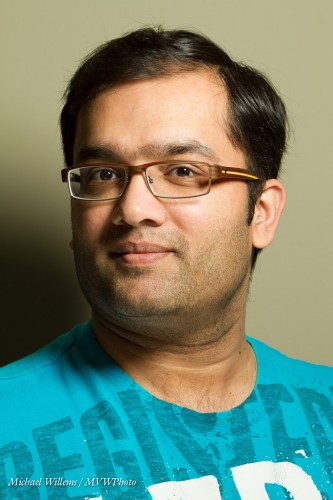
Don’t Do This At Home?

Let me modify that title. Of course you can do the following at home – you see, I am going to talk again about extensively modifying your images in post-production.

Unless you are a photojournalist, you can of course do this whenever you feel like it, but my feeling is, you should not do it instead of shooting correctly. Shoot correctly; do the rest in Lightroom or Photoshop – when you have to.

But when you have a bad image, as long as it is an exception, you can often do dramatic stuff with that image.

Like this image. A snap shot of one of my students the other week during the Flash course (there’s more flash courses coming very soon, see the schedule). This was not a “real” shot: I was demonstrating how not to do something, if I recall correctly.

Pretty much bad everything (except the subject). Light, exposure, composition: a good example of a mere snapshot.

But then… mmm. Suppose we increase the exposure in post; desaturate the image, pop up the vibrancy, then crop and rotate? Lightroom 4 settings as follows:

  • Exposure +0.7
  • Contrast +25
  • Highlights +10
  • Shadows +55
  • Clarity +100
  • Vibrance -49
  • Post-crop Vignetting: -35
  • Crop to get extra close and to use the “Rule of Thirds”
  • Rotate to straighten verticals

…then, we might actually get a good “dramatic portrait”:

Again, I am not advocating shooting bad images! But when it is the exception, or when you want to do something that cannot be achieved strictly in camera, feel free. By all accounts, Ansel Adams was a huge darkroom user.  If he could do it, you can too. Just make sure you do actually know how to do it without manipulation, as well.


Workshop Shot

A few from today’s workshop:

We shot all sorts of light today. The shot above was made like this:

While one strobe above the model, fitted with a snoot (the strobe, not the model), gives you this:

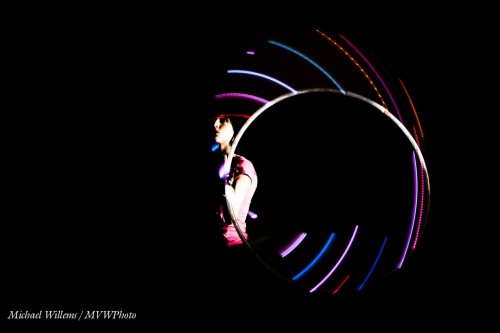
A snooted speedlight combined with just the right exposure and a slow shutter, plus a little post TLC, gives you this for an LED hoola-hoop:

One of the students pointed how how much of the photography creative process is problem-solving. And that’s exactly right. Its problem solving!

This shot called for some creative problem-solving also:

And I think the thing to realize is that the problem solving process is not annoying  or scary- rather, it is the fun part!

More tomorrow. After I sleep a little!


Pics of the day

Time for a few pictures of the last few days, and a simple discussion of each. Miscellaneous Thursday!

One flash, off-camera, is needed for this (thanks for the tilted composition, Adnan: well done):

Expose for a dark background and use the flash, direct if you want. Another take of the same session:

Michael Willems, Photographer

Both of those have been altered a little in Lightroom: less saturation, more presence. A fashionable technique for post work on dramatic images. But the alteration does not make a material difference: the original looks the same in terms of dark background and dramatically lit subject. It looked more like this: a bright sunny day:

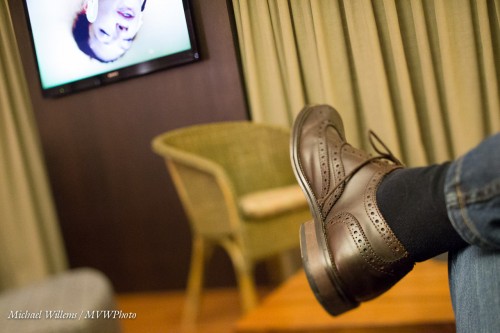
The the evening. 12,800 ISO and the tilt-shift lens while I watch TV gives this effect (unchanged, no noise cancellation done):

As you see, it is clean…  and the shoe as well as the TV with “fringe” are both in focus: the focal plane has shifted. And as you also see, 12,800 ISO is fine with this camera. And yes, I carry my camera all the time.

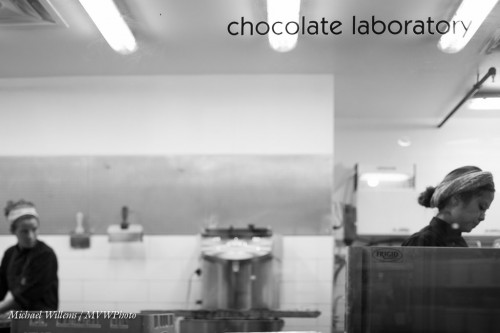
Even when having a hot chocolate on Toronto’s Distillery district:

Degas-like cropping. And no trickery: I simply focused on the window with the room name.

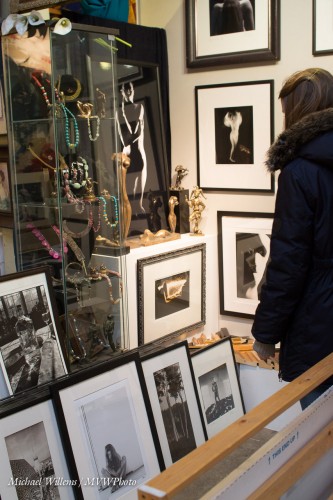
One last Image of the Day: the Kodiak Gallery in Toronto, where some of my work is exhibited and for sale. To wit, three photos are on permanent display, all visible in this image:

Why show this? Because it struck me that I am getting back to the old film skills: the tilt-shift ;lens needs me to focus manually as well as exposing manually – and when I am tilting or shifting, the light meter cannot give an accurate reading. Ao I have to do it by experience. And I usually get it right or nearly so.

And so should you. To be good, you need to know roughly what kind of aperture/shutter/ISO combination will work, just like you need to know roughly how much your supermarket bill will be without using a calculator. So today, shoot everything manually and observe.

___

NOTE: just one spot left on The Art of Shooting Nudes on Saturday. There is time, if you do it now!


Separate!

Tip of the day: separate your subject from the background.

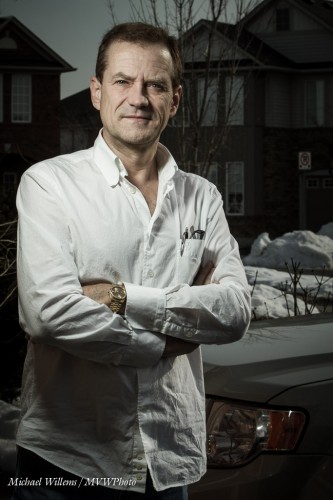
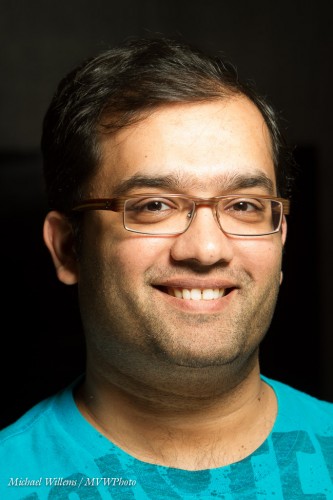
Like in a portrait like this, of my friend and student, talented photographer Adnan, (using one off-camera speedlight). I suppose it is “OK”, but no more than that.

…but there is no separation between the subject’s head and the background.

Better, use either a hairlight or simply a better background:

We still have the dramatic look, but now we see where Adnan ends and the background starts. And now I could make it black and white:

Simple portrait rules like this make all the difference!