Warm backgrounds

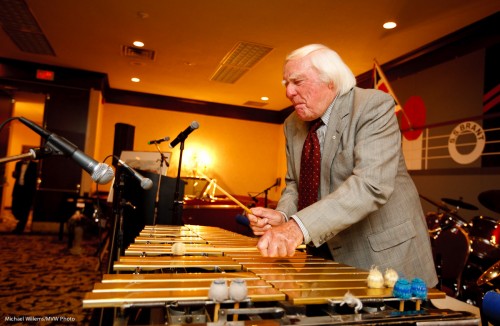
I took this shot of jazz great Peter Appleyard, the wizard of the vibraphone, back in 2009:

So how did I do this – what was behind my decisions?

Here’s my thinking and execution:

  • This called for a “situational” portrait; an environmental portrait showing him at work, as it were.
  • I therefore used a 24mm lens on a full frame camera (in fact it was the 16-35 f/2.8L set to 24). 24mm is nice and wide, but not so wide I get crazy distortion in the subject (provided the subject is small in the image).
  • I bounced my flash behind me to the left, off the ceiling.
  • Since the venue was dark, and I wanted a lighter background, I used not my normal “400-40-4” settings, but 400-30-2.8 – ie a stop and a third lighter in the background. 400 ISO, 1/30th second. f/2.8.  (Since I am using a wide lens, f/2.8 gives me enough DOF. Since I am freezing the subject with flash, 1/30th second is fast enough).
  • I used “off-centre” composition (using the Rule of Thirds).
  • I focused on Mr Appleyard, using one focus point, then recomposing.
  • I stayed ou t of the way of the audience as much as possible.

This is the thinking that goes though a photographer’s mind quickly. Practice the same – think about things like lens, light, exposure, and composition. You will see you will get quick at this just by asking the right questions.

 

Direction is everything

In yesterday’s class at The Granite Club, I emphasized that you can do professional artistic pictures with very simple means. Any DSLR camera; a normal lens, slightly wide to slightly long, and one on-camera flash in a small room. That can get you shots like this:

The secrets:

  • Shoot in a small room with white walls and ceilings.
  • Shoot long if you can – avoid wide except when you have to in the small room.
  • Try to “fill the frame”, and use good composition (e.g. the Rule of Thirds).
  • Camera on manual – say, f/5.6 at 1/125th sec and 400 ISO.
  • Try to include props – perhaps special clothing, sunglasses, anything interesting.
  • Simplify your shot – take things out that do not belong! You can do this by positioning, tilting, and even by post-shoot cropping.
  • Expose high: use Flash Compensation (“FEC”), to a positive setting (perhaps +1 to as much as +2). Light bright = smooth skin.
  • Especially: aim the flash accurately “where you want the virtual umbrella to be”.

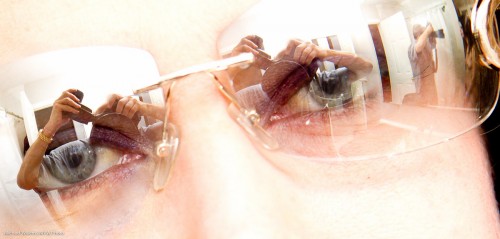
That last point is illustrated by me here. Look carefully:

Can you see how I am holding the flash, and aiming it accurately behind me? You can see the white ceiling – where my flash lights it up, i.e. the “virtual umbrella”) right in front of the model.

(Cool shot, no? I am lucky to have a regular good model, and all the equipment – but with a little practice, we can all do this, with any model and any camera and lens. Learn the technique – then develop your eye.)


Self portrait

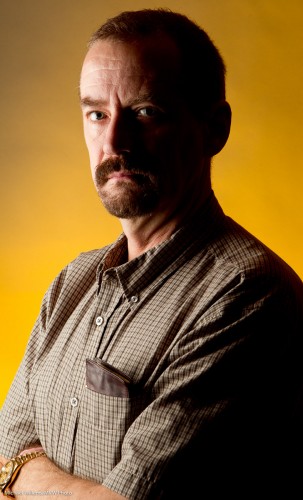
The other day I decided to do a quick self portrait. And instead of the normal “traditional” portrait, I did the following:

Moody, dark – I don’t smile much in pictures and life is serious! And as you see, lighting is all about what you do not light.

I made this picture as follows:

  1. I put up a grey backdrop.
  2. Using paper tape, I put a cross on the floor where I was going to be standing.
  3. I put a light stand there.
  4. Having put the camera on a tripod, I aimed at the light stand and focused on it; then set the focus to “manual”.
  5. I set the camera to self timer.
  6. I selected 1/125th second at f/11 (you want f/5.6 – f/11 for these shots normally).
  7. Using my light meter, I set my main light, which I fire with pocket wizards, to these values. That main light is a Bowens strobe with a softbox.
  8. I added a background light: a speedlight with a Honl Photo grid and a Honl Photo Egg Yolk Yellow gel. I set this to quarter power (experience). The speedlight was also fired via pocket wizard; if you have a Nikon speedlight you can use SU-4 mode (cell).
  9. I pressed the camera shutter button and took the exact place of the light stand. 10 seconds later: flash!

And that was that – simple once you know. Now you try!


Fear not – use high ISO when needed

Here’s a snap of my friend and student Ray, taken Saturday night:

As you can see, he is backlit – and I used whatever light was available.

This means that to avoid the usual “silhouette”, I needed to expose very long – 1/25th sec at f/2.8, using 6400 ISO; using the 24-70 lens set to 25mm, which on a 1D is 25 x 1.3 = a “real” 33mm. (See how nice the “real” 35mm is? That’s why some cameras, like my Fuji X100, have fixed lenses of that focal length).

So – 6400 ISO? Is that doable?

Sure. Of course if we were to zoom in all the way we would see grain, but this image is pretty OK – especially after a little noise cancellation in Lightroom.

The moral: do not be afraid to go to high ISO values when needed. It’s better than not getting the shot.


High key fun

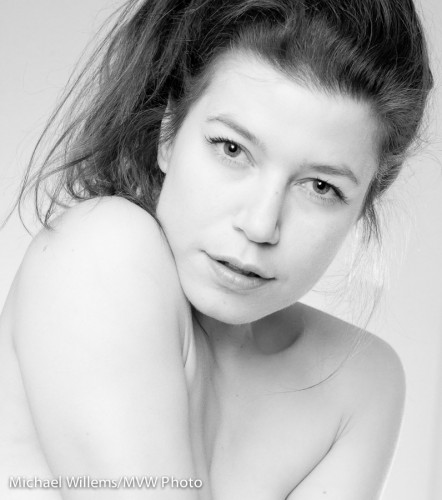
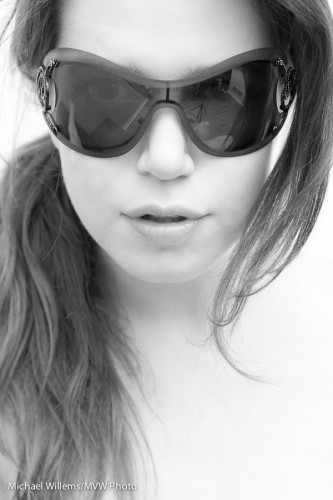
When I shoot glamour portraits, I like to use black and white, and I like to make them high-key, as in this example below from a few days ago.

Model Kim (Photo: Michael Willems)

Why high key b/w?

  • First, because I very much like the look.
  • Second, because by using high key B/W, I ensure that attention is drawn away from everything except the face – that is what we end up looking at. Eyes, face.
  • And high key minimizes facial flaws, wrinkles, blemishes: the lighter you make it, the less these will show up. I set my TTL flash to +1 stop FEC usually, or more.
  • And B/W also offers the option to reduce blemishes: just increase the relative luminance of the red channel (like using a red filter in the old days).

That’s four good reasons to do this if you want someone to look great and flawless. And who doesn’t want to look young and flawless?


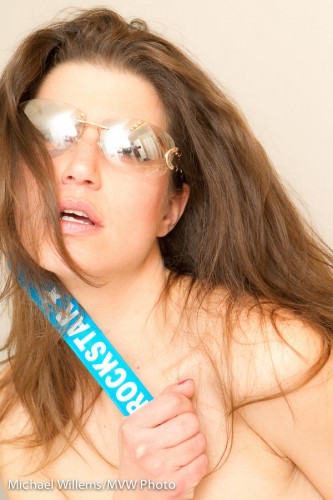
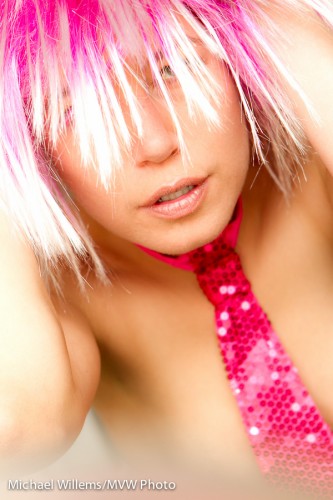
Look at this image I shot just the other day – yes, it is another post in my recent model portrait series, this time to show you a simple creative technique you can use in camera:

Pretty in Pink - Kim Gorenko (Photo: Michael Willems)

Pretty in Pink (Photo: Michael Willems)

Namely.. the blur at the bottom.

This surely looks like something I did in Photoshop – perhaps even Lightroom? But no – I did this while shooting, using the camera.

How?

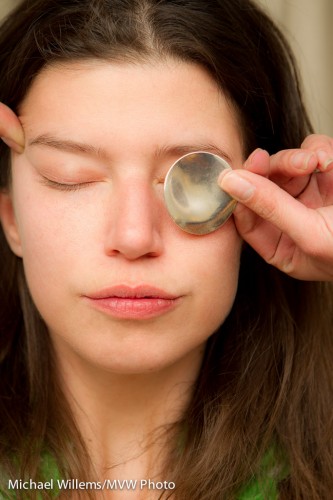
Here’s how. I simply placed an object (a mirror, in this case) in front of me, very close to my lens, and shot right over it. That blurs the bottom of the image, because the mirror is completely out of focus.

And call me crazy, but I like doing things in camera when I can. This image is basically “straight out of camera” (“SOOC”). Shot using a Canon EOS-1D Mark IV, 1/60 sec at f / 5.6, ISO 400, and lit with two speedlights, one on camera, one off camera. Using TTL, with flash compensation set to +1 stop to expose high-key. This is visually stunning, and also smooths skin.


By the way – I blurred to make it a “work safe” image. If you want to see some of my art nudes, head over to my occasionally-updated Tumblr site at http://mvwphoto.tumblr.com

Poses

I often, as you know, write about what I have been photographing recently, and that has been a number of sessions with a regular and excellent model, Kim – so I shall do one more post on this today.

When shooting a model, or fashion, or art portraits – anything creative –  it is important to try different poses all the time. A good model changes his or her pose every two or three seconds. It is the photographer’s duty to go with that; even to encourage that with less experienced models.

So in seconds you go from this – and all these are from yesterday, all shot within minutes:

Kim-by-Michael-Willems

To this:

Kim-by-Michael-Willems

To this:

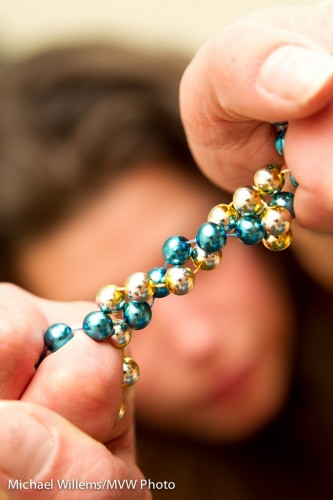
Beads and girl (Photo: Michael Willems)

To this:

Kim Gorenko - (Photo: Michael Willems)

And so on… all in seconds. Try different poses, angles, look, zoom angles.

That is difficult sometimes, because in a shoot like that, you have to shoot quickly. No time to meter, to set up lights. So I:

  • Know my camera very well.
  • Use a zoom lens (24-70 in this case)
  • Use very simple lighting – two flashes, one on camera bounced, one off camera bounced or direct.
  • Set my flashes to TTL flash control
  • Vary looks, vary zooms, vary apertures, vary angles – sometimes you do not know what works until you see it.

By doing it this way, I can react quickly to the different areas and poses. And that, in this kind of shoot, is key

So when you shoot anything, think “what type of shoot is this”. In this type of shoot, quick reactions are key. In other types of shooting, I can spend ten minutes setting up lights for each shot – both are valid ways of shooting. Know which one you are doing and shoot accordingly.


Look in my eyes

..or, do not!

What I mean is this: for a character portrait, you do not necessarily need eye contact.

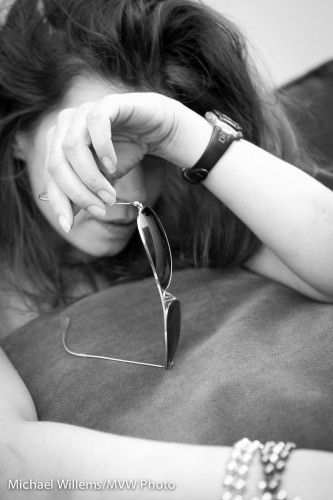
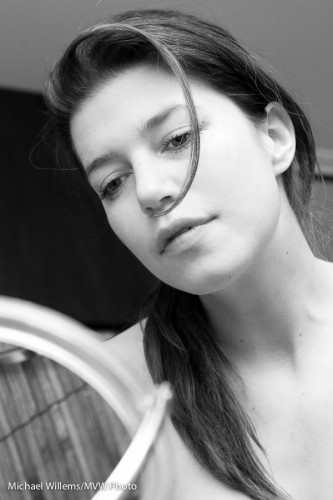
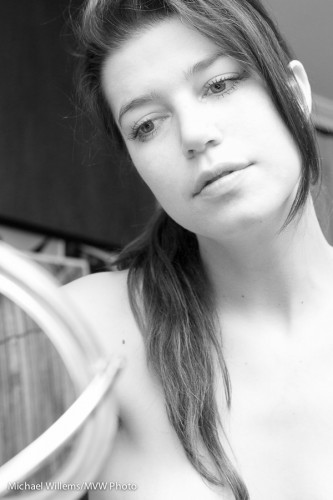
In fact, often, there is more of a story – more intrigue, more for viewers to work out for themselves, i.e. a more successful picture – if there is no eye contact. Like here (still from that shoot a few days ago):

Kim and Mirror (Photo: Michael Willems)

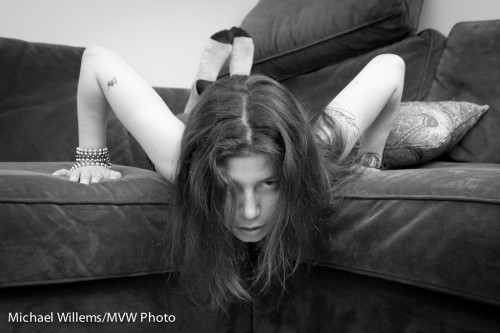
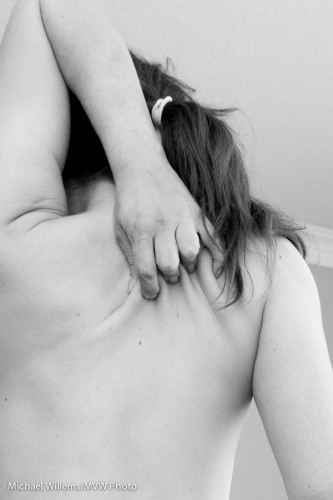
Or, let’s go crazy and not even incorporate the face at all:

Kim's Back Scratch (Photo: Michael Willems)

Can you see that these are good people shots?

Now of course I am not saying “never show eyes looking into the camera” – of course not.  But do try to not just shoot people looking into your eyes.

If you want homework: do a portrait without eye contact – one that makes me work out the story.


Quick fixes are sometimes good

As I mentioned the other day, converting a portrait to black and white can be good if it is not optional in the first place. It is an “easy fix”. Not that my friend, model Kim, pictured below in a shoot Thursday night, needs these fixes much…  but of course she, like everyone, has normal human skin.

As I said the other day, I am not a fan of altering people. But removing temporary blemishes, and de-emphasizing permanent ones, is not different from applying make-up and is better for the skin.

Kim Gorenko (Photo: Michael Willems)

But it is more than that. As I have mentioned here before,

  • Colour can distract in portraits, while black and white removes those distractions.
  • Mixed light (eg tungsten and unmodified flash) is problematic, but in black and white, light is just light.
  • You can emphasize or de-emphasize various colours when converting colour to black and white. To make that yellow shirt darker, or to make that green wall lighter.
  • And yes, you can fix sin, or make it smoother, by converting to black and white and then increasing the brightness of red in the mix (equivalent to using a red filter on a film camera). A blue filter would do the opposite – make skin look really, really bad.

How to do black and white?

  • Shoot in colour, in RAW format.
  • Then convert later – in Lightroom using the B&W option, where you can vary all colours individually, thus creating any filter effect you want. Experiment by dragging the various channels up and down.
  • If (and only if) you are shooting in RAW, you can set your camera’s “picture style” to Black and White. That way by looking at the on-camera preview you get an idea of what the converted image may look like – but since RAW saves all the colours, you are still going to do the conversion later, on your computer.

For better skin, as said, drag the RED channel UP (+).  This makes blemishes brighter (i.e. they disappear). Dragging Orange up makes all of the skin brighter, which also of course makes it look better by reducing both blemishes and shadows.

OK, one more image.. here, the colours of the walls etc would definitely distract from the message of the photo:

Kim Gorenko (Photo: Michael Willems)