Improvise

I shot in a venue yesterday where the light was going to be speedlights off camera, using light stands and umbrellas.
In the event, it was not possible to bring in lights, so I had to use one on camera flash. And here’s what I got:

I bounced my flash behind me. Up and behind me, but down enough to ensure that I hit a white wall, and that we get catch lights in the subjects’ eyes. And using TTL flash. And with flash compensation set to +1 to +2 stops.

And that gave me ok light!

Bring it close.

To shoot a true macro picture, you need a macro lens (Nikon calls this a “micro” lens). This is a lens that allows you to focus close-up. Like this from yesterday’s shoot, a shot for the make-up artists to detail their work:
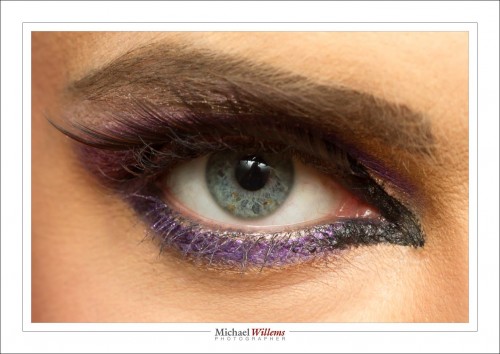
When you click and see it full size, you will see how ridiculously sharp this is: “DNA-level”, as I like to call it.

So why and when do I take a shot like that?

I do macro shots:

  • When I want to have some fun. Macro can be done in your kitchen all year round: when you make small objects large, they take on an entirely different life of their own.
  • When needed to document things—like the make-up job above.
  • When shooting small objects, like jewellery.
  • To get detail of an object, detail I cannot
  • When I think I may want to get close, even if I may not need to, I still like to use the macro lens so I have the option.

Shooting macro means you are close… and this in turn means that your depth of field is extremely restricted. You will probably need to shoot at f/8, f/11, f/16 or worse. You may even have to take multiple shots with varying focus distances and put them together electronically. A very close shot at f/2.8 has a depth of field (“where it is sharp”) of fractions of millimeters.

One mantra one often hears is that a tripod is necessary. Yes, it is recommended, and sometimes it is necessary, but with good shooting technique, you can often do without it too. Like in the shot above. 100mm lens on a Canon 7D camera; set to manual at f/11, 400 ISO, 1/125th sec.

Finally, the light. I used a bounced flash and I ensured that only the flash shows (by using “fast shutter, low ISO, high F-number”). Using only flash ensures that you see no motion blur: a flash happens in about 1/100th second (or even faster at lower power settings), so it’s like using a fast shutter speed.

 

The colour of the day.

Why do we use colour?

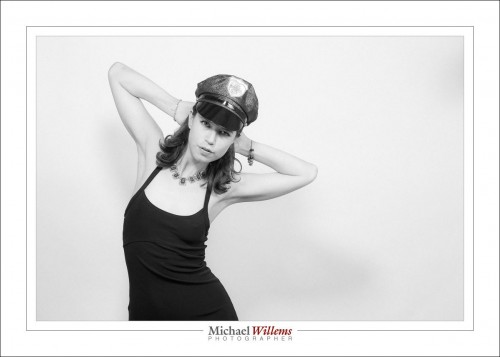
Sometimes I like simplicity, like here:

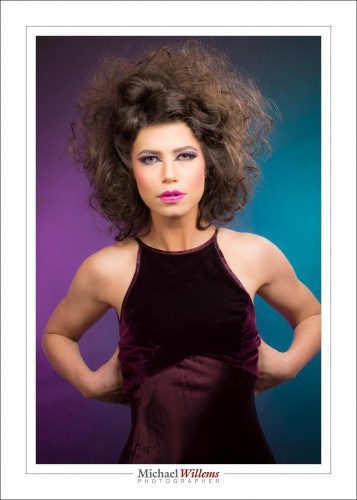
Sometimes, on the other hand, especially when I print images, I like to fill the frame with colour. Like here, from last night:

(Make-up by Glam IX Studio; model Kim Gorenko.)

The colours match the dress and the eyes. Two speedlights aimed at the background.

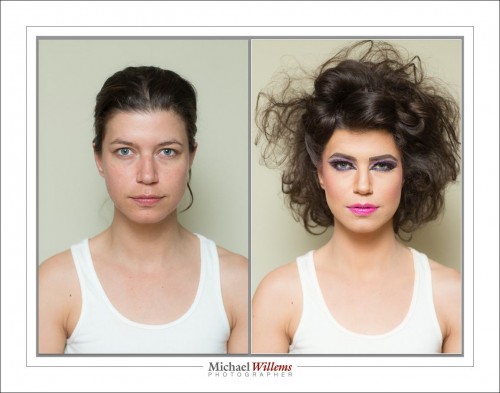
That last shot also emphasizes again the importance of getting a glamour-type shot like this right in terms of pose, light, and make-up.  Look at the before/after. Nothing was done here, only make-up. Straight out of camera:

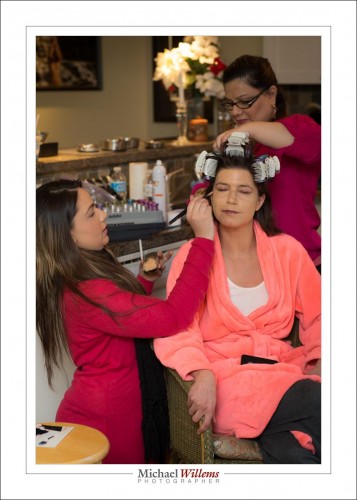
The make-up and hair took about three hours to do: these are serious skills.

For a successful shoot, it all has to come together!

Now on to my Video with DSLR course, which is about to start.  Check www.cameratraining.ca for details on upcoming courses.


About what you do not see

Sometimes, what you do not see in a picture is as important as what you do see.  Like in this picture:

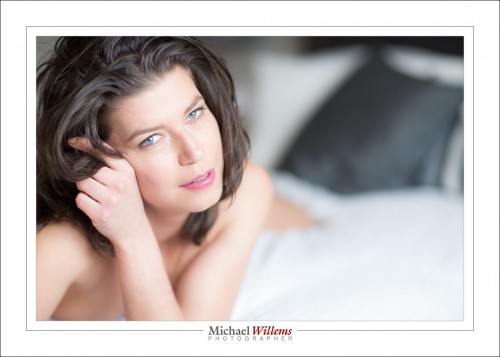
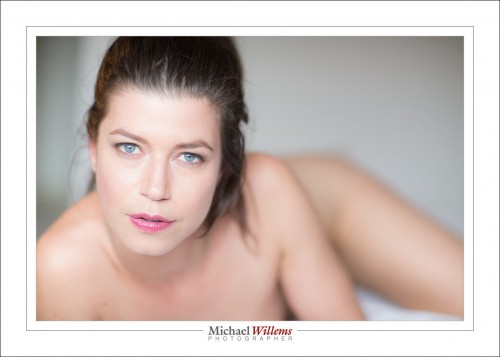
There are four reasons I may want to blur the background: It would be distracting. And it is not really part of  the story. And implying is sometimes best. And I might not want it in the image for “facebook/SFW-reasons”.

So I shot this at 800 ISO, 1/160th second, f/1.8, using my 85mm f/1.2 lens.  Yes, f/1.8, and the gives me extremely shallow depth of field, and an extremely blurred background.

Wonderful, but it necessitates me using a very steady hand. After I focus (on the eyes) neither I nor the model must change our distance even by a few millimeters.

Here’s one more, for good measure:

Now, the lens. My 85mm lens on a full frame camera is equivalent roughly to a 50mm lens on your crop camera. And the 50mm f/1.8 lens incredibly affordable and great. So.. if you do not have one, get one. And if you do, use it!


The secret of fluorescent

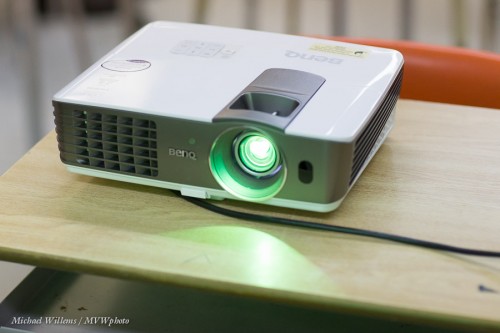
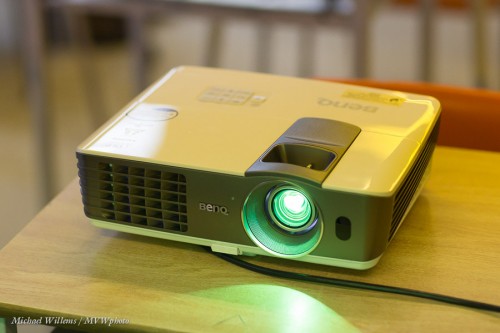
Consider this: two images taken at the same time.

Same projector. Same time. Huh?

A hint of what happened is in the projector light. It is the same hue in both images. So the camera’s white balance setting did not change. So the colour changed.

And the light, what was it?

Fluorescent, and that is the reason for what you are seeing.

Fluorescent lights are not continuous. Instead, they go off and on many times every second. Some flash on and off 1,000 times per second, but the cheaper ones go on and off 60 times a second. And that means that if you use a long shutter speed, like 1/60th of a second or slower, you will not notice any strange effects. But if you use a fast shutter speed, like 1/1000th second, then you can easily accidentally hit the part where the light is only just beginning to glow or where it is just going off.

So, when using fluorescent light, use slower shutter speeds than the light’s frequency. Which can be 1/60th second for the traditional older fluorescents.


The secret of darkness

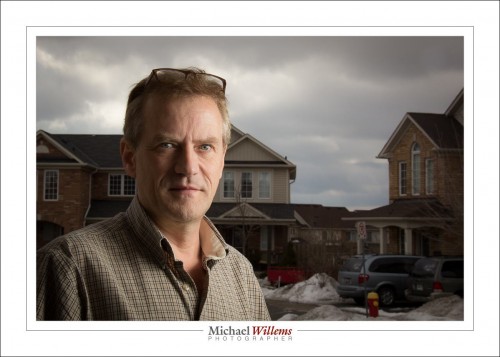
The shot I showed you the other day had a darkish background.

How dark? It was my usual “two stops below normal”. I.e. when I look at the scene, my light meter indicates not “0”, but “–2”.

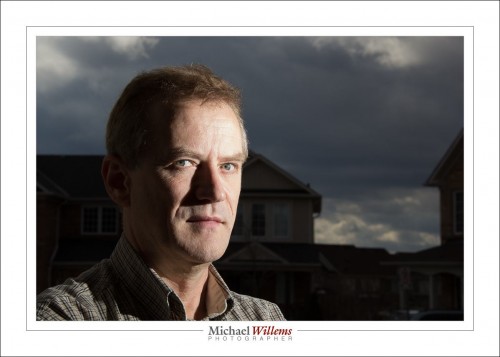
Today: what happens when you make the background even darker. Like, four stops below normal. I.e. I use an aperture even smaller (I still of course use 100 ISO and 1/250th second).

Now we get a very dramatic portrait:

Which one is right? That is an impossible question to answer. It depends on what you want. On your style. On the picture and its purpose. There is no one “correct” photo. What you need to learn is the techniques to do all this. Then you can make up your mind for each photo you make.

One thing to keep in mind: the lower picture used such a small aperture that the flash had to be sued without a modifier: else it would not have had enough power. If you take my Flash course I will teach you a trick you can use to always know when you have enough power–or not.

___


Light, Portrait, #1

A few words about lighting. Today, two lighting types for you:

Broad lighting—you are mainly lighting the half of the face that is largest to you )turned toward you).

Short lighting—you are mainly lighting the half of the face that is smallest to you (turned away from you).

There are many other types of lighting (Split, Rembrandt, Butterfly, Loop, etc), and they merge into each other rather than being cleanly split (e.g. you could make the case that the second picture is really more Rembrandt Lighting); but these two will do for now.

The effect: Broad Lighting makes a face look broader. Short (or narrow, as I like to think of it as) Lighting makes the face look narrower.


More about that pro shot

As for yesterday’s shot: why do we call a portrait like that “dramatic”?

Because it is dramatic. And it is that for two reasons:

  • Two, you bring drama to colours and texture and contrast and skies by underexposing.
  • One, the (flash-lit) subject stands out clearly against the darker background.

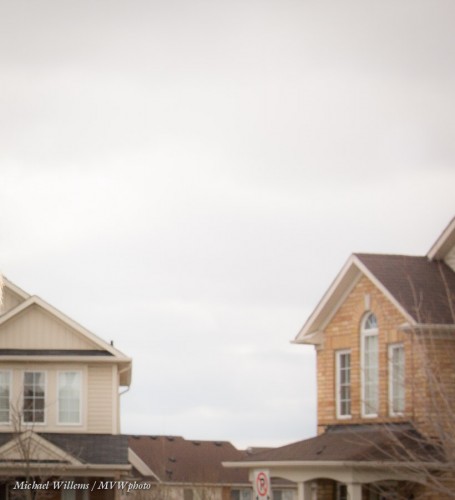
Consider yesterday’s sky the way it “really” was (if the camera exposed the way it wanted):

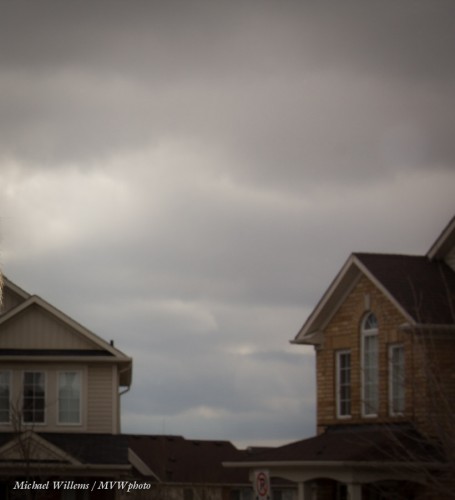
Now consider the way I shot it (2 stops “underexposed”:

See how the second shot shows detail and texture? And the dark ominous look allows me to light the subject so the subject is the “bright pixels”. Hence, a dramatic portrait.


Pro Aesthetic

Yesterday’s shot of the day was an “amateur” pro shot. Today, a “pro” pro shot. This one:

Lit how? With one off-camera flash (a Canon 430EX II speedlight) on the right, shooting through an umbrella. Using a 50mm lens.

The secret here is the “looks like it’s photoshopped in” look. Without actually using Photoshop or Lightroom. This is shot in camera. And you get this kind of “dramatic portrait” look by making the background darker.

How? The recipe for such a bright day, outdoors shot is simple.

  1. Set ISO to 100.
  2. Set shutter speed to 1/250th sec (the fastest sync speed; on some cameras it is 1/200th or even 1/180th)
  3. Now select the aperture that gives you a dark background, ca “minus 2” on the meter. This is generally between f/5.6 and f/18, depending on how bright it is. In the above shot, it was f/13.

That’s the background done. Now the flash:

  1. Set the camera to master/commander, and ensure the flash on the camera only issues commands (i.e. it is “off” when the actual picture happens).
  2. Set the remote flash to slave/remote
  3. Put it on a light stand and use a modifier like an umbrella if possible. 45 degrees up, on the side. (If possible: if you are shooting at f/18 the flash may not have enough power when you use a modifier, unless it is very close to the subject.)
  4. Test shot. If the flash part is to bright, use flash exposure compensation (FEC) to turn it down a stop. If it is too dark, try FEC as well, but the reason may be “insufficient available power”; in that case, bring the flash closer or dispense with the modifier.

And that’s the shot you get. Simple, very simple. now you go do it!

___

Learn all about this: Buy the Pro Flash Manual

More hands-on courses in Oakville imminent: see http://cameratraining.ca (http://cameratraining.ca/Schedule.html for the schedule). See the Kelby quote on the front page 🙂