Light him up

That’s what cops say when they discuss stopping someone in traffic. But it is what I say when I am talking about studio lighting.

For a family, as in the course I taught Sunday for the Ajax camera club, I use simple lighting: two umbrellas (they throw great soft light everywhere), one on each side:

Not a lot of modelling (shaping with light), but very suitable for a group. Easy, foolproof, nice and crisp lighting.

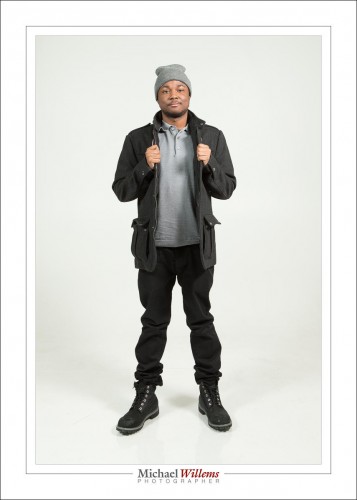
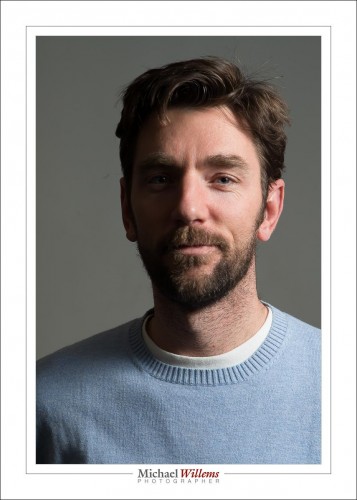
Now, when I have one subject I can of course do the same:

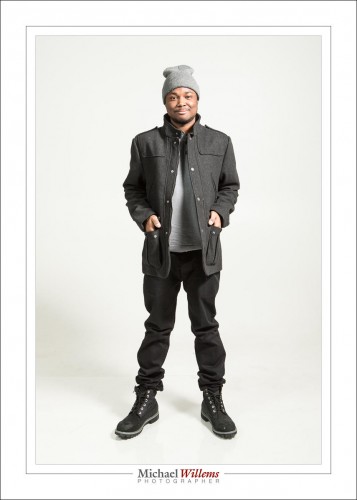
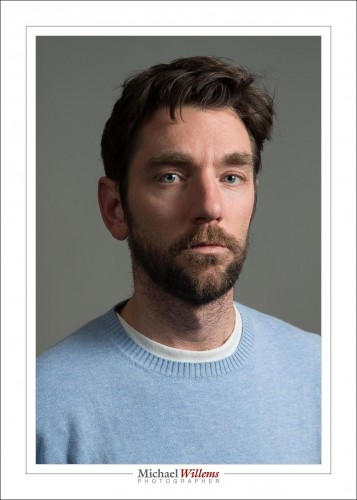
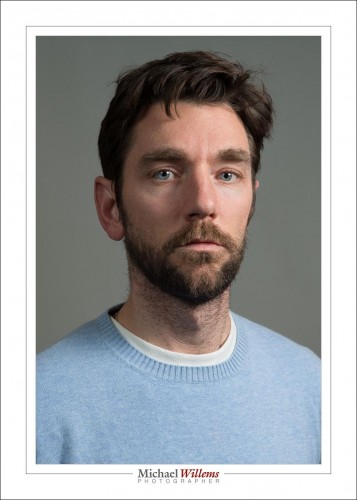
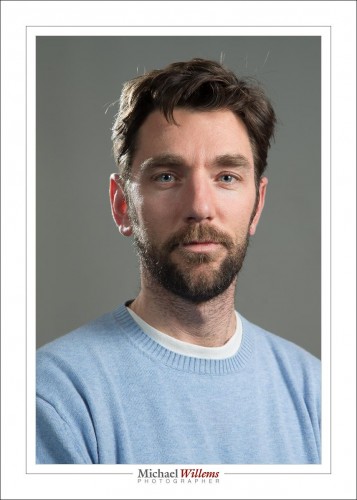
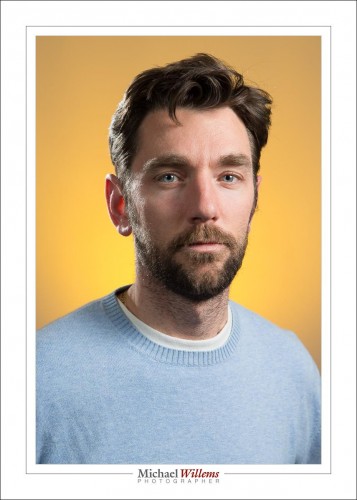
And sure enough, that works. But can you see how much better it works when I turn one of those flashes up a stop, and the other down a stop? Here:

See that? We have now shaped (modelled) the face and made it into not a flat shape, but a round shape. That brings the person alive. There is a slight shadow behind him. That also brings depth into the image.

Altogether a better idea when you have one person – usually. In the next datys,more examples of studio lighting.

In these pictures, the camera was on manual, as were the flashes.  1/200th sec at f/8, 400 ISO.

Why those settings? I want to kill the bright studio ambient light (high f-number, low ISO, fast shutter). But I am also cognizant of the fact that I am using speedlights, which have limited power, especially once I fit them with modifiers (that means low f-number and high ISO). So I need to find a good middle point. And that was it, in this studio.

More on studio flash in the next days. Um, and if you enjoy these posts, don’t forget to tell all your friends to check speedlighter.ca daily.

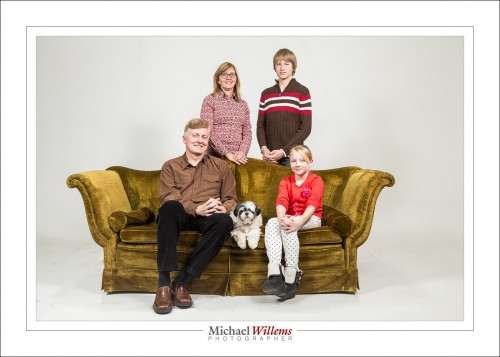


A seasonal portrait

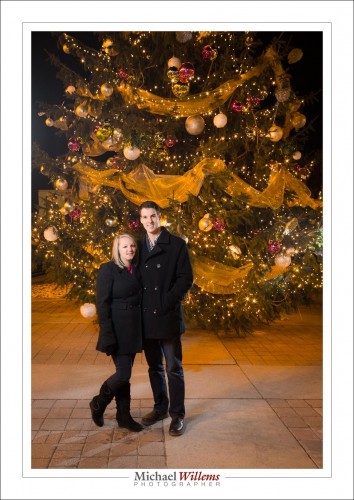
I shot a young couple’s season portrait last night. So here, the explanation of my thinking.

This couple usually shoots a fall picture, but this time, their photographer wasn’t available and they left it a little late. So they hired me, and we did a Christmas-themed picture, since I happened to have been told Oakville has a large Xmas tree.

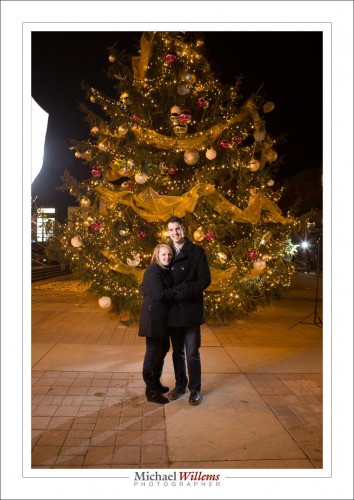
But there was little night – a night shoot. So this meant I combined a very slow exposure with a couple of flashes. You can see them here left and right in this pullback shot (you do know you always take a pullback shot, right, so you can see later what you did?):

One on the left with an umbrella; on on the right behind the couple, fitted with a grid. Both flashes on manual, fired using pocketwizards. 1/8 power (key) and 1/4 power (fill). The resulting picture:

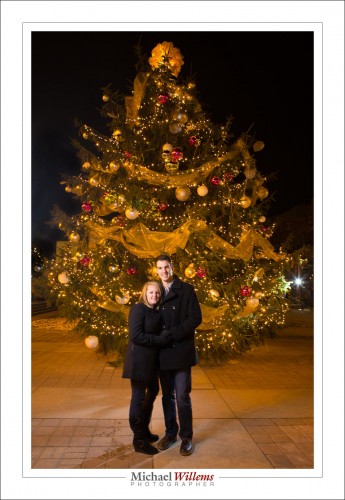
And one more, my favourite from this shoot:

I would have added more lights perhaps given time, but this was a fairly quick shoot, plus it was freezing – literally freezing, around minus 5C.  Try holding light stands at -5C. Not fun.

So I used a slow shutter: 1/4 sec at f/8 at 800 ISO. Why such a small aperture? Because I wanted depth of field. So that means a slow shutter and high-ish ISO in order to correctly expose for the tree. Then I add flash.

Note that I also tided up the ground in post, removing oil stains etc from the concrete.


Let there be…

…you have heard me say it many times: photographers who know light are real photographers. Or put differently: all artistic photographers understand light.

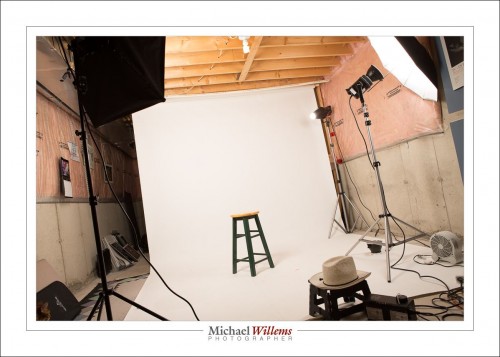
Here’s my basement studio:

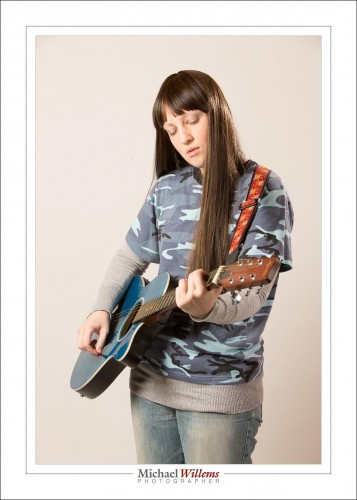
And traditional light like in that setup (key light, fill light, hair light, perhaps background light) gives me traditional portraits. Nothing wrong with those, as this portrait of Lana from last night shows:

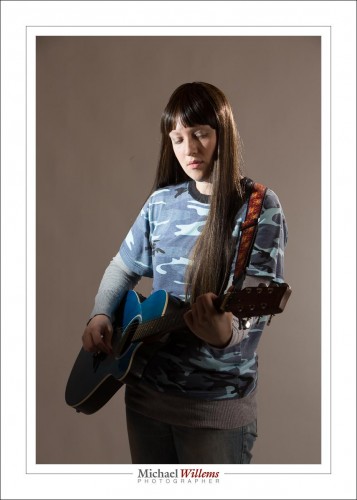
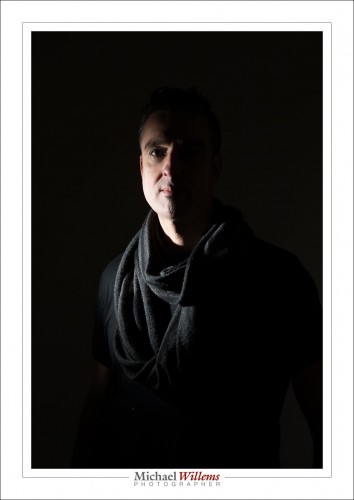
Good, standard light, good for many purposes. But now let’s get creative. Instead of a key light with a big softbox, let’s use a speedlight with a grid, and no other modifier. Yes, an unmodified flash for a key light:

Very different, no? Dramatic rembrandt lighting. And not bad at all, contrary to popular belief: yes, you can use a simple unmodified flash. As long as it is not where your camera is.

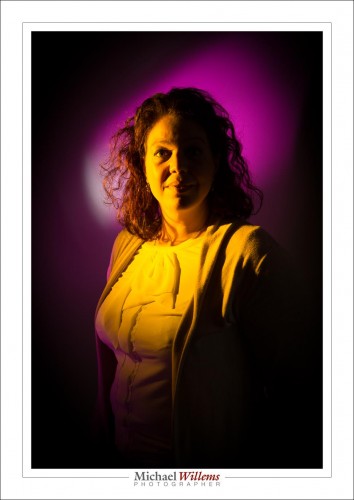
In fact, many women like hard light, and it can be quite beautiful.  Here, the same setup with another speedlight added for the background, with a yellow gel. Loop lighting:

(TIP: It is important that you have a dark background before you add colour. You cannot add colour to white. It’s not paint!)

So your assignment, should you choose to accept it: go shoot a portrait where the main light is off camera and is direct, without softening. Grids and snoots and gobos are OK, but no umbrellas, softboxes, or bouncing.


Shampooey Goodness

Here, from yesterday’s class at Sheridan College, is talented student Darryl. First with just one light. Then with a second light. Then with that second light brighter. Then with a hair light added. And finally, with a background light also. Four flashes. Can you see how important it is to light a portrait just right, just the way you want it? Light makes all the difference.

Now we’re talking. And that took the following:

  1. Camera with 24-70 lens.
  2. Four flashes.
  3. Five pocketwizards (one for the camera, one for each flash).
  4. Five cables between PW and flash (from Flashzebra.com).
  5. Three light stands.
  6. Two umbrella brackets and one ball head.
  7. Two umbrellas (main=shoot through; fill=reflective).
  8. A Honl photo snoot for the hair light.
  9. A flash meter.
  10. A Honl photo egg yolk yellow gel fopr the background light (this coloour complements his blue sweater).
  11. A few minutes.

And that’s all – not complicated once you know how. And that’s what I teach, and as a photographer, you should know how to do a portrait like this in a few minutes.


Light notes

Yesterday’s flash seminar at Vistek reminds me to warn you about one of TTL’s drawbacks.

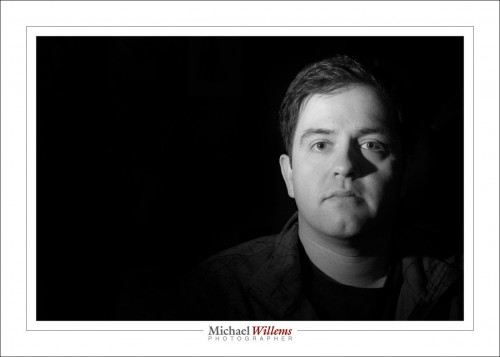
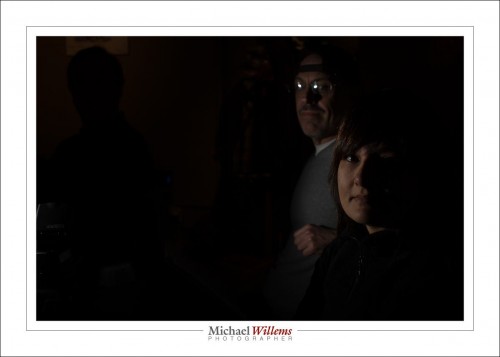
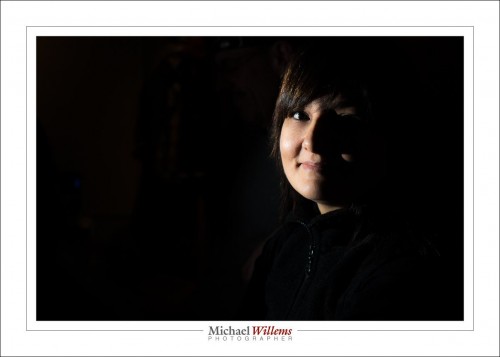
Usually, metering is “evaluative” (Nikon calls it “Matrix metering”). Good. Even good for tough chiaroscuro lighting like in these pictures from the course (one flash, off camera):

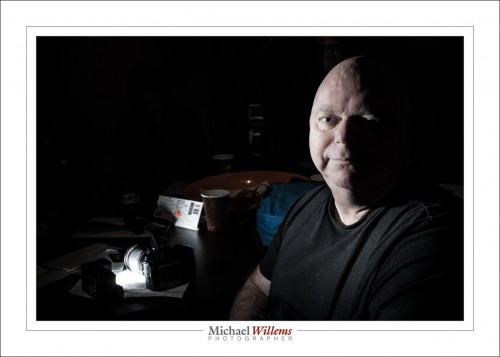
But that metering method, while generally very good for tough shots like those, has one possible drawback. Namely this: one small reflection will lead to the entire photo being underexposed, since the metering system tries to avoid overexposing that reflected area. And with evaluative/matrix metering (“smart” metering), even a tiny area can cause that problem. As in this image:

Ouch. Yeah, that got me. So then I remove the reflective object and all is well:

This happens, and you need to be aware and ready. So why not go to centre-weighted flash metering? Yes, that is an option, but then pics like these will be averaged out, which is also not what you want!
And all that is why light and metering and the other technical aspects of photography are not about to go away. A billion iPhones notwithstanding: you need to learn this stuff to be able to do any creative photography.
 

Flashes

I am in The Netherlands, and in the past two days, I taught some workshops. Flash workshops. Reason to remind you of how much you can do with simple means: one or two flash units. As in… one: a low key “split lighting” shot.

A flash fitted with a grid on the left; with the camera on manual with “studio settings”: 1/125th sec, f/8, 200 ISO.

Or with two:

Similar setting on the camera; now one additional flash with a snoot and a gel. The colours are complementary.

And finally, a shot with three flashes: the first has a softbox, on our left; the second is a hair light, behind, aimed forward; and the third is a background light with a gel.

In that last picture, the ambient light is exposed properly (I.e. this does not use “studio settings”).

The key here is: keep it simple. All shots were set up in no time: minutes, with simple equipment. If you learn to use flash you can do this and much, much more.


Hide!

Hide the unwanted reflections, that is.

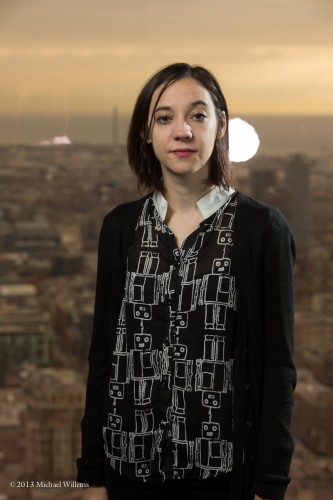
This photo was taken -by me- in front of a window, Wednesday morning (as set for a corporate shoot: Denise was my assistant).

I lit that with an umbrella on the left, a little Honl photo softbox on the right, and later a rim light right behind. So when we started, we had this, of course:

Moving the umbrella (to the left, where there was more space) and my tripod fixed that. But the fill light was more problematic:

Solution? move the subject a little…

A little more…

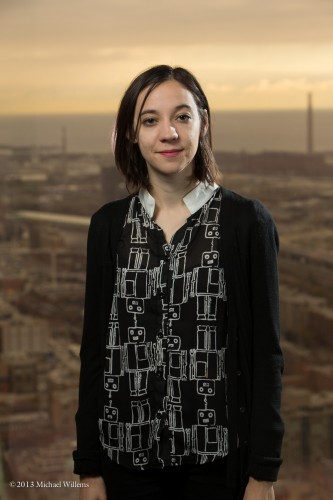
There we have it. Portraits resulted:

By the way, it has been pointed out to me that my assistant, here she is again…:

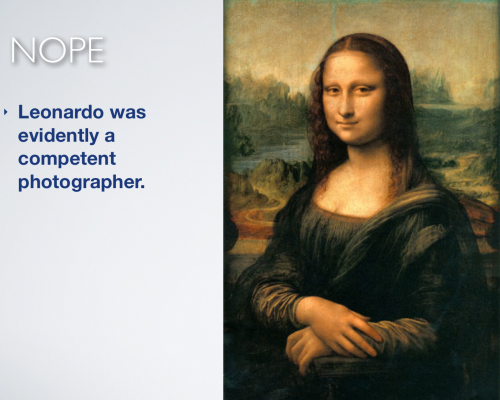
…looks like the portrait below. So, is all this light stuff new?

Nope, it isn’t. The similarity in colour and composition, and the enigmatic smile.. indeed, similar.  You recall my recent post about colour? (If not, scroll down a week). That’s the importance of colour. When you check images with Google, google uses colour and tone to find “similar images”.

ADMIN NOTE: I am on my way to Europe, and posts may be sporadic for the next week. But keep checking back. And press the “like” buttons above if you like my posts.


Real Estate Tip

Warning: do not look at http://terriblerealestateagentphotos.com/ because it is extremely dangerous to your health. Laughing so hard that your stomach muscles cramp up can cause lasting damage, even heart attacks. These images are hilarious.

So today, a quick tip or two about Real Estate photos.

Do not shoot snapshots. One way to avoid them is to not shoot from eye level.

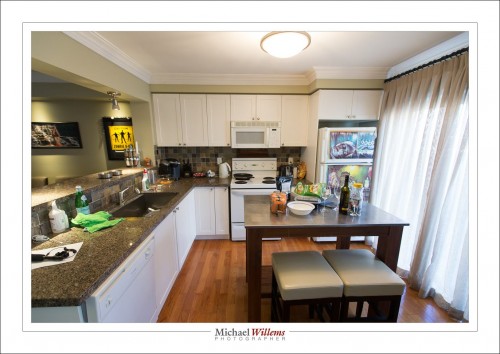
This was shot from eye level, using the wide lens you need for real estate photography:


As you see: diverging verticals and worse, a snapshot look.

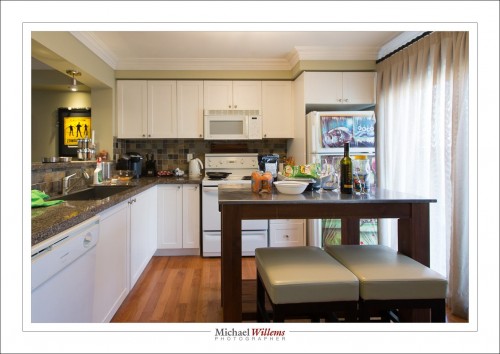
Now go down to 4-5 feet above the ground:

Much better. Be  careful that you do not look straight on to tables, and that you do not look at the bottom of kitchen cabinets, of course.

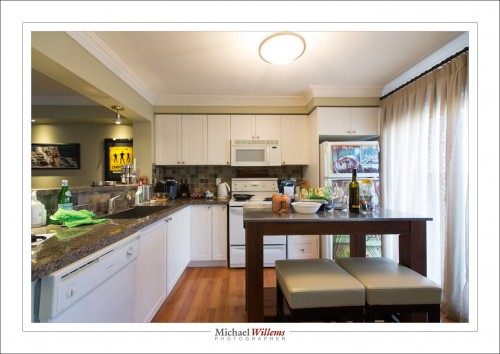
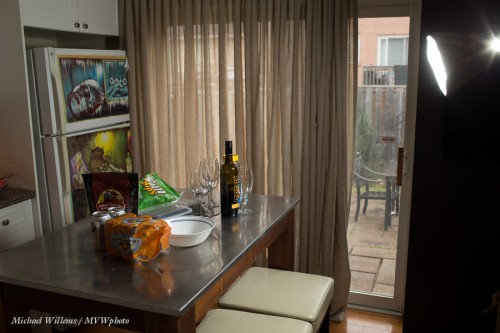
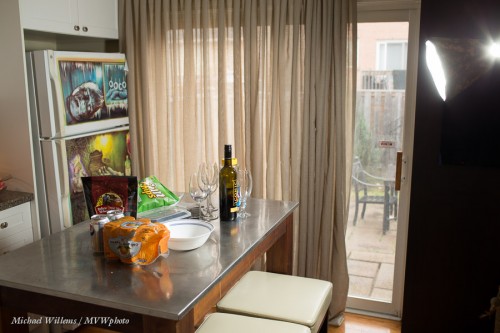
Can we go better? Sure thing. A lens needs to be wide, but not always wide all the way. The shot above is too wide. Look at that diswasher. Stretched beyond recognistion. So shoot a little less wide:

Is that perfect? No. The stools are still a little large, and the clutter is unforgivable. So this cannot be used as a real estate photo. But remove the silly yellow picture and the fridge pictures and get rid of all the clutter, and back off the chairs just a little, and it’s perfect.

And that’s just one tip for real estate photography. There’s a lot more, some other time. Or come to me for private training: it’s what I do.


Tuesday Mix

Miscellaneous notes, today.

First: a note on flash for my recent students. As you recall, flash gives you opportunity to do more. And to get the most out of the opportunities, the first question you always ask is “what should the ambient light do?”.

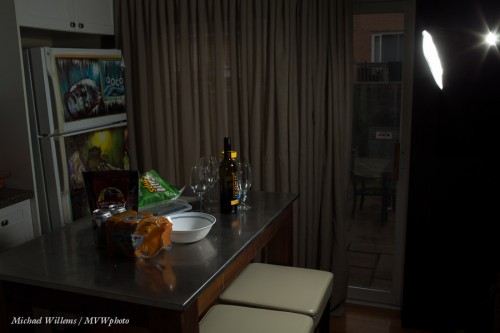
The answer can be: “nothing”. In other words, only the flash shows. This means “studio settings”, f/8, 1/125th sec, 100 ISO:

All the light is from the flash, since the settings make the ambient go away.

Or you can add some ambient light.

  • You can do that:by choosing lower f-number, or slower shutter, or higher ISO.
  • If we change the shutter speed, the flash can remain at the same power setting.
  • If however we change aperture or ISO, we also need to adjust the flash power (unless we use TTL metering, then the flash and camera take care of adjusting the flash power).

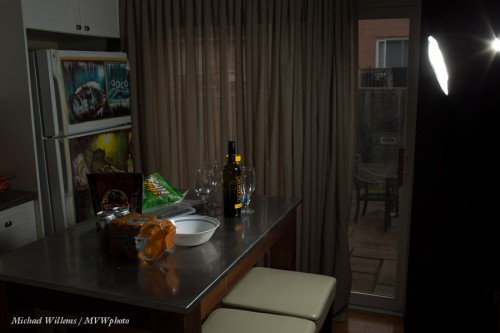
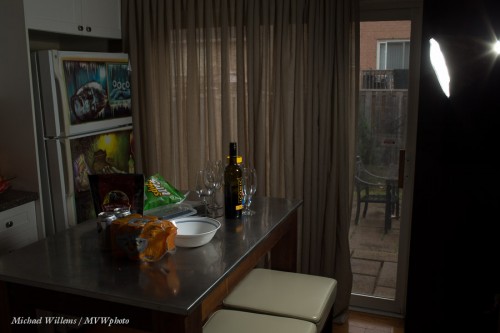
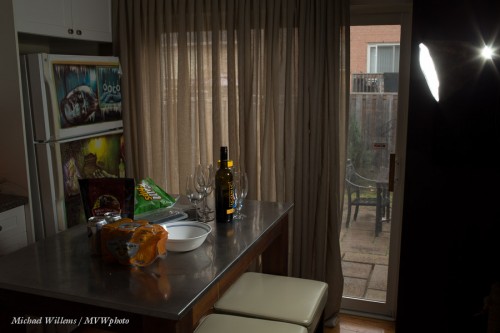
Here, a slightly slower shutter speed:

And more…

And slower still…

And even slower…

And finally:

Now, the items on the table are lit at least as much by ambient as by the flash.

And this is your job, not the camera’s: to decide what the ambient light should do. Sometimes the answer is “a lot”, sometimes “a little”, or “nothing”, but it should be a conscious decision that is always your responsibility.

Second: I shall be travelling next week in Europe, so from tomorrow until Nov 23rd, posts may well be sporadic. Internet connectivity is not easy unless you want to unlock things, buy cards and hence disable your actual phone, or pay thousands (literally) to your ripoff provider. (Ripoff Rogers – yes, corporations are great, but when they charge thousands for something that should cost pennies, they are ripoff artists and deserve all the scorn we heap on them.)

Third: I am doing a very small Lightroom tutorial on December 9 in Oakville. Lightroom makes us more productive – far more productive. But you need to know how to set it up, how to organize your files, what to do and what not to do The secrets, the tips that make your life much, much easier. I will also ask you to bring some pictures, because we will do a practical picture critique and I will show you how to finish your images and in doing so, make them into images that clients, relatives, and you will love.

For this practical hands-on workshop you need a laptop, and I will take a maximum of only four students. The course takes 4-5 hours (it depends on your questions and experience: allow 5 hours just in case) and costs $195 plus HST. If you want to be part of this unique workshop, simply pay that  amount via http://www.michaelwillems.ca/Payments.html and in the comment field, indicate which course/day.

Fourth: have you checked out my Lightroom (etc) tips videos on YouTube yet? Here’s my video channel.

And finally: what are you doing here reading? Go make some photos!


Zoom zoom zoom…

Your lens can zoom, perhaps – if it is a zoom lens. But so can your flash.

How so?

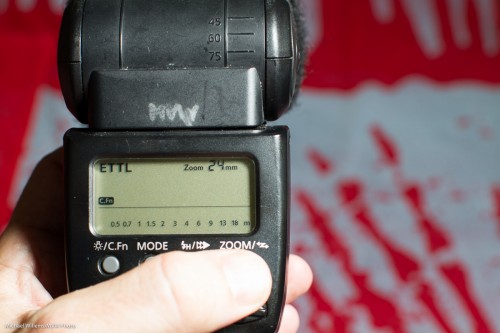
Normally, your flash zooms (an internal lens goes back and forth) to match the lens, in order to send the light to where the lens looks. Wide lens, wide beam; telephoto lens, narrow beam. On the back of your flash you see this:

“24 mm” means that a 24mm lens is connected to the camera. And the flash knows this, so it matches that.

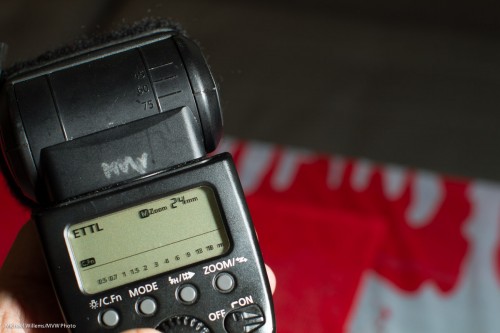
But when you press the “zoom” button at the bottom, you can manually zoom to a setting that you like. Like this:

“M zoom 24” means “manually set to a wide beam, corresponding to a 24mm lens”.

Or this:

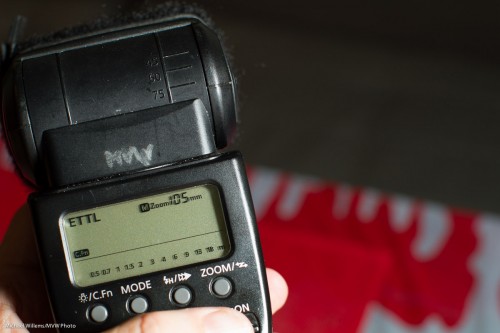
M zoom 105 means “manually zoomed to a narrow beam, corresponding to a 105mm lens”.

And when you zoom corresponding to the lens you may see something not unlike this:

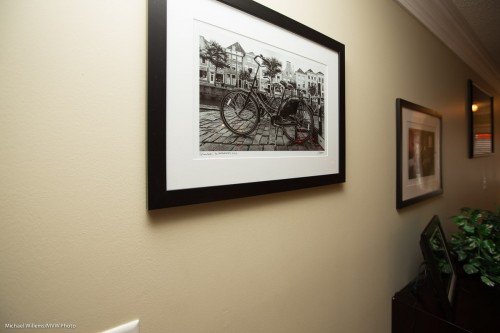
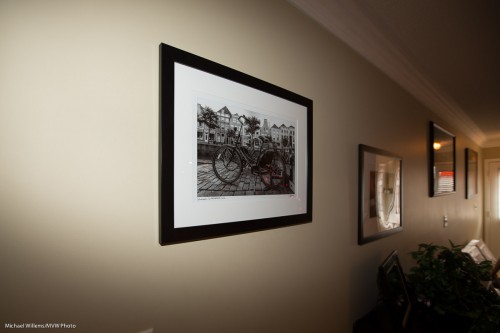
But while you zoom “narrower than the lens”, you get a narrower beam:

So, the benefits?

One: you get vignetting, if you want it.

Two, you get a more powerful beam, so your flash will be able to reach farther.

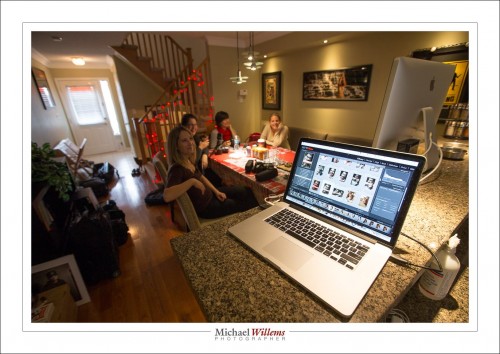
Try it today – it’s yet one more technique you need to know to really know flash. This weekend, I taught flash courses all weekend, and this is the kind of technique I taught. Here’s part of today’s students:

More flash courses coming, including some in The Netherlands later this week. Fun!