This morning, I ran an outdoors workshop in Toronto, for US-based Digital Photo Academy. And I took some snaps, although I was not there to shoot. (I think I was there to melt: it was 30ºC and 95% Relative Humidity).
So anyway: let’s look at a few of the compositional principles I used.
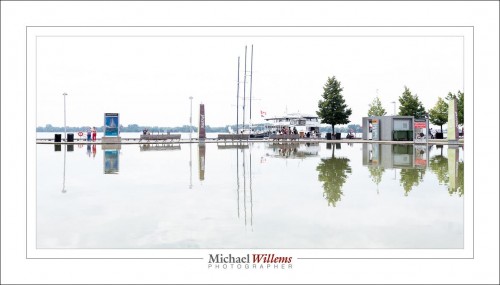
Reflections…
What was it that struck me in the image above?? The perfect symmetry. Flat water, clear reflections. And white sky (and hence water). Learn to spot reflections–just in case. This is a case where you do put things in the middle, rather than using the Rule of Thirds.
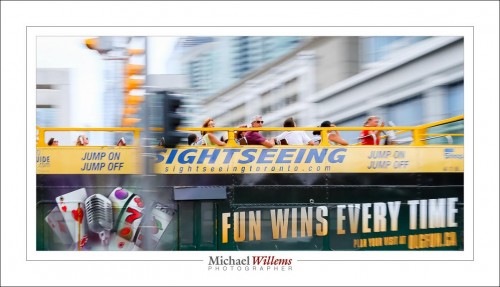
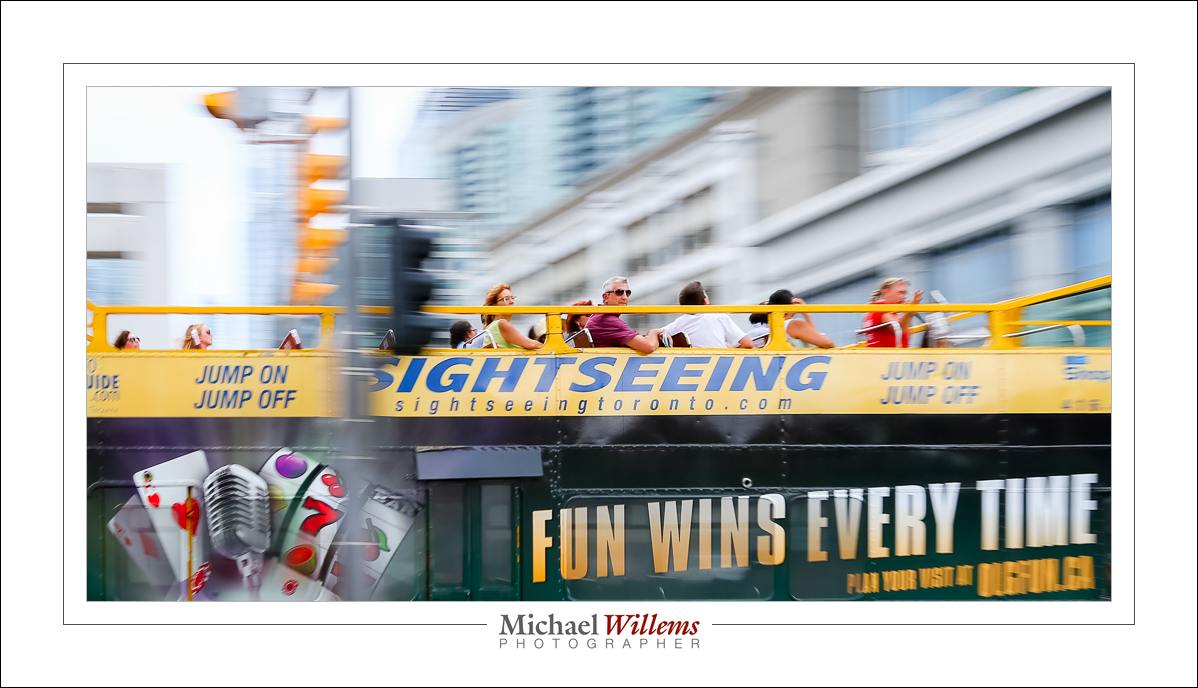
Sightseeing in motion.
Above: Motion. I “panned” with the bus, i.e. I moved my lens with the bus, at 1/30 second. That way, the passengers are sharp, while the background is streaked in the direction I moved my lens (left-right).
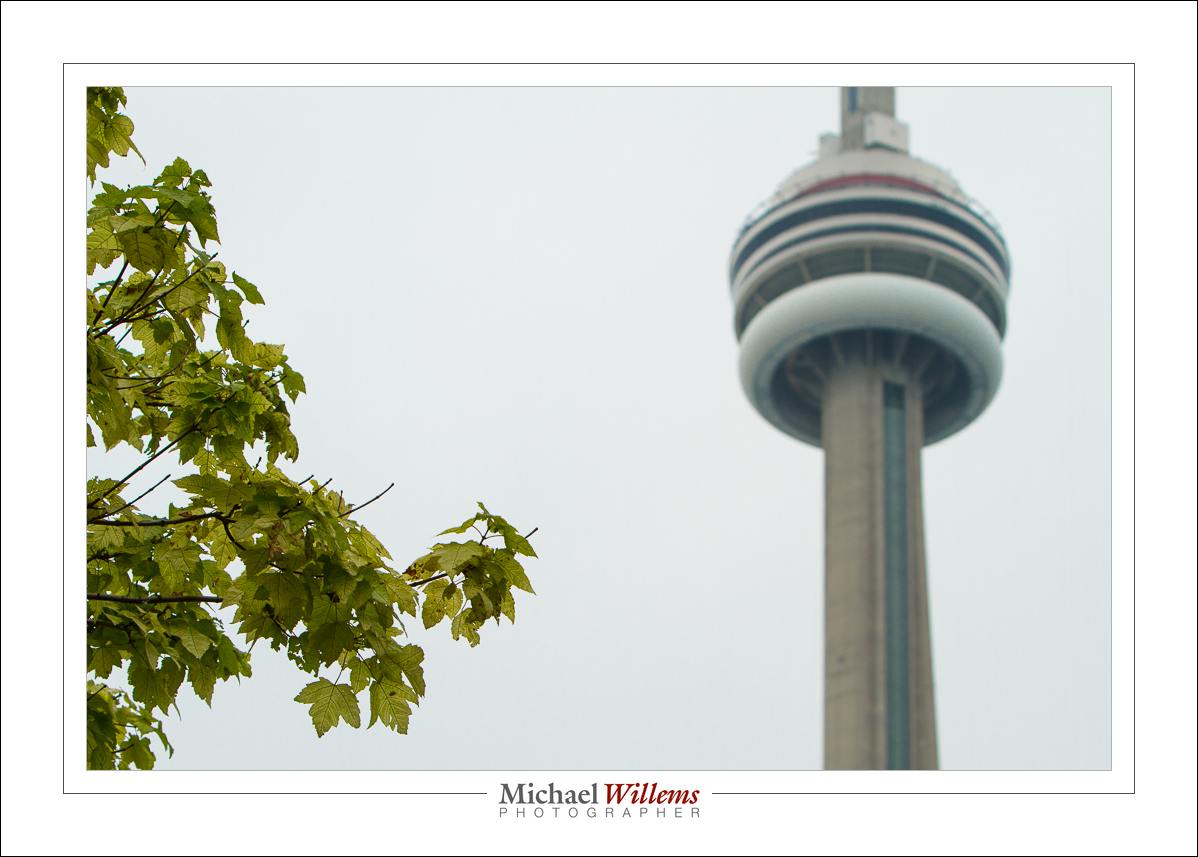
Next, this photo of a certain well-known tower:

Colour coordination
…which is a good example of framing. I am using the buildings and the tree to frame the CN tower. So it’ll go to prison for a murder it didn’t commi…. oh never mind.
Next, some words.
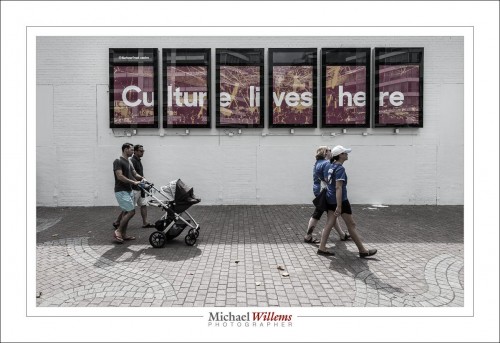
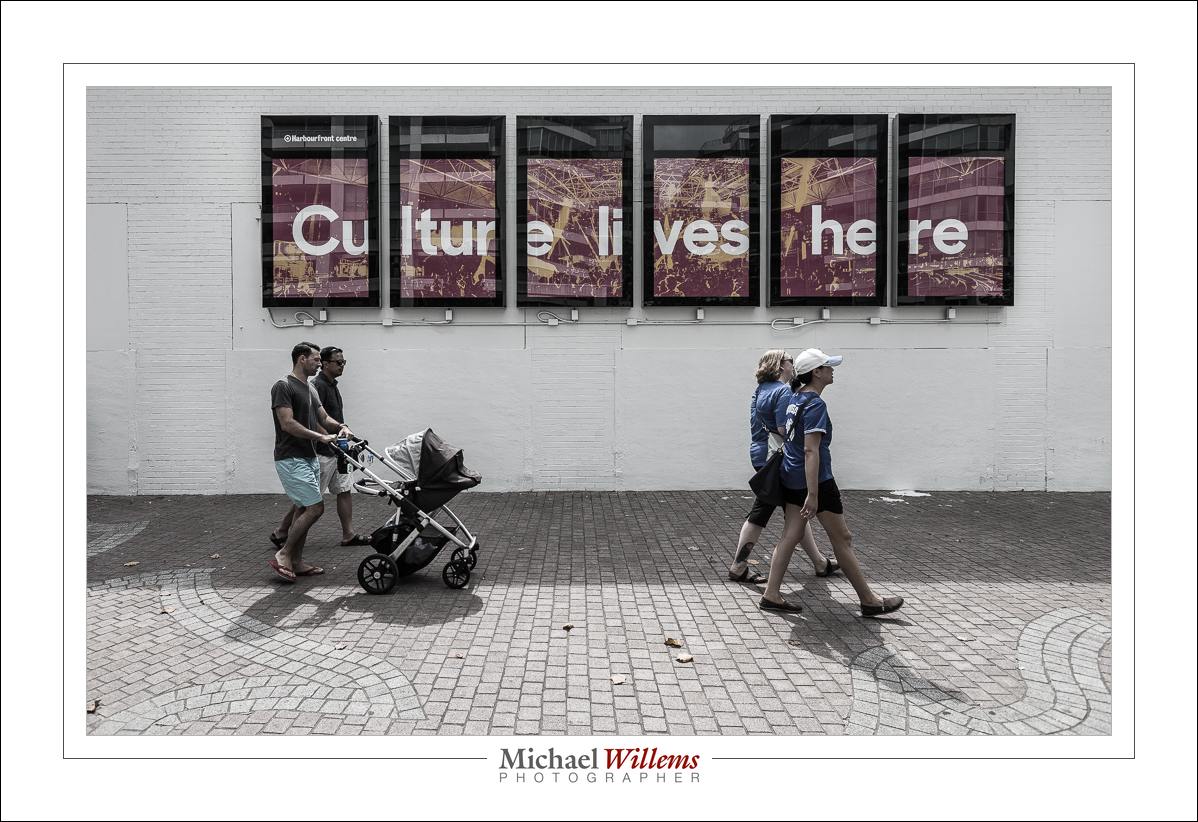
Culture, and progressive values.
People in front of signs are interesting when the words mean something. Culture. And is that two men pushing the baby–stroller? Questions are good. rather than spoon-feeding your audience, make them work out what’s happening, You can spoon-feed babies, instead.
Now to bigger matters:
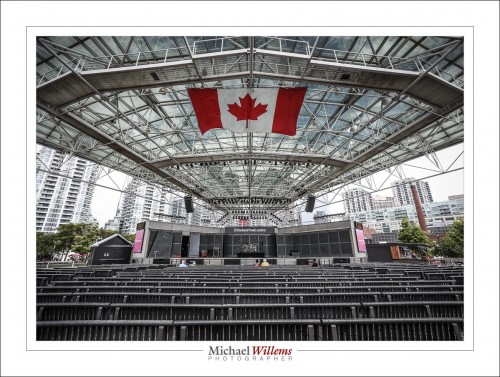
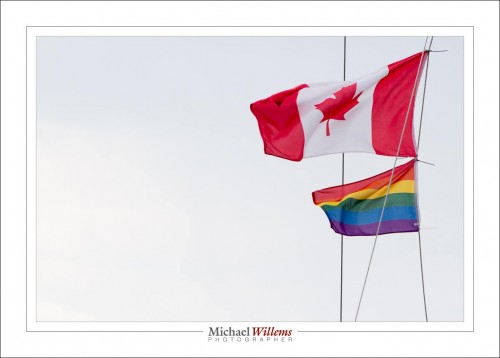
“Exit Stage Left”. Waterfront
Great stage, especially when seen through a 16m lens (on a full frame camera). Sharpness, symmetry, and the Maple Leaf flag.

CN Tower.
In that picture, we see a blurred CN tower—but only blurred a little. The framing tree is sharp. And above all else, we see… simplicity. A golden rule of good photography:simplify, simplify, simplify, simplify, and simplify.
The same applies to this:
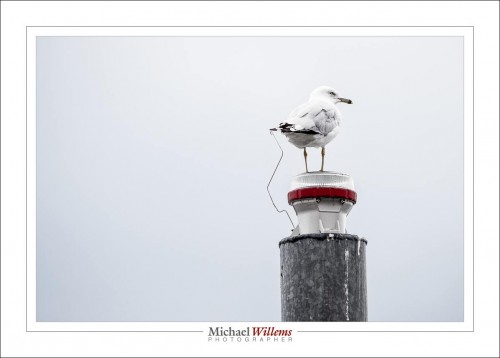
Master of its domain!
And I presume you see the Rule of Thirds being applied there too. As well as in this picture:
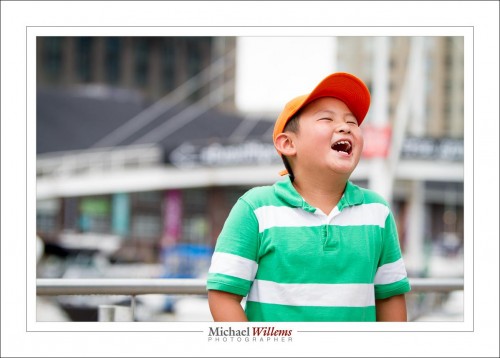
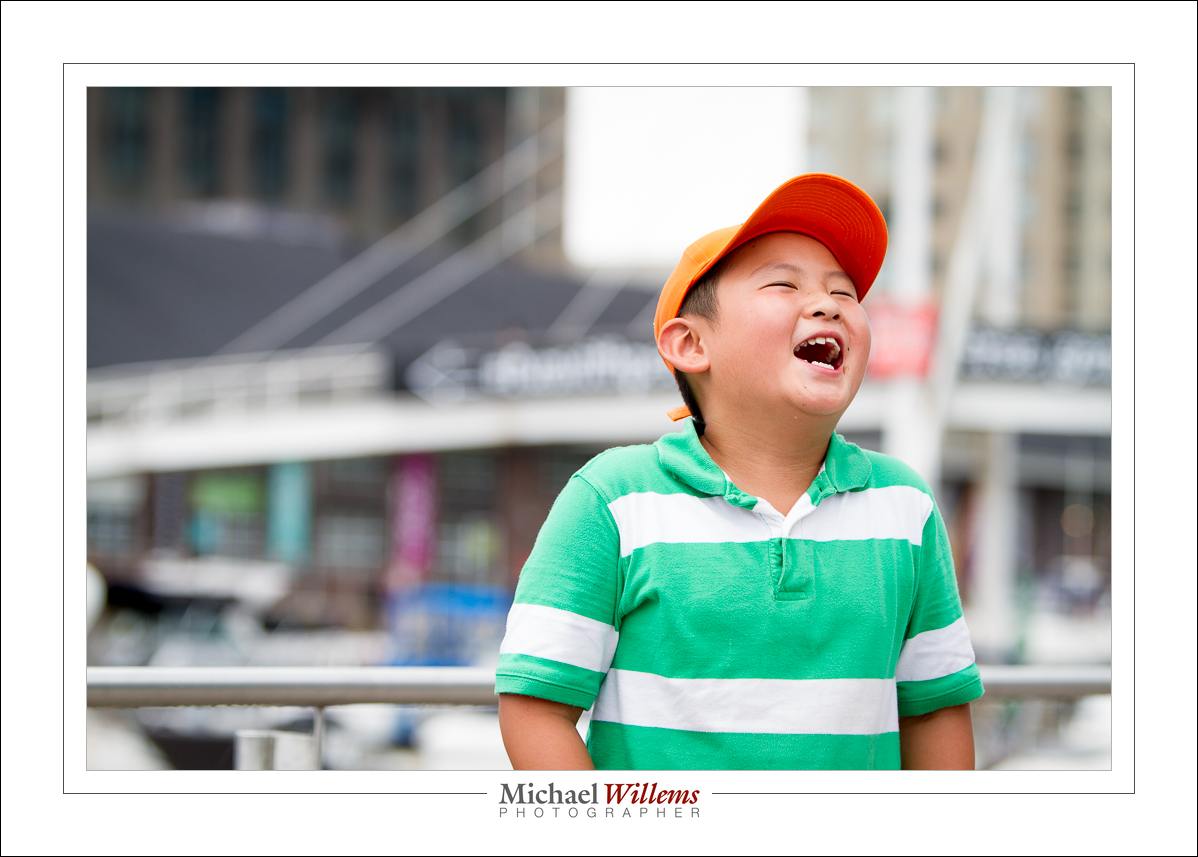
Fun and joy.
And that picture is, of course, all about the Right Moment. And about another rule: “If It Smiles, Shoot It”.
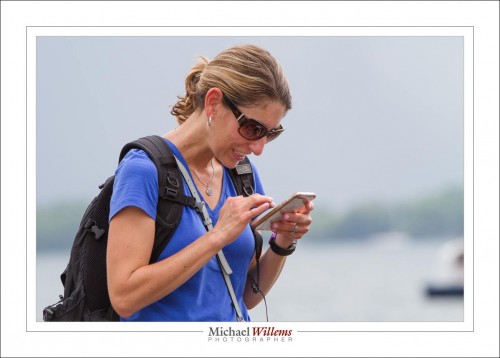
People and their devices.
A snap of a person wrapped up in her iPhone.

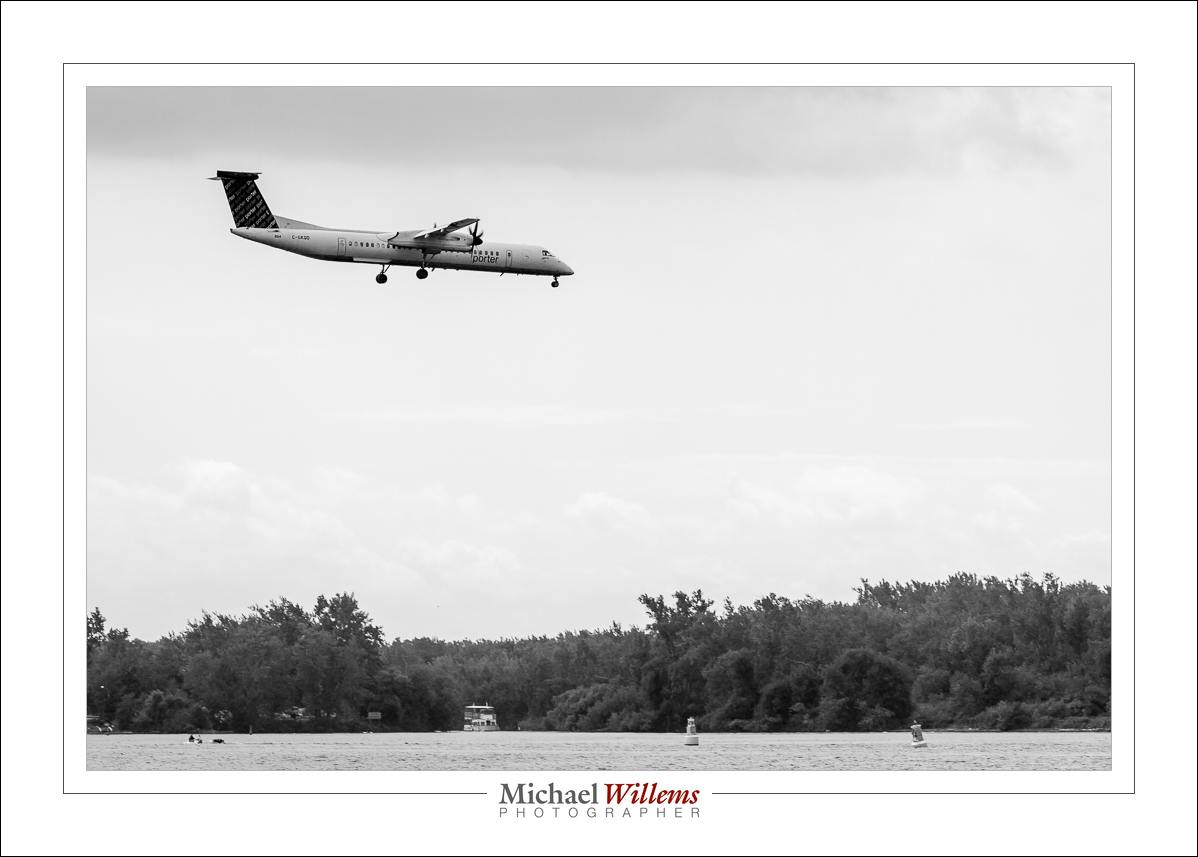
Porter on (Very) Short Final.
An airplane photo. Because why not.
And then, back to progressiveness:
A progressive city, eh.
Toronto really is a very progressive city. (Though now, with a career politician at the helm, I wonder).
What I need not wonder about was today’s weather. 30ºC, and 95% Relative Humidity, interspersed with frequent heavy downpours, and air that looked like it was trying to start to rotate. Those clouds looked dangerous:
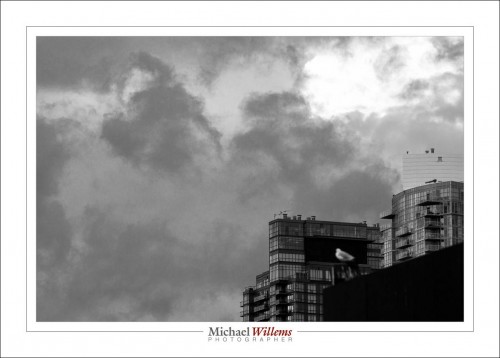
Dark Skies. Incipient Rotation.
What was I using there? Clear subject, simplicity, Rule of Thirds.
Do some of your own now. And think, consciously, about the principles and techniques you can use. Your pictures will be better for it. Take one of my courses if you need to learn. The good news, “it’s all just technique” and “it’s all simple to learn”.
Have fun!
Take a look at my e-books: