I don’t often desaturate, but when I do…

I do it properly. During a portrait session with a client just now, I also did a few “desat” portraits. Because why not!

20160624-1DX_8700-1024-2

Also black and white and “standard linkedin” colour. And high-key (without jacket) as well as standard. What I mean is this: when you do portraits, do them well, so you are seen as not “Uncle Bob”.


Summer is (almost) here

And with that, go outside and bring your flash!

You can learn from me this coming Monday, in Burlington. It promises to be great weather. Or you can learn in Brantford on Sunday, even earlier.

Either way: learn how to use a flash in outside light. To do that, buy my flash book, come to these courses, and in all cases, start here:

  • Manual
  • 100 ISO
  • 1/250 sec (or 1/200)
  • f/8

Then check background, and adjust only aperture. If flash is not bright enough, turn up power, remove modifiers, or bring it closer.

And have fun.

Here’s an example of outdoors on a sunny day:

20120419-MVW_0527-1024

Benefits: You get no annoying sunlight, and you avoid those horrible overexposed backgrounds. And you can direct the light. Control is everything!


Don’t Fear High ISO’s

Last night I shot a kickboxing tournament in Vaughan, Ontario. So the food was all Italian, and I must say, rather good. As was the wine. I used a flash of course; bounced behind me, as usual. A few samples:

20160408-1DX_7469-1024

20160408-1DX_7510-1024

20160408-1DX_7507-1024

But I chose to set my camera to 3200 ISO. For three reasons:

  1. The first thought when doing flash is about the non-flash, ambient part of your photo. That means 1/250 sec, 3200 ISO, f/2.8 on a 70-200mm lens.
  2. The flash was bouncing against a very high ballroom ceiling. That works fine but needs a high ISO.
  3. I needed a fairly fast shutter speed to freeze motion a little.

That’s why. You see the logic? And as you look at those shots, I hope you realize that high ISOs are nothing to be afraid of.

A well exposed photo at high ISO is always better than an underexposed shot at low ISO, remember that! 

POSTSCRIPT: I shot these from my seat at the dinner table. Not wanting to get in the way of the hired pros. And wanting to enjoy my dinner.

Tip: I am available for private training, as most of you know, whether local or worldwide using Google Hangouts. And if you want to start by doing it yourself, get my e-books from http://learning.photography.


Crisp!

If you like crisp, sharp, punchy photos, you may want to do a few things…

16000739203_fbb406ebd8_o

  1. Use a flash.
  2. Use a prime lens.
  3. Use a tripod; or hold your camera formly.
  4. Use a fast shutter speed.
  5. Expose to the right: i.e. expose brightly, just shy of overexposing.
  6. Use a high contrast scene, like the one above.
  7. make sure your subject is the bright pixels.

If you do the above, you’ll see much sharper images than you are used to.


The light, the whole light, and nothing but the light.

Often, the key to creative photography is to add light where you want it. And nowhere else. And ma ny people forget that added qualifier.

Take this, student Alonzo lit with a single flash through an umbrella. And umbrella spreads light widely, which is in fact one of its benefits:

20160229-MW5D6826-1024

Now let’s use a single flash, unmodified, aimed at him from the right:

20160229-MW5D6822-1024

But now let’s put a grid on that flash:

20160229-MW5D6824-1024

It is the difference between the second and third photo in particular that I would like you to look at.

In the second photo, ambient light is still at zero (use the studio setting, see my books). But the flash itself creates light everywhere. In photo three, that is restricted: the flash only sends light where I want it to. Not everywhere else.

I use the Honl Photo modifiers. If you like them, follow this link and use code word “Willems” upon checkout to get an additional 10% off. I used a 1/4″ grid for that last photo. My favourite flash modifier, that grid!


Express.

Portraiture is one of the most rewarding types of photography, why? For a few reasons. One, people mean more to us than things. Two, its ability for a picture to tell a thousand words, to be subtle, to infer. It does that more, in my opinion, than macro, landscapes, or most other types of photography. Stones and trees are stones and trees. Nothing against them. But people are more expressive. The human face has more muscles, more ways of expression mood, than anything else in the known universe. That’s why.

Like here:

20160213-MW5D6506-1024

Or like this:

20160213-MW5D6599-1024

Or this:

20160213-MW5D6614-1024

Or these:

20160214-MW5D6692-1024

20160214-MW5D6694-1024

20160214-MW5D6693-1024

Can you name all the moods in those pictures?

And in a technical sense, can you see how I used monochrome to reduce the images to the essence? And how, in the last three, I use selective depth of field to emphasize my subject? Those were all made at around f/1.4 using an 85mm prime lens. If you want to be a portrait photographer, I recommend you get a fast (low f-number) prime (fixed) lens. Nothing like it!

  • Shoot: Feb 13/14, 2016
  • Model: Kim Gorenko
  • Make-Up: Janice West
  • Photo: Michael Willems

Why a MUA is needed.

[a repeat from 2014]:

I generally recommend doing things only if they need to be done. And one of those things is a make-up artist (a “MUA”). You can be pretty sure that TV producers, for example, would not use make up artists if they were not necessary. But they are.

Witness this “before” and “after”:

Make up artists do not just fix blemishes. They also shape the face so it is suitable for the shoot. Here’s MUA Melissa Telisman doing her thing:

And here’s what that results in:

Glamour and perfection without “photoshopping”, which I am not a fan of. But make-up is not just for glamour; not at all. I recommend a MUA and a hair stylist for corporate shoots, too, especially—but not only—if women are involved. If TV shows do it, you can be sure it is necessary, and not a luxury.

Incidentally: do we need the entire person in every shot?

Decidedly no. You get a much more intimate feeling when you do an extreme close-up (an ECU, in movie terms). Try it; experiment in your next shoot and do some shots like the one above. You’ll love them.


Options

A recent encounter with a photographer leads me to re-iterate my message here: technical prowess can help expand your available options.

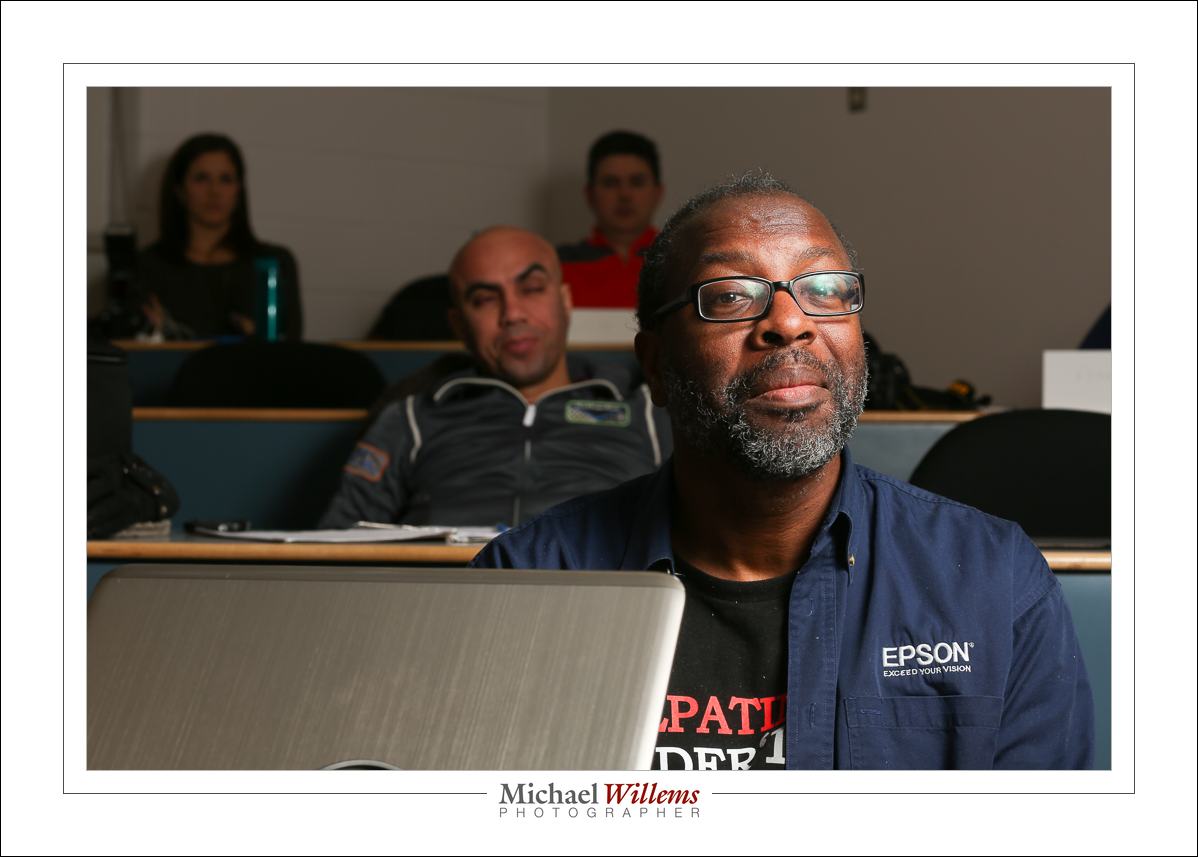
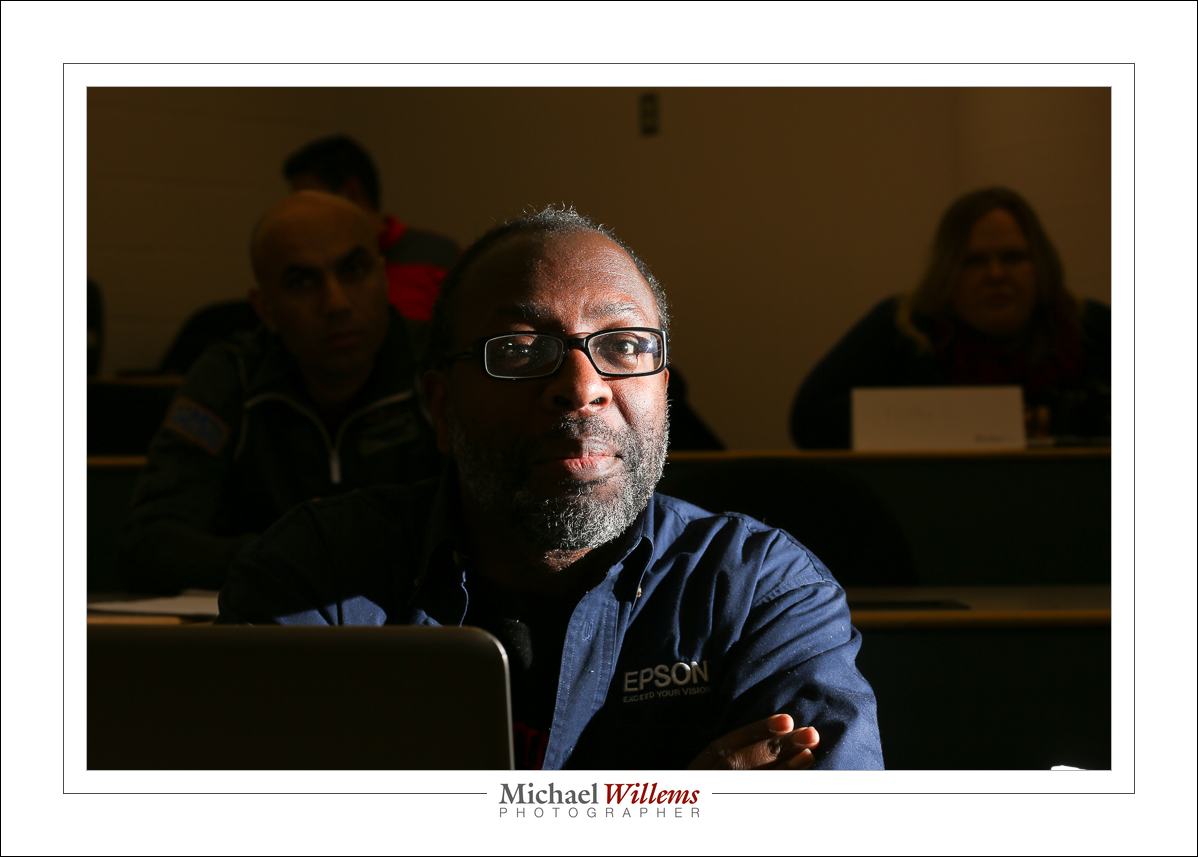
One of those is the use of light. Getting creative can involve any kind of light. Not just “available”, not just “Flash”, not just any type.All types. Why restrict yourself?

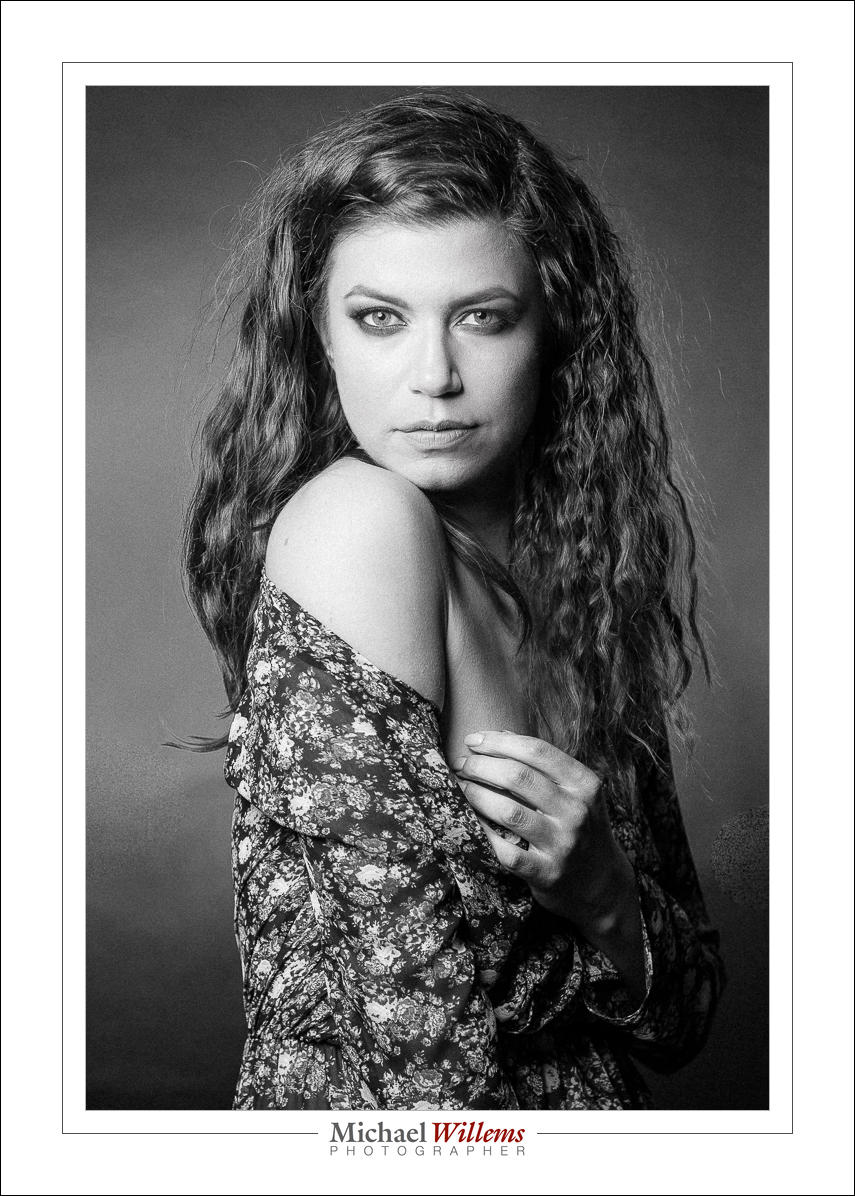
Take a portrait in a sunflower field. a “natural light only” photographer can do this:

20140807-MW7_8535-900

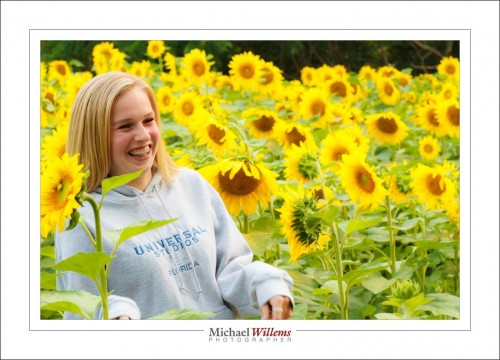
Nice. But I prefer for my subject to be the “bright pixels”, because 0f Willems’s dictum that:

Bright Pixels Are Sharp Pixels.

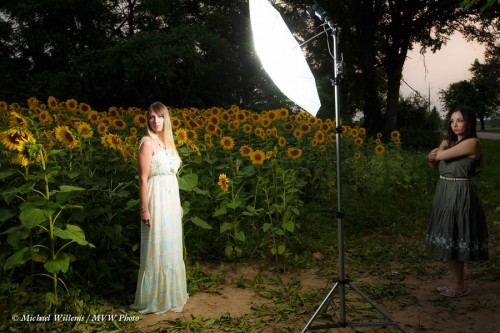
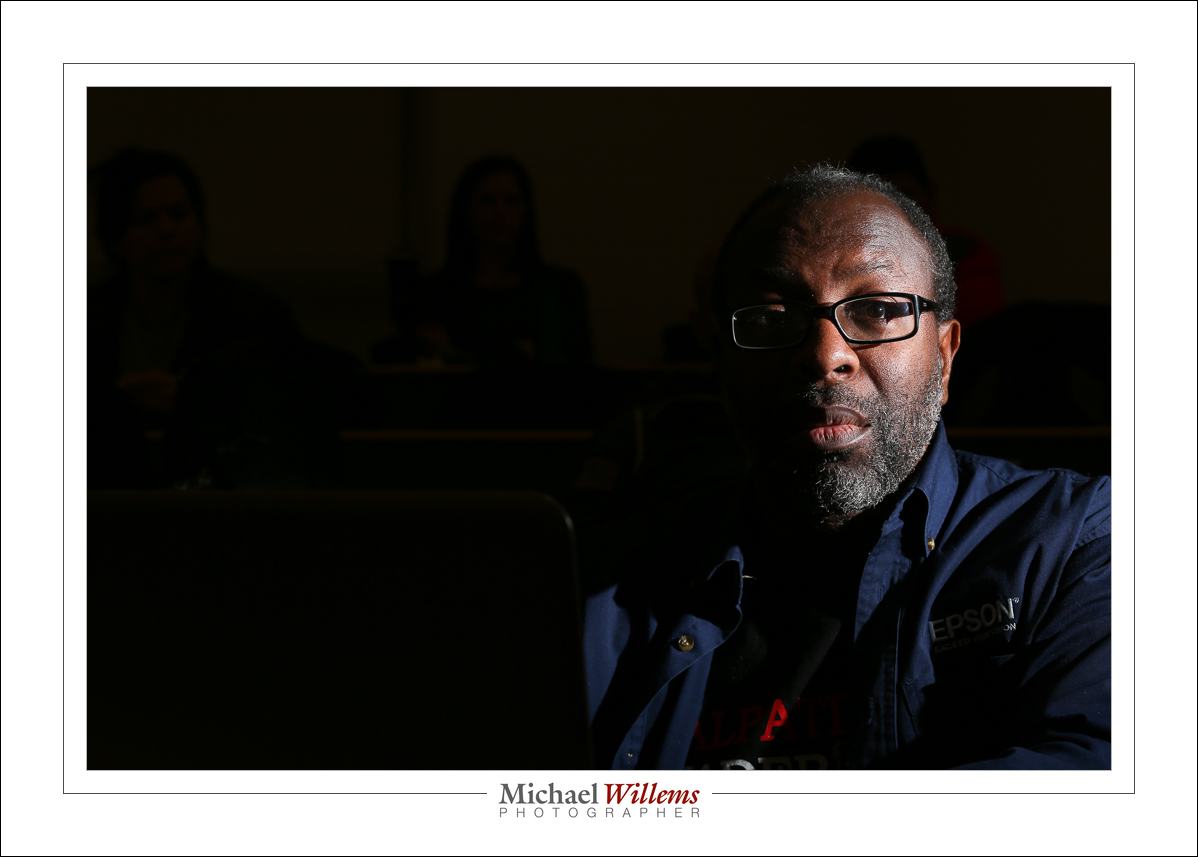
So I, an “everything” photographer, can do the above, but I can also do this:

20140807-MW7_8533-900

Which one do you prefer? The point is not that one is better. The point is that with flash added, you have a wide range of opportunities.

The above shot was made with nothing more than my camera and my usual portable umbrella outfit:

20140807-MVWX8477 (1)


By the way: My Dutch Master Class® courses teach you how to do this; how to think about flash; you learn the Three Essential Recipes: you get everything you need to get your vision into your work.

Long.

Portrait lenses, anyone?

“The closer you are, the bigger the nose will be”. So a wide angle lens, which needs you to be close, gives you distorted portraits.  On the other hand, an infinitely long lens (say, a 1,000,000mm lens) will give you zero distortion.

Time for examples.

20mm:

100MM

Can you see that the wider 20mm lens, which needs you to be closer to the subject, distorts that subject more? While a longer 100mm lens makes the image look more neutral. In fact, the longer the lens, the less the distortion.

My favourite headshot lens is my 70-200mm f/2.8 lens. For half/full body fashion shoots, it is the 85mm f/1.2 lens.

Fur full body only shoots? 50mm, maybe.

Anything environmental? Wider. Maybe 35, 24, or even 16 or even 10mm. Enjoy!


It is December, and I hope you will be taking pictures over the holidays. Pictures, no doubt, like this one I took of a friend a Christmas or two ago:


It occurs to me that I am not the only one doing some photography. Hence, a few tips for you for the parties of the next few days.

  1. Make sure your camera and flash batteries are fully charged, and that you have spares.
  2. Ensure that you have a formatted memory card in the camera.
  3. For “party shots”, you may want a lens in the, roughly, 35mm focal length range, or 24mm on a crop camera.
  4. Put the flash on the camera and aim it upward behind you, if you can find a white or white-ish wall or ceiling.
  5. Use the “Willems 400-40-4 rule” as your starting point setting. That gives you a warmer, slightly dark background, as in the photo above.
  6. Adjust the ambient/background part of your photo as needed:
    • If the background is too dark, go to 800 ISO and 1/40 second or 1600 ISO and 1/40 second.
    • If the background is too bright, go to 400 ISO and 1/80 second or 400 ISO and 1/160 second.
  7. Adjust the flash part of your photo as needed:
    • If the flash part is too bright, use “Flash Exposure Compensation” to decrease the flash power.
    • If the flash part is too dark (eg because ceilings are dark or high), go to 800 ISO and 1/80 second, or even 1600 ISO and 1/160 second. You may also need to use use “Flash Exposure Compensation”.

Do these simple things and you will get good pictures, better than ever. And I am telling you this now so you have two days to practice. Enjoy. And: Happy Holidays.