Mind to sensor

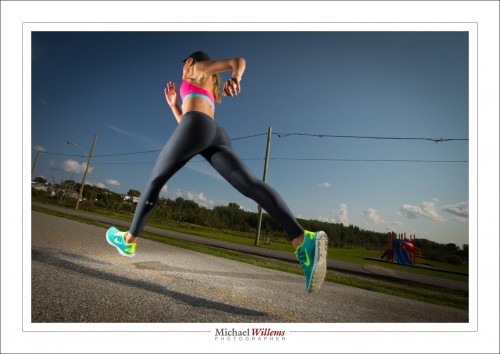
So the day yesterday in Timmins I had the following shot firmly in mind:

But that was mind only. I needed a setting – friends and students Aurele and Lisa came up with the perfect location for what I had in mind, and Savannah, the model, had a jogging outfit, and is a runner. Serendipity!

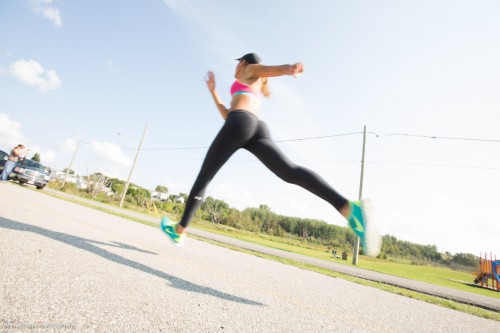
So now the shot. If I were to get low to the ground, use my widest lens, and use available light, I would get this (this was my composition test shot):

So then I go to work.

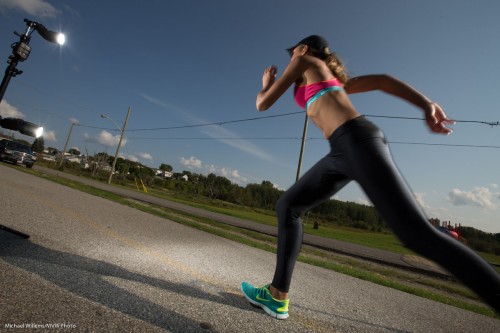
To get the saturated look I like, I want to darken the background, ambient, light by two stops. I start at the usual sunny day settings of 1/250th sec at 100 ISO. That gives me f/11. So that makes me use two speedlights direct on front of the model and one behind; all set to half power. One light gives me f/8, so two lights around f/11. See the two flashes on the left:

One on a light stand, one attached lower to the same light stand with a clamp. Used at half power, while I perhaps would have preferred quarter power (they are Nikon flashes, so will overheat) – but half power is better than full power.

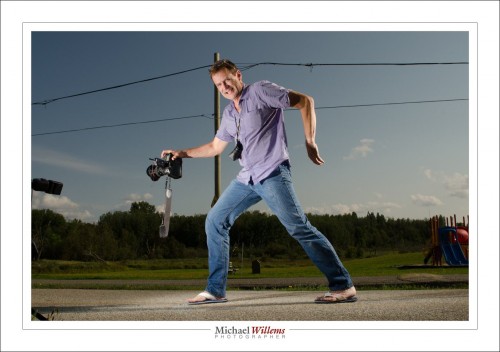
Now, walking like an Egyptian, I explain the idea to my students:

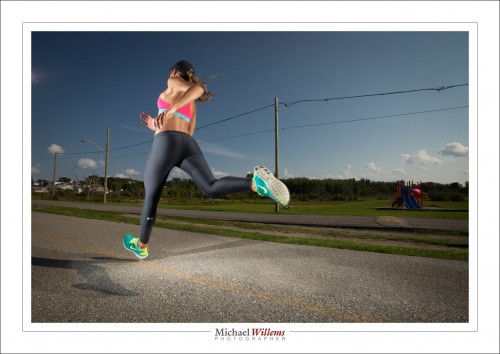
And there we have it – now all I needed to do is agree on the spot; prefocus (so there’s no delays); and shoot. That took a few attempts, but not many: out of seven tries, two were perfect. Here’s the second of those:

Post work consisted merely of removing a few unwanted shadows and background objects, and I had the exact shot I had in mind. And my students did too, and they learned the process, and they fully got it. It’s nice when it all comes together.

 

Zoom zoom zoom

Zoom in your flash when you need more power!

When, for instance, I use a 35m lens and I leave the flash alone, it would light up the entire pictrure.

But if I am short of power? Then I might zoom in the flash manually, to get a more concentrated beam. If I set my flash to 105mm, while leaving the lens at 35mm, it sends the light only to the centre:

And that gives me more light. Which I needed Sunday on the photo walk. Example:

Of course I aimed it down a little, too, there.

So I can use this “extra zoom” setting for two reasons:

  1. To get vignetting
  2. To get more power

Simple, really, innit?


Pan pan pan

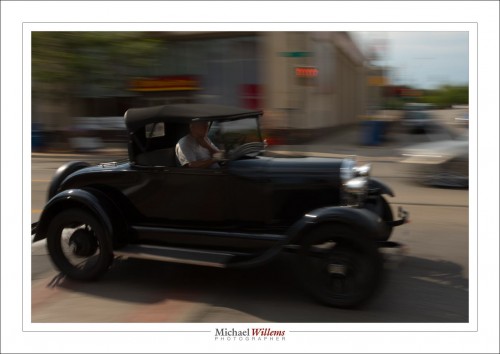
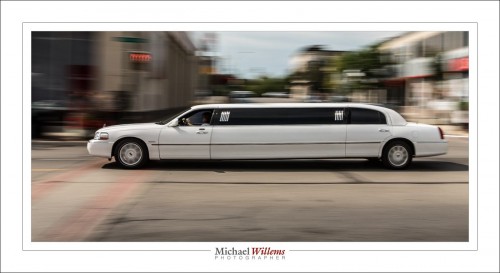
No, not a non-urgent request for help from an aircraft. Not that kind of pan. I am talking about this kind of panning: moving along with the subject while using a slow shutter speed:

You do this as follows:

  1. Set your camera to the lowest ISO
  2. Set your shutter speed to, say, 1/20th second
  3. Fine whatever aperture matches this for a good exposure. You can use aperture mode, but I prefer manual mode. On a sunny day, you may need to cut light – if so, you can use a polarizing filter or a neutral density filter.
  4. Aim where the vehicle will be when you shoot (in front of you) and focus there. Now set focus to manual (i.e. you have now preset the focus for the right distance: that way, no time is wasted by the camera trying to focus).
  5. Wait for the car, and start tracking it before it gets to you. Moving smoothly now, shoot when the car is in front of you.

It’s really not difficult.

And you can see that the traffic lights in Canada work at 120Hz. How? I shoot at 1/20th second, and that gives me six little red men. 20×6 = 120, i.e. the red light is not continuous, but flashes on 120 times a second. (Can you tell I am an electrical engineer by training?) … Bonus question: approximately how fast is the car traveling?

TLC

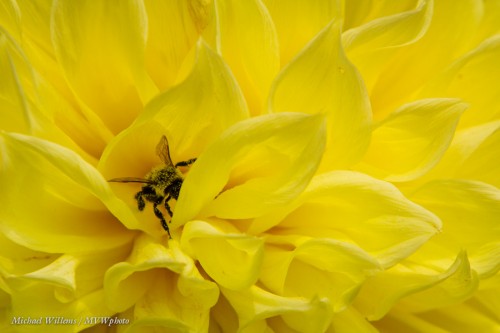
Macro pictures need a little TLC. This long-lens picture from Sunday’s photo walk: just a little cropped, but otherwise as shot. Student Jackie found the bumblebee: for bugs you need to either be serendipitous or be patient. And you need to observe well. Jackie did both, and I took the picture too:

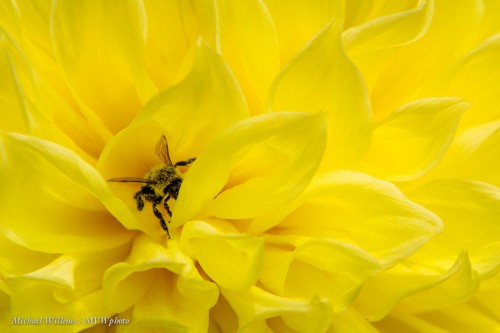
Now with some TLC:

Look at them full sized and you will see many small blemishes and imperfections – yes, flowers have them too – and in picture 2 you will see I have removed them. I also brightened it a little. See the difference?

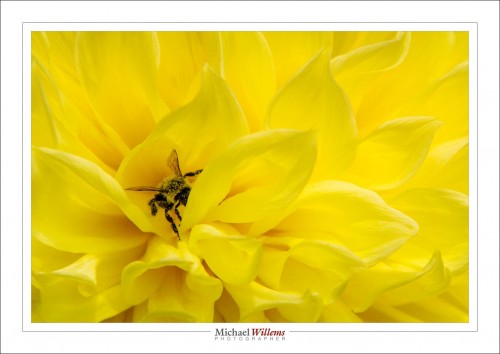
And then here it is with a little frame around the image:

You will notice also that the picture is simple. Simplifying your pictures is the single most important way to make them more “professional”. That, and using the Rule of Thirds: the insect is not where Uncle Fred would put it (that would be in the centre).


Reader Question

A reader asks:

Hi Michael. I attended your photography talk at Bare Oaks during the FCN festival, and read both of your books. Now I want to get some flash equipment.

I went to [large photo retailer in Ottawa] looking for a good deal. But they said if I wanted a flash I could trigger wirelessly with my Canon T4i, I had to get at least a CANON SPEEDLITE 600EX-RT, currently selling for $499. That’s considerably more than I was expecting to pay, and at odds with your statement that this equipment was inexpensive. Is there something more affordable I can get? Can you recommend a good starting flash kit?

Sure! Yes, I held a talk about photography, and yes I said that, and yes I was right.

The 600EX flash can be a “sender” (telling other flashes what to do, the “master flash”) and a “receiver”: the flash, off-camera, that does what it is told (the “slave flash”).

The cheaper 430EX can be only a slave. There is an even cheaper flash that can also be a slave, the 320EX. Both of these can be used because the T4i can use its pop-up flash as the “master flash”. Problem solved!

One thing to keep in mind: there should be an optical path between the pop-up flash on the camera and the slave flash or flashes. And outdoors, you may find the pop-up is not always powerful enough, But it saves you hundreds of dollars, so you may want to live with that!

Photo retailers do not always know, or they may want to just sell you the higher priced item. My friends at Vistek and in Henry’s Oakville and Mississauga stores do not do this, but elsewhere – well, be prepared with knowledge (and feel free to ask me).


Learn Focal Lengths

One thing that good photographers know is  “what focal lengths do”. There is such as thing as “the right focal length for a picture”, or perhaps better, “the right types of picture for a given focal length”. And a good photographer knows these. The pictures tend to then fall into place.

We all know – I hope – that you do not do a headshot with a 16mm lens. And we all know that landscapes and travel do like that focal length.

But in general, what is appropriate?

It depends. On you and your taste. But there’s often a good range. Look at the following examples – and keep in mind, the lengths I mention are for a full frame camera. If you have a crop camera, divide by 1.5/1.6. So a 35mm lens in my examples would need you to use a 24mm lens on a crop camera.

With that in mind, let’s look at some portraits.

35mm:

50mm:

65mm:

85mm:

200mm:

Are you beginning to see patterns? Develop your own preferences and “usual lenses” – they probably will not vary much from mine – and you will be much quicker deciding how to shoot what. A prime lens is a great way to learn, by the way. It’s why we love primes.


Team

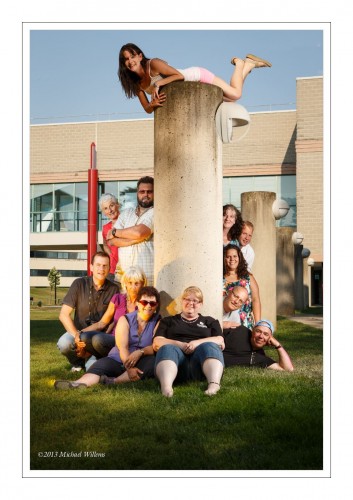
Now that I am good and back from the Niagara School of Imaging (NSI), here’s the team picture we made the other day:

Again, I had a great team of students. NSI, held every third week of August, is invigorating.

Exposing the background well (i.e. not overexposing it; rather, underexposing it a little) gives us saturated colours, and any picture with saturated red, green and blue will look good. Then I lit the team with a softbox, and added splashes of colour with gelled speedlights. I used the 10 second self timer, of course. Flashes were fired with a pocketwizard.

Sunday afternoon, the Oakville Photo Walk. Monday, off to Timmins for a few days, for a little private training and shooting etc.


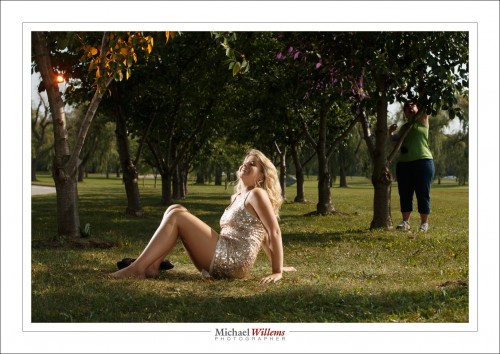
Pullback

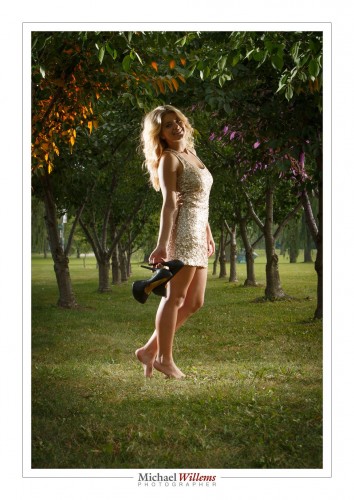
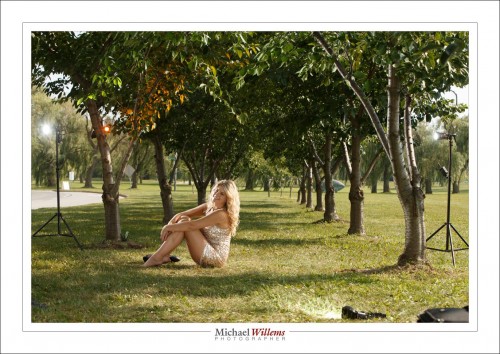
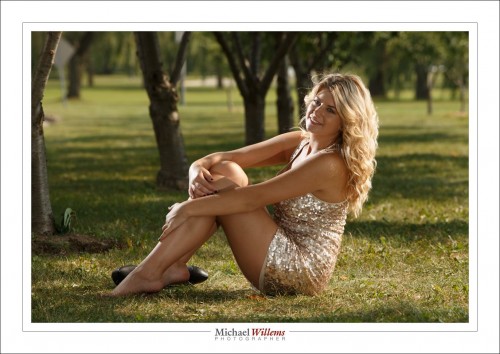
I have advised you here again and again to do a pullback shot every time you shoot. Like for yesterday’s picture:

Here’s how I set it up:

As follows:

  1. One flash direct, on a light stand camera left, just behind model aiming at her.
  2. One flash direct, on a light stand camera right, just behind model aiming at her.
  3. One flash direct by my legs, on the ground, aiming at model
  4. One flash in tree left, clamped, with Egg Yolk Yellow Honl Photo gel
  5. One flash in tree right, clamped, with purple Honl Photo gel

Yes, that purple flash is there – here’s Lori fixing it:

The point is that I would have forgotten the setup quickly if I had not had this pullback shot. With five speedlights, forgetting what was where is easy!


That long look

As you all know, there are three ways to get “blurry backgrounds”:

  1. Large aperture (“low f-number”).
  2. Get close.
  3. Use a long lens focal length (“zoom in”).

The first one is the one everyone thinks about – but the last one has a very recognizable look. Like this, yesterday, at 190mm at f/8:

Compare that look and that background blur with this, taken at 70mm:

Both nice, but the first one (viewed full size) has that distinct “long look”, and the background is blurrier. Reason I like the 70-200mm lens for fashion shoots if I have enough space!

___

Want to learn this? There are a couple of spots still open on my Oakville Photo walk, this coming Sunday from 1-5pm. Go to www.cameratraining.ca/Schedule.html and follow the BOOK link.

Light

My ex colleague Rob Corrado and I were talking yesterday, and we concluded that light is the distinguishing factor between pros and “Uncle Fred” (UF). And that is surely true: UF does not understand light.

But you do!

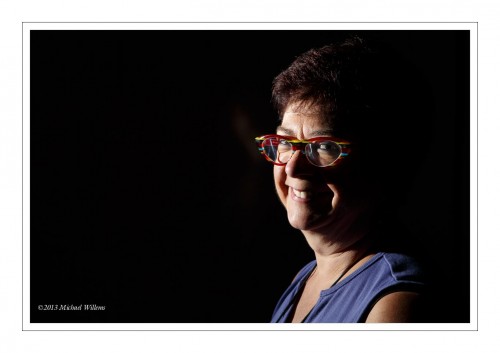
And it starts with taking away light. My tip for today: start with nothing. Then add light where you want it (ambient, or flash). As in the student picture from yesterday.

More later.