An important law

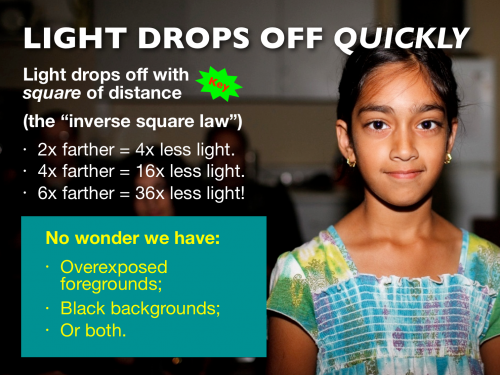
The “inverse square law”, passed by the Ontario government in 1988 as part of bill 42-C sub… no never mind. It is a law of nature:

And that is why forward flash from your camera gives you those bad black backgrounds (not even mentioning the shadows, the oily skin, the deer-in-the-headlights look, and so on).

This inverse square rule should be part of your photographic DNA, if is isn’t yet. Move a flash closer, and it can have more power. And vice versa.

But this law is sometimes understood incorrectly. It applies to distance between light source and object. NOT distance between object and photographer.

Find that hard to understand?

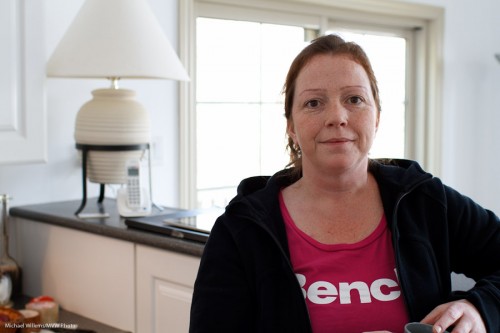
Then consider this: does a pale person turn into a dark-skinned person when you move back? Does a black-skinned person turn Caucasian when you approach? No. They turn into, respectively, smaller and larger persons (so the rule that fewer photons reach you does hold), not into darker or lighter persons.

My all-new flash course runs at 2pm in Hamilton: two and a half hours to go. I had better pack!


Humdrum to competent in easy steps

One thing I teach photographers in my flash courses (like the one I teach tomorrow in Hamilton – hint, just two spaces left) is to take pictures away from what Uncle Fred does. You know Uncle Fred, the guy with the camera, who always carries it but h knows little about how it works. Every family has one.

If Uncle Fred knows about exposure (which is not at all a given!) he might produce this:

So he has exposed for the subject. Good. But a little boring.

I prefer this:

By using flash I have achieved:

  1. A much better background, with colour and saturation.
  2. My subject is now the Bright Pixels (and remember Willems’s Dictum: Bright Pixels Are Sharp Pixels).
  3. We have shaped the subject’s face. Flat light “from where the camera is” is boring and makes faces look flat.
  4. We have catch lights!

Not bad, and not difficult. Simply:

  1. Camera to manual
  2. Expose for the background, keeping shutter below 1.250th
  3. Bounce flash up and left (or right)

Oh. That was easy.

Yes, and those of you who read here and especially those of you who are my students tomorrow will learn this, and a whole lot more.


Noooo….. not me….. noooo…..

We all, as photographers, encounter people who do not want to be photographed.

Usually, in my experience, women; and usually because “I am too old”, “I don’t have any make-up on”; “I am not photogenic”… and so on. Sometimes “because the images will get onto the Internet”.

Whatever the reason, what are we as photographers to do?

I think the answer comes in several forms.

First and foremost: be sensitive to this. If I were in charge, no medical doctor would be allowed to graduate without first having undergone a digital rectal exam, and no photographer could use that job title without first being photographed, preferably in the nude.  In other words, you need to be sensitive to others’ hesitation to be photographed. After age 30, we all think of ourselves as permanently 25 – except me, because I know I am 25.  And these silly camera things distort us so we look older!

Second, try to assure these subjects that if they let you take their photo, they can look at it and you’ll delete what they do not like. You need to have skills for this (hence all my courses), but it is worth it. Skills like not lighting in an unflattering way, using flash, keeping parts dark, and so on.

Third: use tricks. Like this, one of my favourite party shots. I tell hesitant subjects “I’ll blur you – hold out your drink, I’ll show you”.

The usual reaction is “awesome”.

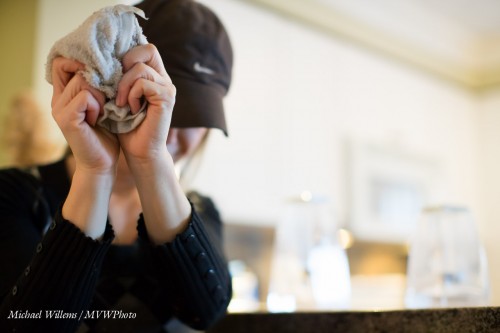
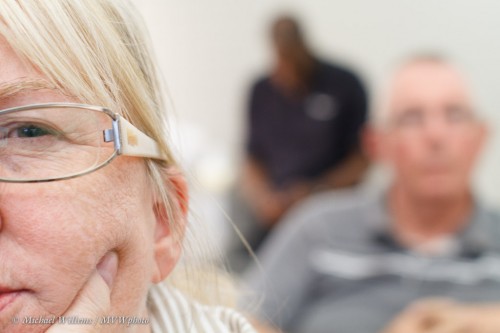
Or try more unusual shots, like these:

There too, the usual reaction is “awesome”.

Finally: do respect the “no” and walk away, but do try again later. Often people change their mind. In photography, sometimes “no” means “No, but I hope you persuade me”.


Simplicity – with a capital “S”

If anything, my mantra has always been: “keep it simple” – reduce everything to the essence and you have a much better product. I am big on this in business, in photographic composition, in presentations; in teaching; in writing (do it in half the words!). In just about everything. Simple is good.

Including in computers, and that is why I use a Mac, and that is also why the book I just read, “Insanely Simple” by Ken Segall, struck such a chord. Get this book – Ken is an advertiser who worked with Steve Jobs for many years and relates his view on why Apple is great very succinctly (and, I think, gets it right: one word: “Simplicity”). Another example: go choose a laptop at Apple.com. Go do it, Right now. Ah, you’re back after a minute? Good. Now go choose one at Dell.com. Good luck, and see you in a few weeks.

Such a relief to read this. I have been saying this for decades: a great consultant makes complicated things simple; a not-so-good consultant makes simple things complicated. Steve Jobs understood this like no other. Cell phones were brain dead.. he made one that wasn’t. It’s not as though I and many others had not been saying that for years – we just did not have the power to change things. I used to curse at my Blackberry’s stupidity – designed by people who apparently took delight in making things complicated. They took the easy way out.

You see, simple is difficult to do, and difficult is simple to achieve. It is easy to make a bad phone, hard to make it simple and intuitive. Be lazy – let the client do the work! Like the makers of TVs today. I, and the four remotes on my table, do hope Apple breaks apart that market, too, and very soon.

In photography, it’s the same. Simple means thinking “how can I reduce this photo to its essence”?

Perhaps by using a long lens with a wide aperture, to make the background blurry:

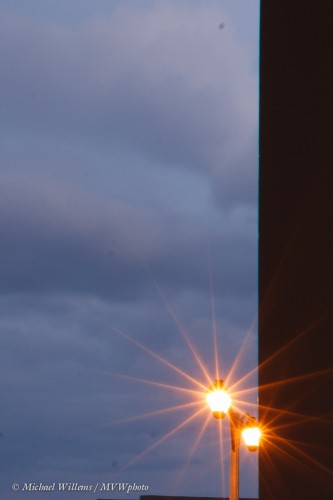
Or by tilting up to keep things out of the picture, as in this 15-second exposure:
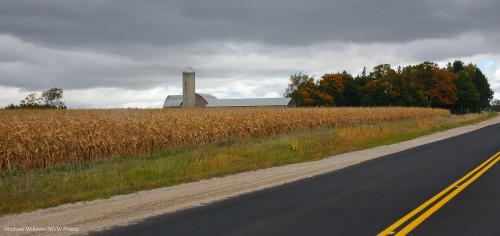
Or by angling to keeping a landscape simple, as in this image made near Drumbo, Ontario:
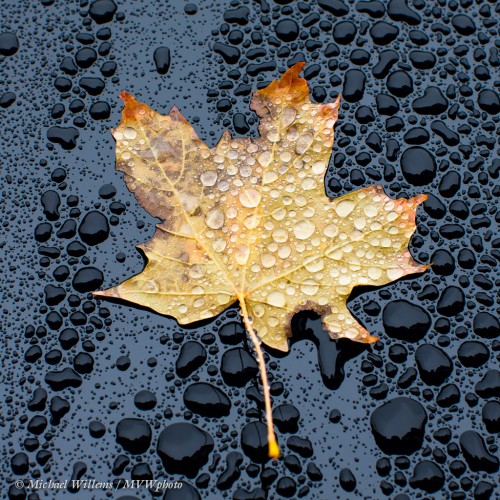
Or by cropping to make things simple:
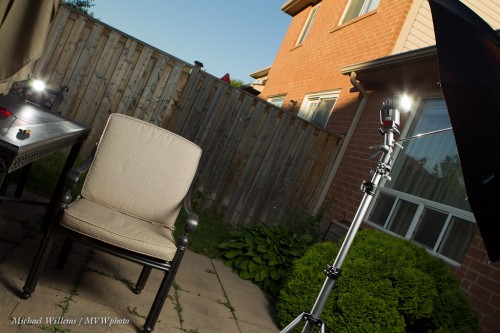
or by using simple light – my favourite outdoors light by far is a single umbrella with an off-camera flash, sometimes with a second flash to be the hairlight (although I prefer to use the sun for that, from behind). Here’s a two flash setup:
Which gives us:
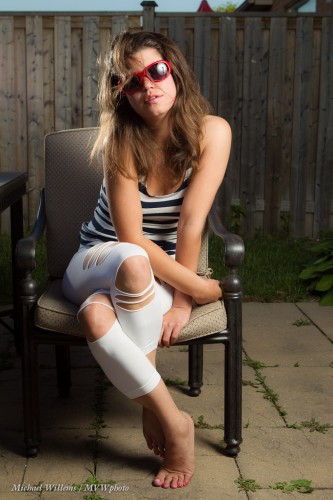
Or by leaving out light:
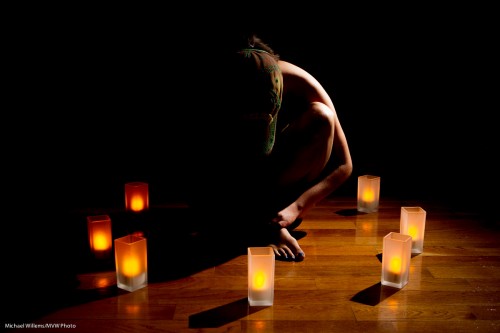
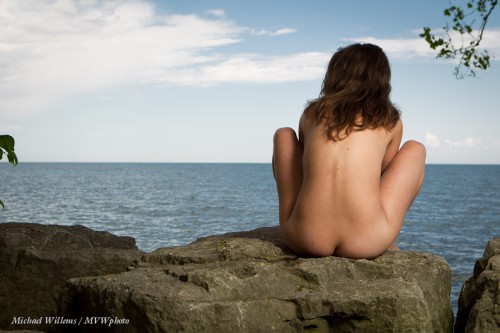
Sometimes I fail, like in this image where I inexplicably did not trim off the leaves on the left:
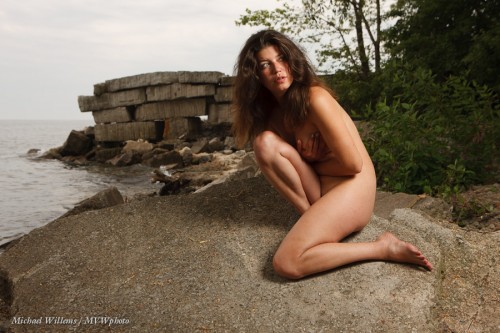
But when this “light from one flash” works well, which it usually does, it works very well:
So my message is: go the extra mile to simplify your images. However you do it, simplifying is a way to reduce an image to its essence; to get clarity in your work.

Simple minds think that simple is bad. Sophisticated minds know that simple is good.

POSTSCRIPT – ADDED:

Let me illustrate… this is how dumb TV systems are. To turn on my TV, I need to:

1. Aim remote at cable box
2. Press “cable” on remote
3. Press POWER
4. Aim at TV
5. Press “TV” on remote
6. Press POWER
4. Aim at audio amp
5. Press “Audio” on remote
6. Press POWER
7. Press “Cable”
8. Adjust volume and choose channel
9. Put down remote
10. Grab Apple remote
11. Aim at Apple TV
12. Press MENU
13. if Apple tv is to be watched:
a) grab remote
b) press TV
c) press INPUT
d) select APPLE TV
e) grab Apple remote
d) select program

I cannot imagine why we allow this nonsense. APPLE, WHERE ARE YOU!


X marks the spot

Today, another small but important tip:

When you shoot portraits, stick some painter’s marking tape onto the floor exactly where you want to subject to stand.

Why? Well, if you shoot with manually set flash, you will want to  keep the subject in the same place, because if they move even a little closer to, or away from, your lights, you need to re-meter and re-set your exposure or your flash power. But even when you use TTL, there is a lot to be said for consistency. Your light direction is paramount, and small changes in position can dramatically change that. Finally, the marked spot makes the shoot faster: no need to subjects to constantly be told where to stand.

So make life easy for yourself: “X marks the spot”.  This way you can make every shot consistent and successful.


TOTD – Tips Of The Day

Tip: If you have an iPad and like showing your pictures, get Foliobook. Now. This app allows you to present pictures that you want, as a portfolio or slideshow, the way you want. And to create a front page. And your own order and categories. It is everything the built-in viewer app isn’t. $12.99. And no, I do not get commission.

Tip 2: View images on this here blog as the original large size. To do this, click on the picture, then click on the “Full Size Is…” link, and then if needed click on your computer’s “+” magnifying glass cursos. That is the only way you see what an image is really like. Small kills. So this example (click here) is what you see when you do that.


The Dramatic Portrait

Outside, right now. It is bright. Bright. Super-bright! Noon under a blue sky, and snow everywhere.

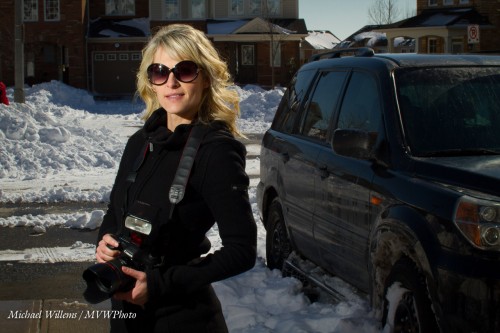
So now how do I do a dramatic portrait like these of my two students, wonderfully talented photographers Jenni and Becky (respectively)?

How indeed. Look at them full size to see the drama. Saturated colours plus plenty of personality! And that is how we shot them – no “Photoshopping”.

If I had used just my camera I would have had to angle them into the sun – bad. Instead, I prefer to:

  1. Angle them away from the sun to avoid squinting.
  2. Thus, use the sun for the hairlight (The “Shampoo-y Goodness”).
  3. Then, get a dark, saturated, background. First, I set my shutter speed to the fastest I can use: 1/250th second, the maximum flash sync speed.
  4. Then, I select a low ISO (100) and small aperture (wait for it: f/18).
  5. Then I use an off-camera TTL flash to light up the subjects. Yes, TTL, in this case: no need for Pocketwizards here.

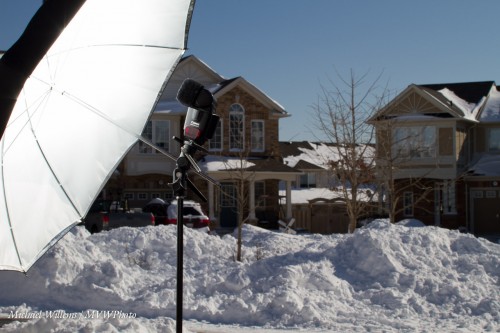
Now, the challenge: enough flash. Unless the flash is very close, it will not work well if it is a simple speedlight. I tried shooting into an umbrella:

But this needed the umbrella to be a little closer than I liked, so I turned the flash around and shot direct, discarding the umbrella. Yes, you can use direct flash, unmodified, if you are mixing with ambient light, and if the flash is well off camera. This gives us short lighting.

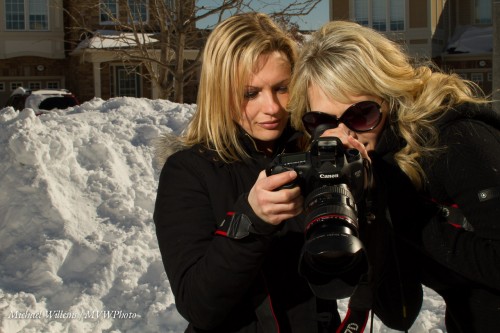
Here’s the students:

And they did very well indeed: their photos are stunning. Dramatic, and they now have a whole new range of possibilities added to their repertoire. You should consider learning the same: yes, you can do this with simple equipment.


___

Want to learn all this stuff? Allow me to once again point out these current and upcoming learning opportunities:

Michael


Expressions, and fun.

Two talented photographers, Jen and Becky, spent today, and will spend part of tomorrow, with me learning flash skills. And flash skills are sooo essential. So you can fill in light, solve backlight problems – and so you can get creative.

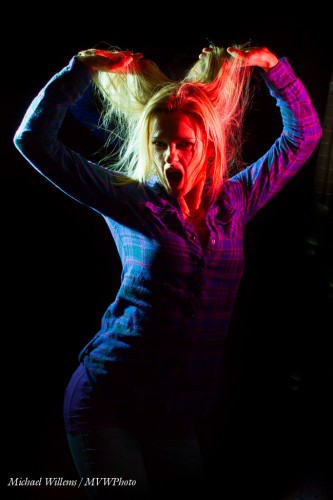
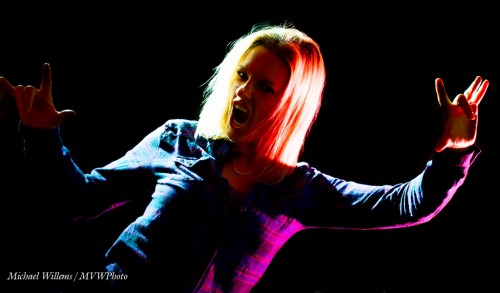
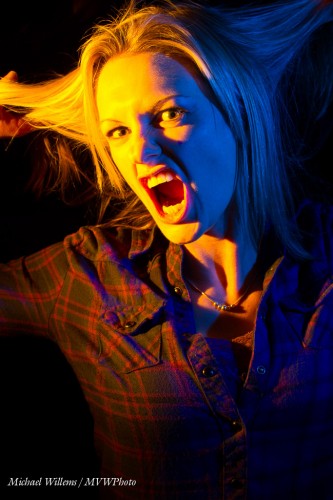
Like in these sample images from today:

Yeah, fun shots. To do these:

  1. Set your camera to MANUAL
  2. Select the right ISO, aperture and shutter to make the ambient light disappear (1/250th second, f/8, 200 ISO, say).
  3. Add flashes – use remote TTL (fired by flashes from your cameRA).
  4. Add grids to those flashes so they do not throw light everywhere
  5. Add gels for colour
  6. Shoot. Adjust flash compensation as needed.

Or use more ambient light – simply use a higher ISO, larger aperture, or slower shutter, or a bit of all three:

In any case… save for a little post work if needed, you are done.

But… you also need something a lot of “technical” photographers forget: a subject.

These images were made not majorly by the light. They were made majorly by the subjects. Thanks, Jen and Becky, good work. Amazing and fun expressions.

That is why photographers need models. Not everyone has the personality needed for these.  Modeling for photos of all types is a real skill, and when you find people who have it, shoot them, and you cannot go wrong. A pretty face is not quite enough: personality is needed too. try to have some fun. Try different expressions: happy, scary, sad, worried, confident, elated, serious, sad: you name the emotion, then have the model try and express it.  This process is fun!


___

Want to learn all this stuff? Private coaching is a great way to go, but if you want to do it another way, allow me to once again point out these learning opportunities:

Michael


Bright pixels are…

…sharp pixels.

Look a this image:

Dark, but as you know, we can rescue dark images in Lightroom or Photoshop. Especially if, as here, we shot them in the RAW format – which you really always should do.

So, into Lightroom, notch the image’s exposure up a couple of stops, perhaps play with “Whites” and “Shadows” a little, and done! Right?

Yes. But.

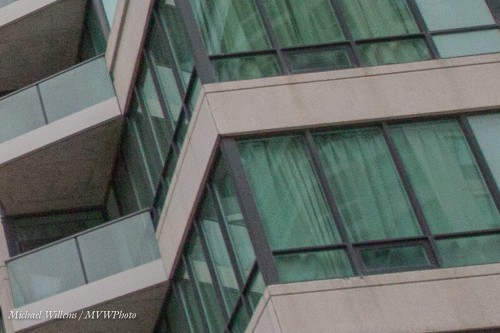
While we successfully increased the level of the dark parts of exposure, we also at the same time increased the noise (“grain”, if you will). Noise, after all, is like cockroaches: it hides mainly in the dark. Look at a small detail:

See? Grainy.

Compare that with the next image I shot, which at first looks just about the same, at least in terms of exposure – I shot this one at a slower shutter speed:

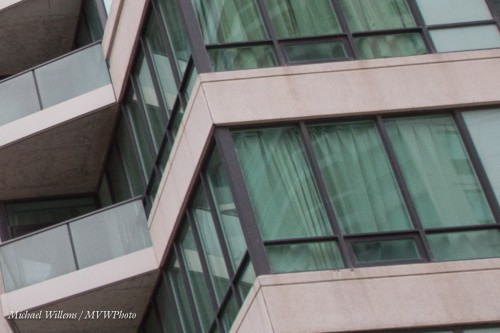
But this one I exposed well – I did not have to electronically increase the exposure, so I did not increase the noise. So a small section of this image looks like this:

If like me you were an engineer, you would say that it has a “higher signal to noise ratio” than the previous, electronically doctored, image.

So that is why we try to expose as correctly as we can, rather than relying on RAW to fix it for us later.

(You can even expose “to the right”, i.e. expose too brightly, as long s you do not lose detail in the bright areas. If you manage to do that successfully, you can pull the image down later, thus increasing the signal to noise ratio. I have written about this here before, look it up).