…sharp pixels.
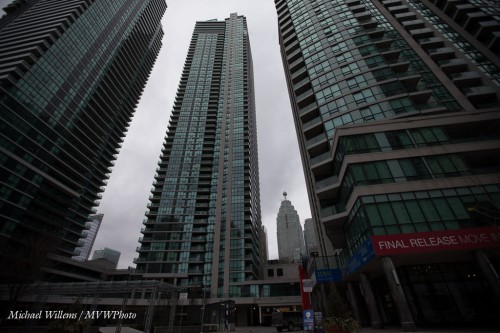
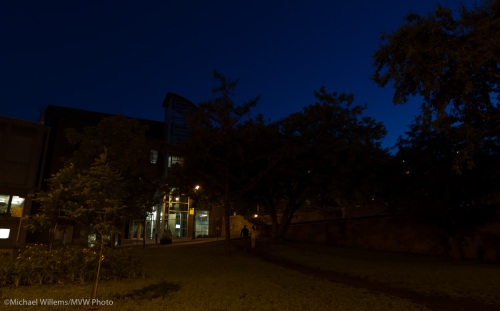
Look a this image:
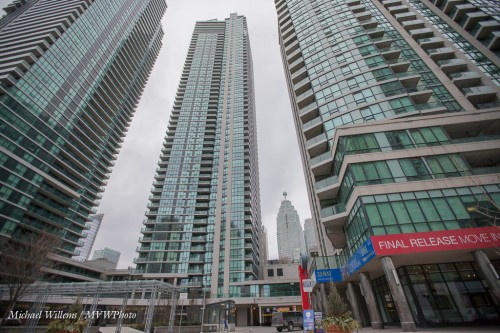
Dark, but as you know, we can rescue dark images in Lightroom or Photoshop. Especially if, as here, we shot them in the RAW format – which you really always should do.
So, into Lightroom, notch the image’s exposure up a couple of stops, perhaps play with “Whites” and “Shadows” a little, and done! Right?
Yes. But.
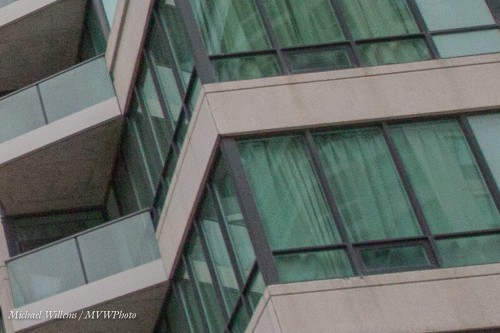
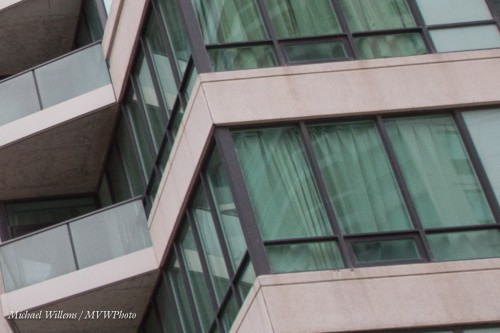
While we successfully increased the level of the dark parts of exposure, we also at the same time increased the noise (“grain”, if you will). Noise, after all, is like cockroaches: it hides mainly in the dark. Look at a small detail:
See? Grainy.
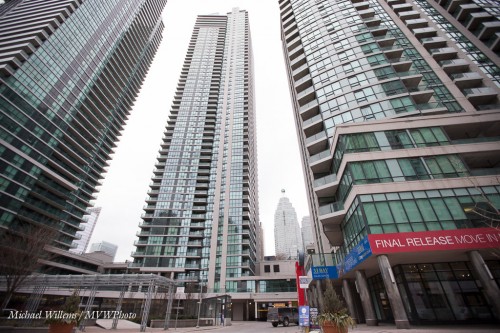
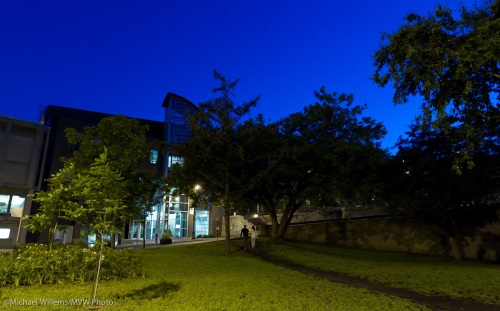
Compare that with the next image I shot, which at first looks just about the same, at least in terms of exposure – I shot this one at a slower shutter speed:
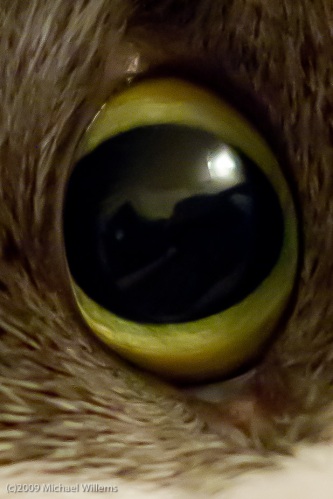
But this one I exposed well – I did not have to electronically increase the exposure, so I did not increase the noise. So a small section of this image looks like this:
If like me you were an engineer, you would say that it has a “higher signal to noise ratio” than the previous, electronically doctored, image.
So that is why we try to expose as correctly as we can, rather than relying on RAW to fix it for us later.
(You can even expose “to the right”, i.e. expose too brightly, as long s you do not lose detail in the bright areas. If you manage to do that successfully, you can pull the image down later, thus increasing the signal to noise ratio. I have written about this here before, look it up).

