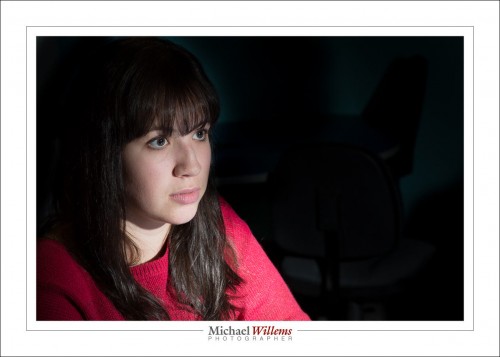
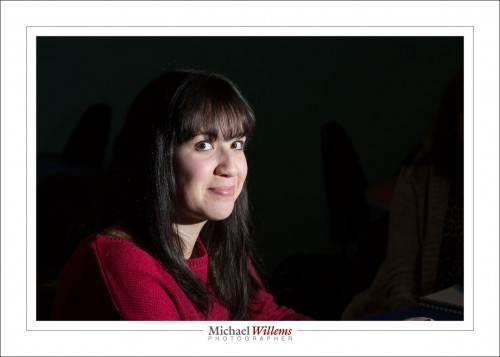
Kill Ambient, Kill, Kill, Kill.

In studio photography, you want to kill ambient light completely. The light bulbs in your studio, or the light falling in through the window, should not affect the picture at all.

This is easy when using flash. 100 ISO, 1/125 second, f/8 and you’re all good. Ambient light: gone.

But when you are using hotlights, it’s not so simple—especially if you are using small, light, and affordable compact fluorescent lights. These are (by definition!) exactly as bright as a lightbulb. So now you need higher ISO, longer shutter, lower f-number… and now your lightbulbs do suddenly show up in the photos.

And that’s why most photographers use flashes.


Make that seven

Cyber Monday DEAL of the year!

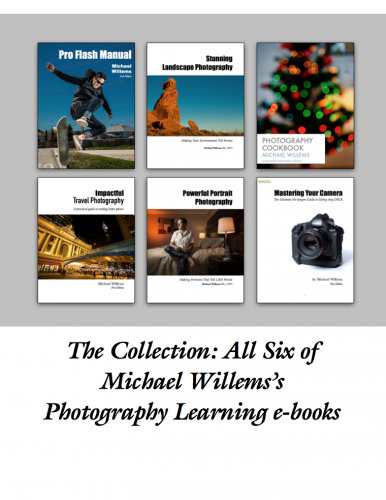
All seven – not six. All seven ebooks, when you add them up, cost $155. On this site, as a set, just $89.95. Get them by clicking here.

But it gets even better. today – ONLY TODAY, Cyber Monday, use discount code CYBERMONDAY when checking out, and you get an additional $40 off, making it just $49.95 plus applicable taxes.

Download full chapter previews:

This amazing deal will not be repeated, and it is valid only until midnight tonight, Eastern US time. Take advantage: get this amazing full photography course for under $50. Seven extensive e-books for one incredible price.


Smoke. Mirrors.

The Internet is a funny place. There’s so mamy opinions,. And everyone is an expert.

The problem is that you need no qualifications, so most of these opinions are just plain wrong. I have heard things like “the rear curtain setting gives you softer flash pictures”, “you need to use the zone system”, “you should never format a memory card”—and many other absurd statements.

So, my advice is, “beware”. Especially if it costs money. Do not buy “exposure courses”. Exposure is simple: if it is too dark, make it brighter; if it’s too bright, make it darker. And do not buy Lightroom presets, unless they are things you truly cannot do yourself. And so on. Buy courses only if you get a 100% money-back happiness guarantee.

And especially: when you read something on the Internet, research a little. Who is telling you? Research them. Are they are real photographer? Are they an expert in their field? Or are they Uncle Fred, or a teenager in his mother’s basement? Judge their answer based on this—then run it by another few people.

Or just take courses from reputable, proven speakers. That is also a time tested way of doing it.

Perhaps I can recommend my ebooks and my courses—but you be the judge. Caveat emptor, whatever you do.


Portrait of the artist as a… ehm… a young man.

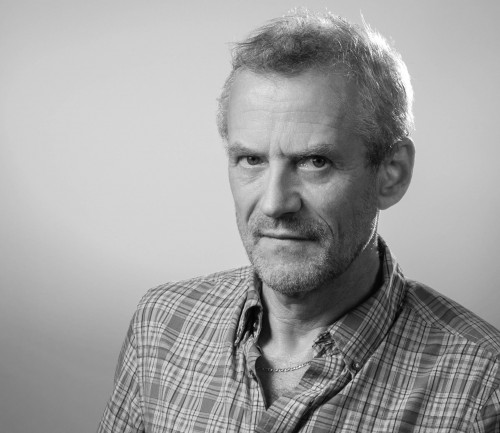
That’s me, by a Sheridan College student last week. Standard four lights: key, fill, hair/edge, and background. All using speedlights with modifiers, namely umbrellas, snoot (for the hair light) and a grid (for the background light). Easy to set up, and easy to shoot.

Tomorrow, I will shoot a self portrait, and I recommend that you do, too, Self portraits are very good practice. They need you to have technical skills, as well as a feeling for personality and composition. Go wild!


Balance!

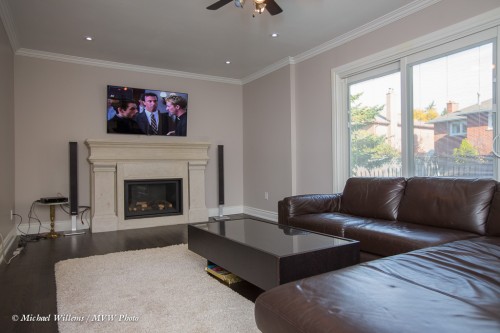
A photo like this needs careful balancing: the TV, the room, and the outside.

  1. First, as always, set the ambient exposure. Set your camera to match the outside.
  2. See how the TV works with that. If not good, find a good point in between, where the TV looks good, even if the outside is a little bright, like here.
  3. Keep your shutter speed below 1/250 sec or 1/200 sec, depending on your camera.
  4. Now add flash; add the right amount to match the ambient exposure. Bounce the flash from a point behind you that gives equal brightness through the room.

And that’s all. Not that difficult if you approach it right!

Why Lightroom?

I am often asked: “why use Lightroom instead of what I already use? I use Photoshop, Photopaint, Picasa, or some other app, and I am happy with it”.

Good question. But yes, there’s very good reasons to use Lightroom.
They include:

  • Lightroom does non-destructive editing. Your original image, whether it is a RAW, JPG, or any other type of image.
  • Lightroom is great at handling large numbers of photos. I have 200,000 images in my library.
  • Lightroom is a fantastic asset management tool
  • Lightroom is great at workflow.
  • Lightroom is great at quick editing. Yes, you can do it all in Photoshop. But it’ll take you get times longer.
  • Lightroom is a great production tool. Whether it’s prints, web sites, books, slide shows, or files, you’ll save oodles of times with LR.
  • Lightroom was made by photographers for photographers, and it shows.

I have saved 80% of my production time since switching to Lightroom full time. Yes. 80%.

Worth looking at, and worth a lot more than the $150 that Adobe charges… But please don’t tell Adobe that I told you so. 🙂

Come see me for an hour and I’ll show you Lightroom and I promise you that you will be impressed. The best thing since sliced bread, verily.

Michael

Books on your iPad?

Want my e-books on your iPad after you buy them?

There’s probably many ways to achieve that, but here’s how I do it:

  1. Make sure iBooks is installed on your iPad. (free).
  2. Install Dropbox (also free) on both your computer and your iPad.
  3. Get a dropbox account (also free) and sign in on both devices.
  4. On the computer, drag the PDF file into Dropbox.
  5. On the iPad, open it.
  6. Then click on the export icon (the square with an arrow emanating from it).
  7. There, select “Open In…”.
  8. After the choice is presented to you, select “Open in iBooks” or “Copy to iBooks”..

The file has now been copied to iBooks, and you can read it there any time, very conveniently (it has been formatted to be read easily on an iPad).


“No RAW Please, We’re Reuters”

No RAW for Reuters freelancers anymore, we saw yesterday:

http://www.theverge.com/2015/11/19/9759620/reuters-raw-photos-ban-worldwide

The Verge gets it right in this article. The policy, while somewhat understandable, is shortsighted, because:

  • A JPG can also be manipulated, so mandating “JPG” is no guarantee of an unedited image.
  • Some cameras, like my 1Dx, even allow editing of RAW pictures in camera to produce an edited JPG.
  • Now journalists have to get exposure and white balance right in camera, when shooting. As well as colour space, sharpening, contrast, saturation. These are in fact all set in camera prior to the JPG being made, so every JPG is a “manipulated RAW”. Why does it make a difference whether you do this manipulation in camera or in Lightroom? If you have to do it all in camera, you waste valuable shooting time.
  • [edit:]Now, journalists cannot “expose to the right”: a technique designed to limit noise and hence to obtain maximum quality.
  • Size. Often, news editors have requirements like “a 1MB file”. You have control over this in Lightroom, but not in camera.

A much better policy would be: do whatever you like, but if the JPG you send us was edited in Lightroom, make sure you include all the EXIF data (i.e. do not restrict that when making an export).
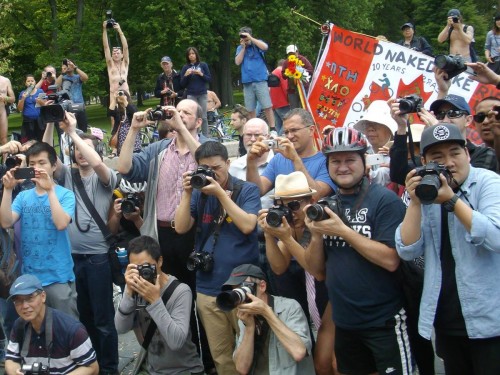
 

World Naked Bike Ride photographers: RAW, or In The Raw?


As for the ethics angle: sure. It is sensible to set limits to what you can do, namely:

  • Exposure, colour, colour space, and white balance adjustments are fine, but not to manipulate the truth.
  • Saturation, clarity, and vibrance adjustments are fine, but not to manipulate the truth.
  • Cropping is fine, but not to manipulate the truth.
  • Rotating is fine, but not to manipulate the truth.
  • Lens corrections (e.g. architectural corrections) are fine, but not to manipulate the truth.
  • Removing chromatic aberration is fine, but not to manipulate the truth.
  • Noise reduction is fine, but not to manipulate the truth.
  • B/W conversions are fine, but only with “standard” channel settings, and not to manipulate the truth.
  • Sharpening is fine, but not to manipulate the truth.
  • Not fine: vignetting, graduated fill, spot removal/the healing tool, adding grain, and any other change to the image, especially, of course, changes designed to manipulate the truth.

“Manipulating the truth” means changing anything that changes the facts. That can include removing or adding objects. Changing sizes and shapes to change positioning or distances. Making skies darker using graduated filters. Anything, in other words, that causes a photo to be interpreted in such a way that it does not reflect the actual truth, the whole truth, and nothing but the truth.

Above all, it is important to have a clearly stated policy. Nothing worse for a photojournalist than to have uncertainty over what is, or is not, allowed.

And that, for the record, is my $0.02.

Just a moment.

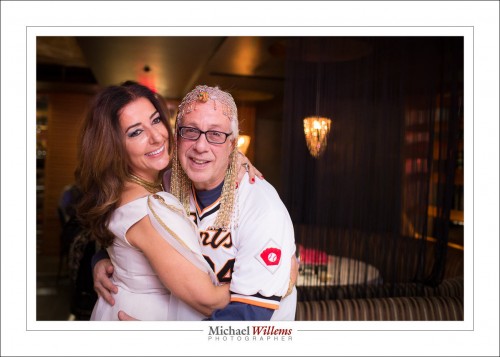
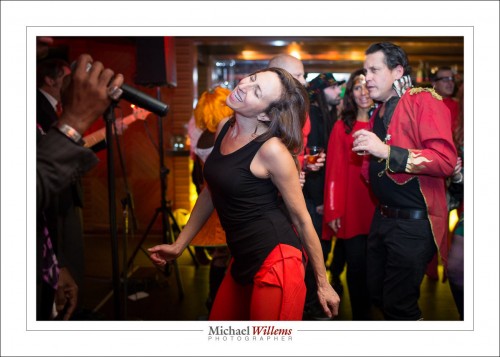
When I shoot events, of course I do many “smile at the camera” photos. People like those, and with good reason. They show you were there, having a good time. Photos like these:

It is easy to do them: use the right lens, make the background bright enough, use a high enough ISO, bounce the flash upward behind you, and ensure that both people are the same distance away from you. (move yourself, or move them, to achieve that). Most of my images that evening were made at 6400 or 3200 ISO, 1/30 sec, f/2, using a 35mm f/1.4 lens.

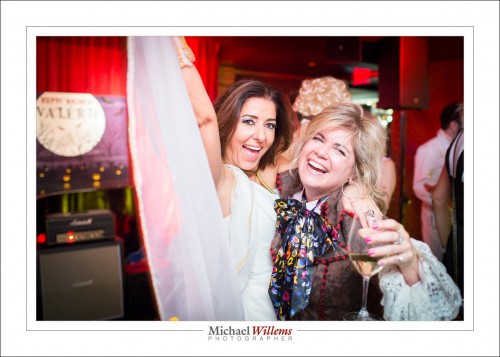
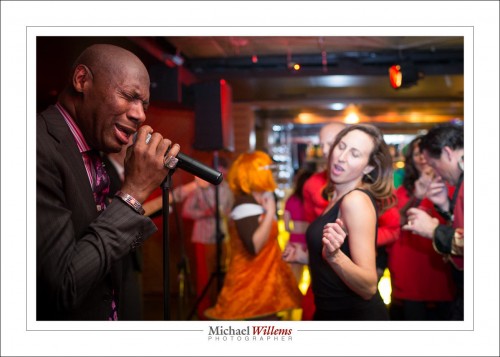
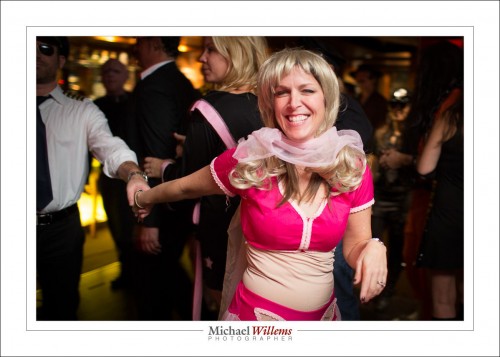
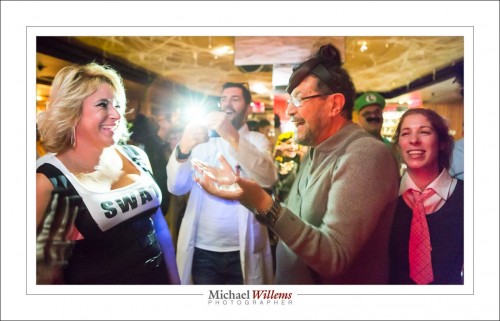
But I also like to shoot moments. People doing things. As my fellow photographer Story Wilkins put it to me a few years ago: “if it smiles, shoot it”.

Here are a few examples from my recent Halloween shoot:

Those give you a good idea of the event, n’est-ce-pas?

If you like those, try to do the same, next time you shoot a family get-together—or a commercial event.Reflect the fun. And have some fun yourself, too. Best way to get the mood down in photos.


Smile?

Ever wonder why models never smile in advertising photography? Why they always look so serious… aggressive even, sometimes?

Because they want to look perfect, that’s why.

Smiles create smile lines… but unlike you and I, photo editors, Cosmo readers, and models who want perfection call these lines “wrinkles”. And they dislike them, and the shadows they create. Like so:

The aforementioned (and, truth be told, most women) usually prefer this, a very “no-shadow” neutral look where skin is perfect:

If you are shooting traditional model shots, like for a portfolio, that’s what you do.

  1. Puff out some air, like when you voice the letter “P”.
  2. Let face come to a rest; this takes 1-2 seconds.
  3. Leave mouth ever so slightly open.
  4. Ensure that all facial muscles are 100% relaxed.

Result: skin is flawless. No shadows, no unevenness, no wrinkles. No personality is shown. Just beauty.

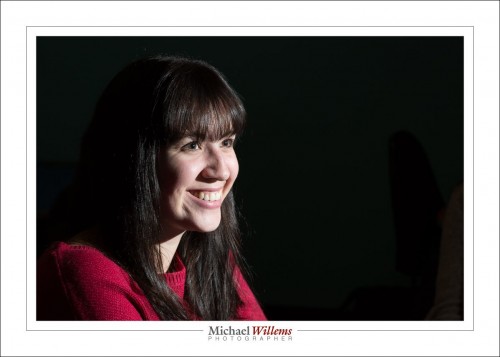
But wait. The look you want depends on what you are shooting. When you want to depict personality, you can have a person looking angry, surprised, sad… even happy. Like this:

So relax and shoot what you want. Do not shout “smile!” for every shot; but do not avoid all smiles either. If only because your model will feel better. But also because you may indeed want to show different sides of a person’s personality.