Canon Selphy CP900 printer

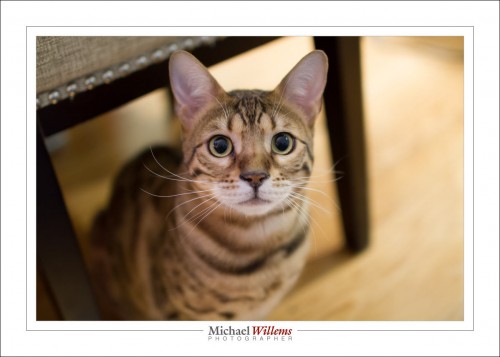
I recently bought a Canon Selphy CP900 4×6 photo printer to use at events. Here’s the cats investigating it:
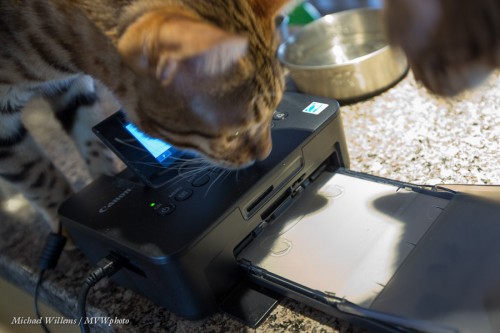
Now, if you also have a Mac that runs OS X Mavericks, you are in for a disappointment: there is no 10.9 driver, and the currently latest driver (10.8), which you obtain from here, will not install. It refuses, saying “This software cannot be installed as it does not support the version of your current OS.”

Canon apparently has no plans to fix it – this printer is no longer supported. So I thought I would find the solution for you. I looked it up, and here you are. A little techie, but easy enough. Here:

The following instructions assume that the latest driver package is cp800-810-900os-x-062.dmg.gz, but the instructions should be valid for other versions as well.

Edit instructions:

  1. Download the latest Selphy driver for Mountain Lion (10.8) from Canon’s site.
  2. Double-click the downloaded file (cp800-810-900os-x-062.dmg.gz) to extract the disk image.
  3. Double-click the disk image (cp800-810-900os-x-062.dmg) to open (mount) it.
  4. In Finder, locate and select the mounted disk image.  The device name will be cp800-810-900os-x-062.
  5. Copy the driver package (SELPHY CP series Printer driver_6.2.0.1.pkg) to your Desktop.
  6. Open “Terminal.app” (Applications/Utilities/Terminal.app) and enter the following commands in the Terminal window to expand the driver package:
    cd ~/Desktoppkgutil –expand “SELPHY CP series Printer driver_6.2.0.1.pkg” SELPHYTMP
  7. Edit the Distribution file that’s located in the SELPHYTMP folder on your Desktop (e.g. secondary/right-click on the file, select Open With, select TextEdit.app).
  8. Edit the contents so that it always reports a compatible OS version (see below in the “File Instructions” section for the necessary changes).
  9. Save the modified Distribution file (File-Save)
  10. Go back to or reopen “Terminal.app” and enter the following commands in the Terminal window to create the modified driver package:
    cd ~/Desktoppkgutil –flatten SELPHYTMP “SELPHY CP series Printer driver_6.2.0.1 Modified.pkg”
  11. Open the modified driver package (SELPHY CP series Printer driver_6.2.0.1 Modified.pkg), which has been created on your Desktop, to install the drivers.

File instructions: Replace the section in the Distribution file that looks like this:

…with this:

function installationCheck() {
return true;
}

And that is all you need to do. Yes, as said, these instructions are a little technical, but it’s worth doing, since this is a very capable little dye sub printer for quick, high quality 4×6 prints. If you need help, or just want the file, contact me.

___

Do read yesterday’s post about new Oakville-based courses that just went online: book soon to avoid disappointment.

More Courses

You want to learn professional photography skills? Good!

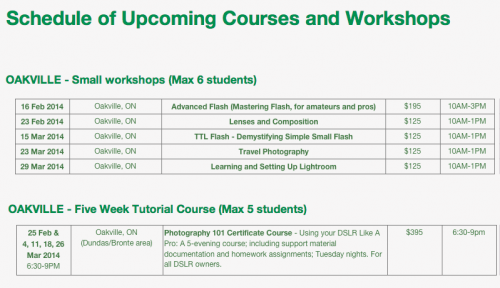
And there are more opportunities than ever.  Apart from learning from me at Vistek Toronto and Sheridan College Oakville, and reading my four e-books, I now have more courses planned in Oakville:

Click to see the schedule, and to sign up. There’s half-day specialized courses, and there’s a five-week course. I hope to see yo on them: this is the time to learn the pro skills that will make you love your images.


Old much?

On an Internet forum for pro photographers I frequent, a young woman, a full-time photographer, said this recently: “I cannot possibly imagine hiring a 50-year old to shoot my wedding”. And she was being serious.

Ah, the young, and how they think they will never age, and they do not realize age means experience! Personally, I would hire the best person for the job, be they 17 or 70 years old. Age discrimination is silly.

And important. Because our societies are aging. More of us are older, and soon, many old people will be supported by few young people. Start thinking of problems and solutions. “Head in the sand” is not going to help.

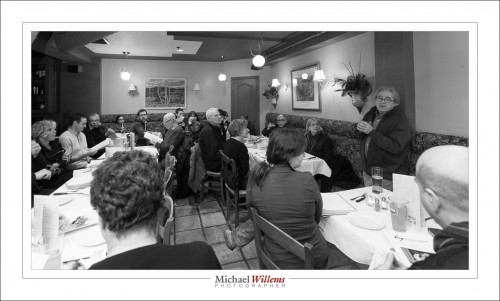
“Photosensitive”, a Canadian collective of photojournalists, has just kicked off their new project, whose working title is “Aging Canada”. Here’s the collective’s kickoff meeting last Thursday, in Toronto:

I am honoured to once again have been asked to participate. Last year I was one of the 100 photographers who together made the “Picture Change” exhibit and book; now, I am very much looking forward to “Aging Canada”.  I think photojournalism is, or should be, a force for social change. And change is needed: I keep wondering “if we know that xyz will be different 50 years from now, why not do it NOW?”. Photography is often the catalyst that kicks off change (think Vietnam, African famine, etc). Photojournalism is not dead; it is now, however, a non-profit endeavour. So be it.

I am looking for old people who do something unusual. I will be shooting an older radio ham, an older pilot, and whoever else occurs to me.  I will show that older people do not just sit and watch the geraniums grow; I also, however, want to show some of the societal challenges; challenges we will need to meet , whether we like it or not.

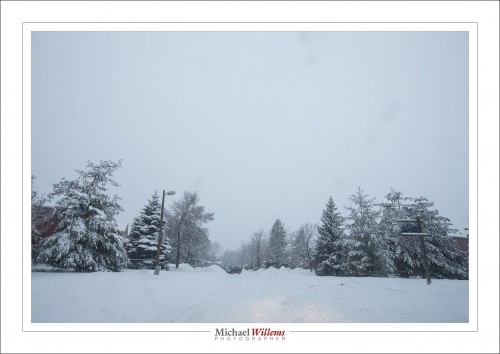
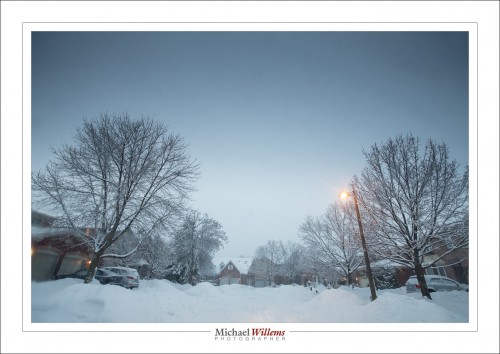
Talking of challenges: This was my neighbourhood yesterday afternoon. 24mm, 1/25th sec, f/5.6, at 400 ISO. Brrr.

Did I mention I always carry my camera? Whether it is part of a photojournalistic project, or just my life, I like to document, and preserve forever. You should probably do the same, but you should also organise and use your images.

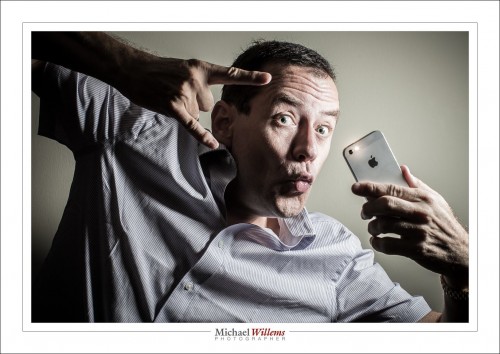
And oh – if you should need a photographer, I may not be 24 (or 45) anymore, but chillax… hire me and I’ll do better than when you mupload your own selfies, bitches… I do the chill hustle. I will smoke yo’ event. Word!

Yeah, if you want, if that’s what it takes to get your business, I can talk like that. Bro.


Before and After

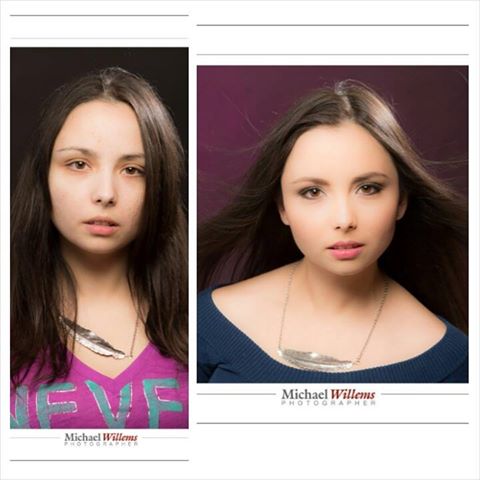
Here’s the power of a make-up artist: “before” and “after” shots of Liz Medori:

Now of course you will notice a few things. First: on the left we have done nothing to make the image look good. NO make-up, but you will also notice the lack of a background light, the lack of a friendly expression, no fan for the hair: while this is not a deliberate “let’s make her look bad” shot, it’s certainly not a “let’s make her look good” shot!

The photo on the right has all those things and a little post work, but in regards to that post work, I want to emphasize “a little”. I do not like to “Photoshop” (Lightroom, really) the heck out of someone to make them look like something they are not. I never, ever do any liquefying, or anything like that; only minor fixes of skin contrast, fixing of temporary blemishes, and so on.

So what we did on the right:

  1. Lit the background
  2. Better expression
  3. Used a fan on the hair
  4. Fixed minor blemishes
  5. Decreased “Clarity” a little (skin-tone contrast, if you will) – but not by much. -15 to -20 is a common setting for me. Much more and it gets obvious, porcelain dolls, and while some photographers love that look, I would rather see people the way they are.

A rule of thumb: if any alteration to a person is obvious upon seeing it, I do not like to do it. I am not fan of the “Portrait Professional” ads that show people made into something completely unlike the way they actually look.

Anyway – the make-up is the major difference: thanks to Melissa T. for doing make-up, and to Liz Medori for modelling.


Hiatus

My iPad was stolen on Toronto’s Danforth Avenue tonight, after a meeting of the Photosensitive photojournalists collective. An hour later it was at the south side of an apartment building at Lawrence Ave and Weston Rd in Toronto. Thanks to Apple tracing the iPad, I knew exactly where – but Toronto Police would NOT help. “Even if it was a car with a tracking system, we would do nothing”, Toronto cops said. Thanks, Toronto Police, for nothing. Go catch speeders while you leave the thieves alone. Way to go. I just lost $1,000 and you do not care at all. Great.
Tomorrow I’ll buy a new iPad – until then, no posts, courtesy Toronto Police. Thanks. $1,000.

I approve.

Hey All, I have some news. There’s all-new speedlighter.ca-approved lighting modifier kits over at David Honl’s site. These give you all you need in one convenient kit.

Head on over to www.honlphoto.com/category-s/1833.htm?Click=2032 to see them and to order – yes, you get a discount, and the convenience of direct ordering from David Honl himself. And the best selected kits.As you know by now, I love the Honl lighting gear: it allows me to easily, on the road or in studio, do amazing flash work. Grids, gels, snoots, gobos, softboxes: all wonderful stuff.

And then you can easily, with just a few small flashes, do things like these. Rim lighting:

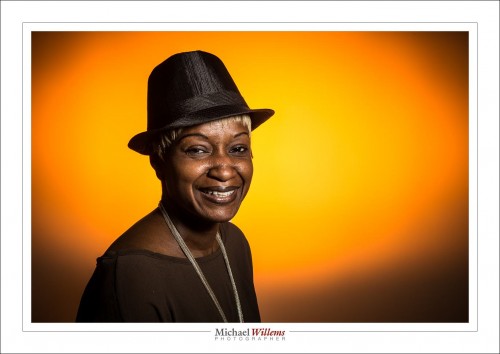
Cool portraits with great backgrounds:

Yeah… and even Duck Lips.

(But Dear Lord, think before you do.)


Headshot

A future new book will be about photographing people. One shot you need to learn is the standard headshot. And today, a tip for these headshots.

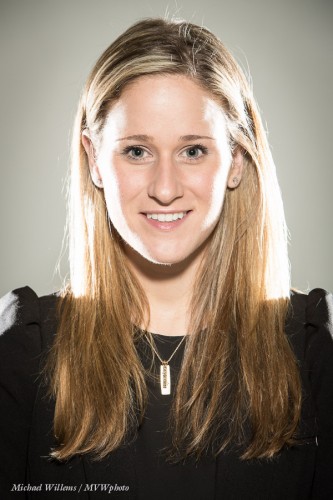
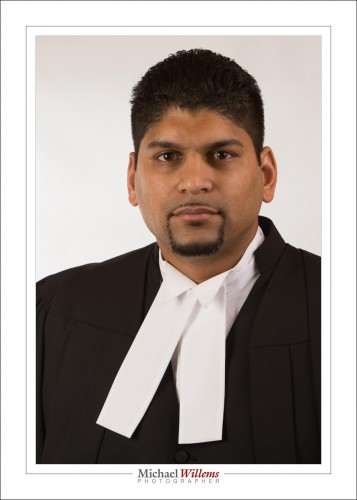
Look at this (unfinished) image of new lawyer Arvin (congratulations!), from a shoot last night:

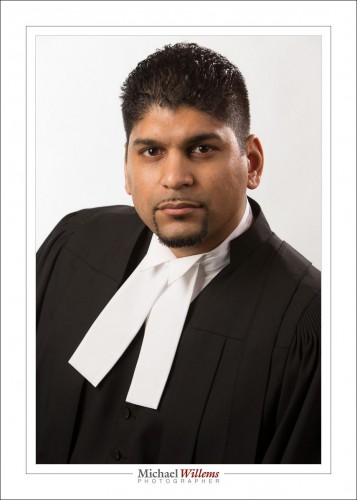
And now look at the second (also unfinished) photo, taken a second later:

Both are fine –  but the second photo is very different, isn’t it?

I have lit it differently, to create some modelling. Modelling means “showing that it has three dimensions”. The first face looks flat; the second one looks like an actual, three-dimensional, face. Lighter on our left, darker on our right. The lighting in the first photo might be more suitable for a beauty shot of a woman, perhaps – but it shows little depth.

I also added the hair light in the second picture – the “shampooey goodness™”.

But there’s more. I have also asked the subject to

  1. drop his shoulder (the one on our right);
  2. aim his head toward me, i.e. stick it out like a giraffe. That feels weird, but it looks good in photos (provided I am shooting almost straight one);
  3. tilt the top of his head slightly to our left (opposite direction to the dropped shoulder).

This gives us a nice strong jaw line and a more personal look. Mission accomplished. Now I can go finish the pictures (crop, rotate, adjust exposure, fix small flaws, etc).

The moral of this post: both lighting and positioning (not “posing”) of your subject are of great importance when shooting a portrait. Learning portraits is this, as much as the technical bits.

___

TIP: Do start with my books to learn the technical and lighting techniques: www.michaelwillems.ca/e-Books.html


Hold on.

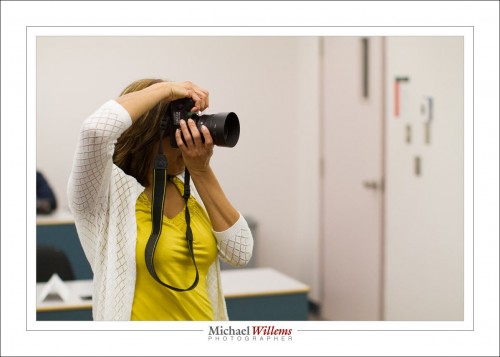
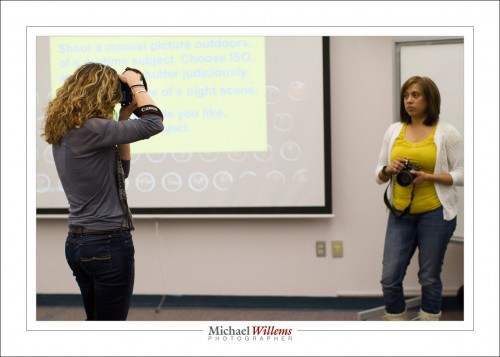
And here’s HOW you hold on: you hold the camera with your left hand under the lens. Not on top of, which beginners all do. Yes, sometimes I have major posts about complicated stuff; sometimes, however, it’s simple yips, and this is one of those days.

And when taking a portrait-orientation shot, the shutter goes on top, not below. So you do it like this (one of my students at yesterday’s class at Sheridan College):

Even better: wrap the strap around your wrist, too, so that if you drop the camera, it doesn’t fall to the ground:

Why? It’s more stable. That’s the main reason. Less shake. See yesterday’s picture: 1/10th of s econd handheld with a 50mm lens? Yup.

Also, you do not waste time moving your hand back and forth. And finally (this one is important for the guys): you look like a pro.


You can.

You know that you should not shoot at shutter speeds lower than “1 divided by your chosen focal length”, unless you have a stabilized lens.

So a 50mm lens with a speed of 1/50 or faster is OK. Slower, not.

Or is it?

I shot the above picture of Shiva (Lord Shiva the destroyer) just now, at 1/10th sec with a prime lens at f/1.4, 800 ISO, Canon 7D. Against the rules, but  as you can see, it worked.

Why?

Two reasons.

  1. I can hold my camera very steady. Underhand under lens grip, no breathing – like target shooting with a handgun.
  2. I took the picture five times! One was unsharp, two OK, and two very sharp. When shooting handheld at “slower than possible” speeds, always take multiple shots. Ten, if you can.

And that is why you should never be afraid to try to break the rules. It may not work. But then, it may.


Runway Bride

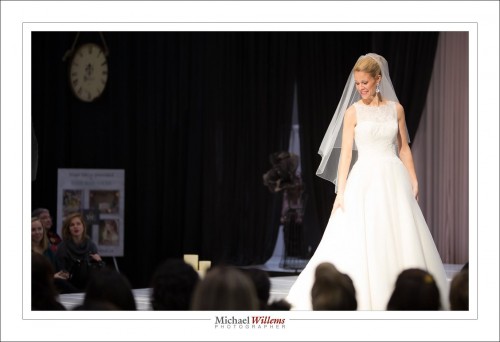
Today I and my assistant shooter shot some pictures at the Toronto National Bridal Show, and I think it might be useful for me to share a few things about that shoot. As you know, I like to share what I do and how, so that you can learn more quickly than I did. Photography is part art, part trade, part technical skill, and all three swirl around each other like a three-core DNA string.

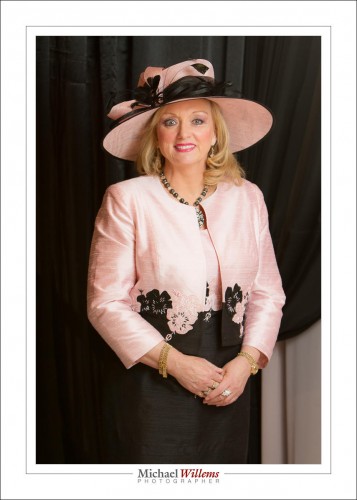
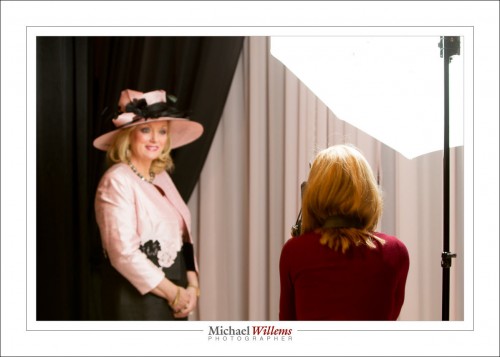
Today was part portraits, like this of TV wedding organizer Jane Dayus-Hinch:

Those studio-type portraits were the easy ones. All I needed was:

  1. Camera with 24-70 and 70-200 lens (the latter preferred but only if I have space);
  2. Pocket wizard on the camera;
  3. A portable light stand (yeah, we carried it through the exhibition hall);
  4. Bracket for mounting umbrella and flash onto light stand;
  5. Flash;
  6. Shoot-through umbrella;
  7. Another pocketwizard on the flash side;
  8. Cable between flash and pocketwizard.
  9. Flash set to manual, 1/4 power
  10. Camera set to manual, 400-800 ISO, 1/60th sec, f/4 when mixing ambient light with the flash; 1/125th sec at 800 ISO and f/5.6 when not: play with the settings until the right balance between background and flash is obtained.

Those are simple, because you turn the subject to the umbrella, ensure the brim does not catch too much light, and once you have the exposure right, keep the distance the same as in other shots and every subsequent picture is good – guaranteed.

Now you can concentrate on composition, expressions, and so on.

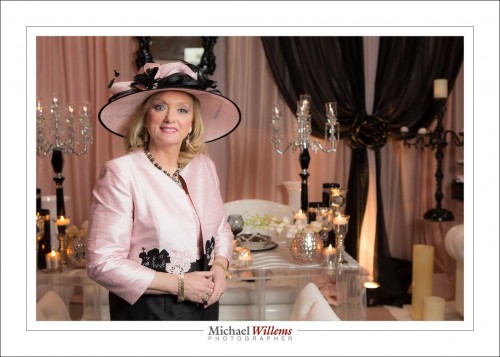
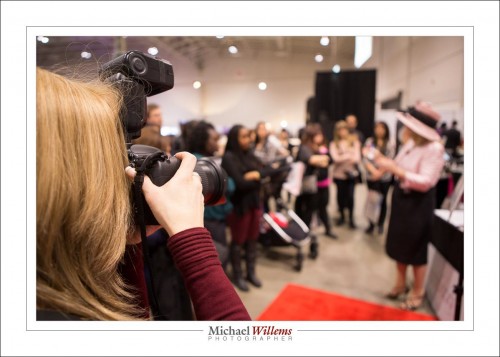
But the rest was different. Some involved only ambient light:

For these, it is important to get a fast enough shutter, and shoot when the right light is on the subject. And use high ISO – I went to 1600. And here I used something I seldom do, namely a combination of:

  • AI Servo (Nikon: “AF-C”) focus;
  • The camera chooses the focus area, not me!

That is anathema to me normally, especially the latter; but here I found the subjects moved just a little too fast for me to set the focus point accurately, since I was shooting at f/2.8 with a long lens, meaning critical depth of field/focus. So I thought quickly and after a couple of shots set the above settings. Razor sharp shots as a result. Dogma should never get in the way of results.

Finally, some pics needed ambient light and a little fill flash:

For that, turn the fill flash level down – I used minus 3 stops flash compensation.

So: many different shooting situations today. A great way to do a Sunday, since photographers need to keep in practice just like airline pilots do. I am happy with my work, and if you learn the basics (do get the e-books: http://www.michaelwillems.ca/Buy_Books.html), so will you be with your work!