Filter tips

A quick tip, today. All about filters.

  • Yes you need them. When it starts raining, or in the snow, or in a sandstorm, you want your filter to be ruined, not your lens.
  • But they cause flare, so you do not need them on all the time. I never use my filters except in rain etc. That’s right –  normally, I use no filters.
  • And polarizing filter (“Circular Polarizers”) are great to darken the sky: so you need them. But do not leave them on. They cut the light by a couple of stops! Only put them on when using them, then remove. This is a very common error: I see it all the time.

Oh and do use your lens hoods all the time.

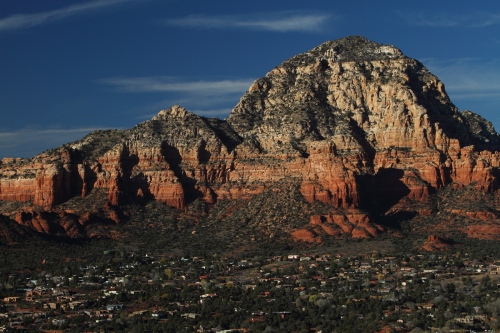
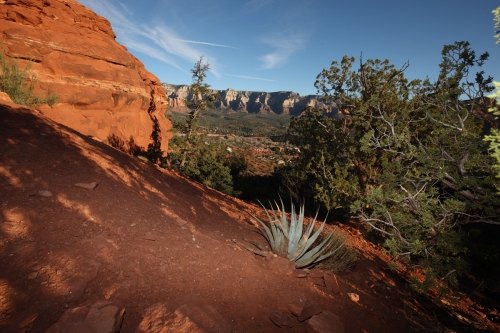
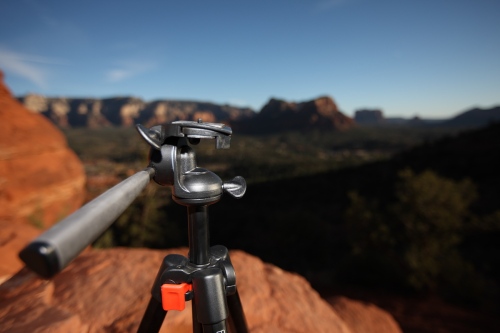
Here’s a polariser picture:

In other words, I slightly darkened the sky by using a polarizer. This brings back the scene to the impressive one that I felt I saw.

Have fun!

Another 7D review

Scott Bourne also reviewed the 7D: here [link]

So it is noisy but otherwise good. I agree, but the noise is not a big issue unless you shoot high ISO. And the Lightroom RC makes it a bit better.

My few-words review (see 7D tag for more):

Plus:

  • Great new focus system!
  • Great video ability (1080p, 24/25/30fps) and quality.
  • Ability to assign many custom buttons.
  • Nice to drive flashes from pup-up.
  • Better WB than prior Canons.
  • Great screen at the back.
  • Strong; withstands 3ft drop onto hard concrete.

Minus:

  • Noise (but by downsizing to fewer Mpixels you reduce this)
  • Deliberately dumbed-down menus for marketing purposes (eg no ISO range setting, no “save/retrieve basic settings”)
  • Still hangs up every now and then (needs battery removed, even off does not work)
  • Slow autofocus in video/live view modes

Noise should not be overestimated as an issue. See this earlier post for a sample at 3200 ISO:

http://blog.michaelwillems.ca/2009/10/29/3200-on-a-7d/

Note – the new RC of Lightroom, with 7D support, does not reducethe noice.

Overall, a very good addition to my 1D MkIII/1Ds MkIII family.

Blurry backgrounds

…can be achieved by setting our lenses to a low aperture value (a large aperture) like f/1.4 (if you don’t know how to do this, you could use your camera’s Portrait Mode).

But that is not the only way to get these blurry backgrounds. The effect can also be achieved or enhanced by reducing the distance between us and our close object. Because it is the relative distance between the close and the far that determines the far object’s blurriness.

So if I move my hand really close, as close as I can focus, then even at f/5.6 I can get dramatic blurring in the background. And that is what is happening here:

Canon 7D, f/5.6, 1600 ISO

Canon 7D, f/5.6, 1600 ISO

Remember that whenever you want blurred backgrounds: get close to your object, and/or zoom in on it.

That dreamy look

If you want portraits to have that dreamy look, use a lens with a wide aperture (a small F-number, like 2.8).

I took this picture yesterday, using a prime 35mm lens (the Canon 35mm f/1.4L) on a Canon 7D, at an aperture of f/2.5 and a shutter speed of 1/50th second.

That 35mm on a 1.6 crop factor camera is like 50mm on a traditional full frame camera. So it’s a “Nifty Fifty”.

A that focal length, I was able to go quite close to Mr Pumpkin without much distortion, as you can see.

IMG_2199

That gives you a very nice look. The close proximity combined with the f/2.5 aperture gives me nice soft bokeh (the creamy quality of the background blur). Even the back of the head is soft.

Beautiful: reason for a smile.

3200 on a 7D

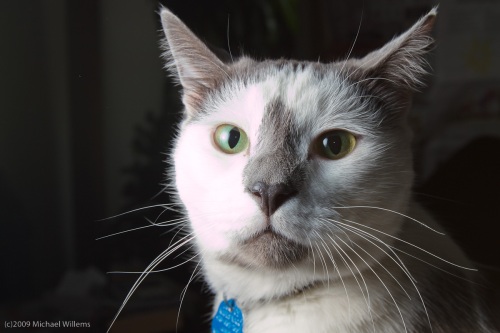
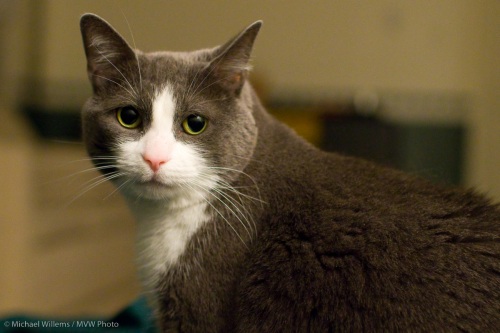
This is what the cat looks like, when shot using my 7D, hand-held using the 35mm f/1.4L lens in available Tungsten light, slightly cropped, at 3200 ISO:

IMG_2036

I am not going through the trouble of showing the full crop because I want to make a point. And that point is: we often over-analyse. As you see here, indoors, low light, 3200 ISO with a fast lens, and you get images that look great at 1200 pixels wide and in a moderate-sized print.

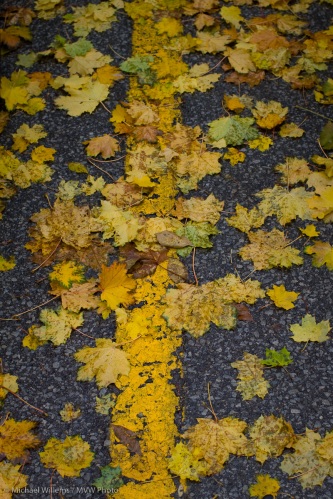
Yellow and blue

We have seasons in Ontario. Grey (now), then brown, then white, then grey, then brown, followed by green, and then grey again. White, unfortunately, with brown , is the longest.

IMG_2060

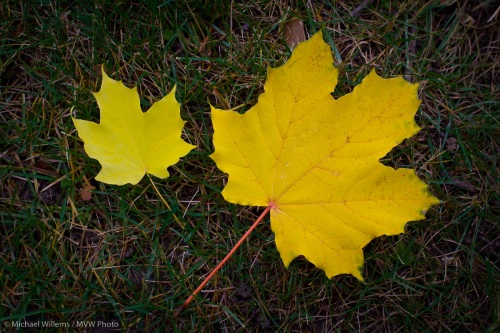
But in between, you get some nice pictures.

IMG_2070

I always look for contrast: brightness and colour. This was this morning, outside in a car park.

Taken with the 7D with the 35mm f/1.4L prime lens. My general walkabout lens.

So how did the 7D do?

I shot an event yesterday, as said. In a club. A challenging environment.

More pics coming soon, but here’s one more, just to give you a taste of what a good camera and good glass can do.

TRIBE. 400 ISO, f/2.8, 1/60th, at 110mm (70-200 2.8L on a 7D), bounce flash

TRIBE. 400 ISO, f/2.8, 1/60th, at 110mm (70-200 2.8L on a 7D), bounce flash

I shot with two cameras:

  • The 1Ds MkIII with the wide lens (16-35 2.8L earlier, 35mm f/1.4 later)with a 580EX II flash.
  • The 7D with the long lens (70-200 2.8L) and a 430EX II flash.

And they did fine.

The 7D produced some wonderful images – to be posted here with technique tips in the next little while. I am very happy with it.

To start you off, some tips for club shooting:

  • Shoot wide. I needed f/1.4-f/2.8 at 1/30th or less at up to 1,600 ISO.
  • Bring a small LED flashlight so you can see your camera (thanks Alvin, for the tip)
  • Bring two cameras, one long for shots uch as the above, and one wide for the “grip and grins”. Wide should be 35mm on full frame or 24mm on crop cameras, and fast.
  • You can drag the shutter more if you have to.
  • Shoot people with some light in the background
  • Bring batteries
  • Bounce, or if you cannot, then use a Gary Fong lightsphere or a Honl bounce card with CTO gels

And of course: have fun.