Of Indoors Flash, And The Mode You Use

When you shoot with a flash indoors, what exposure mode should your camera be in?

Of course I would say “manual” – my camera is almost always in manual exposure mode. But why do I say that? Why manual – why not, say, aperture mode?

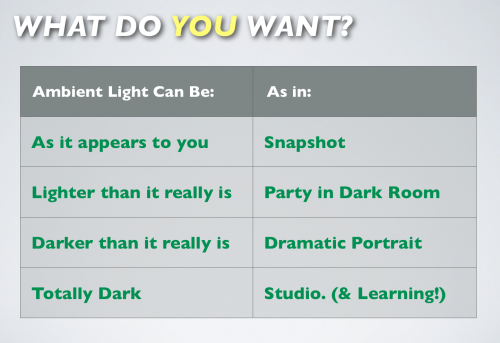
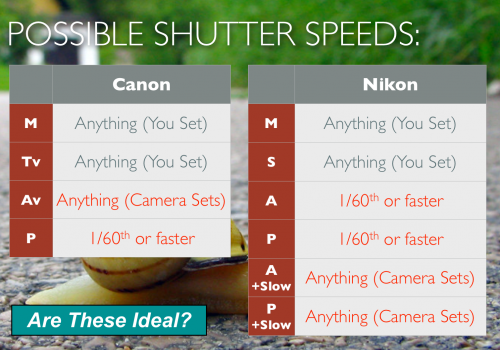
Let me explain. Here’s what the cameras allow the shutter speed to be in the various modes:

The Canon engineers decided that:

  • in Aperture mode (Av), the camera will expose as it sees fit. That could mean a shutter speed of, say, three seconds… not ideal!
  • in Program mode (P), the shutter shall not be slower than 1/60th second. Also not ideal: unless you like very high ISOs, you may well want to go to 1/30th or even 1/15th, when using a wide lens, to get enough ambient light in.

The Nikon engineers decided that:

  • In both A and P modes, the shutter shall not be slower than, usually, 1/60th second. Not ideal: unless you like very high ISOs, you may well want to go to 1/30th or even 1/15th, when using a wide lens, to get enough ambient light in.
  • In both A and P modes, when you enable the “Slow Flash” setting, the camera will allow slow shutter speeds to expose as it sees fit. That could mean a shutter speed of, say, three seconds… not ideal, either.

So neither of those modes are perfect for indoors flash shots. Hence, S/Tv, or better, M is the way to go!

 

Light Shifter

Your camera, as regular readers here know, is a light shifter. It shifts light to not “what it is”, but “what you want”.


So the first question you always (always) ask when doing a flash shot is, what should the ambient light do? What do I want?

And then you arrange your exposure triangle (Aperture, shutter speed, ISO) according to that need.

And then you add the flash.

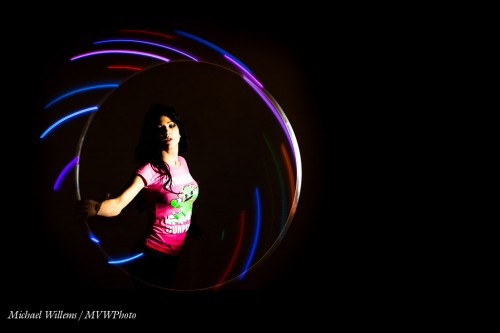
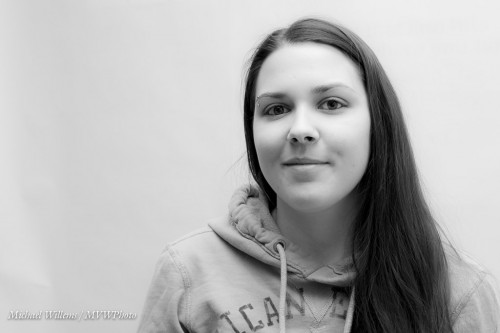
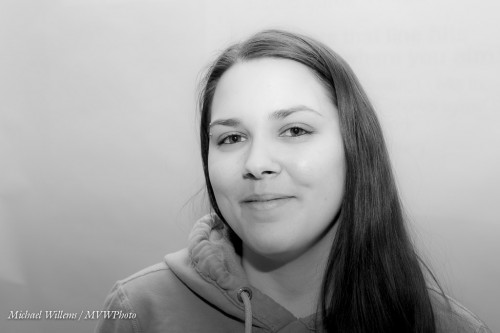
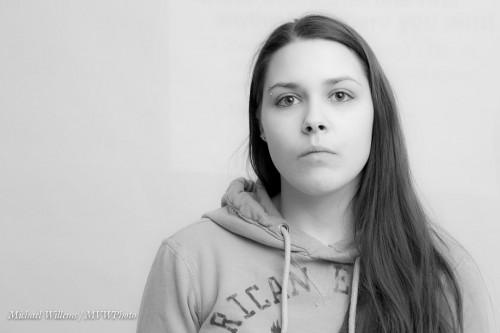
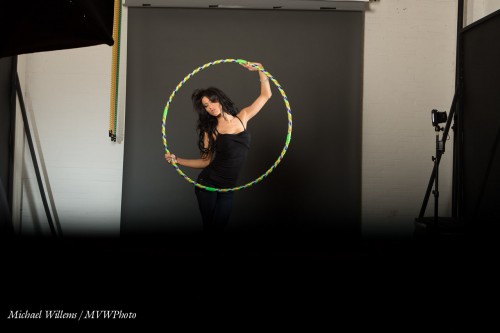
The failure to do this leads to more flash confusion than anything else. It also leads to a creative failure. The studio may be well lit, but why use it like that? Increase shutter speed, close down the aperture, and lower ISO, and you can get a bright studio looking like this:

So again, when doing any flash shot at all, your first question is not about the flash, but about the embient.

I am teaching flash tonight st Sheridan College. Saturday at Vistek in Toronto. And in the coming weeks in Hamilton:  http://www.cameratraining.ca/Schedule.html it is worth being there if you want to unleash your creativity.

Sam The Studio Man

When I prepare a tricky shot, I tend to use  stand-in model while I work on light, so the model does not need to stand there for half an hour while I adjust and move lights.

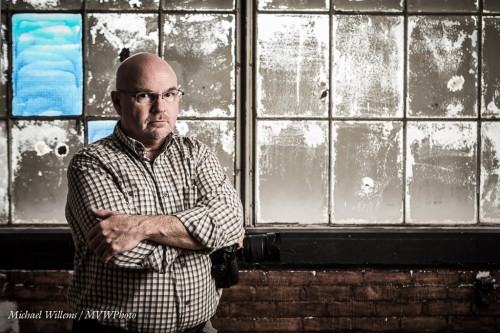
But these stand-in shots are often good, which is why I use them. While preparing to shoot model Danielle, I shot Sam Taylor, who runs the studio I teach in (see www.cameratraining.ca and click on “Schedule”).

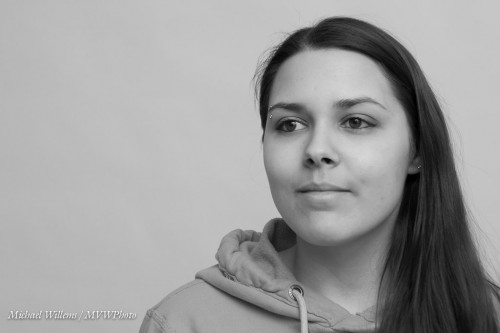
I set my exposure for the window: 1/60th sec, f/5.6, 400 ISO. Then I added a strobe with a softbox, and I moved Sam far enough from the window so the strobe would light him up (from 45 degrees above), but would not light up the reflective inside of the window too much. And then I set flash power according to my camera settings. Finally, I did a little desaturating in Lightroom. Result:

Short lighting, great grunge, serious expression, rule of thirds, good balance of background and foreground. A tricky shot, and one I am delighted with.

One of my students remarked on how refreshing it was to see the problem solving process, and to realize that photography is in fact problem solving, yes it is. When I set up a shot, I do not have all the answers, but I see what I want, and I know how to solve problems “step by step” until I get that result.

And sometimes you change your mind. In the final model shot, I could not move the model away from the window, as she sat on the sill. Hence I could not get rid of a shadow cast by the snooted speedlight I ended up using. So then the shot changes entirely: if you cannot beat the shadow, embrace it! To spare those of you who are sensitive, I shall not show you that shot here (it’s a nude),  but if you are interested, click here to go to my tumblr feed.

(By the way: have you considered being photographed this way? if not: consider it. Some beautiful shots of yourself like this are worth making. If you don’t, you may well regret it later in life).


Trixie

I shall now repeat a flash trick I have mentioned here before years ago. Time for a refresher.

You all know how important it is to avoid, at least when the flash is on your camera, direct flash light reaching your subject. Both in order to avoid “flat” light, and especially to avoid those nasty drop shadows, like this (don’t do this at home, kids):

But you have also heard me talk (and those who come to my upcoming flash courses will learn hands-on) that you should “look for the virtual umbrella”. For most lighting, this means 45 degrees above, and in front of, the subject.

So when you are close to that subject, you aim your flash behind you to get to that point. Good.

But what when you are far, as when using a telephoto lens? Then the “virtual umbrella” may be in front of you. And aiming your flash forward is a no-no, since the subject will be lit in part by direct light.

A-ha. Unless you block the direct part of that light!

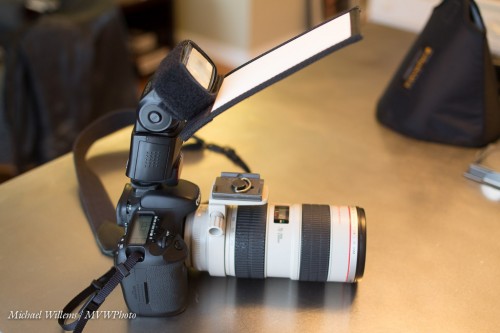
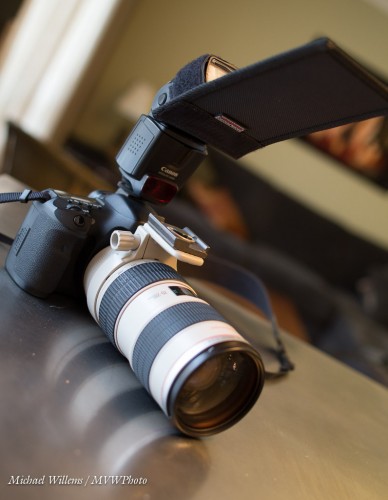
Like this:

As you see, I use a Honl Photo bounce card/gobo to block the direct light. Simple, affordable, and very effective. I use either the white bounce side, or the black flag side, depending on the ceiling and position.

Simple, effective – done!

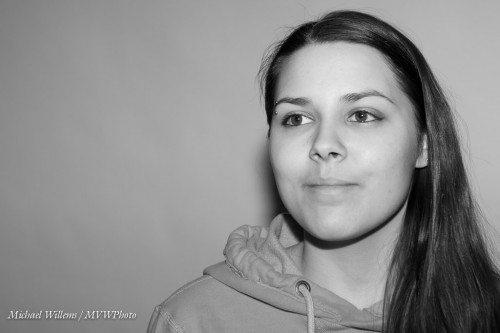
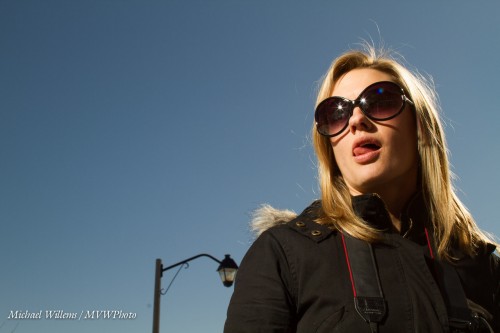
And one more thing. Direct flash is not bad per sé. Not at all. As long as it is not coming from where your lens is, it can be very effective, like in this “funny face” shot of a recent student (you know who you are):

Lit by a direct, unmodified flash. And the hairlight, the shampooy goodness? Yeah. The sun. Just saying.

(And yes, that too is something I will teach those of you who sign up for one of my upcoming flash courses.)


Find the Umbrella

Of course you bounce, yeah? I mean – one on camera flash, and you bounce that off the wall? My favourite modifier!

So you do NOT, ever, do the following indoors: aim straight at your victim. You see why:

Ouch. In spite of lovely Sarah, that gives flash a bad name. Instead, you bounce your flash off a wall or ceiling:

How do you decide where to point it?

One of the many things I teach in my Flash courses is just that. When using on-camera bounce flash, you should “find the umbrella” – i.e. where it would be if you were in a studio – and then point the umbrella there.

That often – usually, in most social situations – means you point the flash behind you.

Not straight up, when you are close: straight up when close to people means you get “the undead”: people with dark eyesockets:

Also, in this situation you do not point forward and up 45 degrees, for two reasons: (a) you get only a lit forehead and background; and (b) you get a lot of direct forward light, so it’s back to the horrible shadows:

Poor Sarah.

Let me correct that by showing you how it looks when I aim the flash up, 45 degrees behind me:

It’s easy once I show you. For now, just remember: find the virtual umbrella and point your flash there.

(By the way: when you do need to point forward -when the subject is far-, you need to do something else, and I will teach you a cool trick about that soon.)

___

The above images, featuring Sarah, are from yesterday’s all-revamped Flash course that I taught in Hamilton. Good news if you had to miss it: several new dates have just been scheduled, and several new courses! Sign up right now: www.cameratraining.ca/Schedule.html


An important law

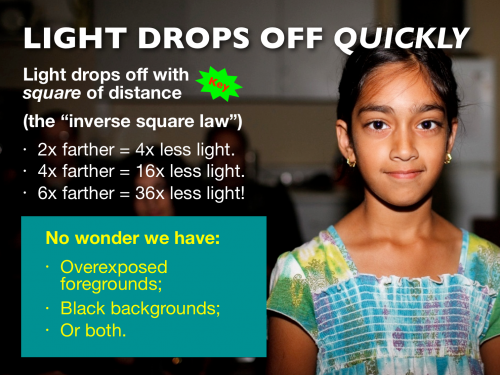
The “inverse square law”, passed by the Ontario government in 1988 as part of bill 42-C sub… no never mind. It is a law of nature:

And that is why forward flash from your camera gives you those bad black backgrounds (not even mentioning the shadows, the oily skin, the deer-in-the-headlights look, and so on).

This inverse square rule should be part of your photographic DNA, if is isn’t yet. Move a flash closer, and it can have more power. And vice versa.

But this law is sometimes understood incorrectly. It applies to distance between light source and object. NOT distance between object and photographer.

Find that hard to understand?

Then consider this: does a pale person turn into a dark-skinned person when you move back? Does a black-skinned person turn Caucasian when you approach? No. They turn into, respectively, smaller and larger persons (so the rule that fewer photons reach you does hold), not into darker or lighter persons.

My all-new flash course runs at 2pm in Hamilton: two and a half hours to go. I had better pack!


Humdrum to competent in easy steps

One thing I teach photographers in my flash courses (like the one I teach tomorrow in Hamilton – hint, just two spaces left) is to take pictures away from what Uncle Fred does. You know Uncle Fred, the guy with the camera, who always carries it but h knows little about how it works. Every family has one.

If Uncle Fred knows about exposure (which is not at all a given!) he might produce this:

So he has exposed for the subject. Good. But a little boring.

I prefer this:

By using flash I have achieved:

  1. A much better background, with colour and saturation.
  2. My subject is now the Bright Pixels (and remember Willems’s Dictum: Bright Pixels Are Sharp Pixels).
  3. We have shaped the subject’s face. Flat light “from where the camera is” is boring and makes faces look flat.
  4. We have catch lights!

Not bad, and not difficult. Simply:

  1. Camera to manual
  2. Expose for the background, keeping shutter below 1.250th
  3. Bounce flash up and left (or right)

Oh. That was easy.

Yes, and those of you who read here and especially those of you who are my students tomorrow will learn this, and a whole lot more.


The Dramatic Portrait

Outside, right now. It is bright. Bright. Super-bright! Noon under a blue sky, and snow everywhere.

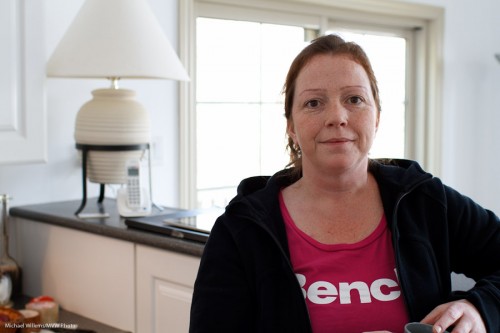
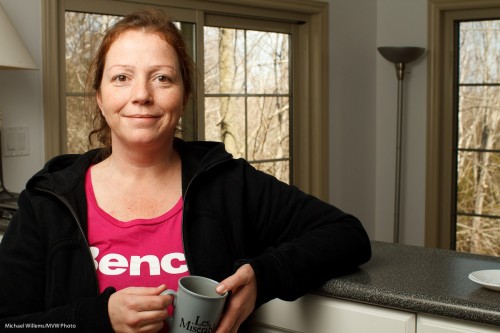
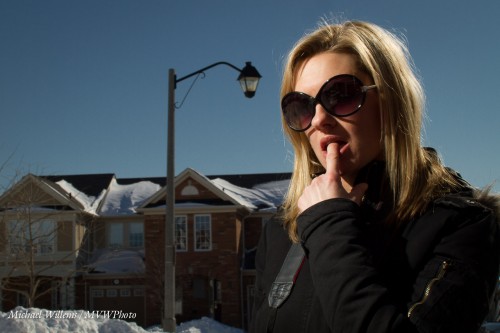
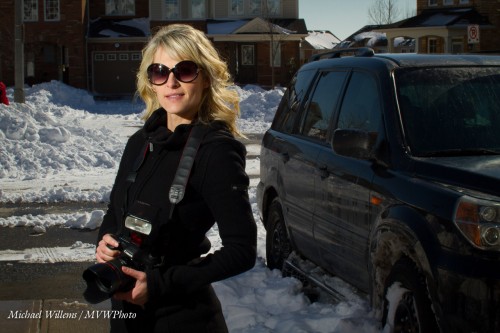
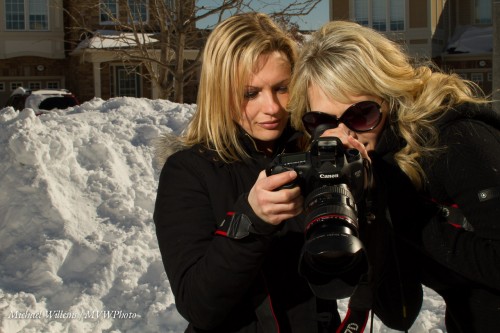
So now how do I do a dramatic portrait like these of my two students, wonderfully talented photographers Jenni and Becky (respectively)?

How indeed. Look at them full size to see the drama. Saturated colours plus plenty of personality! And that is how we shot them – no “Photoshopping”.

If I had used just my camera I would have had to angle them into the sun – bad. Instead, I prefer to:

  1. Angle them away from the sun to avoid squinting.
  2. Thus, use the sun for the hairlight (The “Shampoo-y Goodness”).
  3. Then, get a dark, saturated, background. First, I set my shutter speed to the fastest I can use: 1/250th second, the maximum flash sync speed.
  4. Then, I select a low ISO (100) and small aperture (wait for it: f/18).
  5. Then I use an off-camera TTL flash to light up the subjects. Yes, TTL, in this case: no need for Pocketwizards here.

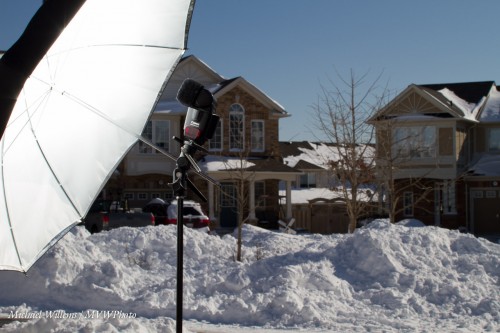
Now, the challenge: enough flash. Unless the flash is very close, it will not work well if it is a simple speedlight. I tried shooting into an umbrella:

But this needed the umbrella to be a little closer than I liked, so I turned the flash around and shot direct, discarding the umbrella. Yes, you can use direct flash, unmodified, if you are mixing with ambient light, and if the flash is well off camera. This gives us short lighting.

Here’s the students:

And they did very well indeed: their photos are stunning. Dramatic, and they now have a whole new range of possibilities added to their repertoire. You should consider learning the same: yes, you can do this with simple equipment.


___

Want to learn all this stuff? Allow me to once again point out these current and upcoming learning opportunities:

Michael


More Modifiers

Today, another look at flash modifiers for you.

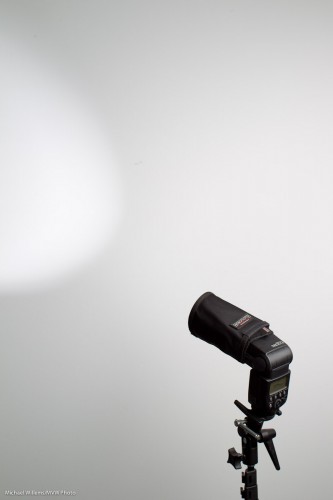
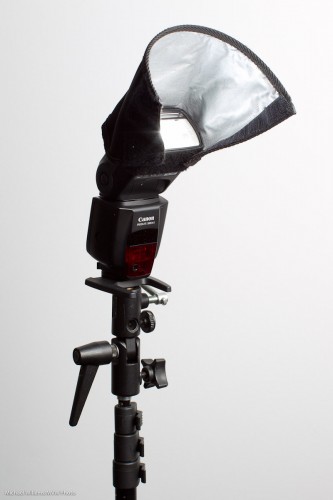
Here’s a smaller snoot (again, I am using the excellent range of Honl Photo modifiers):

This also makes a small well-delineated light area, but it is larger then the one from the large snoot.

A small reflector. This allows me to direct the light somewhat; it also softens the light a little:

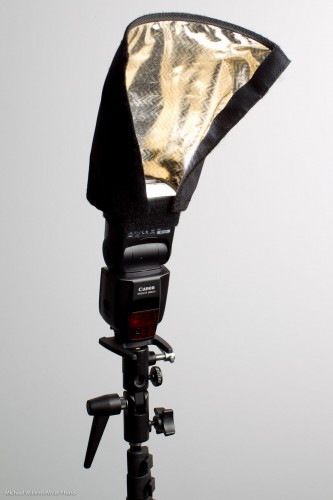
And a large reflector:

Observant readers will notice this is the same device as the long snoot – just not rolled up. This particular one is a CTO version – “colour temperature orange”, giving it a warm, tungsten-like bounce.

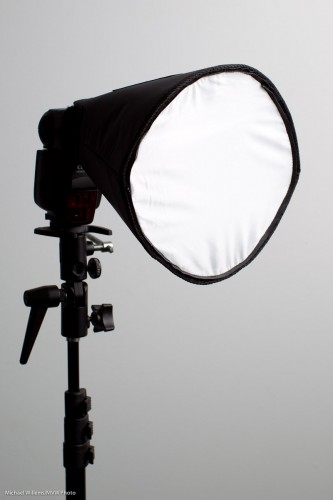
And finally a small portable softbox (this is the Honl “Traveller 8” – there is also a larger version):

This creates wonderful, soft light.

Without a softbox, this would have looked like this:

See that annoying side shadow? The softbox would have taken care of that.

___

As you know by now, my Photography “recipe” book is out: this 108-page (non-DRM!) eBook is available for purchase right now for just $19.95 –  see www.speedlighter.ca/photography-cookbook/