Event

Event shooting is difficult, because things are not under your control. In addition, there is never enough light; bouncing may be tough; there is not ebnough time.

But it can be done, and it can be done well. Especially if you remember you are a storyteller.

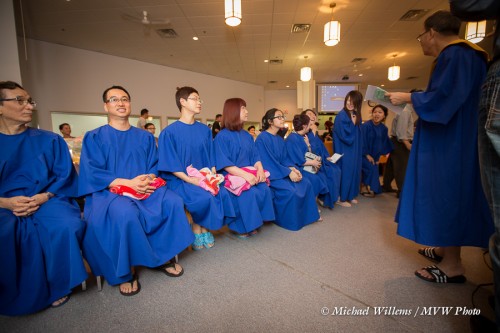
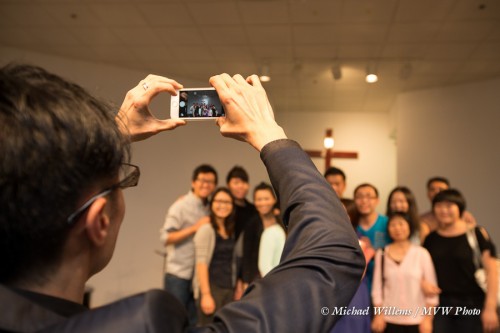
You start with an establishing shot. This sets the scene for “where”.

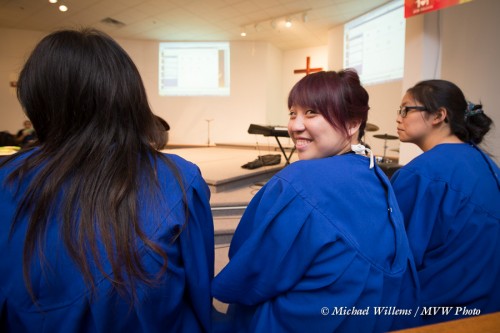
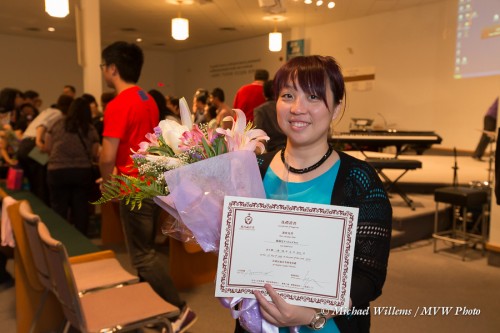
Then you proceed to the “what”…

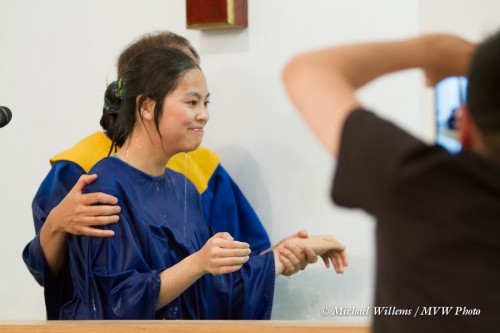
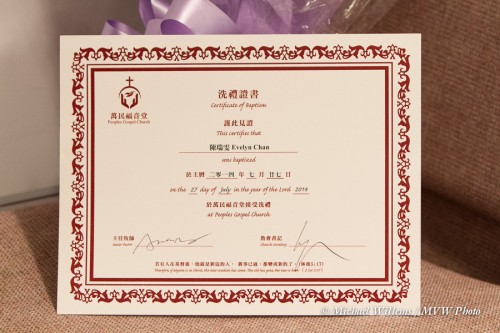
Then the “why”, “when”, and “how”.


As you see, plenty of detail, plenty of the event, plenty of “background” (the “B-roll” you hear me talking about so often).

In all of this, remember to be roughly chronological; and remember above all to make the viewer work it out. The ideal photo is a photo that makes the viewer take several seconds to tell the story in his or her mind.

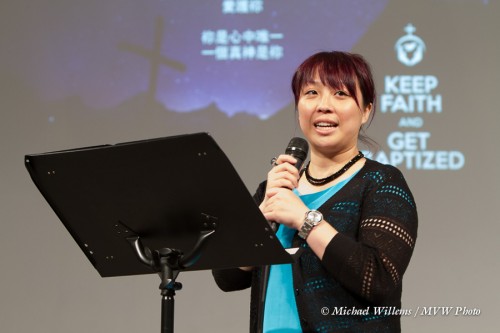
The photojournalism story above is already quite good, in just 8 pictures, at working out what is happening. The full shoot consisted of 314 photos. You can imagine that this tells more of the nuance, more of the detail: but in essence, these 8 pictures tell it all (yes, I know, I chose a different person for the post-baptism shot here).

 

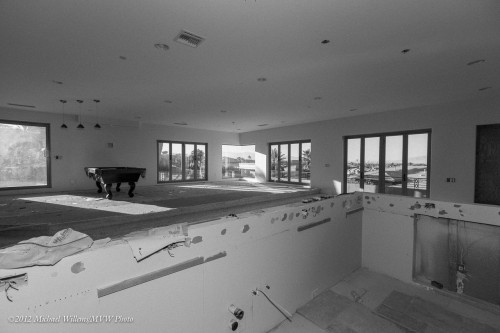
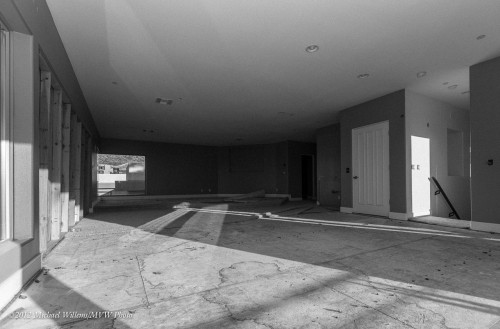
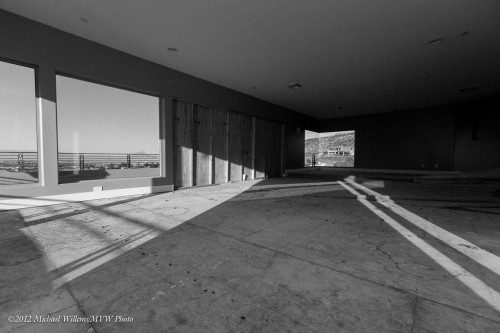
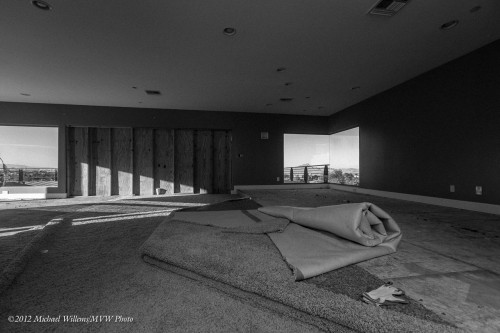
Aftermath – Abandon All Dreams

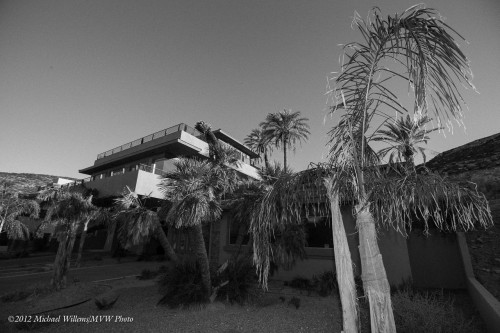
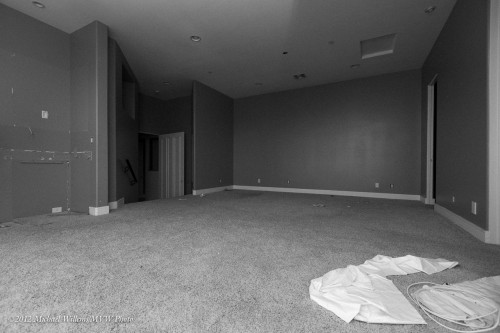
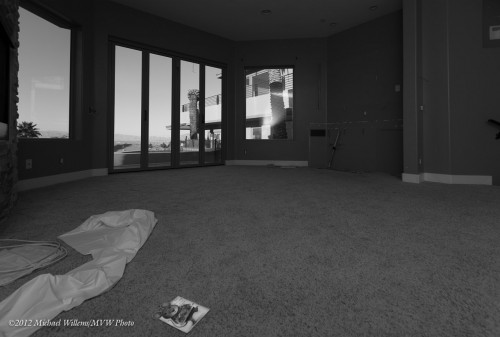
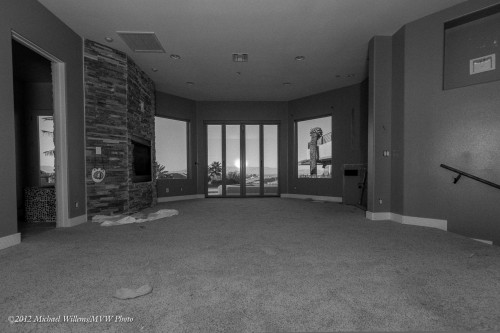
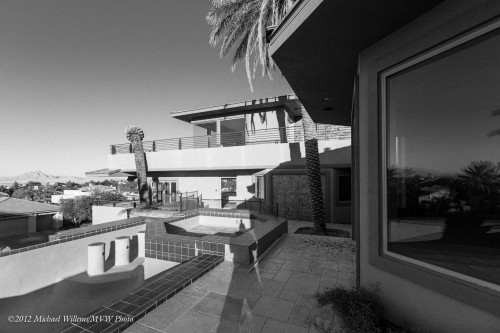
“Aftermath” – a short series I shot in a foreclosed home in Henderson, Nevada yesterday.

The contrast between the beautiful home and its present gutted nature, the abandoned dream is so great, and so sad.  None of this was staged, of course. The stories are human (look at the card in one of the shots: in fact it says “For Mommy, With Love”.)


CUP

One of my workshops is called “Creative Urban Photography”. I take a group of students around Old Oakville for three hours to practice and hone their technical skills, and especially to practice their eye.

This is a great workshop, that I can recommend to all (go to your nearest Henrys to sign up for it).

The wonderful thing is to see what “Urban” means to people. To some it means this:

Paint flaking, by Michael Willems

Paint flaking, by Michael Willems

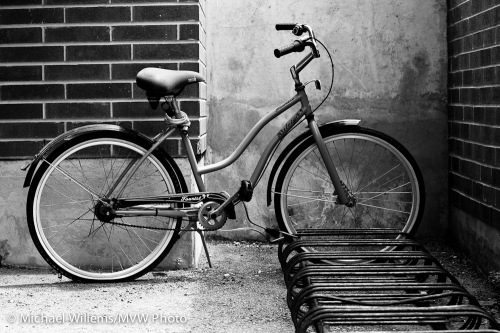
Bicycle, by Michael Willems

Bicycle, by Michael Willems

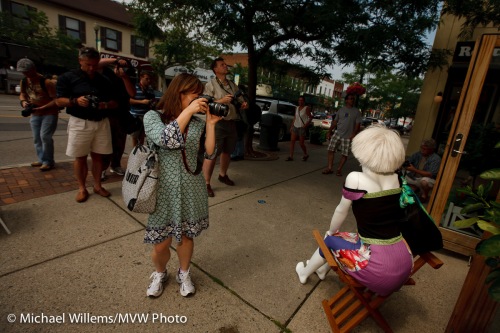
Photographers and mannequin, by Michael Willems

Photographers and mannequin

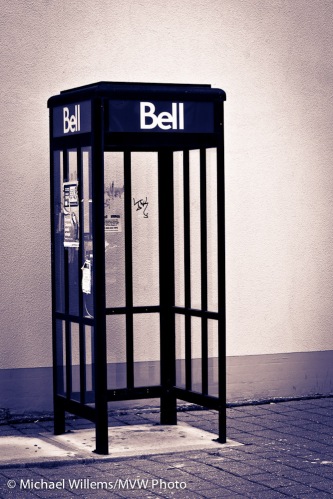
Or this, Oakville’s very genteel version of vandalism:

Phone box in Oakville, by Michael Willems

Phone box in Oakville, by Michael Willems

While to others, it means happy things like this:

Lonely yellow flower, by Michael Willems

Lonely yellow flower, by Michael Willems

And this:

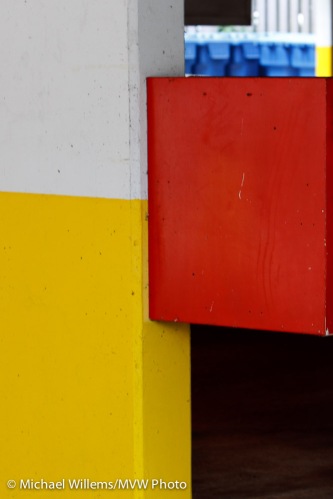
Red, Yellow and Blue (bins), by Michael Willems

Red, Yellow and Blue (bins)

And this:

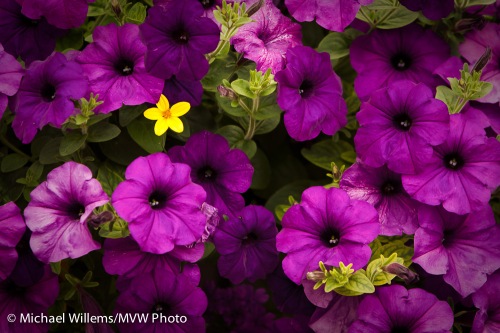
Flowers, by Michael Willems

Flowers

(Can you see how I am filing the frame in these images?)

Others yet have a theme like “churches” or “textures”. All good. The thing is, once you have a story, you are great. It does not matter what that story is, and no-one can tell you what it should be. It is your story. All I can tell you is that there should be one.  Random images are not as effective as images that try to tell a story, convey a viewpoint.

So next time, ask yourself what your story is. Once you know, you will fimd ways to portray that photographically.

Quick sports checklist

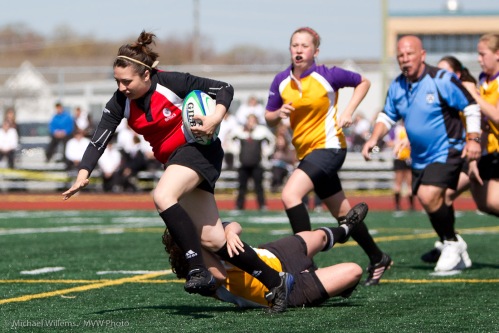
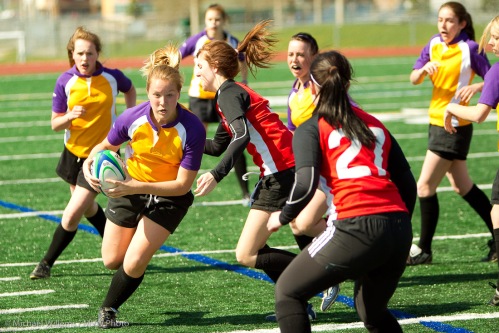
Inspired by yesterday’s Rugby game and tomorrow’s Lacrosse game, both of which I shot/will shoot for newspapers, here’s a little checklist for the 1D Mark IV and similar cameras for sports like this:

What to bring:

  • Camera
  • Backup camera
  • Spare batteries
  • Spare memory cards
  • Rain protection
  • Pens, notepad/paper
  • Business cards
  • Assignment sheet (so you can prove you are official)
  • Mobile phone

Camera setup:

  • Continuous drive shutter
  • AI Servo/AF-C mode
  • One focus spot
  • For these sports, custom function III-4 set to “1”, AF Tracking priority (so that a player who comes in front does not quickly cause focus to shift)
  • On my 70-200 2.8L IS lens, IS on, but set to position 2 (that means, suitable for panning). If your IS/VR lens has only “on” and “off”, select “off”.
  • Record all images to both cards (the “1”-series cameras have this option for extra safety)
  • Size you want

As for exposure, the need is for fast shutter speeds. 1/320th or faster.

While there are several ways to achieve that, I do it as follows:

  • Outdoors, I use aperture mode wide open (f/2.8) and ISO as needed, say 200 ISO, to get super fast shutter speeds. Outdoors I can often get settings like 200 ISO, 1/4000, f2.8; or 200 ISO, 1/2000, f4.
  • Indoors I generally use manual mode after metering and checking histograms. I am not afraid to go to 1600 ISO to get to fast-enough shutter speeds. Inside I can often use settings like 1600 ISO, 1/400, f2.8.
  • I could also use manual and enable auto-ISO, but I have not used auto ISO in an important assignment. I like to set my own.

Positions are sports-specific: more later. But a golden rule: follow the ball; follow the action; follow emotion. In that order!

One more tip: shoot the jersey numbers and the roster, so you can write the right cutlines. I was not happy that rugby players do not have the numbers on the front of their Jerseys.

And one last tip: shoot a lot. A “keeper ratio” of one in 10 to one in 30 is not unusual in sports. And with digital, it’s free.

I hope that helps all you budding sports photographers.

Let there be light.

Please. Light. I dream that one day the newspaper will send me to shoot something where there is actual light.

Tonight, two shoots where no flash was allowed (or possible). I started with a recital. Church. Not possible to move – I had to stay where  I was and not in the best place. And no flash.

So that meant that to get acceptable shutter speeds (1/125th sec on a 200mm IS lens, which ias as low as you can go, really) I had to use 1600 ISO at f/2.8, which is just OK on the 1D MkIII:

Not too bad. Thank God for f/2.8 lenses. Why do I pay $2,000 for my lenses? This is why.

Then it got worse. Rush to get to the next appointment: Tennis. And indoors. And in very low light. To see the ball and to freeze action I needed 3200 ISO – and even then at f/2.8 I was only able to get to 1/320-1/400th second, never faster.

Big time noise. But…  I (and hence the newspaper) got what I went in for.

And tonight I will dream of venues with light.


Dawkins

I photographed Richard Dawkins tonight. In the sold-out Bader theatre in Toronto, where he introduced his new book to an enthusiastic crowd:

MVWS9239

Usually, theatre lighting is quite simple – if you get to sit in the right place. Since my son Daniel and I sat in the very front row, today was no exception. The background is dark but the subject is lit brightly:

MVWS9318

I did not need more than 400 ISO, which gave me 1/100 sec at f/2.8. In manual exposure mode, of course.

“No flash“, the slightly inept people from the publishing house (who did not believe I had talked to their colleague on the phone earlier – Simon and Schuster Canada, you lost out on some free shots!), said time and time again. (The Dawkins web people aren’t very responsive either: four attempts to contact them. to multiple email addresses, offering free coverage – and zero responses: instead, I helped their own shooter, who was an ’emerging pro’ and asked for some advice).

No problem!

The only problem was focus. My 50mm f/1.4 lens front focused on the 1Ds MkIII by at least 6 inches, which is disastrous. I had to adjust it to a setting of “+17” (out of a possible 20!) in the ten or so minutes before prof Dawkins arrived. The 35mm f/1.4 and 24-70mm lens would not properly focus at all in this light (they were consistently way off), so while I switched many times, I kept coming back to the 50mm lens with +17 adjustment.

One day Canon will make a camera that focuses well. Perhaps. I am not holding my breath.

MVWS9307

Anyway, I got some nice shots. Photojournalism is never easy, but sitting about 10 ft away from Richard Dawkins makes up for a lot.

MVWS9299

(A few more shots here)

Fire tips

I have no idea why today reminded me to write something about photographing fires.

All I did today was do a very pleasant workshop presentation to a packed crowd at Kraft Canada about “making better photos” – 50 enthusiastic people in a room for 90 minutes to look at pictures and talk about photography – and tonight I shot people at a business seminar in a Burlington hotel for West of the City magazine. That shoot presented the usual issues (I get there and the seminar is about to start, so only a minute instead of the planned hour for pictures).Fun, though: I love shooting events.

But how does that get me to shooting fires? No idea. But fire tips it is!

Tip one: avoid them.

Tips two and on: if you do shoot a fire, be careful and follow authorities’ orders. And also:

  • Shoot firemen against the smoke
  • Catch flames
  • Be upwind of the fire
  • Also consider wide lenses to capture the smoke

I shot this recently when I got the a Burlington fire way before the authorities did, so I was in the inner circle, while other photographers who arrived moments later were unable to get there:

BurlFire-MichaelWillems-8

These were used in The Hamilton Spectator.