Slowlighter?

Well, you do not always have to use additional lighting, of course.

Remember that image yesterday?

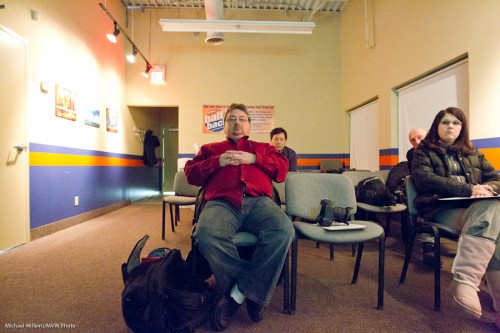
That was shot in the dark – yes, in a room where I had turned the lights down to almost zero visibility. Just to show it could be done.

If you use “auto ISO”, when using a wide angle lens that will lead to something like 12800 ISO at 1/15th second. As it did in my case. It looked like this:

Yeah, nice and stuff. And perfectly usable; do not be afraid to do this.

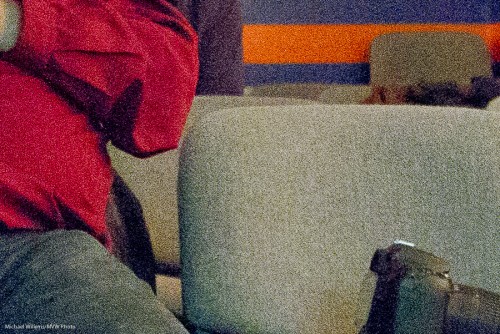
But when you zoom in, you see the drawback of those high ISO values (click to see real size):

See what I mean? Not bad, but not great, with all that grainy noise.

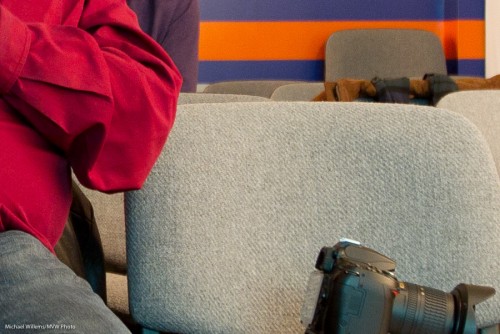
So then I turned the ISO down to just 400. This of course got me an exposure time of 5 seconds, so everyone sat still. Result:

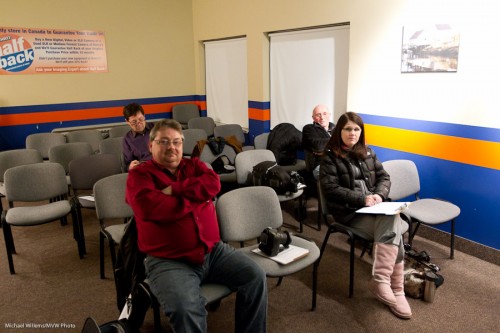
I promised yesterday I would explain why I shot with this composition instead of aiming down a little? Simple: because I did not have a tripod, so I needed to use the desk to hold the camera still for 5 seconds.

If you feel like another exercise: here you go. Go shoot a night image that looks like day.

You will need a tripod. You will need patience. You will want to use a low ISO value to avoid noise. Cold northern hemisphere nights are best to reduce noise. Go try it yourself tonight. And do not forget to make your image a nice composition.

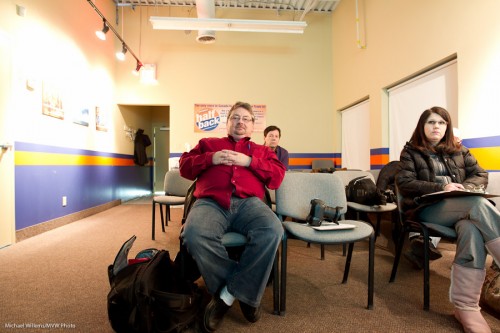
It’s all about viewpoint

One trick to make your images more interesting is to avoid shooting them from the “Uncle Fred” 5.5-feet-above-the-ground position.

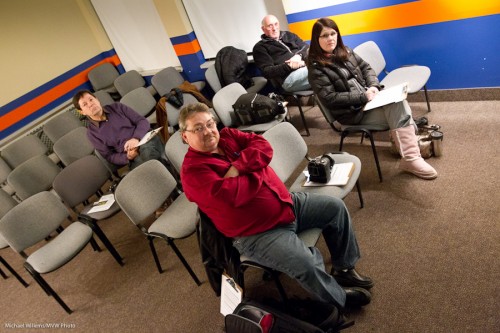
I demonstrated this the other day to a group of students during a “Composition” class I taught at Henrys School of Imaging in Mississauga.

First, here’s an “Uncle Fred” snap:

Ouch. Brrrr…. bad composition, people in the middle, legs cut off: lots of room for improvement.

So let’s get on a chair:

Note how I also tilted the picture. Why? Well… mainly “to get it all in”. Never be afraid to do this: it helps you compose, but it can also often lead to better pictures, more interesting, more dynamic – and of course you can simplify, this way (get rid of stuff you do not want).

Another viewpoint, finally. This one is also much more interesting than just “from 5.5 ft above the ground”: in this case we get down low. A very different effect:

That one could benefit from a slight repositioning, but I shall explain tomorrow why I shot it the way I shot it.In any case – much better, no?

The first thing I do when I am to shoot a standard event (someone handing over a cheque, say, or cutting a ribbon) is to find a good viewpoint. Uncle Fred’s is not necessarily the one you want.

Your exercise for today: shoot a creative shot (of anything you like) from right-by-the-ground level.

One fifteenth

When you want to show motion, one fifteenth of a second is the kind of time you need to think about.

Of course this depends on:

  • focal length of the lens
  • how fast the subject is moving
  • how close you are
  • how steady you are

..but in general, 1/15th is a good time to use.

Why?

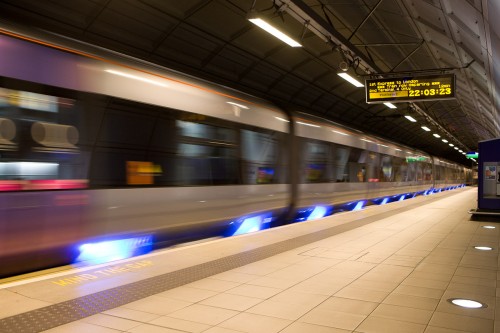
To show movement, rather than to freeze it. Like in this snap of the London Heathrow Express:

Heathrow Express Train

Heathrow Express Train

Not showing movement (shooting at a fast shutter speed) would show a “stationary” train – which here would be a big mistake.

Framed

In the series of “and yet another composition tip today”, I would like to talk for a moment about framing.

We do this often. Why? Why do we frame subjects?

In photos, we do it just like we do on walls, because it emphasizes, in other words draws attention to, your subject; makes it stand out. It’s just one of those things we seem to find visually pleasing.

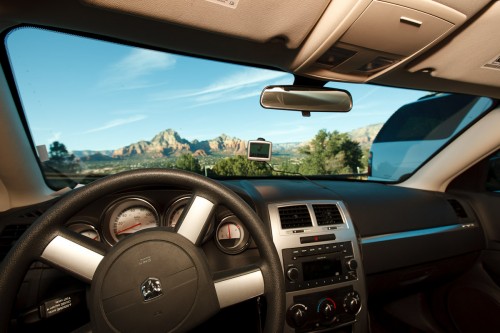
And you can frame in many ways. For example, use your car (and yes, to light up the inside, I used a speedlight here, bounced off my hand):

Sedona, AZ (Photo: Michael Willems)

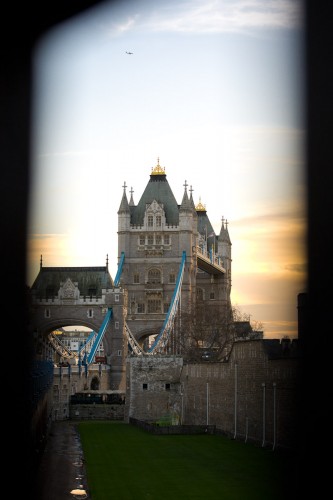
Or perhaps use an opening in a brick wall, as I did here in London:

Tower Bridge, London (Photo: Michael Willems)

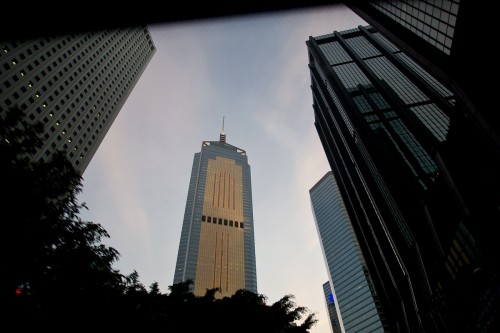
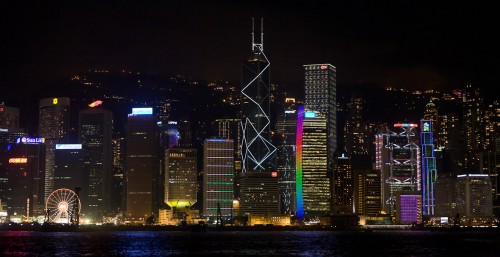
Or use buildings:

Hong Kong Skyscraper (Photo: Michael WIllems)

Use anything you like. The point is, when a frame presents itself, consider whether it might be the way that for this particular photo you want to draw attention to your subject. Is this frame relevant? Will it add to the story? If so, give it a go.

About colour in photos

In my series of “travel tips”, here’s a thought or two about colour.

Colour is often nice when used very deliberately. And the good news: there are tricks to doing that.

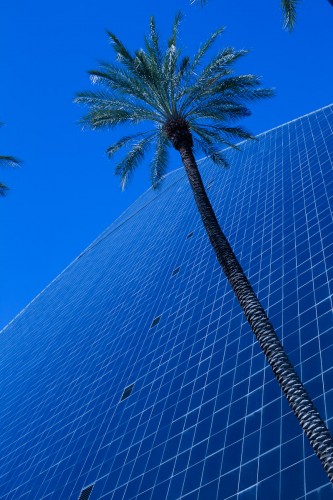
Like using single colours. Whenever you see a strong primary colour dominate, consider whether this might contain a picture:

Blue Vegas

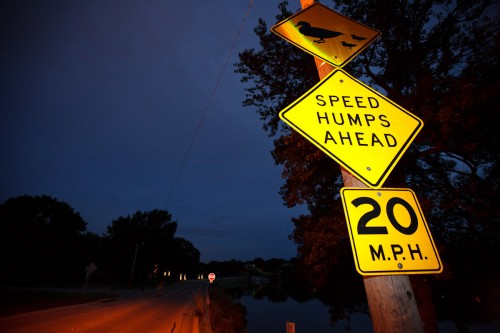
Or when you see opposite colours – like blue and yellow together:

Speed Humps!

(Can you see the use of flash in that image?)

Warm colours are good too – think about a sunset. Think of adding a little CTO filterin front of your flash (a gel – I use the Honl gels, which like the rest of the Honl range of modifiers, has made my life much easier).

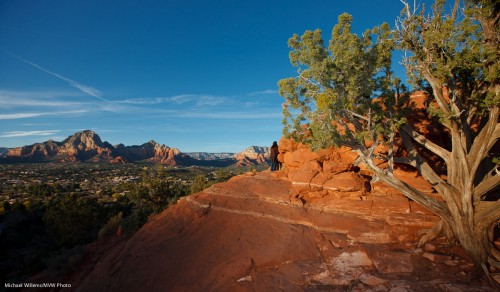
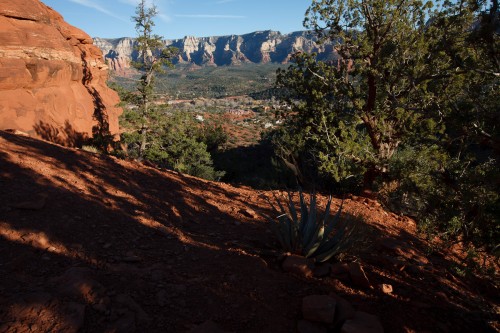
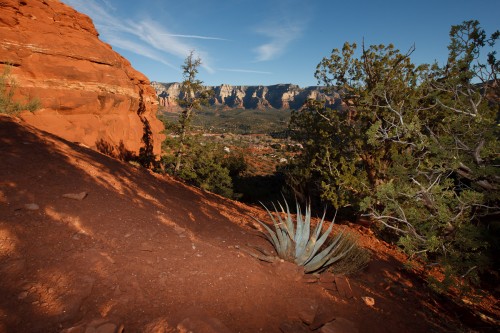
And I especially like the combination of all three main primary colours, red, green and blue, all in the same image:

Sedona Afternoon View

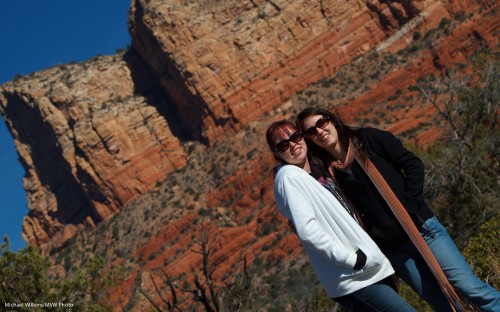
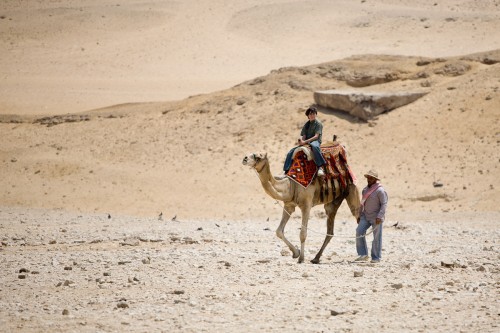
You will see this in many of my images: here’s another one, an on-request snap of a couple of tourists in Sedona, AZ (can you see I used a long lens for this? Why?)

Sedona Tourists

Finally, candy colours can be fun too: we look at them, our eye is drawn to them:

Candy Cane Colours

So my lesson for today is: think about colour: how are you using it? Are you getting the best out of it?

Foot note: I mentioned David Honl above. Dave is coming to Toronto – he is my special guest in a three-hour course on “Event Photography and Creative Light”, on Saturday, 19 March 2011. The location is to be announced but it will be in, or right next to, Toronto. Let me know right now if you want to reserve your space.

Flash Outdoors?

Another quick travel photography tip for you all today. My cold is still getting ever so slightly better every day – soon, longer posts. Until then I concentrate on useful!

Flash. Use it outdoors. When it’s sunny.

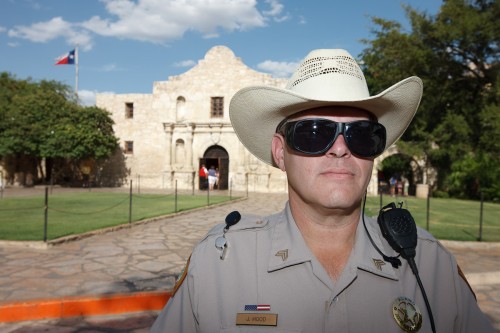
Yes, you need flash when it is bright and sunny! Like here:

Officer Hood at the Alamo

Without flash, his face would have been dark.

And look at this no-flash shot. Can you see what’s wrong?

Sedona Sunset

Right, so now we light up the foreground with our speedlight:

Sedona Sunset

Sedona Sunset - with flash

See how much difference that makes? In that last picture, I used a flash exposure compensation setting of -1 stop, to avoid the flashed part of the image becoming too bright. All I wanted is some fill.

Negative space

Since I am still getting over my sinus cold, just a quick tip today:

When you shoot a subject and want to show it in isolation, use “negative space”.

Negative space has “no information” in it – it is not literally empty, but it serves no purpose other than to show off isolation, vastness, and to make the subject stand out against this; to show it in its context.

How often do you use this technique?

Low contrast – now what?

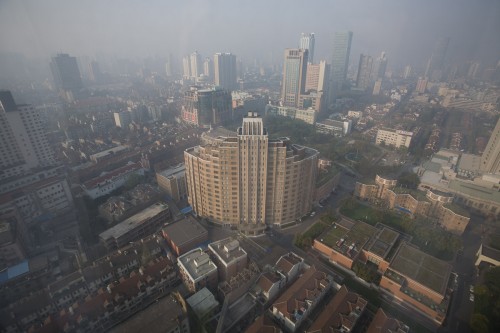
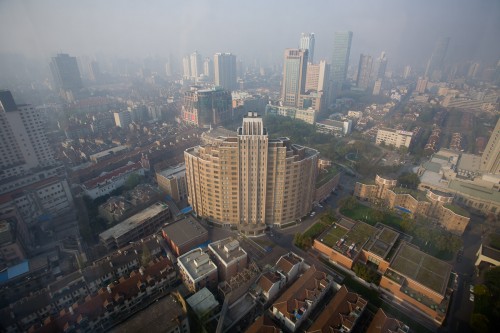
So you have a low-contrast, hazy image like this.

Shanghai Morning 1

Yup, it is a hazy morning in Shanghai. Now what?

You have several options.

  • Live with it. Haze is not always bad! Sometimes (“foggy mornings” come to mind) you want this sort of low contrast.
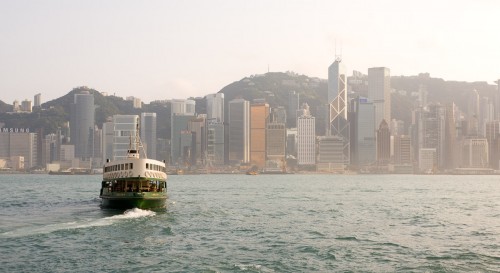
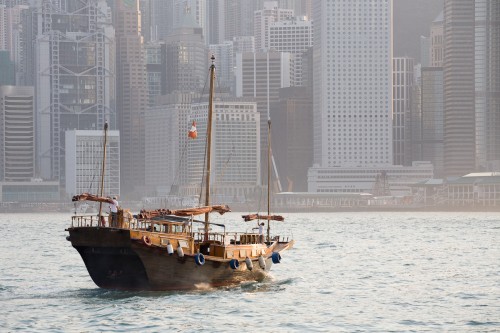
  • Put a sharp object in front. This is a very powerful technique: it makes the haze into a benefit, as in the boat image below.
  • Finish in post-production. In the last image below, I increased exposure until the histogram hit the right side of its box; then I pulled down “blacks” in Lightroom to make the blacks black – i.e. until the histogram hit the left. You can use “Levels” in Photoshop to achieve the same result.

Like this:

Hong Kong Harbour

Shanghai Morning 2

And.. you are shooting RAW, right?

Summer sports

So on warm sunny days, when you shoot summer outdoor sports…. hey wait. It is -23.5 C outside, here in Mono, Ontario.

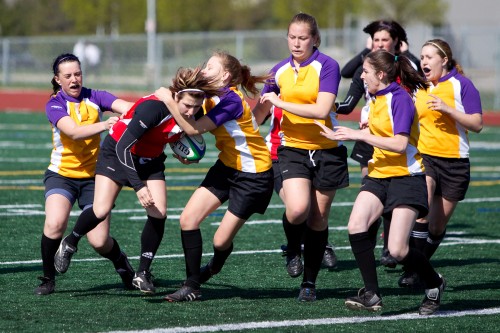
But yes, I thought this would be a nice time to give you a walk-through of an outside summer sports picture, like this Rugby shot from July 4, 2010:

Rugby game

So how do you shoot outdoors sports?

  • Perhaps S/Tv mode with a fast shutter speed, or A/Av mode with a wide open aperture. I prefer Av mode, wide open, so that I can be sure that the fastest possible speed will be selected. Manual is also possible of course. In the shot above, I used Aperture mode at f/3.2.
  • I used an ISO setting of 200 – just a little faster than 100.
  • This gave me a shutter speed of 1/3200 second.
  • The lens was a 200mm lens – namely the 70-200 f/2.8 at 200mm on the 1D, meaning 260 effective mm.
  • Use AI Focus/AF-C focusing mode!
  • And use one focus point.
  • Look closely at the background: looks like turbulent air is making the background look, well, a little turbulent. This is normal on artificial turf, and this will limit what you can do in terms of distance.
  • As a wide aperture I try to shoot groups of people in the same plane of focus, as in this image – either that or single players.
  • Obviously you will be using continuous shutter: click click click click click.
  • To enable this, use a fast memory card.
  • Position yourself so that you catch players with the sun coming into their faces – not on the back of their heads!
  • Try to catch expression/emotion if you can. Quite a lot of that in there I think.
  • Sports like Rugby are also colorful – all good.
  • I shoot RAW, but sports is the one occasion when sometimes I shoot JPG – smaller files and faster clicks.

I thought a quick outdoor sports picture would be nice for today’s belated post – I remember sweating on that day.

A distant memory now that it is -23.5 C! Almost time to drive to Scarborough to teach “Travel Photography” at 1pm (there’s space!).

Checklist: Aye Aye

Back when I spent a lot of time flying airplanes, I would never have dreamt of leaving without going step by step through a detailed checklist. Much as you know, without the checklist you’ll forget that fuel tank selector once – and once is all it takes.

Photography is less critical – but not much. So I propose that you use a checklist much of the time.

This checklist depends on what you are shooting. I usually start from standard settings for snaps:

Focus:

  1. Lens (and camera if it has a setting) on AUTO
  2. Select one focus point
  3. Mode: One-Shot/AF-S

Exposure:

  1. Mode: Aperture, set to f/5.6
  2. ISO: 200 outdoors, 400 indoors and 800 in difficult light
  3. Exposure Compensation: Off (Zero)
  4. Flash compensation: Off (Zero)
  5. Meter: Evaluative/Matrix (“Smart”)

Other:

  1. White balance: Auto
  2. Shutter release: Single

Then I vary from there.

For indoors flash pictures, for instance, it would be as above, except:

  1. Mode: Manual
  2. ISO: 400
  3. Aperture: f/5.6
  4. Shutter: 1/30th second
  5. Flash: On, pointed 45 degrees behind me

You can make your own, and I encourage you to. One of my flight instructors once told me: every item on the checklist is there because that feature has killed several people. And for photography, every item is there because it has ruined someone’s wedding pictures.