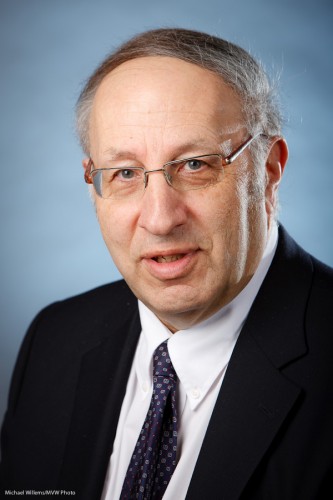
Bubutbut

I often, of course, say this – “Limit: when using flash, you cannot exceed your camera’s fastest sync speed (usually 1/250th second)”.

And then almost as often, I hear the following objection:

“But Michael: you can use High Speed/Auto FP flash!”

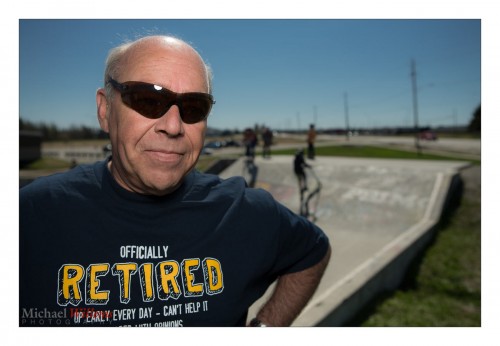
And that way, you can exceed the sync speed. Sure – like in this photo of Aurèle Monfils of the Porcupine Photo Club, which I made yesterday with the standard sunny day blurred background setting (write it down!) of:

  • 100 ISO
  • f/4
  • 1/2000th sec

…using an on-camera flash fitted with a Honl 8″ Traveller 8 softbox:

Yes. You can, as you see!

But now I have a “but”.

The high-speed mode works by effectively making your flash into a continuous light, at least for the duration of the shutter speed; it flashes pulses at 40 kHz. Fine, but most of those pulses reach the closed part of the shutter, so most energy is wasted; hence, your effective range is reduced dramatically. Maybe just over a metre at 1/2000th second when using the flash without modifier; with a softbox as I was using here, maybe 30cm, no more.

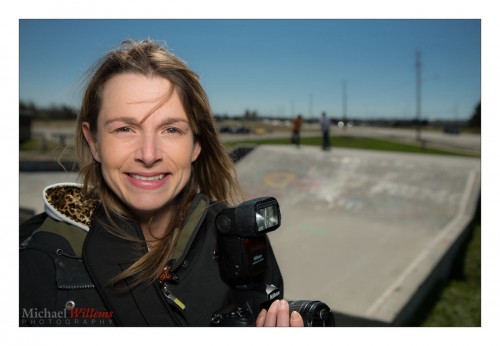
Hence the slight “wide angle” look in my image above due to me having to be close, with a wide lens. As in this one of Aurèle’s daughter Lisa:

So while it is true that high speed/FP flash solves the sync speed problem, it’s  not a panacea, and in practice, it is only occasionally usable.

Footnote: Lisa is turned away from the sun: It is behind her, meaning she is not squinting, and the sun becomes the shampooey goodness™ light on her hair!

___

Want to learn to use modern Flash technique? I travel worldwide for hands-on seminars. Vegas, London, the Netherlands, Phoenix, Niagara, Toronto, or Timmins: wherever you want me, I’ll be there for you.

Building a studio portrait

A “standard” studio portrait is very simple to build if you have three or four flashes; and it is entirely repeatable, that is its beauty. Here’s how you do it in six easy steps:

ONE set the camera to settings where the ambient light does “nothing”. Like 100 ISO, 1/125th sec, f/8. Test this by taking a non-flash picture: it should be dark.

TWO set up your main light, using softbox or shoot-through umbrella, at 45 degrees from the subject, 45 degrees up. Turn your subject into that light.

THREE then add a fill light on the opposite side. You can use a reflector, or another flash with umbrella, set two stops darker than the main (“key”) light.

FOUR then add a hair light, for that shampooey goodness™. This is a light from behind at an angle, using a snoot or grid to avoid lighting all of your subject.

FIVE then add a background light – another flash.

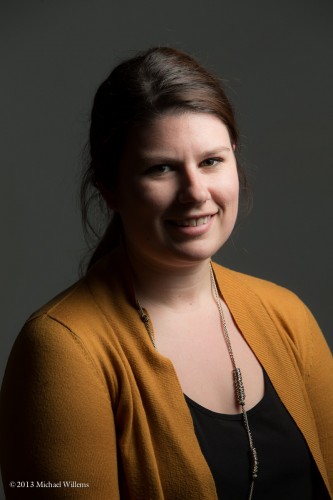
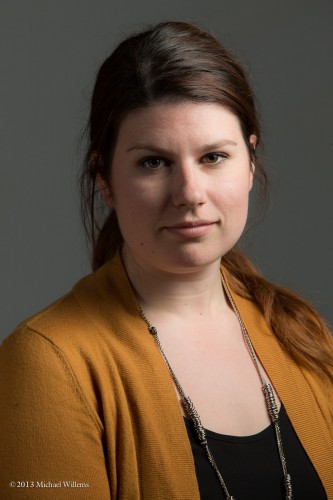
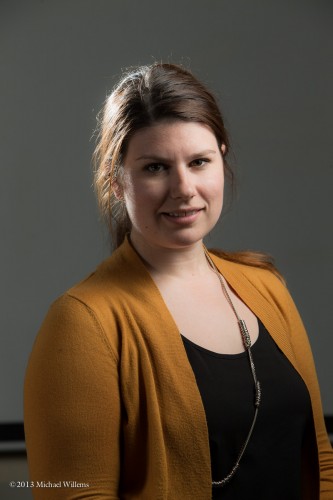
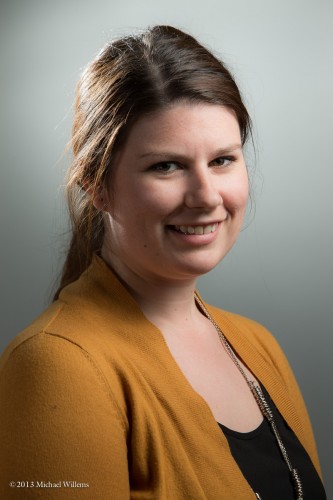
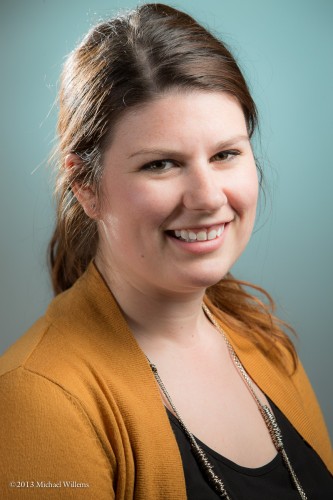
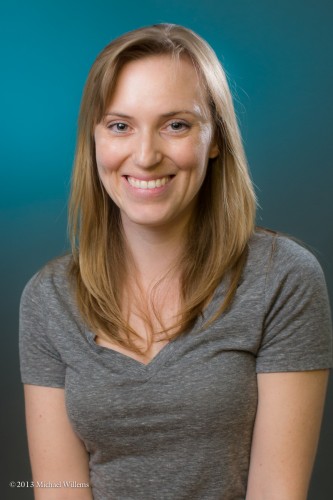
SIX then decide if you want colours anywhere – like the background. I used a complementary colour here – complementary to the subject and her clothing:

A Studio Portrait (Photo: Michael Willems Photographer, www.michaelwillems.ca)

Done!

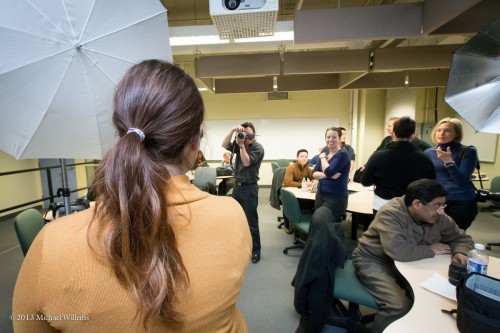
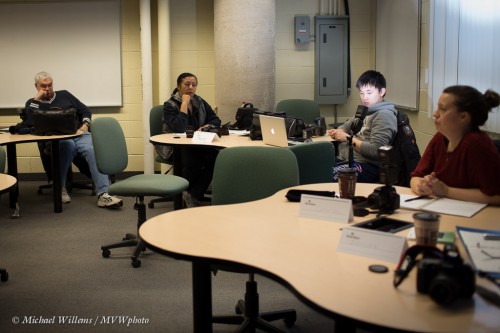
Here’s my Sheridan College class on Monday, practicing this:

___

Want to learn this? Next week’s workshop (April 10) in Hamilton, Ontario is about this very subject: studio photography. In one evening, learn to do this, use a light meter, use pocketwizards, compose, etc. There are still spaces, but this small, intimate studio workshop is limited to 10 students, so book right now!

http://photonetworkexpo.com/ : come see me talk this weekend in Toronto about Flash Photography, and even better: book online and use promo code Michael2013 to get 50% off a weekend pass. See you then!

Shampooey Goodness™

You have heard the term “hair light”? It’s the Shampooey Goodness™ look that makes hair look alive and wonderful. That is why we use it in portraits.

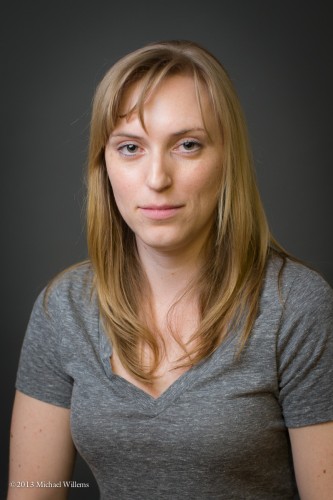
In yesterday’s flash course, I shot a few images of one of the wonderful students, especially to show you in today’s post. Here’s Becky lit with a single TTL flash (a 580EX shot through an umbrella) without the Shampooey Goodness™ secret ingredient added:

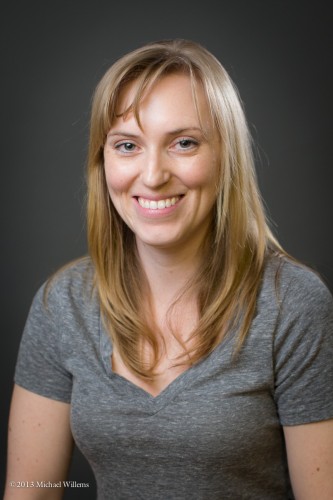
Pretty – but now let’s add a second flash, behind her, fitted with a Honl Photo Speed Snoot (a rolled up tube, that concentrates light). That gives us the desired Shampooey Goodness™, and now, in this scientifically objective and neutral comparison, we get:

See what I mean? That’s why we so often in portraits like to add a “hair light”.

Of course there’s something else missing from this image. Can you see what?

Yes – that background is a little dull. So we add a third flash, fitted with a blue-green gel:

Bingo. A great subject, soft light, Shampooey Goodness™, and a lit background. That’s how you do a portrait. Three TTL flashes with simple, small modifiers.

___

NEW: Learn this from me personally in Hamilton, Ontario on April 10 or May 14: www.cameratraining.ca/Studio-Ham.htmlsee the full schedule on www.cameratraining.ca/Schedule.html and sign up today.


Wednesday Possibilities

Today, some shots to get your imagination going – shots that show how much is possible with little effort, and quickly. Shots I took in and between classes in mere seconds, to demonstrate specific points.

Like this quick demonstration shot showing what a great modern camera like my 1Dx can do at – wait for it – 51,200 ISO:

Meaning that with a new camera, you can now photograph pretty much in the dark, or mix a little flash with very low ambient light, or bounce off very high ceilings.

Especially when using off-camera flash, that opens up all sorts of possibilities. Here’s a demo shot showing what a little extra light can do; look carefully and you will see that I am using remote TTL flash (where my camera’s flash is the “master”), and my student at Sheridan college has set his flash to be the “slave”:

Result: he is temporarily blinded… and lit up. You can do that too, with very little extra equipment. One flash, if you have a moden camera whose popup can “command” external flashes; else, two flashes, on on the camera and one remote. Imagine what you can do when you can add a little light everywhere you like!

Then, another student lit dramatically – from below! This kind of eerie effect is easy once you can take your flash off the camera as desribed above.

Or – just turn the camera upside down and bounce flash off the table, as I did!

Off-camera handheld flash gives me this image, even when the flash is aimed direct, of Mr Jun:

Not bad, and that is direct light aimed into his face – as long as it is not near the camera, the flash can be unmodified and direct!

And when you have several flashes, you can do things like this:

Now that is a competent portrait, taken in just a few seconds, using this setup with two off-camera flashes each fitted with a Honlphoto grid, and one with a blue-green gel; using two “biological light stands”:

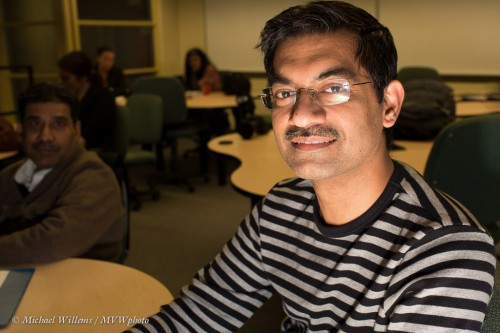
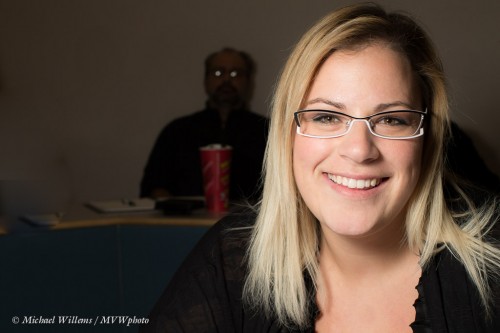
But finally – do you need all those flashes? No, here’s a portrait using one flash fitted with a Honlphoto 8″ softbox:

The apparent Martian in the background adds a little extra “huh?” to this photo, don’t you think? His glasses reflect the round softbox.

Anyway, these snaps demonstrate that you can achieve a lot in a very short time using simple means – you may already have every thing you need. Get creative, go outside the box, and above all, think “where is the light coming from”!


Another Softbox Tip

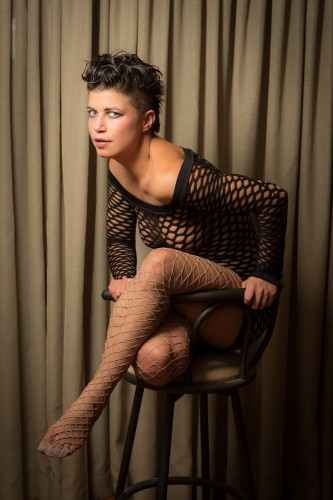
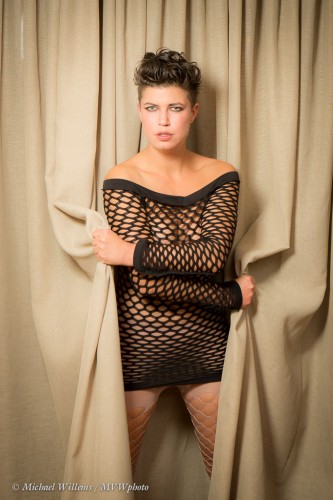
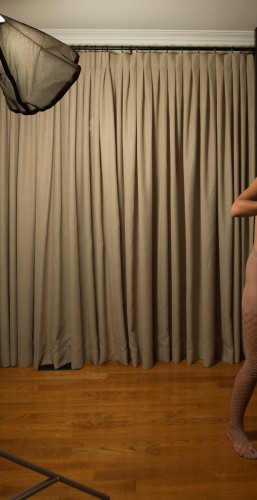
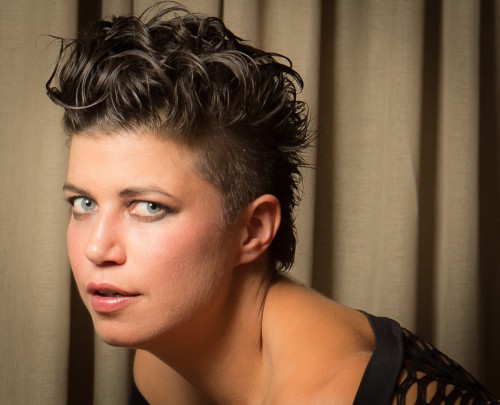
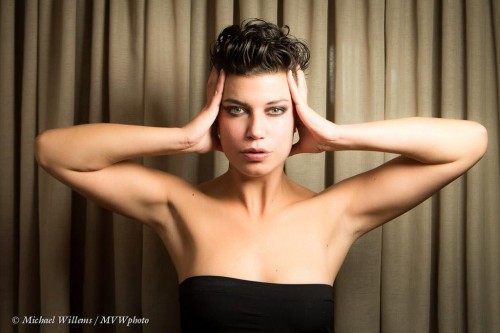
Tonight, I shot my model with her new short hairdo using the simplest of means. And yet, they look like studio shots. With the minimum of post work done, the images look like this – and this was an hour or two ago:

What did I use for this? Simply an available background, a camera, and two speedlights.

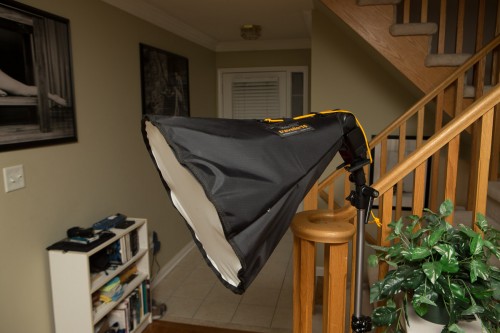
One on the camera, and one on a lightstand, equipped with the Honl Photo Traveller 16 softbox. This softbox, which is much larger than the Traveller 8, looks like this:

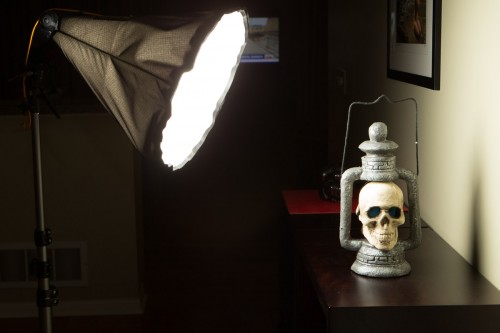
I used a Canon 580EX as the flash. The softbox comes equipped with an inside baffle so that the light spreads evenly:

(Can you tell that Halloween was a couple of days ago?)

The baffle makes the light spead evenly, but it does mean the Traveller 16 is not the obvious choice for outdoors daytime, where power is at a premium. But for outdoors on darker days, or for indoors, it is perfect:

I used this setup:

  1. Canon 1Dx with 24-70mm lens.
  2. Camera on manual, 1/200th sec, 800 ISO, f/5.6.
  3. Speedlight on the camera: 600EX, set as master, but also firing, bounced off the ceiling on the opposite side to the softbox.
  4. Main speedlight: 580EX II as slave, with the Honl Traveller 16 softbox on a lightstand.
  5. Master:Slave ratio set as 1:8 (meaning the bounced light just adds a little fill light – three stops below the key light).

Always take a pullback shot! Here’s the main flash:

The results? They are, as you see, very good.

One thing I like about the Honl softboxes is the nice round catch light:

The point of this post: That with simple tools, you can get very good results. You do not always need the clinical studio setting. In fact, I avoid it as much as possible: clinical means intimidating, and strobes mean arthritis.

If you can do it with one or two speedlights, as I did here: do it!


More “simple light”.

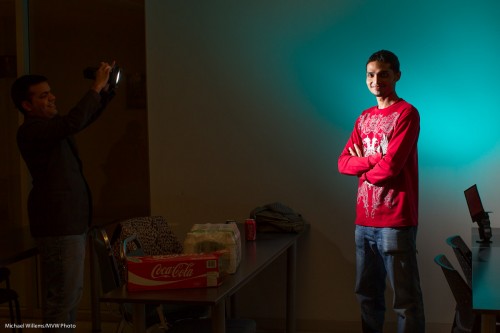
Here’s student Brittney, in a Seneca College workshop I did the other night:

Again: simple light: one off camera flash.

  • From yesterday’s post you will remember that I first thought about the background, then about the flash. In this case I set my camera (in manual exposure mode of course) to give me a very dark background. I wanted no ambient light.
  • And yes, you can use direct flash. I had a honl photo grid on a 430EX flash, driven by the camera’s 580EX.
  • The 580EX was disabled from contributing to the actual shot: all it did was fire commands.

Another student – and here I added a background light too:

How did I do that?

TIP: always do a “pull-back shot”, where you see your setup.

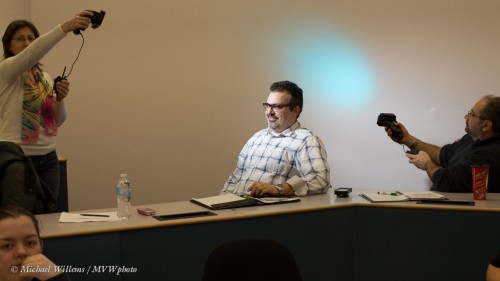
As you see, here I asked a student to hold the gridded main flash; then I used a second flash with a gel and, to prevent the color from hitting the subject or shining into my camera, a flag (a gobo – “go between objects” – the Honl bounce cards are also gobos/flags.


A simple chiaroscuro portrait or two

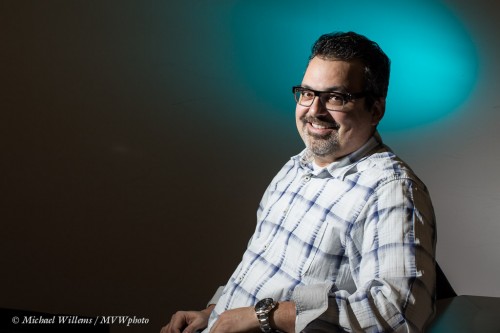
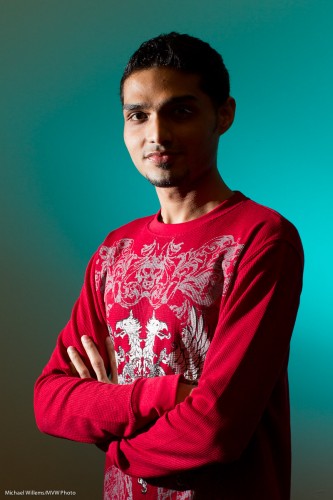
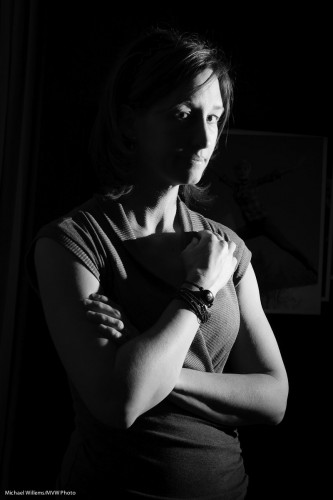
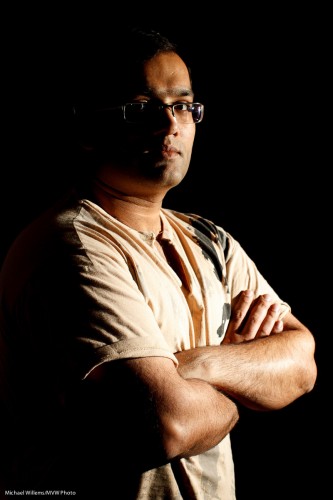
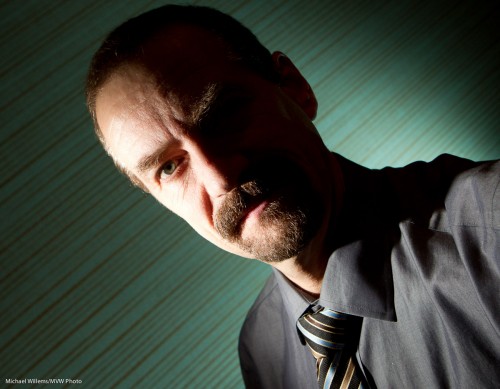
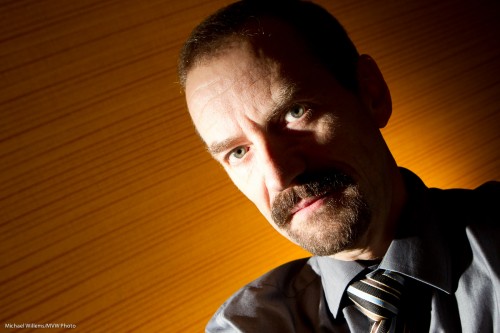
In the last few days I took two people’s portraits using just one off camera flash. Here’s Michelle and Adnan, respectively:

How did I take those?

First, I set the camera so that the ambient light looks dark. The room was not dark – it just looked dark to the camera, because I had set the camera up specifically to achieve that. 100 ISO, f/5.6, 1/200th second. You could use any combination of ISO-Apertyure-Shutter that gives the same brightness, but keep in mind:

  • High aperture or low ISOs mean the flash has to work harder, and it may not have enough light
  • The shutter speed cannot achieve 1/200th second; your camera’s fl;ash sync speed.

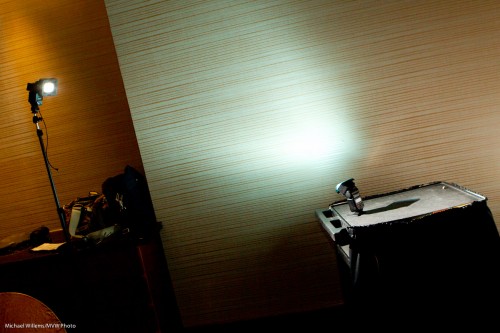
Then I added the flash. I used an off-camera speedlight on our right. I could have used TTL remote control or pocketwizards: I used TTL in Michelle’s portrait and Pocketwizards in Adnan’s. Light is light! Note that I put a Honlphoto Grid on the fl;ash, else the light would have lit up the background too. The flash (fitted with the grid) was aimed directly at the subject. To get the right exposure, I metered the Pocketwizard-driven flash, and I “flash exposure compensated” the TTL-driven flash.

Then I positioned the subject properly. I wanted the light to hit them just about from their front, with their face turned to get short lighting. I also wanted to see both eyes, even if one is only just visible.

And that was all. A one minute portrait, and a pretty cool one, no?


What’s in YOUR bag?

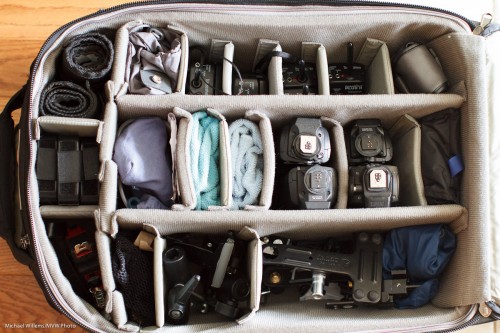
My flash/lighting bag as it is today:

It contains, from top left:

  • Two rolls of Honl Photo gels
  • Flashzebra Cables to connect Pocketwizards to speedlights
  • Six pocketwizards
  • Light meter (and spare battery)
  • Three Honl Photo grids (2×1/4″ and 1×1/8″)
  • Cables and a Fong thing
  • Speedlite feet and a microfibre cloth
  • Trays for Pocketwizards, and a microfibre cloth
  • Four speedlights
  • Rain pouch
  • Knife, tape, tape measure
  • Three Ball heads
  • Flash/umbrella attachments for light stands
  • Grips, cables, “thingies”.

In addition to this I carry another speedlight, more Honl modifiers including the large and small Traveller softbox, a tripod, a bag of light stands and umbrellas, and up to four large lights (Bowens) with a softbox.

Pretty large kit but then, I need to light some pretty unexpected situations, and with this kit I know I can.


Quick portrait

Prior to a class the other day, I decided to do a very quick self portrait or two. Let me share, and explain how.

How? This is how:

  1. A 1D camera with a 580EX flash on it – with that flash used as a master, and disabled otherwise, so it only drives additional flashes.
  2. The camera set to manual, 1/125th sec, f/5.6, 400 ISO.
  3. An additional flash A on our left: a 430EX on a light stand, with a HonlPhoto grid to avoid the light spilling onto the wall.
  4. An additional flash B on our left: a 430EX on its little foot, equipped with a HonlPhoto gel.
  5. A 1:1 ratio of A:B flashes.
  6. The camera set to choose its own focus point for once, since I am holding it myself!
  7. The camera in my outstretched arm, tilted for diagonal line effect.

Not bad eh?

Finally, one more with a different gel on the background flash: egg yolk yellow, my favourite colour.

Total time taken: Maybe two, three minutes.


Studio tip

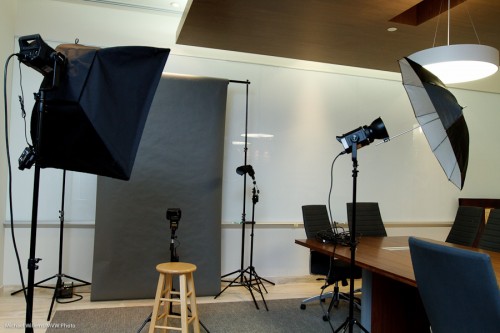
In a studio setup, we usually use strobes – big, outlet-powered lights. Like the two main lights here, with softbox and umbrella:

Studio (Photo: Michael Willems)

Fired by a pocketwizrds: you can see one on the left.

But if you look carefully, you will also see two speedlights there.

Speedlights? Yes, but fired manually, also via pocketwizards. For which you need a pocketwizard and a cable from www.flashzebra.com for each one.

Why do I small flashes for hairlight and background light?

  • Smaller
  • Lighter
  • Less cabling, since they are battery-powered
  • And not least, the ability to use Honl Photo small flash modifiers such as grids, snoots, and gels.

All of which I use here, and the resulting photos look like this (shot on a 1Ds MkIII with a 70-200mm lens):

Studio shot (Photo: Michael Willems)

(PS if you are buying those modifiers, and I recommend you do, as a reader of this site you are entitled to use the Honl Photo web order discount code which Dave just made available for you: enter code mvw2011 which gives you 10% off the price!)