Why we shoot RAW.

What’s this RAW thing we keep hearing about? Should we shoot in that RAW format?

Um, yes.

And here’s why.

For two reasons.

  1. First, while JPG is like a Polaroid – all your settings are applied to the data – the RAW format is more like a negative – the settings are merely attached, so you can change stuff before you use it. White balance, colour space, and more. (Hands up, everyone who always gets every decision right? Yes, I thought so.)
  2. Second, there is more data – 14 bits versus 8 bits per colour channel. So you can fix under- or over-exposure more often.

What does that mean?

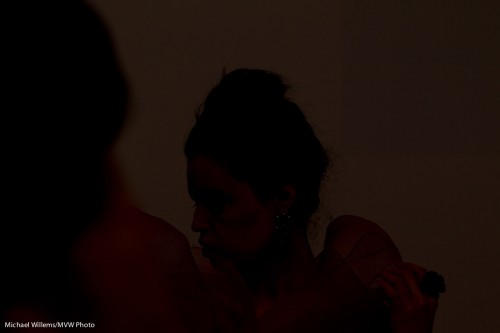
Let me give you an example. Say that I shoot Tara – but the flash does not fire. Result: a dark picture, totally unusable.

Tara - but no flash

Ah. But I shot RAW. So now I can do something wedding photographers do when a picture is unusable but they shot in RAW:

  1. Increase exposure in Lightroom by the maximum.
  2. Add fill light to the maximum.
  3. Convert to black and white.
  4. Increase luminance of red and orange (skin colours) to the maximum.
  5. Crop.
  6. Decrease noise.
  7. Add photo grain (looks great and moody).

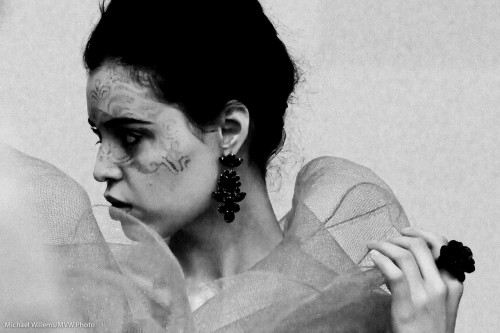
And that gives me:

Tara - but no flash (fixed)

Wow. Like I intended it to be all trendy and moody and old-fashioned black and white and stuff. And this is with a picture that is underexposed by six, seven stops!

Case closed. Yeah?

Party recipe

There will be many parties in the next few weeks for many of you, so I would like to give you a few tips and reminders for better event photos.

I shall illustrate with a few pictures of an event I shot the other day.

A Recent Party picture

First, your equipment:

  1. Use an external flash. Never the popup.
  2. Aim it behind you – yes, behind you, high so that you bounce off the ceiling, provided there is a ceiling and it is somewhat like white.
  3. Use a “slightly wide angle” lens. I love the 35mm prime (fixed) lens – on a full frame camera, which means a 24mm lens on a typical crop sensor camera.
  4. A prime lens is good as it forces a consistency to your compositions, which will pay off since it also means consistency in your settings.

Cheers!

Then, the settings:

  1. Mode: Camera in manual exposure mode (“M”)
  2. Flash: in its normal TTL mode
  3. ISO: Set ISO to 400 for most venues (800 if it is dark, possibly even higher if the venue is pitch black)
  4. Exposure: Set aperture and shutter speed to a combination of values that gives you an ambient exposure of -2 stops. That is, when you press half way down on the shutter as you aim at an average part of  the room, your meter in the viewfinder points at a value around -2.  A typical combination at 400 ISO is f/4 at 1/30th of a second.
  5. White balance: Set your white balance to Flash. That gives you warm backgrounds, but your subjects will look natural, since they are lit primarily by the flash.
  6. Flash compensation: if your subjects are small in the picture, with a large background, your camera may overexpose the flash portion. In that case, use flash compensation and set it lower: try a value of -1, say.

If you shoot in a very dark venue, you will need to go to a wider aperture, so I recommend fast lenses. I often end up shooting at f/2, or even lower.

Is this present for me?

And finally, composition:

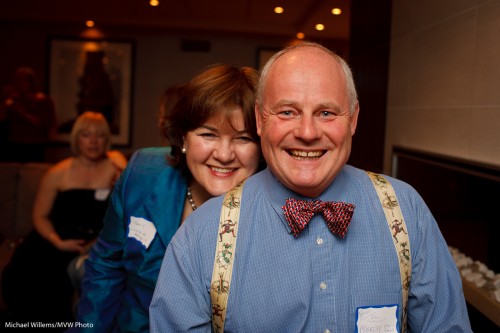
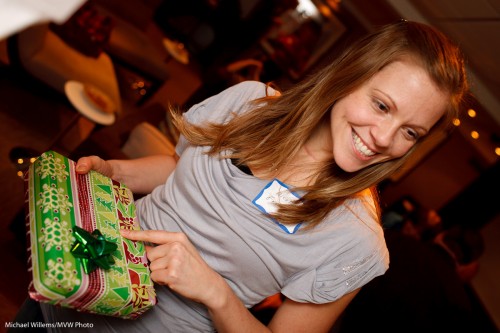
  1. Shoot “grip and grins” like the first one above: people like those. Heads together!
  2. Also shoot “fly on the wall” pictures. “If it smiles, shoot it”.
  3. Use the rule of thirds – “off-centre composition”)
  4. Tilt whenever you like.
  5. And please also shoot the food, the room, the small details.

The above will give you great images. But remember to finish them in Adobe Lightroom: crop, do minor adjustments, and only show your great pictures!

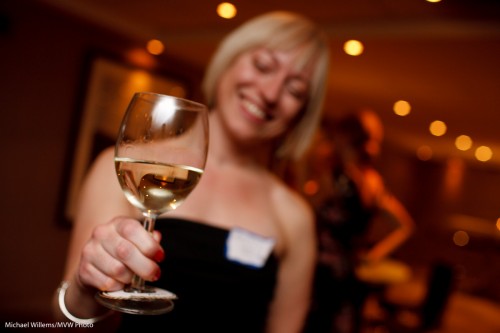
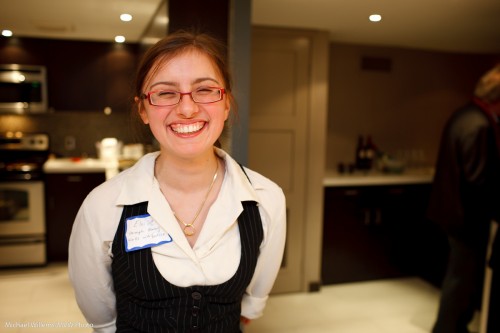
A wonderful smile

Above all: have fun!

Colour your season

The drab dark days of December can get to you – except if you take charge. That is why we put up trees, and icicles – and that is also why you can use gels.

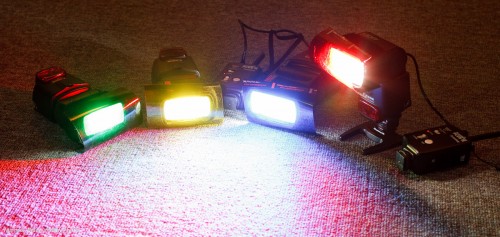
Like these Honl Photo gels, which I use on my speedlights all the time:

Fun with Gels

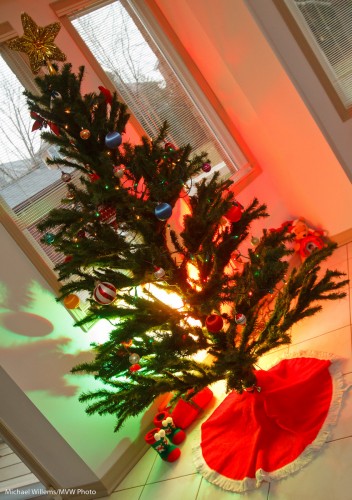
Red and green are the seasonal colours that can make a boring scene into an appropriately brightly coloured one.

Especially with the remote flash technique I metioned a couple of days ago:

Fun with Gels

So your assignment: today, go take a few pictures with a gelled flash – or preferably with two gelled flashes.

Christmas reminders

Today a very quick reminder (especially as yesterday I published two posts):

Shoot detail.

Christmas cheer

Use off-camera flash.

You do not need light stands, necessarily: you can often use just the little plastic stand that comes with the camera. Here, you can see it in the shot!

Off-camera flash

And finally, throw lights out of focus (with the aperture open all the way):

Lights

Tomorrow, a new tip.

A quick flash tip

One of the things you may wish to do this festive season is use off-camera TTL flash.

I.e. holding the camera in your right hand and the flash elsewhere – for instance in your left hand (or your other fight hand if you have two – well spotted, Mike).

In any case: away from the camera – this is key to good pictures.

All brands of camera allow this, and if you have a Nikon, or a Canon 7D or 60D, you do not even need additional hardware: just your flash and your camera, with its popup.

The popup (or on other camera, the on-camera flash) now sends commands to the other flash. So you can light a subject – like the student in Thursday’s Flash class – from one side, in this case with a flash in an umbrella on our right side, with a reflector on our left:

Off-camera flash using TTL

Much better than straight flash!

You can even use several flashes, divided into groups. In the next shot, we have an additional flash on our left, rather than a reflector. That flash has a red gel (one of the Honl Photo gels) on it, to see clearly which light is doing what work:

Off-camera flashes, using TTL

But what you must remember is this:

Disable the on-camera flash.

That is, the pop-up or 580EX/SB900 on your camera still sends its commands to the other flashes, but when the actual photo is beingtaken, it does not flash.

If you forget to disable it, it will fire. And then you get this unfortunate effect:

On-and Off-camera flashes, using TTL

Deer in the headlights. Harshness. Shadows. Brrr: baaad.

So your tip: use off-camera flash, and disable the main flash from firing actual flashes. The camera menu (or the flash on your camera) has functions for this.

If you want to learn this and many other techniques before the holiday, take the advanced flash course in Mono (see http://www.cameratraining.ca) next week. Else, take a course with me or at Henry’s early in the year. It is worth learning flash!

The festive season.

Whether you celebrate the Festival of Lights, or Christmas, or Kwanzaa, or whatever Eid this season has – or whether like me you just like parties and colourful lights, I urge you to shoot some unusual holiday pictures this month. So I will post a few posts in the next week with some ideas.

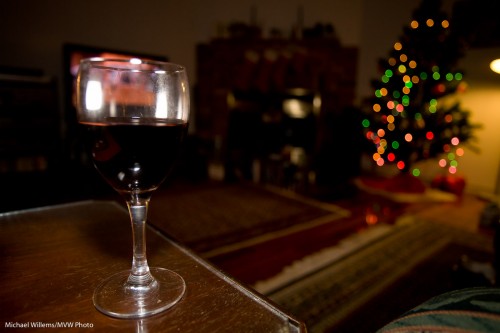
Idea number one is: detail and out of focus pictures of lights.

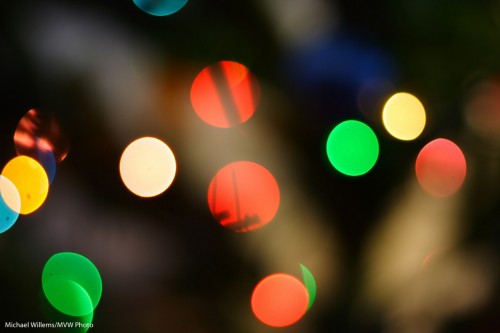
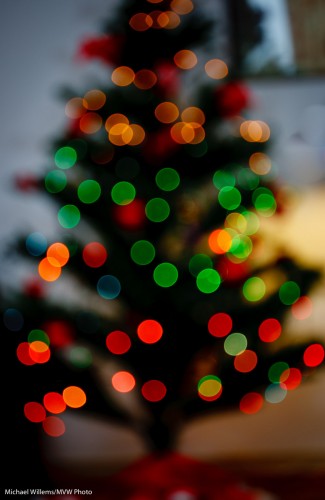
Start with the latter. Select a high enough ISO (say, 400 to start). Open your camera all the way (in Aperture Priority mode, select the lowest “F-number” your lens supports, like 3.5) and manually focus as close as possible (turn the lens to “MF”), while the lights are far away:

Out-of-focus tree lights

And then for the second type of image, get close to a subject and autofocus on the close subject. When using flash, use an external flash (not the pop-up), and aim this flash behind you (yes, behind).

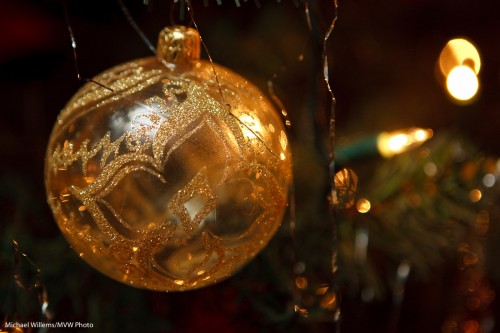
Ball

Ensure that you expose right: use exposure compensation (or when using flash, also Flash Exposure Compensation) as needed (minus, when shooting dark objects):

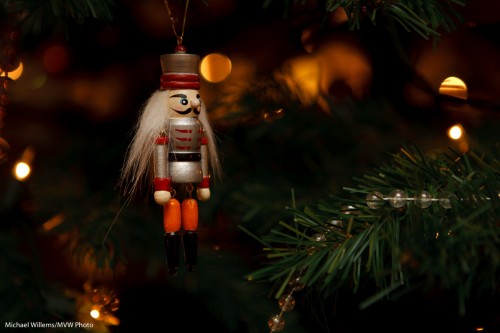
Nutcracker

That way you get pictures of detail that will help you tell the story and that in themselves are visually interesting.

That was tip 1. More later this week.

What camera should I buy?

I hear this question a lot.

And of course there is no real answer. Like asking “what car should I buy”. Up to you!

But there are part answers that may help you make your own decision. Last time, I talked about “Canon or Nikon versus Olympus, Sony, Pentax, etc”. This time let me talk about “Canon or Nikon”.

Both are great. They are the industry leaders. Most photographers and photojournalsits have eitehr Canon or Nikon (by far). But the most important question is “how recent is your camera”, not “what brand is it”.

Some people say the two brands have different DNA. That is an overstatement – you can use and like either and they do the very same job. That said:

  • I feel that in the low end (Nikon D3000, D5000, etc versus Canon Digital Rebel XS, T1i, T2i, etc) Canon beats Nikon. The inability to auto-focus using a 50mm lens on these Nikon cameras is, in my opinion, a showstopper. A lot of options are unavailable. The Canon cameras feel much “cleaner” here, and more professional.
  • In the mid-range, Nikon D90/D300 vs Canon 50D/60D, it’s a wash, especially if you compare modern with modern.
  • In the upper mid range, Canon wins my vote with the excellent 7D and 5D II.
  • In the high end (1D, 1Ds, 3D, etc) it’s a wash again.
  • Hold the cameras and see what feels and sounds better. This is like doing a car test drive. Essential part of your choice.
  • With video, Canon beats Nikon in all but the most recent cameras. But these are not video cameras, really.
  • If you like customizing, Nikon beats Canon. Canon seems to not like to give photographers customization options, especially in lower end cameras: these are used to drive people to the more expensive cameras.
  • On the other hand, Nikon’s menus are terrible: the user interface with the vertical tabs and scroll bars is hard for beginners to understand. Canon is much cleaner here.
  • Canon still has a better lens range than Nikon.
  • Controls on Nikon turn “the wrong way” – e.g. the exposure adjustment scale goes from plus to zero to minus, exactly the opposite to all other Cartesian coordinate systems we have been taught to use all our lives. And to unscrew a lens you turn clockwise. And so on. I find this extremely irritating, but you may love it.
  • Nikon’s TTL flash system is excellent. On the other hand, NIon’s high-end flashes overheat. So again, a wash.

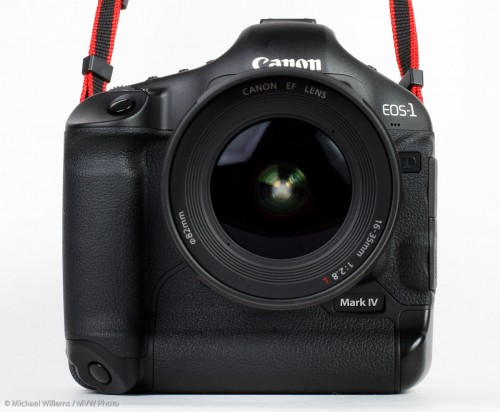
I am a Canon shooter, with a 1D4, a 1Ds3, and a 7D. Buit I also shoot Nikon. A good photographer can handle any camera.

My recommendation:

  1. Make a list of what you will use the camera for
  2. Make a list of MUST HAVES and LIKE TO HAVES in your camera
  3. Take those lists to a good camera store, like Henry’s, where the staff know photography.
  4. Research the recommendations on dpreview.com and via Google.

And above all, buy now, before the festive season.

And above even that: come get some training. Call or email me, sign up at Henrys or at cameratraining.ca, or do whatever you can to learn. It is simple, but if you do not take a course you will never live up to your potential.

No tie

As reader Robert G pointed out, the other day I posted apicture of me without a tie.

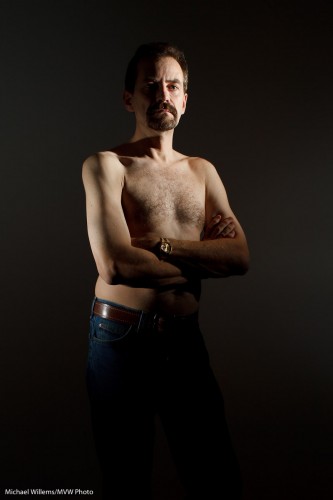
Yes, sometimes I catch myself unawares. I am my own frequent model, and today’s image is myself, again without a tie, to demonstrate an illustration of a different lighting technique from the onein the recent posts.

This time I am using two speedlights from the side. Both speedlights are fitted with a Honl Photo Speed Strap and 1/4″ grid to soften the light and to avoid it spilling onto the white wall. This gives you a dramatic light which can be very good when shooting males:

Michael Willems (by Michael Willems)

Yup. No tie.

See what this edge lighting technique provides?

  • Shape (muscles)
  • Texture (you want this for males, not so much for females)
  • Dark backgrounds
  • The ability to make other areas dark.

This latter ability is often useful. Rememer: lighting is not so much about what you light – it is at least as much about what you do not light.

Classic Portraits

Here’s one tip for classic portraits: you can use classic backgrounds.

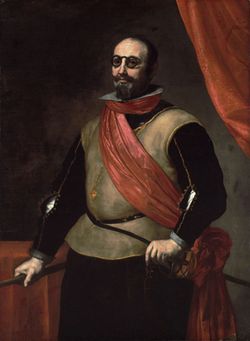
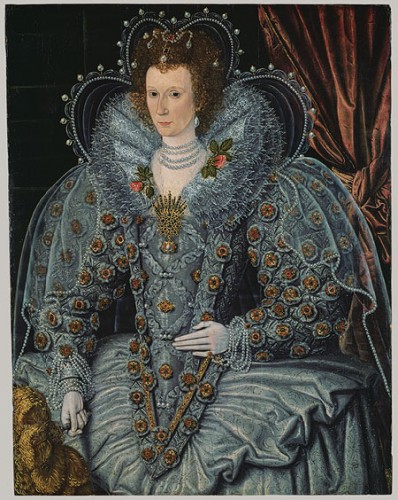
In the 17th century, that meant an elegant drape behind the subject, to provide:

  1. Nice texture;
  2. Elegance;
  3. A sign of wealth and comfort;
  4. A nice curve.

Somewhat like this:

1630 - portrait

You do wonder how people walked around in those Halloween costumes. But anyway, back to backdrops. Why not do that today?

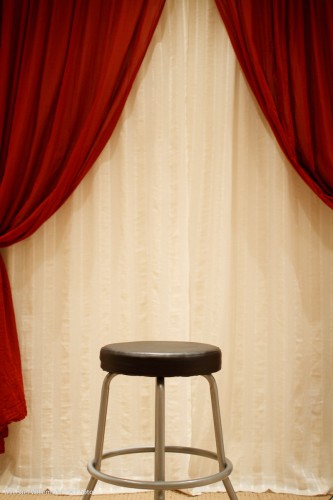
My student Melony built this in her home studio.

Home Studio Backdrop System

Against a wall, two curtain rods: the back one with white curtain hanging from it, and the front one with red curtain. Both operable independently so you can open or close either or both. Easy, and it is not in the way of normal use of the room.

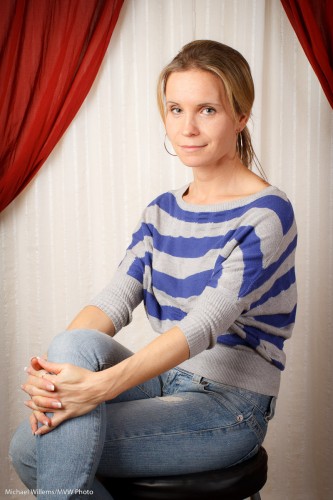
And with proper, light and white balance, this results in portraits like this:

Student Melony in home studio

That kind of setting is very suitable for family portraits. Even in 2010. Many times, I much prefer this to a standard white or black backdrop, or to a muslin.

I might even say especially in 2010. Tip: go to an art museum if you want to see great portraits.

How did we light that portrait?

  1. A softbox to camera left
  2. A fill light behind me to camera right

Questions?

  • Why a softbox? Because it does not spill light everywhere, like an umbrella. Umbrella = safe; softbox = more controllable, and hence more for art.
  • Why the fill light? Because without it, even in a small studio, the non-lit side of your subject can get a bit dark.
  • And if the light is too bright even at the lowest setting? Move it back.
  • Could we have used a reflector instead of a fill light? Absolutely.
  • But will you sometimes want a roll of paper for a neutral, simple background? Of course. Having a drape does not mean you have to use it every time.
  • What kind of lens were you using? A prime (fixed) 35mm lens on a crop camera (the Canon 7D). That means effectively a 50mm lens, which is perfect for half body portraits like this.

So, a classic portrait does not have to be complicated: a few simple tools and you have great options.

Learn light before the holidays!

You can learn now… before the holiday season. Make GREAT portraits and party shots using flash. The festival of lights seems an appropriate time to tell you about light!

So here’s how you can see me in action in December:

  1. There are a few more chances to see me at Henrys this week. After that, a break until the new year.
  2. Big news: Joseph Marranca and I have added an extra “Advanced Lighting” course in Mono, Ontario, on December 19. Indoors as well as outdoors “Winter Wonderland” shooting using small flashes, large strobes, and a combination of all of those. Learn the theory and “do it!” – and go home with great portfolio shots, in a Winter Wonderland setting in Mono, Ontario.

If you want to partake in Mono, be quick: we will limit this all-day course to a maximum of just 8 participants, since with snow we’ll need more individual attention.

If you understand your camera and know what aperture is but have always wanted to learn professional lighting, now is your chance. Read about it, and book, by clicking right here.

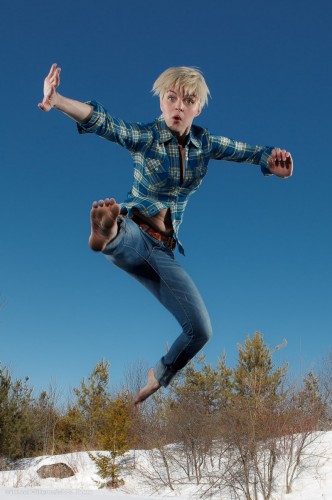
Model Lindsay in Mono Snow

…and dust off your camera, gloves, and boots. And use your camera to make some amazing shots during the holidays.