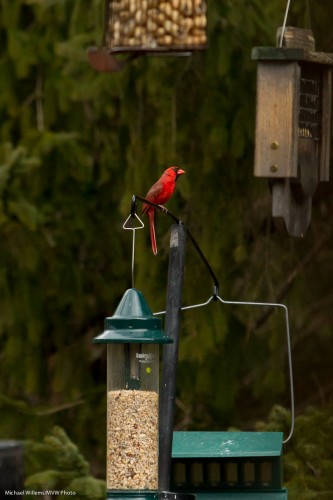
Low contrast is bad. Right?

We all learn that images should be peppy, contrasty, “punchy”.

That is how cheaper cameras are made to manipulate the data in making the JPG file, which is one reason a point-and-shoot often gets you “nicer” images out of the camera. Existing data is increased in saturation, contrast, sharpness, and brightness.

So yes, punchy can be very good.

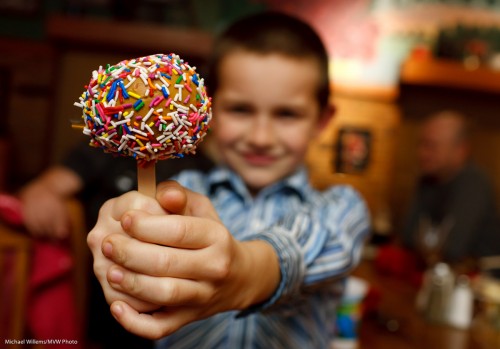
This is certainly the case if you are shooting the same old same old.Snapshots. Air balloons. Kids in bright clothing.

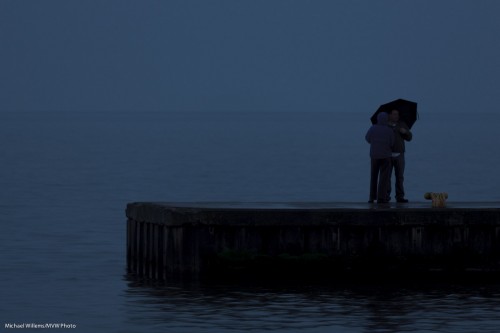
So we want punchy. But is that always the case? Nope. It ain’t necessarily so. Look at this image, for example.

Lake Ontario, Oakville (Michael Willems)

Lake Ontario, Oakville

A low contrast image can be good.

I recommend a few things:

  1. Think about the light and contrast. Do you really want more contrast, or would low contrast be nice? A fog scene is low contrasts. Is a fog scene bad? No.
  2. Disable your camera’s built-in image manipulation settings. Do any needed manipulation later, on your computer. This gives you better quality and more freedom to vary both ways.
  3. Shoot RAW!

Use your histogram and use careful exposure to get it right in camera if you can. Art is created by questioning the givens, and quality of light is certainly something you ought to be questioning at all times. Do a mini Socratic dialog with yourself and ask: should I in fact be doing this, or that? Or could I zag where I would normally zig?

(When I mix that many metaphors in one post it is probably time to go to bed. If you want homework: go take a low contrast shot where this makes sense).

Adding flashes GOOD.

As readers here know, “one flash” gives you “OK light” – provided you bounce it off a wall or ceiling, usually behind you.

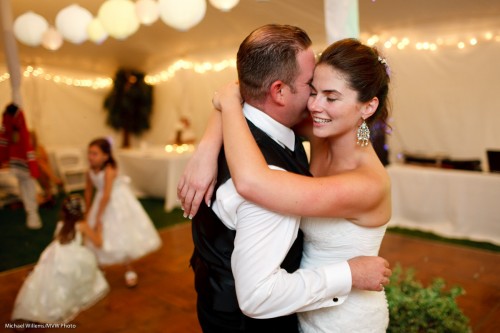
But off-camera flash is better. This image would really not be as good if the flash was on the camera:

Jason in July 2010

Jason in July 2010

That is because good lighting is all about what you do not light.

And multiple off-camera flash is better still.

The great news is that all modern camera systems support multiple off-camera TTL flash.

TTL flash is enormously sophisticated. For instance, a modern TTL flash will tell the camera its colour temperature with each flash fired (yes, it can vary per shot); that way, as long as your camera’s white balance is set to “Auto” or “Flash”, each picture will automatically have the right colour temperature set. Bet you did not know that.

This site is called “speedlighter” for a reason: I teach people this stuff (the last Mono workshop, on April 23, contains a full “Advanced Flash” course). Even before or without that, I strongly recommend you all try some off-camera flash using TTL remote control.

  • On Nikon cameras you need just the camera and its popup flash and any remote flash (SB700, SB900).
  • On Canon 7D and 60D cameras, the same: just the camera and its popup, and any Canon slave flash.
  • On other Canon cameras, a 580EX flash or a wireless IR transmitter on the camera

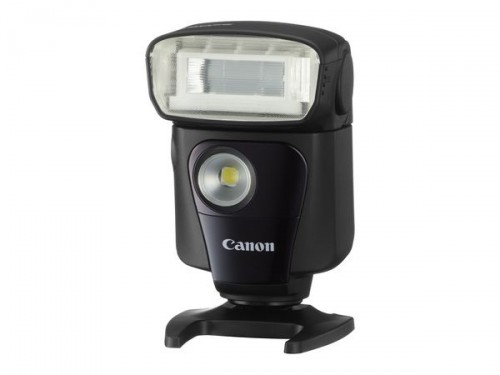
Attention Canon users: two new small flashes are now available. I love the specs on the all-new 320 slave flash, which brings remote flash into many more people’s reach:

Get a few of those and you have a full flash setup. Full slave functionality. 32 Guide number. It also has a continuous LED light for video, and a remote switch – it is a remote control for cameras like the 7D, 60D, 1D, 5D and so on. I am getting one or two as soon as I can!

Fluorescent phenomenon

Ever tried to shoot in fluorescent light?

Tough light. The colour is all green.

So you know what to do: white balance. Set it to “fluorescent” – that will make the colour appear more neutral.

But sometimes it gets really weird. Especially when you shoot with a good lens, i.e. a fast lens, one with a low “f-number”, a lens with a wide aperture. You can get some pretty weird images.

With a slow “kit” lens you get something like this, perhaps:

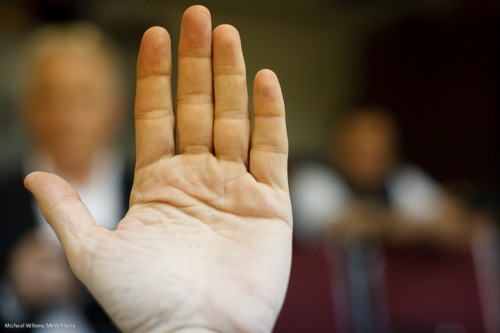
And then you switch to a faster lens with a wider aperture. Now perhaps you get this:

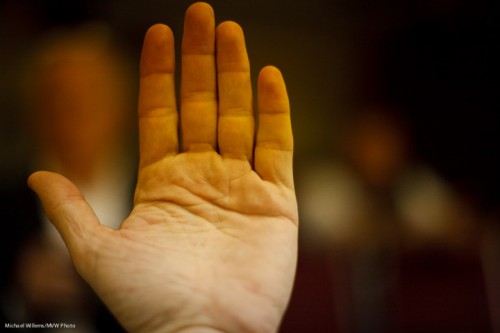
And then perhaps this:

Huh? What’s up?

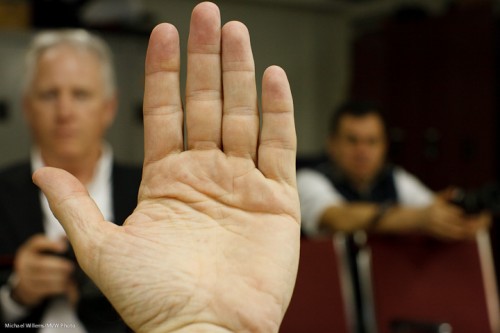
The increasingly  blurry background should give you a clue. Can you guess?

Click on “more” to read the answer after the line:

Continue reading

Why you use good lenses

Lenses are worth the money you spend on them. At the risk of repeating myself, let me show you why.

A good lens focuses fast. It is well-built and strong. It has little aberration and edge distortion. It is silent. It has better coatings and resistance to flare. Most importantly, it has a larger aperture (a smaller “f-number”), hence more glass.

But also very importantly, it is sharper.

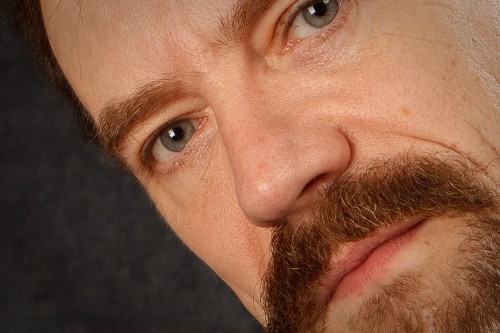
Look here. Click on this image and then click on “orginal size”, and then view it at original size. Make sure you follow all those steps.

(24-70 lens at 24mm, at f/8, 1/125th second, 100 ISO; using studio strobes).

When you do that, you basically get to DNA-level.

“But I do not want my face to be so sharp!”.

Yes you do. You want your eye, eyelashes and soon, to be sharp. Skin you can blur later if you wish, but the basic image must be sharp.

And that is why a good lens (e.g. in the Canon-world, an “L”-lens, where “L” stands for “Luxury) is worth every penny. (And they cost a lot of pennies – but the lens will last you twenty years, both technically and in economic terms).

I am repeating myself, I know – but this is important. In lenses, there are few shortcuts (except an affordable 50mm lens, which is why if you do not yet have one, go get one now!)

Heeere, fishy fishy fishy!

Today I had the pleasure of seeing a wonderful live coral reef aquarium in Oakville – a world class aquarium, one with live coral reef flown in from Indonesia that sort of thing. You will be able to, I think, see more pictures soon on its owner’s web site, but I thought I might say a few words about shooting aquariums here.

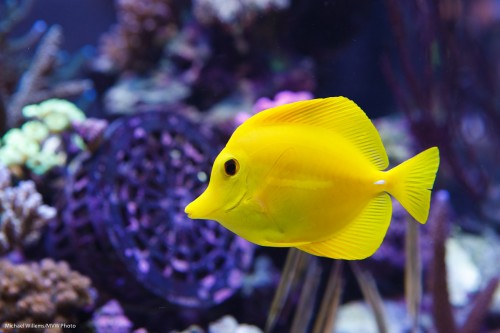
Fish

A Fish.

Hence, my ten tips.

The following things immediately occurred to me. In no particular order:

  1. Use existing light – avoid flash if you can (reflections, loss of contrast).
  2. Shoot perpendicular to the glass. Glass distorts.
  3. Look for contrasty subjects first of all – make life easy for yourself.
  4. Ensure your shutter speed is rapid enough to freeze motion.
  5. Use a higher ISO if you must, but try to keep it down if you can.
  6. Look for opposing colours, as in the shot I made above.
  7. Be ready to enhance contrast in Lightroom. Sea water and glass will reduce your contrast, and there is little you can do, so be ready to fix afterward if you have to.
  8. Shoot lots of detail before trying the bigger shots.
  9. Avoid wide angle lenses as these will not shoot perpendicular to the glass. Use longer lenses (macro lenses, even).
  10. Use Manual mode: once you sort out the light, it will stay constant.

The above shot was made as follows:

  • 24-70 lens set to 70mm on a full frame camera (so a 50mm would do if you had a crop camera).
  • I was in manual mode
  • I used f/5.6 and 1/60th second
  • My ISO was 200. Fast enough to freeze the fish motion (if not the fish); slow enough for great quality.

In a later post, more on the overview/large/wide shots, but for now this ought to get you started.

I would love to spend a week shooting that particular aquarium, by the way.  Exciting. And the photographic opportunities. Wow!

Wide means deep

“Wide angle means deep depth of field”. Meaning, a wide angle lens makes everything sharp, from close to far.

That’s true, but as this image of my friend and colleague Joseph Marranca shows,  it is not quite all there is to be said:

Even with a 16mm lens you can create selective depth of field, by:

  1. Using the lens open (this was at f/4)
  2. Getting close to the subject that is closest.

You see, it is the ratio between close and far that counts. If the far subject is twice as far as the closest subject, then both will be sharp. But if the far subject is, say, twenty times as far as the closest subject, then it’s a different story: you can get the far subject blurred.

And getting it 20 times farther can be done in two ways: move it farther, or move the closest subject closer.  Or get closer to it. And that is why, and how, this works.

Metering outdoors

A modern light meter is a flash meter as well as an ambient light meter. And that can be good, but it can also be confusing. How do you meter when using a flash outdoors, when you meter both types?

For instance, for a shot like this?

Here is how I do it:

  1. I set my camera to the mode I want – manual, usually in this case.
  2. Now, I decide on ISO. Say 100.
  3. Then I decide on shutter speed – say 1/200th sec. No more than the camera’s fastest flash sync speed, usually around 1.200th second.
  4. Now I set those values on the light meter and I press the button to meter the ambient light and read the aperture that this gives me. (I can use the light meter in ambient mode, or I can use my camera. I prefer the light meter. )
  5. Then I set my camera to what I want with respect to that, say -2 stops w.r.t ambient. So if the meter reads f/4. I may use f/8 instead.
  6. Then I switch to flash meter.
  7. I now fire a test flash with my flash – and then adjust flash power and distance to give me exactly this aperture.

In fact it is often a bit of an iterative process:if step 3 does not give me a good aperture value (e.g. it gives me f/2.0 or f/16), then I will choose different shutter speed or ISO values until I get a value I like. Or if even at full flash power I cannot get the desired aperture in step 7, I adjust ISO and go back to step 1.

Try this technique: all you need is a manual camera, a manual flash (and a way to fire it), and a light meter.

And then you too can make shots like this:

That shot was taken at one of Joseph Marranca and my Mono workshops.

And there is good news: the last ever Mono workshop, on April 23, is open for booking. And it will be a very special one. Can you say “green screen”, “waterboarder”, and “amazing portfolio shots” as well as “learning great light and flash technique”? Sign up now if you want to have a great photographic learning experience.

Primes. Why?

Today I would once again like to chat for a moment about using prime lenses. This is a regularly recurring theme here at Speedlighter, because primes are beneficial in many ways.

50mm prime lens, set to f/1.2

A prime lens is a lens that does not zoom in or out. It is fixed. Like a 35mm lens, or a 50mm lens, rather than a 17-55 or 70-2oo zoom lens.

So that is a drawback, right? Zooming is more convenient than walking back and forth or than changing lenses all the time.

But prime lenses have many benefits, three of which are pretty well-known.

    1. They are usually sharper than zoom lenses, and often have less distortion around the edges.
    2. They are usually faster (wider aperture,lower “f-number”), meaning blurrier backgrounds and better low-light performance.
    3. They are often smaller and lighter than zoom lenses.

      There are, however, three other benefits, and these may surprise you.

        1. They enforce consistency in a shoot. You do not have a different look and feel for every image!
        2. “Work it out once during a shoot, you have worked it out for all other shots too”. When you zoom, each shot works differently. Use a prime, this is more predictable. Hands up everyone who likes “predictable”?
        3. Primes really teach you about depth of field, shutter speed, and how these work together. Using a zoom lens it can be very difficult to get a grip on how all these factors work together. Using a prime, you get to really understand how aperture, depth-of-field, distance, ISO, and shutter all work harmoniously together – an understanding every photographer needs.

          This is why I shoot with 50mm and 35mm prime lenses as often as I can.

          35mm prime lens

          35mm prime lens

          35mm prime lens

          35mm prime lens

          50mm lens

          50mm prime lens

          If you can, get yourself at least a 50mm prime lens.

          (Note that the examples here were shot on a full-frame camera, so 50 means 50. If you had a crop camera, like a Digital Rebel or a D90, you would want to use 24mm and 35mm lenses where I use 35mm and 50mm lenses.)

          Sharpness strategies

          Today, I helped a student get to grips with shooting with a long lens.

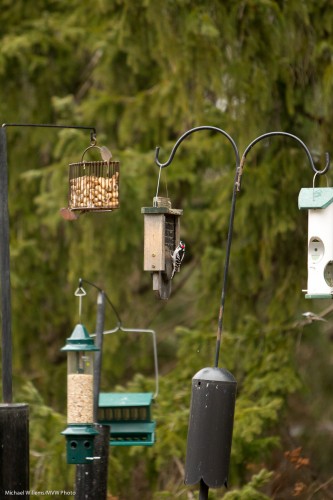
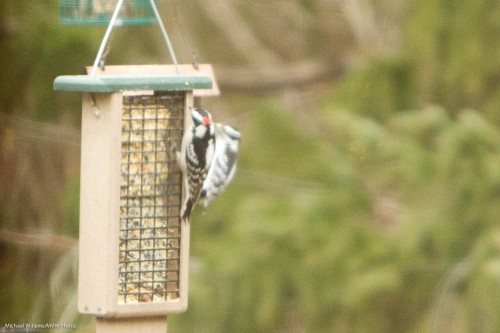
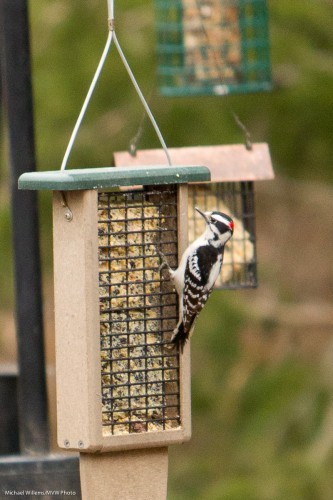
          So….was it really all that long? 70-200mm. And 200mm is not actually long when you are shooting small birds, some 10m away:

          This was shot at 1600 ISO – it was a dull cloudy day and with birds you want high speed, which means high ISO even when you have a good lens opened up to f/2.8.

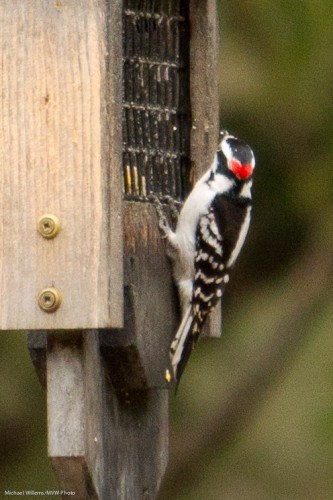
          So the lens is short. So we have to crop. And when you crop, you see the limitations (click to see this part of the image at full size):

          So.. what are some strategies you can use to get sharp pictures?

          First, do not shoot through obstructions. Through a clean window pane, and with a filter on the lens, we got this (a small crop out of the image):

          Without the filter and window, this becomes:

          Better!

          Other strategies:

            1. Use a good quality lens. Lenses are not what you should be saving on!
            2. Shoot at a fast enough shutter speed. “1 / lens length” or much better. I prefer to do this by using aperture mode at aperture wide (or nearly wide) open.
            3. Now set the ISO high enough to get a good shutter speed.
            4. Use VR/IS stabilization.
            5. Consider using a monopod (or even a tripod): one with a quick release.
            6. Focus on the background, then focus on the bird, then shoot.
            7. Use One Shot/AF-S focus, unless the subject moves. In that case use AI Servo/AF-C.
            8. Focus on contrasty bits!
            9. Use one focus spot, and avoid mis-focusing.
            10. Light well, if you can – meaning “light bright and expose to the right”. My dictum: “Bright pixels are sharp pixels”.
            11. Take multiple images and use what works. Your lens will mis-focus occasionally.

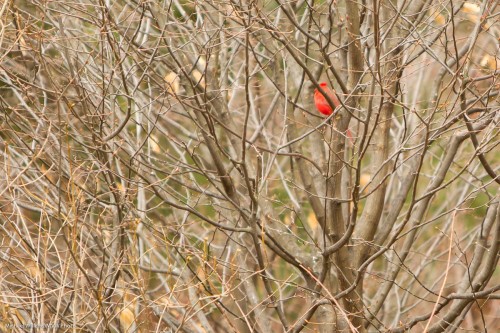
              Also, consider stopping down the aperture a bit when you have to. Like when the bird is inside a tree… f/2.8 gives you this:

              While f/4 gives you this:

              That depth of field is much better.

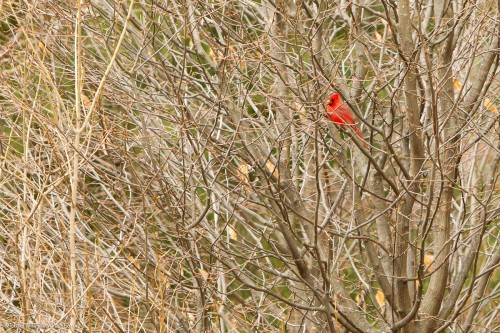
              And one more, where a bird is “bright pixels”:

              Concluding, there is not one way to get sharp pictures. The best technique is to try to stack the odds in your favour by using as many of the techniques described above.