Welcome!

I see that there are many new readers – a big welcome to them here.

And for them, today let me explain what this site does for you.

I am, as you see, a full-time photographer. I shoot such diverse things as press, portraits, corporate, product, events (I am a big event shooter!), weddings, and art (including art nudes – my 5-week solo exhibit “To Find A Muse” just finished in Toronto’s historic Distillery art district – Framed giclée prints are now for sale: www.michaelsmuse.com).

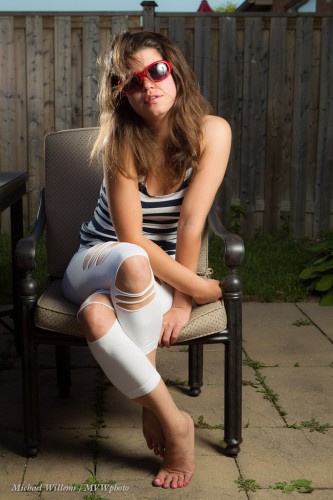
I am also a big speedlighter. As my readers here know, nothing beats carrying small, convenient speedlights, especially when compared to carrying huge studio strobes. And when you know how speedlights work, you can get great results from them. Like this simple shot – made at mid-day, i.e. in awful light, with two speedlights and modifiers:

As an engineer, I understand the technical ins and outs; and as a photographer I love the art you can make with them.  And this blog teaches you to do that. Meaning that I teach the basics here, as well as advanced techniques. You need to know:

  • Limitations, and how to overcome them
  • How to make art with light
  • TTL: how it works, exactly
  • Camera settings
  • What you need to buy
  • Functionality you only get with speedlights
  • Canon versus Nikon
  • Practical tips
  • Shooting in a hurry

And so on.

Teaching is in my blood… coming from a long line of teachers, I love to convey knowledge – and I enjoy it! As an engineer, I have always thought good teachers make complex things simple – not the other way around. I teach at Sheridn College, and I have taught my signature Advanced Flash course in such places as Toronto, Las Vegas, London, Phoenix, Rotterdam, and Niagara; more to come. Every photographer should know these simple techniques. And you can learn them in my courses and private training (www.cameratraining.ca) but also by playing and trying, supported by this daily site.

Yes. Daily. Every day I write a post that helps you with some aspect of photography. Don’t ask me how.  For over three years now. And you can read all of it; search; read categories; etc.

What do I get out of it? Fame.. students… shoot clients… but especially, the satisfaction that I have contributed.

Enjoy!

Michael


Outdoors modifiers

Reader James asks:

I’ve read you advocating for unmodified on camera flash outdoors (as fill), and for on camera flash diffusers (Bounce card, Gary Fong,etc), but is there a reason you don’t use the techniques together? Why not use a diffuser while using fill flash outdoors? Wouldn’t that produce better images?

Good question, and one I am grateful you asked. To avoid confusion: yes I certainly do advocate modifiers outdoors.

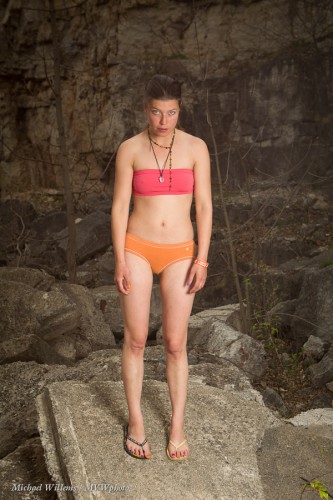
Like an umbrella, as in this image:

(That image, by the way, was my tribute picture to Rineke Dijkstra, famous Dutch photographer whose work is in MOMA and many other museums. I was amazed that in The Netherlands, several people, when seeing this image, immediately said “That’s a Rineke Dijkstra”! Europeans really do have a great sense, and knowledge, of art.)

So why do I often advocate direct flash outdoors?

I have several reasons.

  1. Main reason: modifiers take power, and with a speedlight, you are fighting the sun at top power already; taking away a few stops of light (and you take away at least that!) is fatal: in bright sunlight you would now need to move the flash very close to the subject.
  2. Ancillary reason: It is quicker and simpler. Often, you have to move quickly; an on camera flash is convenient in those circumstances. Imagine carrying an umbrella with you when sightseeing in a foreign city!
  3. Ancillary reason: outdoors you are mixing with lots of available light, so you can get away with the shadows direct flash gives you: these are filled in by the ambient light.
  4. Ancillary reason: sometimes you want harsh shadows. Rarely, but it does happen!

And that is why I often use direct flash. But generally, modifier, softened flash is better, absolutely.


Cropping is allowed…

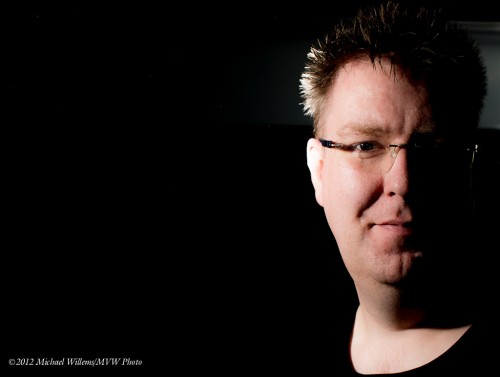
Take this image, of a student in last week’s Rotterdam workshop:

Single flash, off camera, using TTL. Flash fitted with a 1/4″ Honlphoto grid. Aperture/shutter/ISO set to make the background dark.

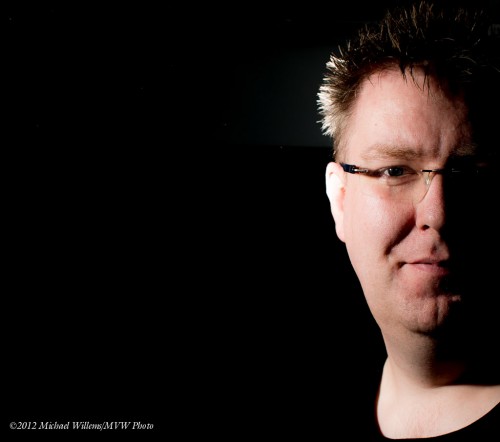
Not bad, but how about we cut off the distractions on the right? Let’s see:

I think that is a much stronger image. Yes, you can crop off half a face – why not?

Every time you simplify an image, there is a good chance it will become a stronger image.

I am back from Europe, and I drove to and from Montreal yesterday  -12 hour in the car – soon, back to longer tips and tricks here on speedlighter!

Stuff happens.

I thought it would be worth pointing out – I have had three photographers contact me in a recent week with tales of lost images due to lacking backups. Three “OH NO this cannot be happening to me!” events. Yes, this stuff really happens.

Re-read my post about backups late July.  And remember: Always have each image in two or more places.

  • I do this from the very start of the process. This is why I have cameras that take two memory cards, so each image gets written to both.
  • Never delete the memory cards until backups are secure.
  • Make backups the moment you have your images on the drive they live on. Not later, or tonight, but now.
  • Verify your backups regularly.
  • Avoid proprietary mechanisms that need proprietary hardware or software. Your backups should be easy to access.
  • Make backups that go to off-site locations. You do not want a burglary or a lightning strike to wipe out all your work.
  • Format your memory cards every time before use.
  • If a card ever gives you trouble – discard it. No questions, just discard it.
  • Refresh old backups regularly – at least yearly.

I thought it might be worth pointing this out again… losing your work sucks, and it is usually avoidable. Just thought I would point this out again.


Exhibit still on

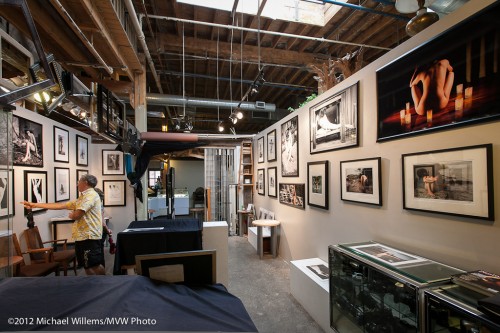
My exhibit “To Find A Muse” is still on at The Kodiak Gallery in the Distillery District in Toronto – Thursday will be the closing day.

Prints will be available via http://www.michaelsmuse.com as well. If you have not yet stopped by – do it in the next days, or especially on Thursday, between noon and 6pm.

Every photographer has subjects they like to shoot for art. For me these include black and white as well as colour art nudes. These are timeless, a pure artform, and yet they still look new in every era.

If you want to shoot nudes, I advise that:

  1. First you learn camera technique thoroughly.
  2. Then you learn flash.
  3. Then you learn to use colour and black and white.
  4. You learn how to print reliably and well.
  5. Then you learn how to shoot normal portraits of models. You learn both to direct and to take advice in posing.
  6. Then you get more creative at that.
  7. Then look at what other artists you like do. Are there things you would emulate? But perhaps in your own way? Can you? Look at paintings in museums: what do they do? Which do you like?
  8. Then you try some nudes – hire a model and see how you do. Do not expect great results yet: you are trying to see what works for you.
  9. Then you reiterate – do it again and again, constantly trying to be your own worst critic.
  10. This eventually leads to expertise and to you developing your own style. But you never stop developing.

It takes time to learn all the required skills: for nudes you need to be a good photographer with a lot of energy (it’s hard work), and then you need to develop a rapport with your model or models. And then – only then – you will develop your own style.

And of course this list applies to pretty much every type of photography. The only way you develop a style is by doing, again and again. So rather than read more here: go shoot something!

And – tomorrow I shall be back home from the Netherlands, where I taught a Flash course, and I will continue writing longer posts to help you in that.


September Weather

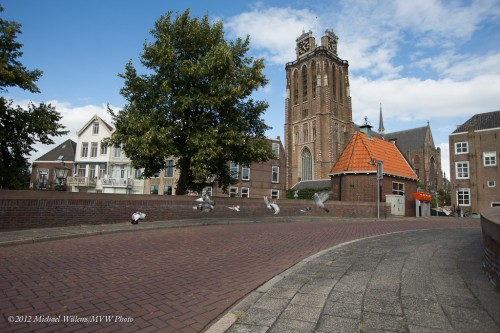
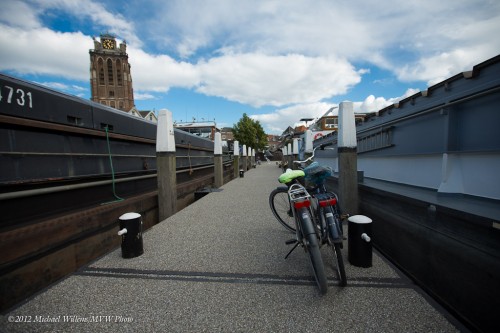
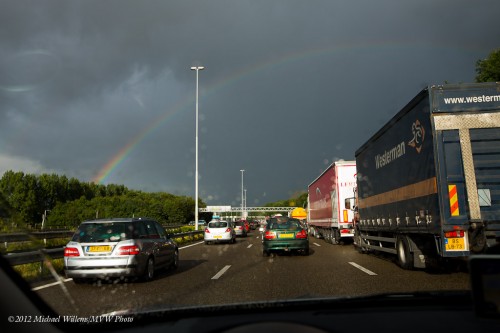
In The Netherlands the other day, I did a little walking around. Travel snaps. And in these, apart from good exposure, composition and stories, personally important stuff, and plenty of local flavour, I look at:

The right moment: Pigeons Take Flight:

Symbols: Transport and church:

Colours: Rainbow and Traffic Jam:

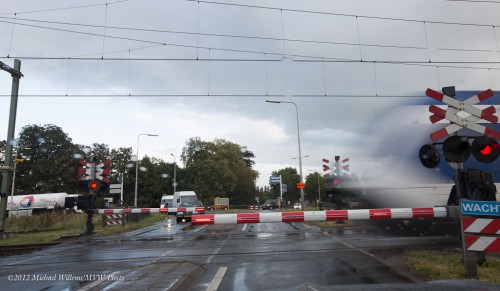
Motion: The Intercity passes by:

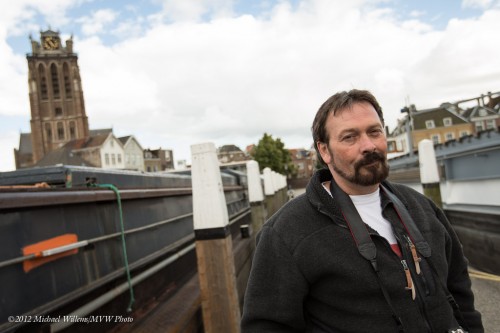
People in their environment, like a friend on a short walk (tilted for composition and energy):

If you think of these themes, you will probably produce better work.

The shots above were all taken on a very short walk, as snapshots. This doesn’t have to be very complicated!


Four Flash Shots

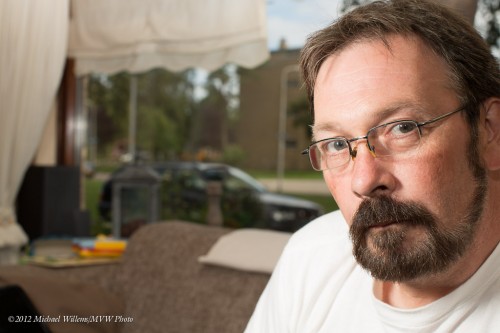
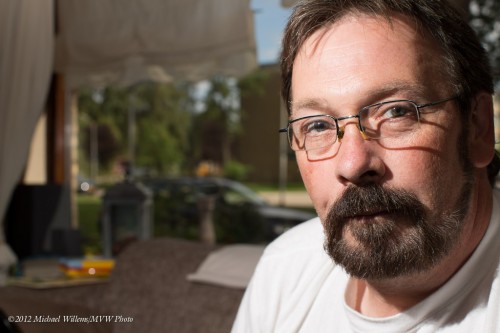
My friend and colleague Riker from Riker VP, shot a number of ways using flash:

[1] My favourite first: Using an off-camera flash with the Honl softbox:

[2] Using an off-camera flash direct – not as good, harsher, with shadows:

[3] Using an on camera speedlight directly aimed forward from the camera:

And [4] – using bounced flash off a ceiling a little way behind me:

Numbers 1 and 4 are by far the best – the choice is yours. As long as you see that 3, and to a slightly lesser extent 2, are poor. Flash is all about

  1. how soft it is and
  2. what the direction of the source is.

As long as you always think consciously about those two, you’re good.

This is part of what I am teaching in Rotterdam today… momentarily!