The Dramatic Portrait

Outside, right now. It is bright. Bright. Super-bright! Noon under a blue sky, and snow everywhere.

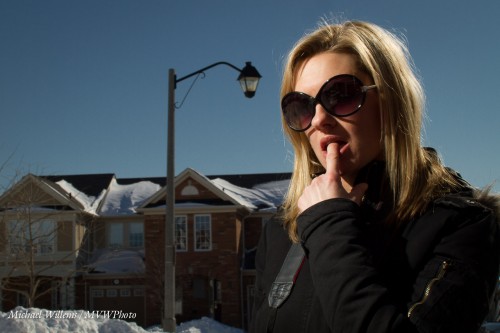
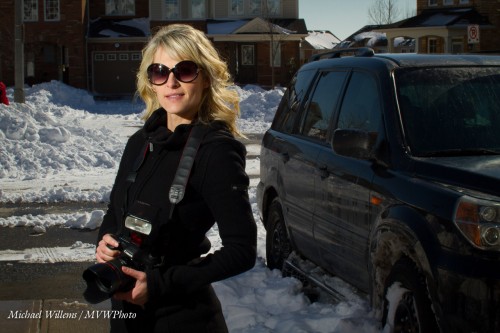
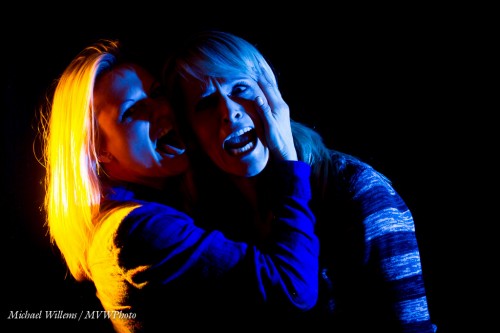
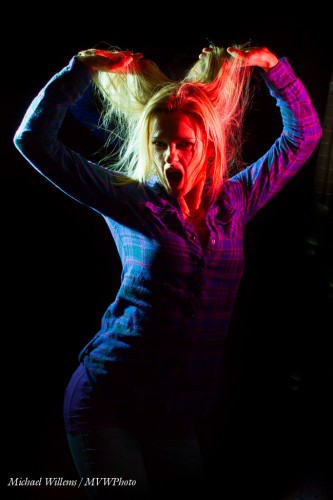
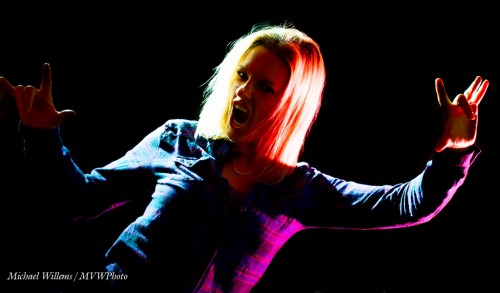
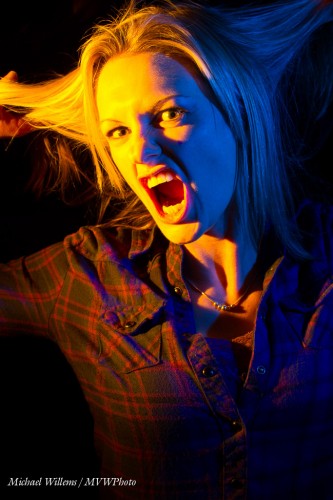
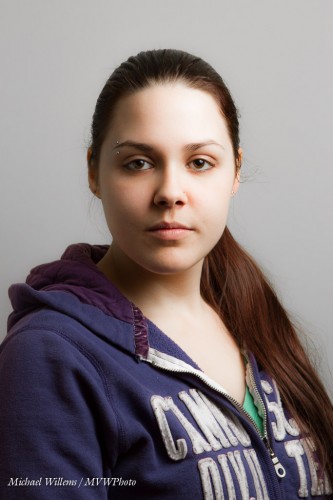
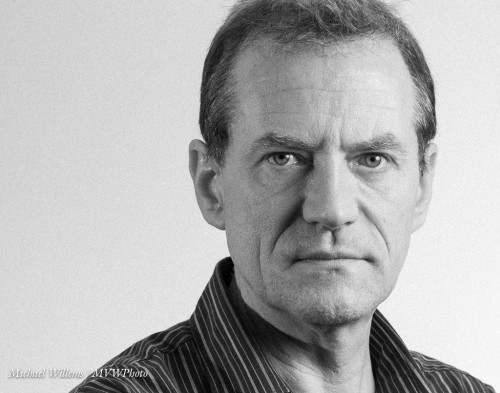
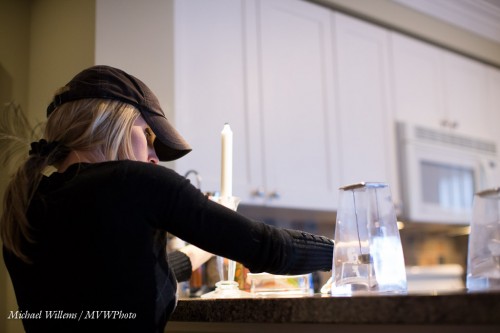
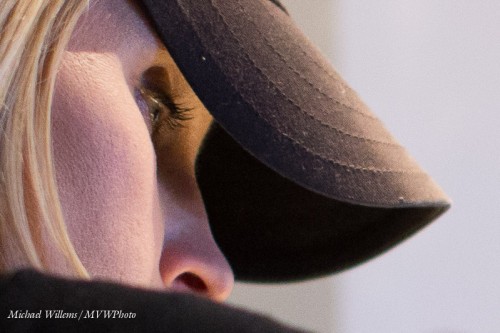
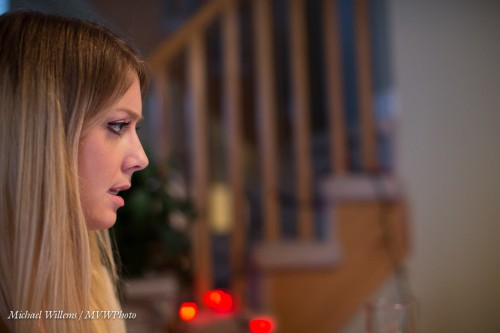
So now how do I do a dramatic portrait like these of my two students, wonderfully talented photographers Jenni and Becky (respectively)?

How indeed. Look at them full size to see the drama. Saturated colours plus plenty of personality! And that is how we shot them – no “Photoshopping”.

If I had used just my camera I would have had to angle them into the sun – bad. Instead, I prefer to:

  1. Angle them away from the sun to avoid squinting.
  2. Thus, use the sun for the hairlight (The “Shampoo-y Goodness”).
  3. Then, get a dark, saturated, background. First, I set my shutter speed to the fastest I can use: 1/250th second, the maximum flash sync speed.
  4. Then, I select a low ISO (100) and small aperture (wait for it: f/18).
  5. Then I use an off-camera TTL flash to light up the subjects. Yes, TTL, in this case: no need for Pocketwizards here.

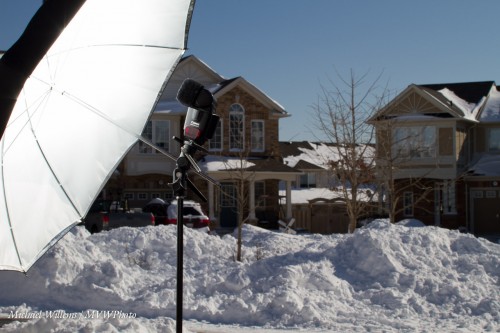
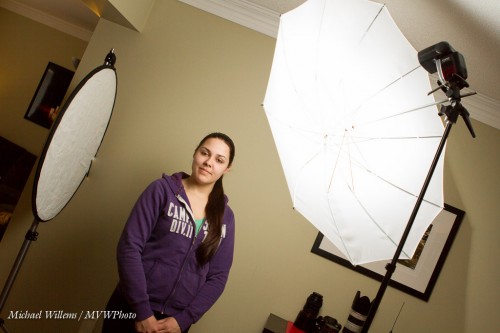
Now, the challenge: enough flash. Unless the flash is very close, it will not work well if it is a simple speedlight. I tried shooting into an umbrella:

But this needed the umbrella to be a little closer than I liked, so I turned the flash around and shot direct, discarding the umbrella. Yes, you can use direct flash, unmodified, if you are mixing with ambient light, and if the flash is well off camera. This gives us short lighting.

Here’s the students:

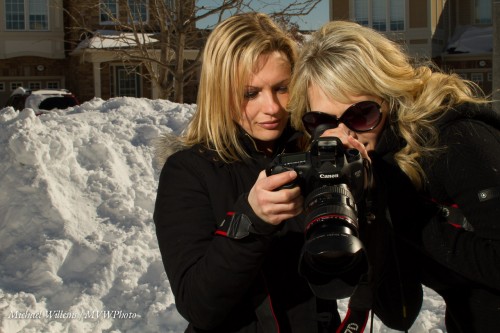
And they did very well indeed: their photos are stunning. Dramatic, and they now have a whole new range of possibilities added to their repertoire. You should consider learning the same: yes, you can do this with simple equipment.


___

Want to learn all this stuff? Allow me to once again point out these current and upcoming learning opportunities:

Michael


Expressions, and fun.

Two talented photographers, Jen and Becky, spent today, and will spend part of tomorrow, with me learning flash skills. And flash skills are sooo essential. So you can fill in light, solve backlight problems – and so you can get creative.

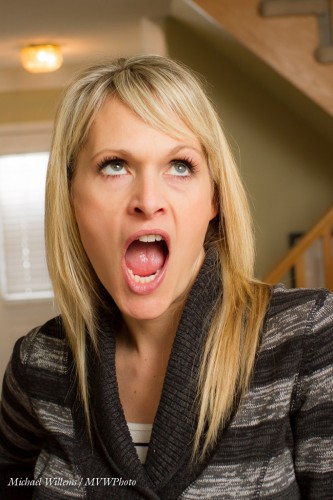
Like in these sample images from today:

Yeah, fun shots. To do these:

  1. Set your camera to MANUAL
  2. Select the right ISO, aperture and shutter to make the ambient light disappear (1/250th second, f/8, 200 ISO, say).
  3. Add flashes – use remote TTL (fired by flashes from your cameRA).
  4. Add grids to those flashes so they do not throw light everywhere
  5. Add gels for colour
  6. Shoot. Adjust flash compensation as needed.

Or use more ambient light – simply use a higher ISO, larger aperture, or slower shutter, or a bit of all three:

In any case… save for a little post work if needed, you are done.

But… you also need something a lot of “technical” photographers forget: a subject.

These images were made not majorly by the light. They were made majorly by the subjects. Thanks, Jen and Becky, good work. Amazing and fun expressions.

That is why photographers need models. Not everyone has the personality needed for these.  Modeling for photos of all types is a real skill, and when you find people who have it, shoot them, and you cannot go wrong. A pretty face is not quite enough: personality is needed too. try to have some fun. Try different expressions: happy, scary, sad, worried, confident, elated, serious, sad: you name the emotion, then have the model try and express it.  This process is fun!


___

Want to learn all this stuff? Private coaching is a great way to go, but if you want to do it another way, allow me to once again point out these learning opportunities:

Michael


Bright pixels are…

…sharp pixels.

Look a this image:

Dark, but as you know, we can rescue dark images in Lightroom or Photoshop. Especially if, as here, we shot them in the RAW format – which you really always should do.

So, into Lightroom, notch the image’s exposure up a couple of stops, perhaps play with “Whites” and “Shadows” a little, and done! Right?

Yes. But.

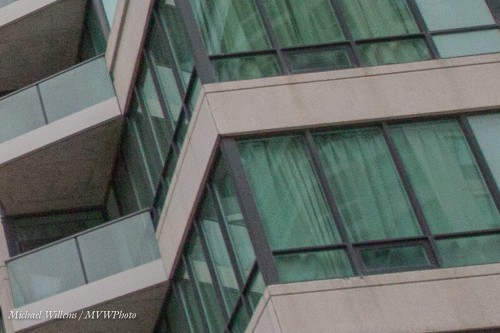
While we successfully increased the level of the dark parts of exposure, we also at the same time increased the noise (“grain”, if you will). Noise, after all, is like cockroaches: it hides mainly in the dark. Look at a small detail:

See? Grainy.

Compare that with the next image I shot, which at first looks just about the same, at least in terms of exposure – I shot this one at a slower shutter speed:

But this one I exposed well – I did not have to electronically increase the exposure, so I did not increase the noise. So a small section of this image looks like this:

If like me you were an engineer, you would say that it has a “higher signal to noise ratio” than the previous, electronically doctored, image.

So that is why we try to expose as correctly as we can, rather than relying on RAW to fix it for us later.

(You can even expose “to the right”, i.e. expose too brightly, as long s you do not lose detail in the bright areas. If you manage to do that successfully, you can pull the image down later, thus increasing the signal to noise ratio. I have written about this here before, look it up).


Snap of the day

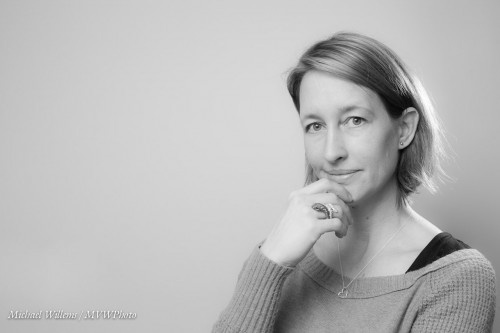
Here’s my student, photographer and friend Michelle:

Any portrait photographer wil recognize some or all of these factors:

  • I shot this in colour, of course (RAW), and converted to B/W in Lightroom afterward.
  • I shot the image horizontally, in landscape orientation – not in the more usual portrait orientation.
  • Negative space is good.
  • And so is the Rule of Thirds.
  • I used a hair light, behind the subject on our right, to get the “shampooiee goodness” look.
  • The eyes have catchlights. From my umbrella, on our left.
  • I shot some images. The subject liked this one only. I liked three others also. This is very usual – people look at themselves differently.

Go do some portraits. They are fun!


Keeping it Simple – The Five Minute Portrait

What do I need for a portrait, like this?

A studio, right? All sorts of light, right? Light meters? Pocketwizards?

Not necessarily.

For this portrait of Sarah, I was showing her how to do this the easy way. You need:

  1. A camera.
  2. One flash, like an SB-700 or a 430EX.
  3. If is it a recent Canon (like a 7D, 60D, etc) or most Nikons, that is all. If an older Canon, you need an additional flash on top of the camera to drive the other flash.
  4. A light stand
  5. An umbrella
  6. A bracket on that light stand to mount the flash and umbrella
  7. A clean wall
  8. A reflector – this can be a “proper” reflector, or a white sheet, or a piece of bristol board, or whatever you can get someone to hold – or another wall at 90 degrees to the background wall!

That looked like this:

And that really is all. You now do the following:

  1. Mark the floor where the subject is to stand (use tape).
  2. Put the stand up, at 45 degrees from the subject, and 45 degrees up.
  3. Move the reflector in place.
  4. Put the flash in “Slave” or “Remote” TTL mode.
  5. Put your camera’s flash in “Master” or “Commander” mode.
  6. Disable flashing from your on-camera/popup flash. It will send commands to teh remote flash, buy it will not fore when the picture is actually being taken (else you would get nasty shadows).
  7. Move the model’s body toward the umbrella; face to you.
  8. Fire!
  9. Check results.
  10. You will probably need “Flash Exposure Compensation” of +1 stop if you are using a bright wall. For bright clothing also, maybe +2 stops. Ensure you gte good catch lights, too.

And that’s that. Takes a few minutes only. No, it does not always need to be complex.


A few quick pointers

Here’s me yesterday, shot by my student Sarah. Great portrait. She shot it vertically, but I cropped it horizontally. Did she need a lot of equipment? Noe: her existing 7D with 580EX flash, plus my stand, bracket and umbrella.

I would today just like to briefly answer a few frequently asked questions.

  1. Do you shoot RAW? Yes. You have to. It’s a no brainer – only shoot RAW please.
  2. What mode do you shoot in? Manual. That way I am in control. Not the camera.
  3. What ISO do you shoot at? Whatever I feel like. High enough. 1600 easily, 3200 if I must. See yesterday’s post!
  4. What batteries power your flashes? Rechargeable, NiMH. Low-self discharge. Using Maha or Lacrosse conditioning chargers.
  5. Do you use TTL or manual flash? TTL at events, usually. But of course, when shooting in studio settings, when I take repeated shots, or in a studio or outdoors using strobes, then it’s manual flash all the way.
  6. Can you use your flash straight-on? Sure. When you have to. Or outdoors, when your flash is just the fill light (say, two stops below ambient). But otherwise, bounce; or use off-camera flash, or softened flash, or all of the above.
  7. Is a catch light necessary in portraits? I would not say absolutely necessary, but it is highly recommended. See above.

Useful?

More on this blog: search for these terms here and red all the detail.

And have fun!


Learn.. how?

You can learn by taking my lessons, for instance. Supported by the book.

Lessons at Vistek Toronto. And lessons at Sheridan College.

And two workshops in Hamilton, open NOW for booking:

  1. 17 Feb 2013, in Hamilton, “Advanced Flash”. Info/book: http://www.cameratraining.ca/Flash-Ham.html
  2. March 2: “The Art of Shooting Nudes”, same location. Info/book: http://www.cameratraining.ca/Nudes.html

I hope to see you there – learn from me and kick your photography into the next level!


Learn from the real pros

Namely – you can learn a lot about composition, portraiture, and so on from painters.

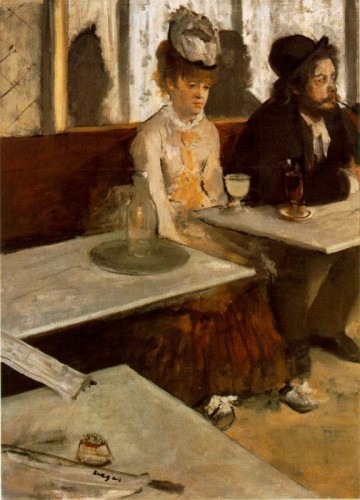
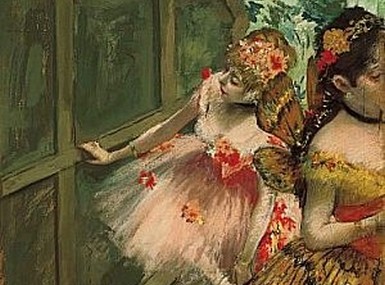
Like Edgar Degas. He was the master of making paintings look like photography – capturing the moment. Here’s an opportunity of learning from a painter who learned from photography. Like in the use of his crops:

Who would ever dream of cropping people halfway, and of having people look right out of the frame? Degas would, that’s who. He took what the new art of photography did and made it into some of the most artistic paintings we have ever seen.

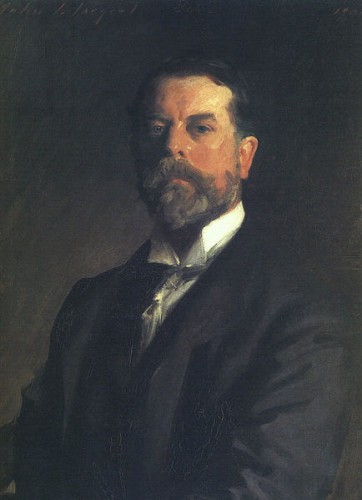
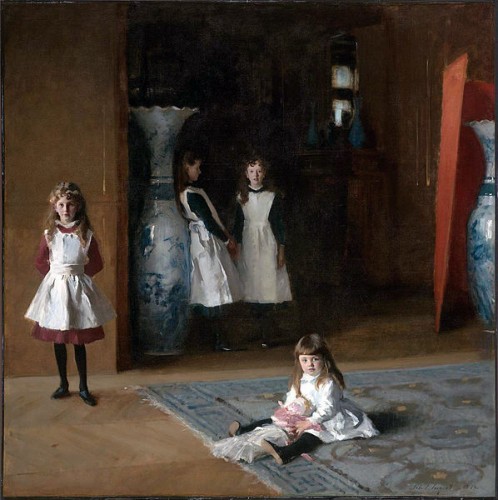
And then there’s John Singer Sargent, the master of portraits.

See Rembrandt and his light in there?

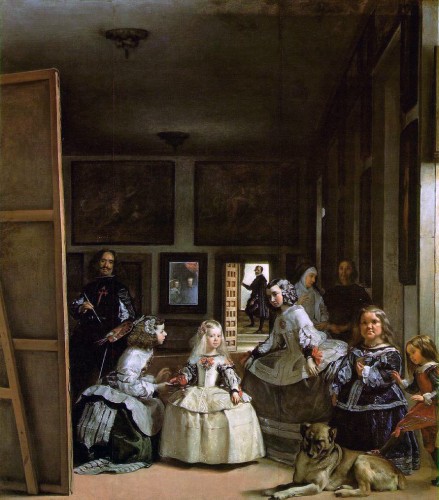
And in this work by Singer Sargent, do you see Velasquez?

Here’s Velasquez’s “Las Meninas”:

My point ? That we all stand on the shoulders of giants – we do not copy what came before, perhaps, but we certainly are inspired by it, learn from it, and use its lessons in our own compositions.

So my advice for you today is to go to art museums, buy art books, and browse art. If a painting is famous and in a museum, tat is probably because it is great. And we can all learn from the greats. Don’t restrict yourself to great photographers; learn from the great painters also!


Hi-ho, hi-ho

Hi Ho… Hi Ho, high ISO we go!

Every now and then, we need to take stock of where we are in tech development. I feel that this is such a moment. We have seen a gradual increase in usable ISO over the years, and it feels to me like today it is time to re-evaluate the ISO settings we use, and indeed to increase them.

High ISO leads to noise (“grain”), and should be avoided unless necessary. I recommend the following “starting points”, therefore:

  • Outdoors or tripod or studio: 200 ISO
  • Indoors, even with flash: 400 ISO
  • Difficult Light: 800

And you increase as necessary.

So what has changed?

With today’s modern cameras, you can go higher, that’s what. Look at my Canon 1Dx just now, at 3200 ISO:

(3200 ISO, f/2.0, 1/320th second, with the 50mm f/1.2L lens).

Looks good eh. Even fully zoomed in, it looks great, straight out of the camera (no noise cancellation done):

Another example:

Again, very useable at 3200 ISO straight out of the camera.

Even on older cameras like my crop factor Canon 7D:

Not as good at 3200 ISO, you can see some grain if you look carefully, but still, entirely useable, and better than a picture that is motion-blurred.

Now, a note. Willems’s Dictum: bright pixels are sharp pixels. So if you want good sharpness and low noise, avoid underexposing. Expose brightly!

Anyway, so what is the conclusion? Whence the step change?

As of today, if you are using a modern camera, my recommendation is as follows:

  • Outdoors or tripod or studio: 200-800 ISO (i.e. feel free to go up to 800 if you need).
  • Indoors, even with flash: 400-1600 ISO (i.e. feel free to go up to 1600 if you need).
  • Difficult Light: 800-3200 (i.e. feel free to go up to 3200 if you need).

And in all cases, go even higher if you really need.

This now means your flashes are two stops brighter. You can often shoot with speedlights where strobes were needed before. You can use higher ceilings to bounce off. You can even shoot weddings without flash. Amazing. Technology is changing photography.


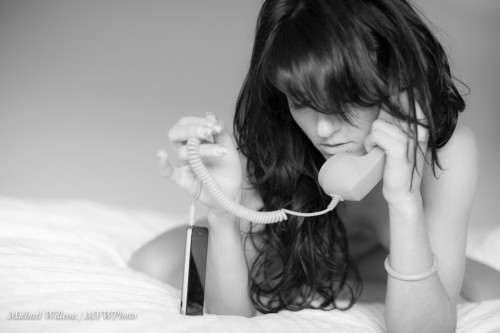
Never do this.

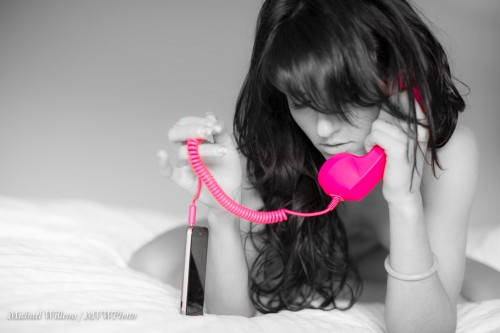
This. Selective colour. As I mentioned here before: a sin, a never-do, a teary clown: a cliché.

So why did I do it in that image I shot yesterday?

Because to every rule, there is an exception. Don’t ever let anyone tell you to “always” or “never” do something. Always or never means “Always or never – EXCEPT if you have a good reason in your own mind to break the rule”.

In this case, the image worked best in B/W, but the cool iPhone headset in luminous pink was too good to not show in colour. OK, selective colour then, and damn the torpedoes.

How:

  1. Go to the DEVELOP module in Lightroom
  2. Enter the HSL section and select S (Saturation)
  3. Drag down all colours to zero, The with the pick tool, select the handset and drag UP. (Red and Magenta, in this case).
  4. Now with the BRUSH tool, set saturation to zero, and wipe out any saturation in the rest of the image (face, hands, and so on).

Took me just a few seconds. Which is why I can try it out, and then decide perhaps the B/W version is better after all?

You judge. And remember: never take anything for granted in how you shoot. Always be ready to experiment. That’s how you get unexpected results. But also, never be afraid to throw out your experiments.