Fighting for light

When shooting outdoors in sunlight, it is better to turn people away from the sun, so they do not squint.

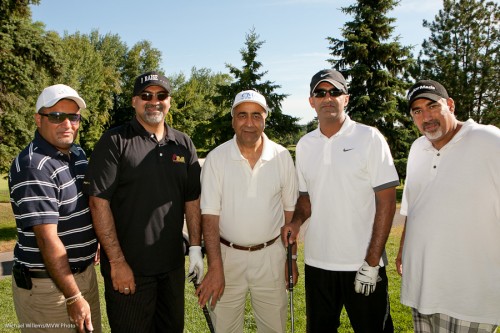
So you do it as in this recent shot (with the Hon. Minister Harinder Takhar of Ontario in the centre):

As you see, you now need a flash to light up the subjects. Else, they would become silhouettes.

And the constraining factors are:

  1. First, the power of the flash. If it is not as bright as the sun, roughly, then you will get an insufficiently exposed image.
  2. Second, metering. To check if this is an issue, turn the flash to manual, full power, and check if you are now getting an overexposed image.

In this image I used 1/250th second (the fastest I could do with the 1Ds) and f/11 at 200 ISO. Why?

  • 1/250th, since higher speeds would have meant high-speed flash would be needed, which would reduce flash power.
  • f/11, to get a dark enough background.
  • 200 ISO, since higher ISO would not have worked: lighter backgrounds would have resulted, necessitating smaller apertures

That last part is important: raising ISO is not a solution to the need to “nuke the sun”. Only more flash power is.

 

Size matters

Size – of your lens – matters. Like for travel, where you want a wide angle lens (10-20mm on a crop camera). Or on a portrait shoot, where you want the longest possible lens.

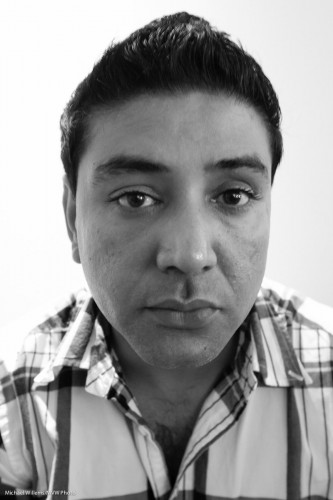
Why? Well, just look what happens when you use a wide angle lens for a portrait. To do thijs, you need to get close. Getting close means that what is cloer to you looks larger (hold your thumb in front of the moon: is your thumb really larger than the entire moon?)

So you get this:

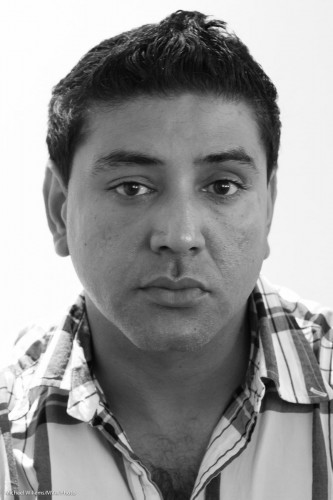
Not bad, you say. Sure – but look whant happens when you use a longer lens; say, a 135mm lens:

See how much more neutral, “normal” that looks? So that is why you use a long, long lens for these “headshots” close-up portraits, when you can.

And the limiting factor? Simple – the size of your studio. A long lens means “stand back far”.

But if you have the space, that is exaclty what you should do.


Trivia Question of the day: Why a “Stop”?

Q: Why is a stop called a stop?

A: Because on older cameras, the adjustments for shutter and aperture would “click”, ie come to a stop, for each halving or doubling of the light. Say from 1/125th second to 1/60th, or from f/8 to f/5.6. Click – click – click. This made it easier to adjust your exposures a known amount, just like a guitar with frets is easier than a violin with “continuous” adjustments.

Oh and bonus question:

Q: Why f/2.0, f/2.8, f/4.0, f/5.6, f/8.0, f/11, f/16, and so on?

A: First, note that it is not “f 8”, but “f/8”, meaning f (the focal length) divided by the subsequent number. And like the “main” shutter speed numbers, these main aperture numbers are also chosen to give you double, or half, the light with each subsequent number. And to halve the light coming through a circle you need to divide the radius not by 2 (that would give you a quarter of the light) but by the square root of 2, or 1.414. (Since area = Π r ²). So the ratio between these funny numbers is that, 1.4. Meaning each larger number (because we are dividing by this number) gives you half the light entering the lens.

And

Wide angle diffuser tip

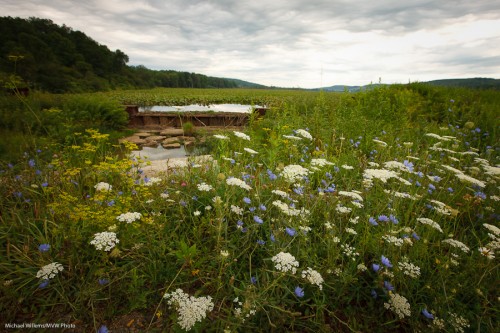
Tip: if you use a wide angle lens – and I hope you are, because you will get pictures like this, that look very three-dimensional, with the scene “wrapping around you”:

Upstate New York (Photo: Michael Willems)

…then you need to know about your flash’s wide angle diffuser.

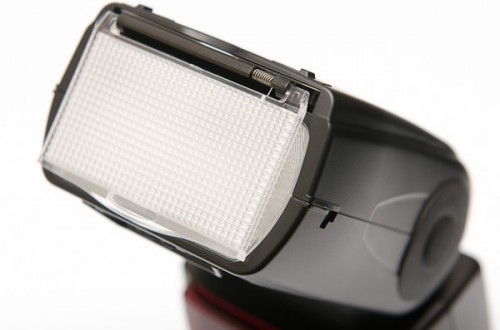
This is the piece of plastic that you can pull out, that looks like a diffuser:

It looks like a diffuser, but it is not. All it does is make the light go to a wider angle, when you are using a lens wider than the flash’s internal zoom mechanism can handle. Else, you would get vignetting.

When you shoot with a lens wider than around 24mm (on full frame), you need it to ensure the entire picture is lit. Like in this 16mm (on full frame) image, the sign would not be lit if I had not used the adapter.

Upstate New York (Photo: Michael Willems)

But here comes tip 2: you can also choose not not use it, when shooting with a wide lens. This might be a good choice if you want vignetting, or if you are short of power, like on a sunny day, and your subject is in the middle. Then why waste power lighting up the side?


One more food note

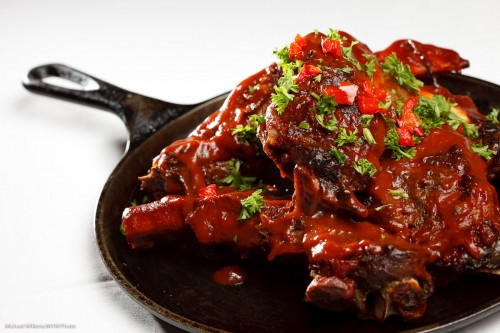
Another note about that recent food shoot (see post of 29 July).

How do you get a shot like this – what are the important factors?

  • Good lighting: diffuse from front, hard from back. That gives it that lively, alive, shiny, yummy, vibrant, fresh look.
  • Good colour – white balance correct.
  • Good colour – add green to red, if you like – the garnish is essential here.
  • Good exposure – “to the right”.
  • Good composition.
  • “Food make-up” – again, that garnish. If food is older, use a brush with olive oil – that sort of thing.

Oh and that was a hurried shot – high-pressure shoot, no prep time. One reason you hire a pro is to ensure that he or she shows up, and that the shoot gets done as well as possible even if conditions are adverse.


Note that I teach specialized subject like this to interested individuals all over the continent. And also note, Joseph Marranca and I will do a “preparing and eating food” workshop this year. Stay tuned!
 

Props

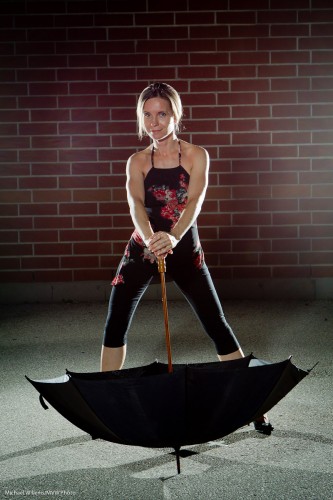
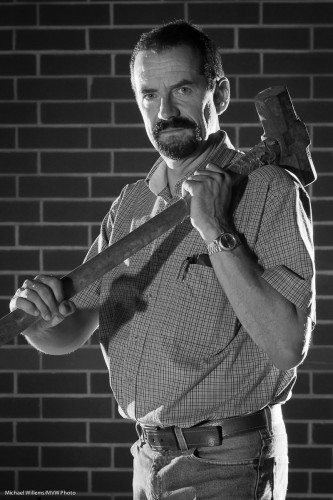
Props are often very important in images. They often help make the photo. Here are a few examples.

Props can either be:

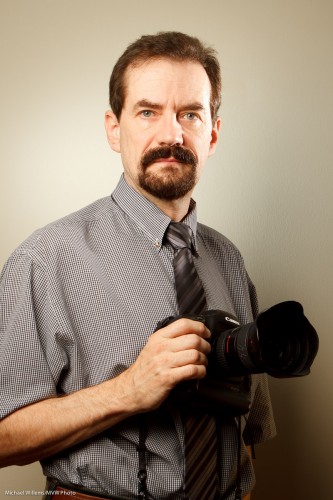
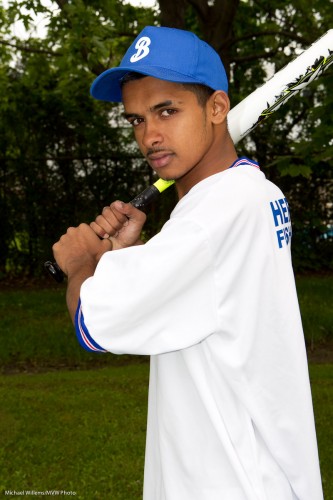
  • “What they’d normally do” (business person with note pad and pen; a child with a favourite toy; a sportsperson with his bat; a photographer with a camera), or…
  • “Juxtaposed”, eg a pretty girl with a sledge hammer, for artistic or even funny photos.

Both are good, as long as the effect you achieve is the effect you desire. Props help tell the story, put your person in the place you want them (a 1950s shot would use an old telephone, for instance). They can be very simple and obvious (shot 1 below) or they can make you think.

Without further ado: a few examples to get you thinking about using props.

Use of props in photos (Photo: Michael Willems)

Use of props in photos (Photo: Michael Willems)

Use of props in photos (Photo: Michael Willems)

Use of props in photos (Photo: Michael Willems)

Use of props in photos (Photo: Michael Willems)


August 13, Joseph Marranca and I will be doing a Creative Light workshop where I guarantee we’ll use props. There is still space if you book now!


Flash types

A quick note for you all –  a reminder since I have said this before.

It is important, when using flash, to distinguish between the types of flash and their use. As follows:

[1] Flash is the only light.

Example: studio.

  1. You want ambient light to be invisible
  2. So you use low ISO, small aperture and fast shutter
  3. You probably use manual flash and a light meter.
  4. E.g. in a studio you may use 100 ISO, f/8, 1/125th second

[2] Flash is the main light, but there is bright ambient light also.

Example: person in an office with a window behind him with a bright outsoors scene

  1. You want ambient light to look great – that may mean dimming it
  2. So you use manual mode (or exposure compensation, minus) to turn down the background until you are happy.
  3. Then, and only then, do you worry about (and turn on) the flash.

[3] Flash is the main light, but there is dark ambient light you’d like in the image

Example: A party indoors.

  1. You want ambient light to look great – meaning it should show!
  2. So you use high ISO, open aperture and slow shutter
  3. You probably use TTL flash
  4. Example: indoors party: 400-800 ISO, 1/30th second, f/4

[4] Flash is merely fill light

Example: Outdoors, a backlit subject

  1. You want the flash to not be too bright
  2. So you turn it down by using flash compensation, minus. Start at -1 to -2 stops.


A methodical approach works: once you realize what situation you are shooting, the rest follows simply and quickly. Failure to do this leads to much confusion. If you don’t know where you are going, you will not get there (paraphrasing Yogi Berra).


Edge lighting tip

When you are using rim lighting, like in this shot of this evening…:

Mel McBride (Photo: Michael Willems)

Then I would give you a few tips:

  1. Do. It’s good. Look how well it shows off round shapes like arms and legs. It makes them look round, rather than flat, which is what they would look like if you lit them just from the camera’s direction.
  2. Light from behind – 45 degrees behind the subject aimed forward.
  3. Fill from the front. Watch for shadows behind your subject.
  4. Watch for shadows in general. You may like them. Or you may like only one of them. Or none. All good, as long as you watch for them, and feather the lights you do not want throwing a shadow, or use snoots or grids or gobos – or soften them in the case of the front fill light (I used a Honl Traveller 8 softbox).
  5. A little flare, as in this shot, can be okay. Don’t go crazy, but do not be afraid. I often include lights and flare: love them when done well.
  6. If you want flared lights to show like stars, use a small aperture, like f/8 or f/11.
  7. If you are using TTL, which is fine, then do use manual at least for the rim lights. Using TTL for those makes little sense, as this light is very hard indeed to measure in camera.
  8. And for manual flash, know how light works. The Inverse Square Law is very important. To get half the light, increase the flash-subject distance by 1.4 (the square root of two). That sort of thing. Yes, math.

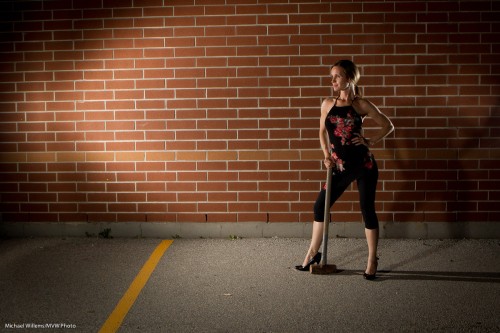
Oh and when you have a wall, you can use it, of course. Like here, wher I have made oneof the rim lights into the main light:

Controlling light is fun, and is remarkably easy. And Photography is all about the light.

(Joseph Marranca and I are teaching another Creative Lighting course, this time in Fort Erie, just over an hour from Oakville, on July 23. Stay tuned or drop me a line!)


No bounce?

What if you shoot an event in a dark room?

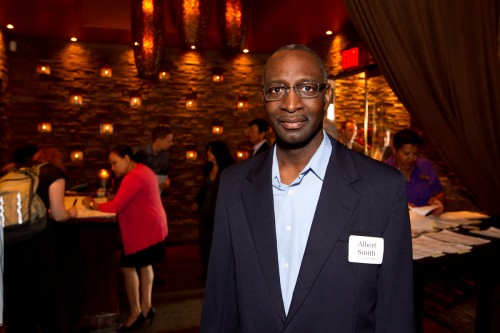
First, set your ISO-Aperture-Shutter combination to something you desire – in my case that is -2 stops metered w.r.t. ambient. E.g. 1/30th second, f/4. and 800 ISO in a dark, dark room like the venue Many options. where I shot a corporate event yesterday night.

But then you do need flash light to fill in the rest. And what if you cannot bounce? If the venue, like mine, is black, with high black ceilings and all black walls? You curse inwardly, of course. And then what?

Many things.

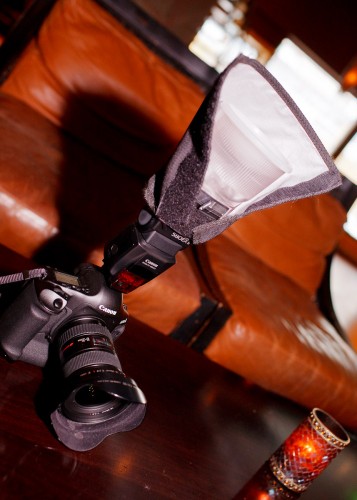
In my case, in a total no-bounce environment I use this: A Fong Lightsphere with a Honl Photo reflector behind it:

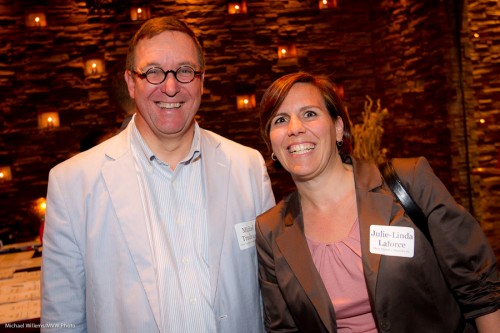
Which gives me not the very best light, but it is, I think, perfectly acceptable:

Many other techniques also, but that will come another day.

One more:

And all that in a no bounce environment – which goes to show, you can always do something!


Add flash to darken your photo.

Yes, you read that right: add flash to darken your photo.

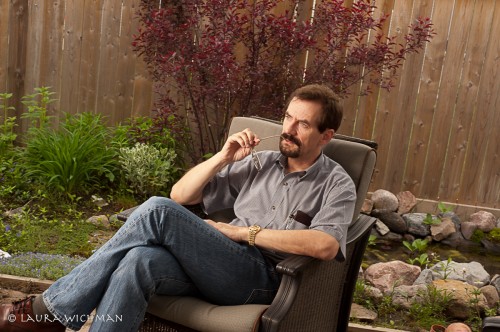
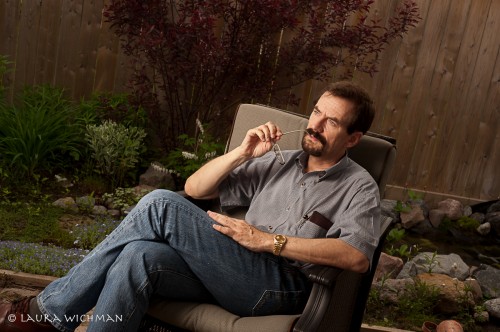
Take this image, shot as a demo for me by photographer Laura Wichman the other day:

Well exposed, well lit, all good.

But you have heard me say many times: “bright pixels are sharp pixels”. So how about if we make this more dramatic?

The use of flash allows us to decrease the ambient exposure (first try faster shutter speed; when you get to your sync speed, e.g. 1/200th second, then carry on and use a lower ISO setting, and finally go to a a higher “f-number”). The background now gets darker:

But because a powerful flash (Bowens, with Travel Pak battery pack, equipped with a softbox) lights me, my exposure does not need to be affected. I can remain as bright, by turning up the flash (needed only if ISO or aperture are changed).

So now we have made the background darker and hence made me the “bright pixels). Using flash to darken most of your picture, in other words.

News Flash: Photo Life Magazine June/July issue is out: in it, you will see my article “Flash: 10 Problems, 20 Solutions”. Go get your copy today, particularly if you shoot flash at events.