Flare.

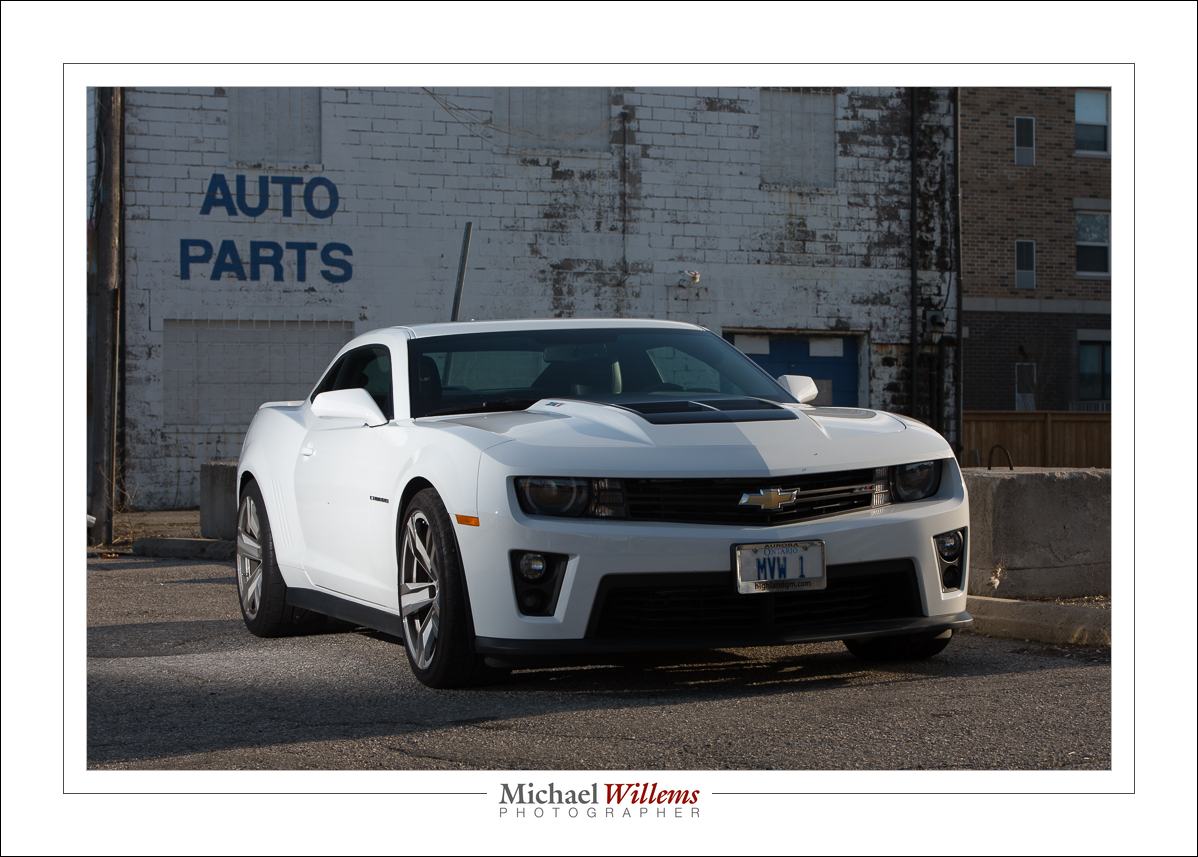
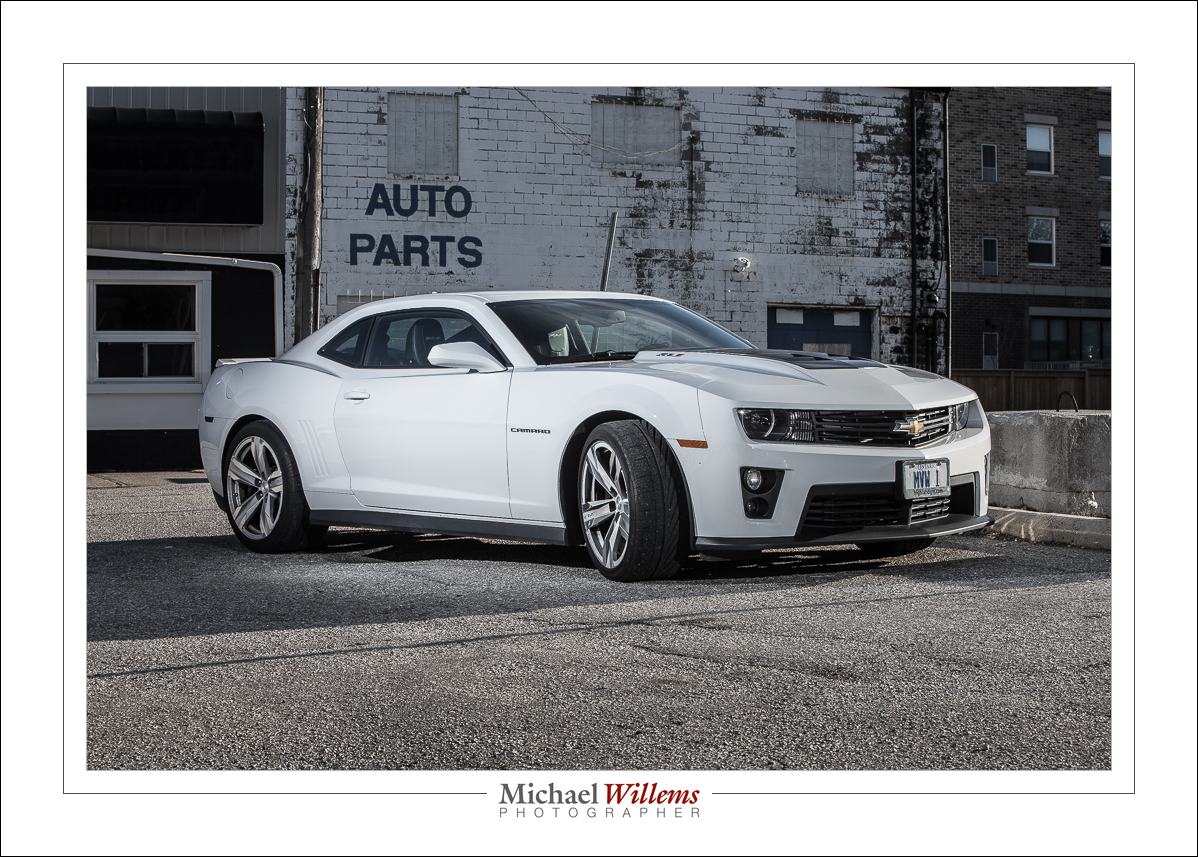
Sometimes, you will experience lens flare, a lowering of contrast due to incoming bright light. Like here, from a recent event:

You can’t do much about this: it will happen especially with longer lenses and lenses prone to it.

What you can do is minimise it and its effects. Here’s how:

  1. Remove any protection filter that your lens has on it. These make flare worse.
  2. Ensure that the lens is totally clean.
  3. Use the lens hood your lens came with.
  4. In addition, shield your lens from incoming backlight with your hand if you can.
  5. Position yourself so as to minimise incoming backlight. As you can see in the photo, this is not always possible.
  6. Avoid overexposing.
  7. In Lightroom afterward, use “remove chromatic aberration” in the lens correction section of the Develop module.

If you follow those tips, you have done all you can!


SPECIAL–SPECIAL–SPECIAL! … I have a very special opportunity for you:

Have you always wanted to be able to shoot pro images? Well… a short course can get you to an amazingly professional level. And for just one week, all personalized individual or group training, at your location or at mine, or via the Internet using Google Hangouts, is $60 per hour instead of $100 per hour – that’s 40% off! 

This offer is valid only until 4 May, but you can prepay now for later training. Take advantage if this opportunity and kick start your craft: Contact me today to book.


Warm day

It was a warm-ish day today, so I went and took some car photos.

Since the sun was out, it is no surprise that I found available light a little boring:

20170408-1DX_3949-1024

So.. I added a flash, on a light stand. But as you will have guessed one flash was, of course, not enough to light a big subject like a car…:

20170408-1DX_3951-1024

…so I added two flashes. Left flash: half power manual 600EX, aimed direct at the car starboard side (zoom=50mm). Right flash: half power manual 430EX, aimed direct at the car front (zoom=50mm).

And that gave me this photo:

20170408-1DX_3965-1024

Desaturated slightly; otherwise this is the way I shot it.

But… say what—Two light stands? Fired by pocketwizards? Isn’t that complicated?

Yes, yes, and no, respectively. It is not complicated. And the results, as you see, get you immediately beyond the “snapshot”. And that is satisfying.

Michael teaches flash and other photography subjects; at Sheridan College and privately; and at his own school. If you want to know more, come to one of my regular courses (see www.cameraworkshops.ca).

A reminder

Today, a reminder of one if my magic “Flash Recipes”. Namely, the “Reception Recipe”. Otherwise known as the “Willems 400-40-4 setting”.

It goes like this. Camera on manual. Flash bounced, and aimed 45 degrees up, behind you.

Screen Shot 2017-03-27 at 12.15.07

400 ISO, 1/40 Second, F/4. (the numbers only fit one way: try!)

In most indoors environments that gives you great balance of background and foreground, as in the image above. If the ceiling is high or dark, increase the ISO as needed. Ideally, use a 35mm lens (24mm if you are using a crop sensor camera).

And that’s all. Great party pictures from now on!


The simplest…

Sometimes, when you are immersed in a profession, you forget that not everyone is even familiar with the language used in that profession, let alone with some of its principles and practices. As an engineer who teaches, I try never to fall victim to that thinking. But sometimes even I do. So in the next series of blog posts, I will briefly define some of the basics. Just in case.

Starting, today, with flash modes.

Your small, camera mounted, flash has a “mode” button. That button gives you access to some of the following modes:

  • TTL (also, “E-TTL”, or “TTL-BL”, etc). This means “automatic flash power”. The camera and the flash together sort out how much power is needed for every photo. They do that with a mechanism that I explain in my courses, books, and workshops. That mechanism is called “TTL”. You do not have to worry about your subject’s brightness, at least in theory: the camera and flash sort it out.
  • MANUAL (Also called “M” or “MAN).  In that mode, you set the flash power. You can, for instance, set it to 1/1, or 100% power: the brightest power level. Or 1/2 (half power), 1/4 (one quarter of its top power), 1/8, and so on. On some cameras, you can go as low as 1/128 power, a very low flash level. So in this mode, if your flash is too bright, you would turn it down to a lower level (or move back from what you are lighting); if it is too dim, you would turn it up (or move closer).
  • Repeating flash, or stroboscopic flash. In this mode, the flash will flash not once, but a defined number of times, with a defined interval. You need to define the number of flashes, the interval, and the power level. (E.g. “5 flashes, at a frequency of 10 flashes per second, at 1/16 power”). That allows you to make photos of, say, a runner against a dark background, where you see not one, but ten images of that runner as she moves through your photo.

There may even be modes additional to this. Depending on the flash you use, there may also be a setting that tells the flash that it is a remote flash, and there may be a setting that allows the flash to be used at fast shutter speeds, but at a reduced power level (“High Speed Flash”, or “FP Flash”). There could be other settings as well, like a “dumb slave setting” (Nikon calls this the “SU-4” setting).

All those additional settings are not modes, but they are what I called them: additional settings. I know, that may be confusing to you (“what is a mode and what is an additional setting?”), but if so, don’t worry about it. It’s what the engineers decided to do. The reasons for not calling these settings “modes” are not important right now.

So there you have it. Some flash “basic basics”.

In my flash courses, I explain al this in detail, of course.

Want to learn more: buy the pro flash manual, and if you are in Toronto, sign up right now for the 25 March portrait and model lighting workshop.  See you there?

Nothing changes?

Well, not in 8 years. Here’s a technical note in the form of a post from October 2009 that is still valid…:


A reminder to all flash photographers: you need your shutter speed to be below the camera’s flash synch speed.

What does this mean? Let me explain.

The flash fires for the briefest period, of course. Like 1/2000th of a second. That is why we call it a flash.

So when it fires, if the light is to reach the entire film or sensor, the shutter needs to be totally open at that point.

That much is obvious. But what is not obvious is that there is an engineering limitation in your shutter. Beyond a certain shutter speed, the camera’s synch speed, the shutter never totally opens. Instead, a small (increasingly narrow) slit travels across the shutter to give each pixel a brief exposure time.That’s cool – the shutter does not have to be super-fast and expensive and you get a fast shutter speed.

But this gets in the way when you are using flash. When you fire during those short exposure times (on most modern cameras, faster than about 1/200th second), the light does not reach the entire sensor. Look at this example I shot to illustrate this, at speeds from 1/200th to 1/1000th sec:

SHUTTER

You can see that as I exceed the sync speed, the light only reaches part of the shutter.

You should also note that especially when using external flashes with Pocketwizards or similar, flash takes time to set up. My 1Ds MKIII has a synch speed f 1/25oth second but as you see, at that speed it is already beginning to cut off. Best stay a bit below your synch speed (I typically set my shutter, when I am using studio flash, to 1/125th second).

(There is a way to overcome that: fast flash, which some high end flash units offer. This continuously, all the time that the shutter travels, pulses the flash at a very rapid rate, so that the slit, as it travels across the sensor, has light coming in throughout its travel time. It works great – do use it when taking flash images outside – but it uses a lot of energy, and hence decreases the range of your flash.)

(Advanced tip: I know of at least one photographer who uses this effect to introduce an electronic version of a neutral density filter or a barn door: he sets his camera to 1/320th second while using flash, and turns the camera upside down. That makes the top part of the image dark, at least as far as the flash part of the light is concerned!)

One light

A one light portrait can be good even though it may be simple. Like this one:

20170218-1DX_3656-1024

A single 430EX flash fitted with a Honl Photo 1/4″ grid. Set to manual mode, 1/4 power. Photo taken in a bright room (to our eyes. But not to the camera).  Using standard studio settings: 200 ISO, f/8, 1/125 sec).

That grid is essential. If I did not use it. the single flash would throw its light everywhere; it would reflect everywhere else’ and before you know it, you have what you did not want: the room (in this case, the hall in a church where I was giving a lecture) all lit up.

What is also essential is to have the flash off the camera (“OCF” means Off-Camera Flash). I use Pocketwizards for that, and manual flash. Some use the built-in system that your camera maker provides, usually using light pulses (not normally infrared, incidentally). Yet others use cables. Others use TTL-able systems like YongNuo transmitter/receivers. However you do it, get that flash off your camera!

Time and space

Sign up now: there’s time and space to learn all about flash. A model and make-up artist will be supplied for the workshop I am teaching on January 28 in Toronto. In this workshop, from knowing “nothing”, you will learn creative flash in half a day.

20170101-1dx_3062-1024

Recent single flash shot. Studio settings; manual; off-camera; 1/8″ grid.

And this includes:

  • Setting up your camera for flash.
  • Why use flash when it’s bright outside?
  • TTL or manual flash: Why go manual, and when?
  • Speedlights or studio strobes?
  • What are the limits to using speedlights?
  • Modifiers: gels
  • Modifiers: grids and snoots
  • Modifiers: softboxes and umbrellas.
  • “Magic recipes”: shortcuts for outdoors, indoors, and studio flash.
  • Common mistakes – and avoiding them.
  • Off-camera flash: How? Why?
  • Using radio triggers (which ones?)
  • Secrets of creative lighting – examples with model and make-up artist.

You will leave with a few great portfolio shots, but also with an understanding of, and “quick start” recipes for, handling each flash situation that you will come across.

This course is intended for everyone from beginner to pro. What you have in common is that you have an SLR camera, you know little about flash, and you want to learn all about it. Bring your camera! If you have a flash, bring it; if not, no worries: everything is supplied.

There are spots left but space is limited, so sign up now.

Happy New Year!

Happy New Year from The Speedlighter! 

As for your 2017 resolutions, how about this one: Make this the time you finally perfect those skills you always wanted to hone! Skills that allow you to quickly and easily do pictures like the ones I took over the last couple of weeks. These include a few animal (and animal-plus-owner) pictures:

20161110-mw5d1613-1024

20161110-1dx_1783-1024

20161219-1dx_2654-1024

20161113-1dx_1819-1024

All those were made with the 85mm f/1.2 lens, and used a single speedlight in an umbrella.

But I also did an executive portrait, just yesterday:

20170101-mw5d2658-1024

20170101-mw5d2676-1024

Do you see the difference between the two above? For the first one, I did not want to show the outside (boring, homes). Easy, so the picture,like almost all my pictufes, was stright out of the camera.

For the second one, however, I did want to show the blue sky. So I exposed that one less (using the magic Outdoors Recipe–one of the things you will learn if you turn up). Both used flash, of course; fired by Pocketwizards and with their power set manually. The second one used much more flash power because I was using low ISO and small aperture to kill the outside light. I also had to, therefore, brighten the Apple logo in post-production.

20170101-mw5d2655-1024

I would almost call that last one an environmental portrait.

The next ones are certainly environmental portraits:

20170101-1dx_3062-1024

The one above used a 24-70mm lens and a speedlight with a Honl Photo 1/8″ grid. The one below, a 16-35mm wide angle lens and a speedlight with an umbrella:

20170101-1dx_3048-1024

What do they all have in common? Simplicity, good exposure, and a thorough knowledge of the technical necessities.

You can learn this too. Why not do it? I have several great opportunities coming up!

All of these are excellent learning opportunities, and will broaden and deepen your knowledge significantly. Hope to see you there and then. 


Doggone it

I have dogs on my mind, it seems.

Why? Because I did an outdoors portrait session of two dogs today. A little challenging, because it was cold (-9ºC), and it was bright, and the dogs would not sit still.

I started with flash held by an assistant (in casu, the dogs’ owner) and the standard outdoors settings. That gave me:

20161219-1dx_2758-1024

But TTL is not easy here, because of the dark subject offset against the reflective snow, and “manual” means “keep the distance of the flash from the subject constant”, which is near impossible. So on to additional ways to shoot:

20161219-1dx_2654-1024

Additional advantage: fast shutter speeds are now possible. When you use flash, 1/250 or 1/200 sec is all you can do. Without flash, this limitation is removed. Note that I use back button focus, and this means I need to keep pressing the button as I point at the subject. Having first, of course, selected AI Servo (Nikon calls this AF-C).

After this, I did some with simple on-camera flash, which can be perfectly OK if, as in this case, you mix with lots of ambient light:

20161219-1dx_2756-1024

And finally, I did some standard bounced indoors shots:

20161219-1dx_2829-1024

The lesson here is threefold, namely that you must know a multitude of techniques; that you must be prepared, willing and able to switch between them; and that you must be able to do so quickly.

This, incidentally, is what I teach in my workshops; including the January 28 one in Toronto, for which there is still space. See http://learning.photography for details and to book. If you know the starting points, the magic formulas that match the situation at hand, you can easily and quickly vary from them: your starting point will already be close enough to get acceptable results. Also, you will feel more confident.

After the shoot, I sat in traffic for a few hours, then downloaded and finished the images in a few more hours, and finally I uploaded a preview web site for the client to look at.

If you have every considered hiring a photographer, you now know why this costs some money. Knowledge, experience, expensive equipment, spares, and time all combine.  “My nephew has a camera too, so he can shoot this to save money” simply does not work except in the simplest cases. And as today showed once again, the world rarely consists of simple cases.

And yes, I do pet pictures too.

Fill, but not too much.

When doing a portrait, you use a main (“key”) light, a fill light, and optionally, a background light and a hair/edge light.

The purpose of that fill light, oddly, is to be darker than the main light. This introduces depth into your picture, and it narrows the subject’s face.

OK, so fill is darker than key, But perhaps not completely dark, like here:

20161023-1dx_1386-900

Nice and atmospheric, but perhaps a little too much drama.

So we add that fill light, but set it, say, two stops below the main light (so if your meter reads an aperture of f/8 for the main light, it should read f/4 for the fill light). Now we get what we wanted:

20161023-1dx_1387-900-2

If you make it too bright, i.e. you do not set it two stops below the key light but you set it at the same brightness, you might get something like this:

20161023-1dx_1387-900-4

As you see, the face looks wider now, and it loses that “real”, three-dimensional look.

So you should probably start at –2 stops for the fill light, and then adjust to taste: you are the artist, after all!

–––

Learn to do it yourself! Michael teaches portrait lighting and many, many other photography subjects at Sheridan College in Oakville, and to small groups or individual students all over the world, in person or via Google Hangouts. See http://learning.photography for details.