Oh Canada

Canada Day Special: User discount code “CanadaDay” upon checkout at http://learning.photography for 10% off all sales today. Books, shoots, courses. Today only!

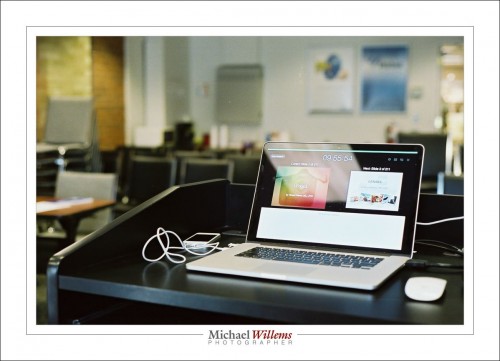
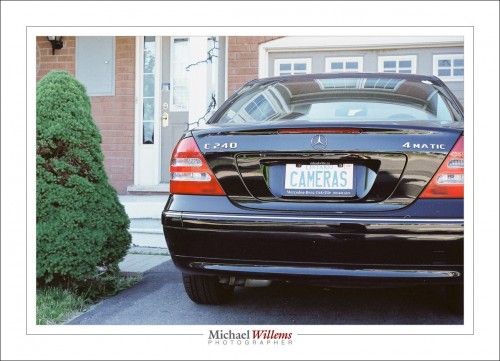
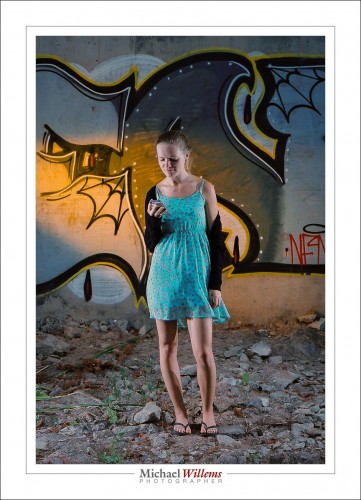
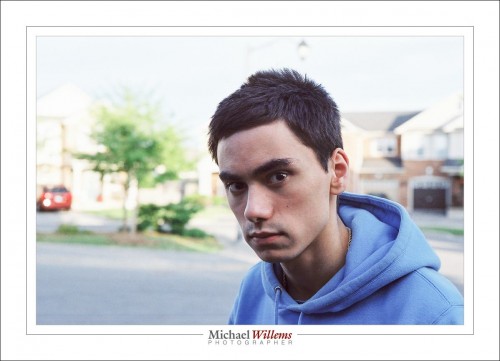
Now that that is out of the way: remember my film shoot recently? Here’s a few scanned images from that first roll. Black’s photo prints, but also scans for an extra few dollars. So here’s 400 ASA Fuji colour film and what it can do when you use proper lighting and exposure.

At Vistek, just before starting a course:

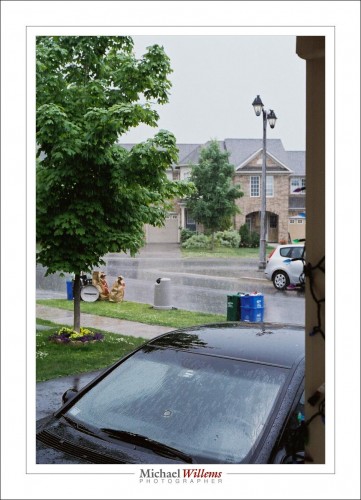
Outdoors, the car: doesn’t look like 400 ASA.

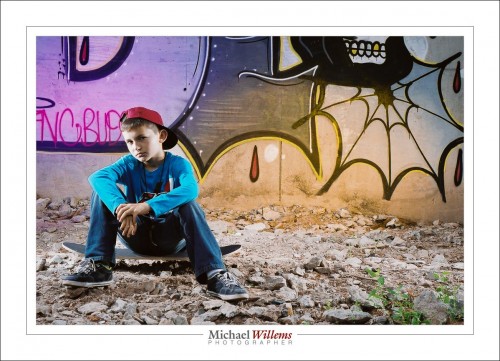
A teen shoot, using flashes. I used my digital camera as a polaroid, to ensure proper exposure; consequently, all images great on film also. Pocketwizards. 400 ASA, 1/125th sec, f6.3:

My son, handheld outdoors, centre weighted metering:

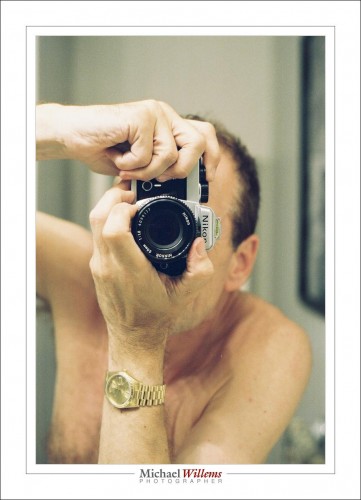
Selfie… mirrored:

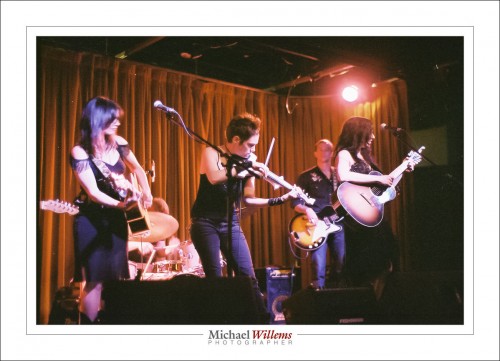
Scarlett Jane:

A rainy day:

And two more from the kid shoot:

All these are as good as digital images, for a mere $150 for the camera and $25 for film developing, printing and scanning. Of course, more care and attention is needed when shooting film: you cannot just shoot to see what happens. You have to be right before you shoot. But that makes you a better, more careful photographer. So.. go buy a film camera.


Situations…

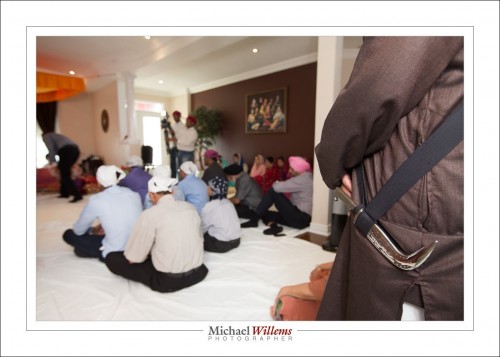
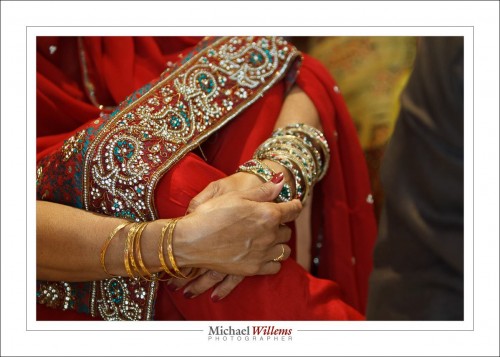
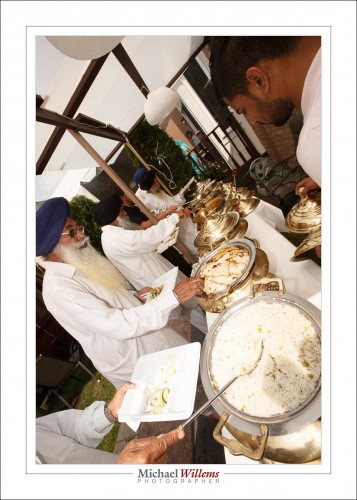
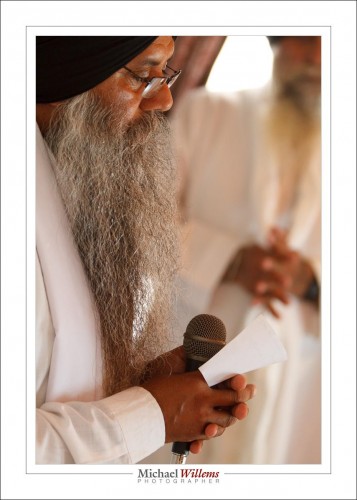
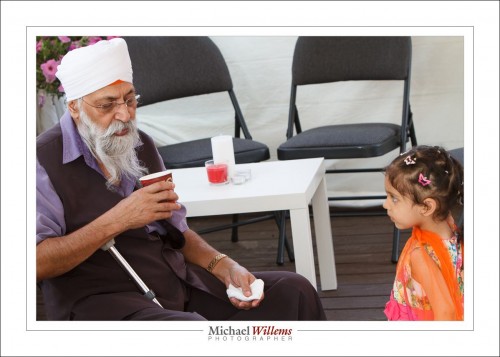
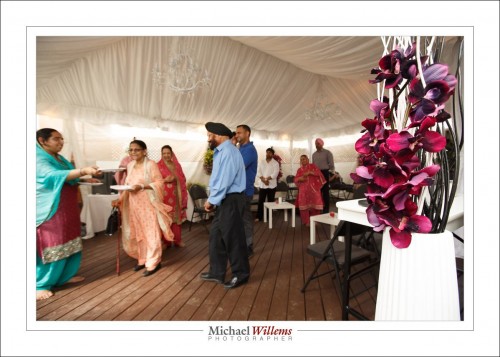
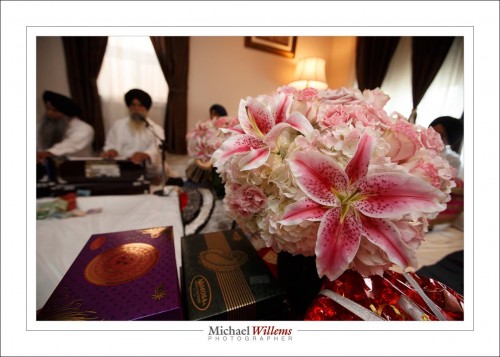
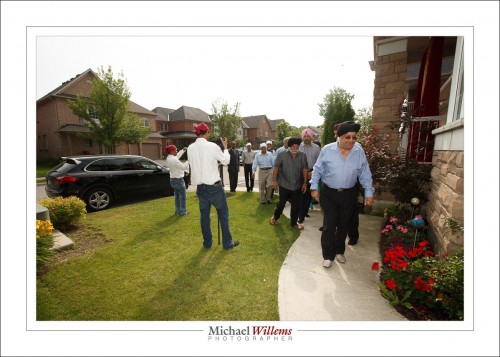
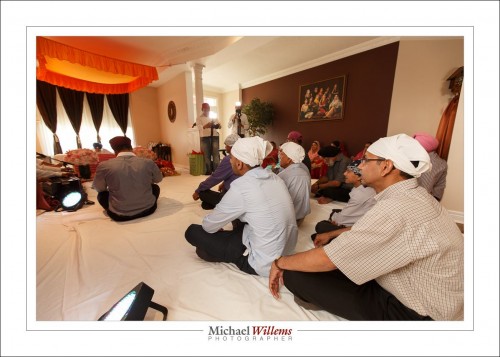
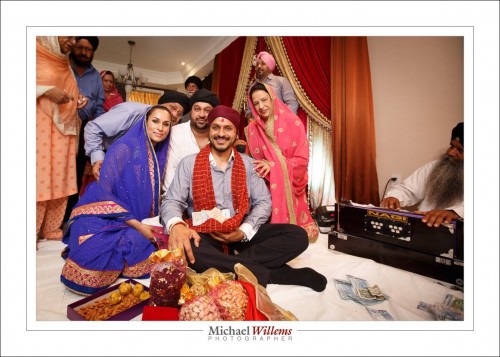
I shot a Sikh religious event today: Sagan ceremony and Akhand path. Fun, colourful people and decorations, and very nice people.

Picture 1: Can you tell it was a Sikh event?

I had two cameras: one with the 16-35mm lens, i.e. wide angle, and one with the 70-200mm lens, i.e. a telephoto lens. The challenge was that I shot in at least four different light environments: a marquee, outdoors, indoors in one room, and indoors in another room. And shooting in Manual exposure mode means a quick changing of all the variables every time you move from one environment to the next.

Indoors, the Willems 400-40-4 rule works great. Bounce the flash behind you and 400 ISO, 1/40 sec, and f/4 should give you minus 1 to minus 2 ambient light; the flash then does the rest. When using TTL, use flash compensation to adjust to taste.

In an event like this, moments are important; as is detail:

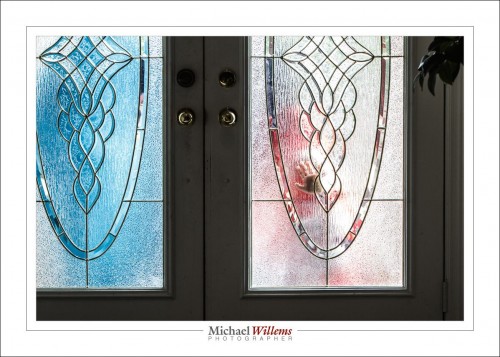
Tilting is OK if it helps you get more in, or for creative effect:

I used the wide lens as above with bounced (behind me) flash. But I used the long lens without flash. That needed 100-200 ISO outdoors, and up to 1000 ISO indoors at f/2.8—everything at f/2.8.

In practice, in a given situation, you choose values that are going to be close enough, then watch the meter and when you move, quickly yank aperture or shutter up or down to get a reading appropriate to the situation. Basically, it is a matter of getting close enough and then fine-tuning.

“Getting close” means 400/40/4 rule inside, “sunny sixteen” values outside, and whatever works (and remember the values) in other lighting situations.

In the marquee: 1/40, f/8, 800 ISO:

Storytelling images for me often involve a close-by sharp object with the story blurred in the background:

Outdoors, I used values like 1/160 sec, 100 ISO, f/8, with fill flash. Outdoors, that flash is aimed straight ahead, not bounced:

When you shoot a lot, these sorts of values will be simple. And then you can concentrate on the fun, the people, the compositions.

Event shooting is fun: learn to shoot an event like this and you can do a lot of great work. And remember: tell stories.

And: enjoy the experience, as I always do.


One more…

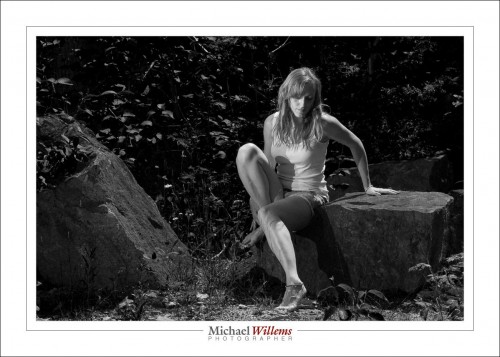
…from today’s shoot, here’s one image. A black and white image:

Why black and white? Because that enabled me to make the green really dark, and to make this beautiful young woman stand out very clearly against the dark background.

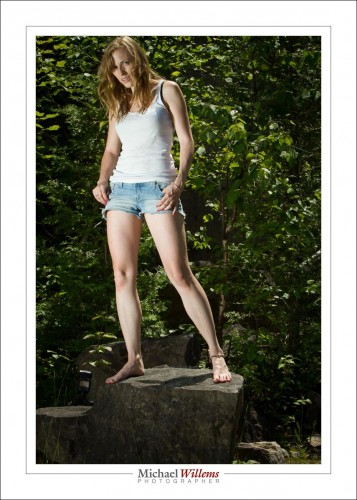
Don’t get me wrong, the colours were beautiful, because I used flashes (two of them, direct, manual, fired by Pocketwizard radio slaves).  So most of this session was made in colour.

But as you can see, the subject does not stand out against the background in quite the way that she did in the B&W picture:

Don’t be Uncle Fred: learn these techniques! How? Read this blog, and read the e-books and take some lessons: both of those available right now on http://learning.photography. Enjoy!


Before you know it.

I remember when my children were babies. Like yesterday. One day they arrive (and having put them in there in the first place, I watched them pop out too, and yes, I am sure the term “pop” is making it sound waaaay too easy); a few days later you are holding them on your shoulder while they struggle to lift their little heads. Everyone who has children will remember this. And everyone who has children will also share this experience: about three days later you blink and they have graduated university and have jobs and cars and cameras, and they help you do complicated things.

Time moves quickly. And you cannot get it back. Our time on this planet, in one of billions of solar systems in our galaxy, which itself is one galaxy among billions, is limited. We came from stars, and we shall all return to stardust very soon.

And alas, we cannot travel in time, except to “where the casement slowly grows a glimmering square” (that’s Alfred, Lord Tennyson for you, yes, he battled depression for most of his life).

We cannot travel in time… except through photography.

Which is why you should photograph your kids. Or better still, have a pro do it. Properly, artistically, in a way you can’t, unless you have read this blog and bought my e-books and practiced for 10,000 hours and bought cases full of equipment.

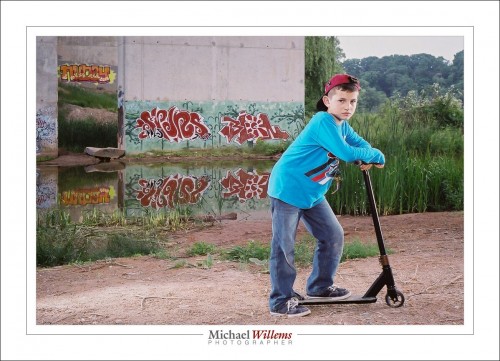
So photographing kids is what I did for a friend today. Together, we photographed her kids. One is 12, the other almost 20. And we did this in style. Outdoors, by a bridge with graffiti. Using six flashes and countless speedlights—well, six speedlights to be precise.

We pictured them doing what kids do:
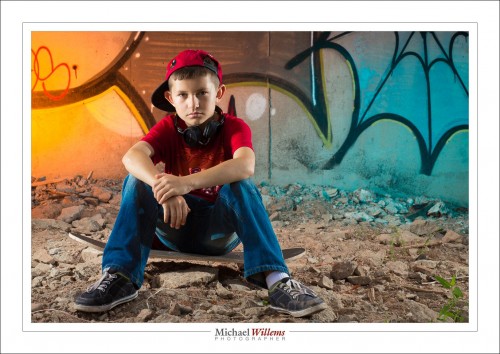
(400 ISO, 1/125 sec, f/11)
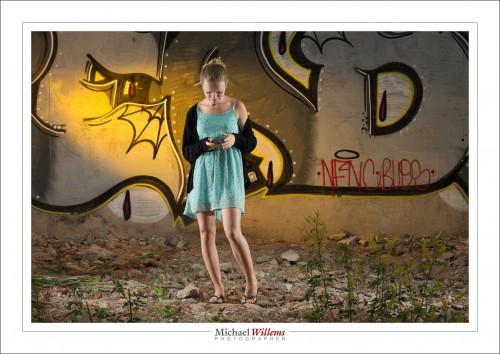
(400 ISO, 1/125 sec, f/11)

Those pictures are basically straight out of the camera (“SOOC”). And I am sure mom will like them on the wall. And later, the kids, who soon will have their own kids, will love them too. Time travel: accomplished.

I only used my 85mm f/1.2 lens (my friend used her 85mm lens too); on a full-frame camera. The shots were taken outside, during the day, under a graffiti-loaded bridge.

This is a case of “light from behind, fill from the front”, but the fill was ambient light.

The subjects were lit with four flashes driven by Pocketwizard radio triggers. Four speedlights: two on each side, in each case on a lightstand. One high on the light stand, one lower; thus providing a vertical band of light. (One light would lead to the head being brighter than the legs, or vice versa).
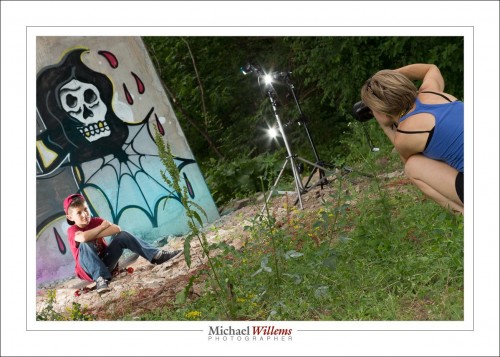
The background was lit too: we used two flashes aimed at the background graffiti, each fitted with a gel for colour. We switched up the colours regularly.

I set all flashes to manual mode, 1/4 power. 1/4 is a great starting point. At that power, f/8 should get you close. And indeed, little tuning was needed. I used the histogram to ascertain that the settings worked. I want to fill the histogram with light; I can reduce exposure later on the computer, if I choose. Also, 1/4 power means the flash can fire again rapidly and does not readily overheat.

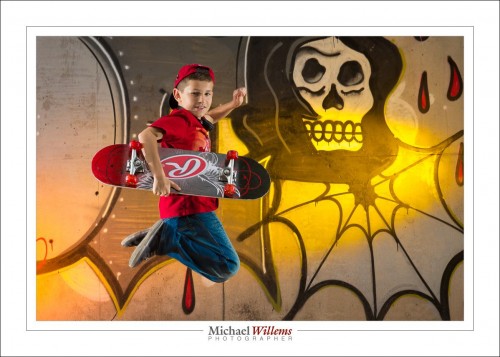
Jumps are cool:
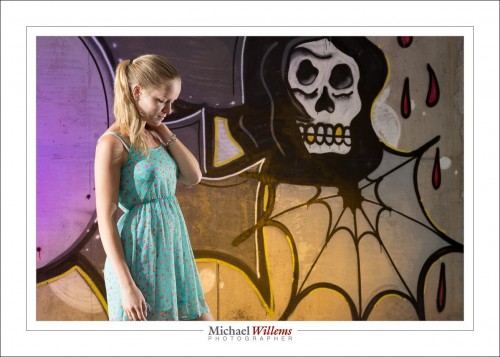
Getting close is cool, too:
Here, we did not use a light aimed straight from the camera onto the kids, because of the close wall: a nasty drop shadow would result. But aimed the other way, across the river, the wall was far, so there is no shadow problem:
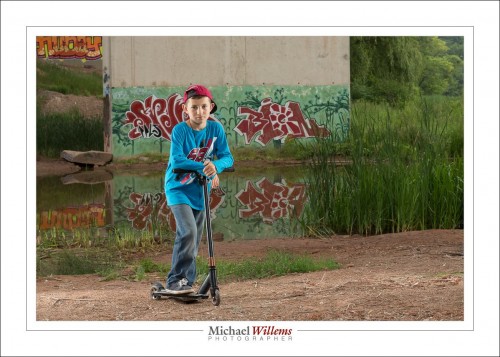
(You see the reflections? If you have bought my last two books—see http://learning.photography—you will know that you always look for reflections).

And again, side lit from behind; this time with a fill light where we were. The fill light was set to 1/8 power, plus it was moved 40% further back than the other lights were (i.e., it was two stops darker: can you work out why?)

Here’s the pullback shot:
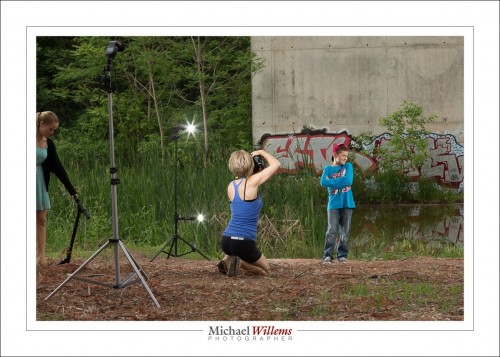
The technique described here works well, and if you master it, you will need to do very little “post” work. The images shown here are basically straight out of the camera—I took them just a few hours ago.

Last note. Why 400 ISO and 1/125 second? Because I also took some shots with my Nikon FE film camera and that has a flash sync speed on 1/125 sec and it is loaded with 400 ASA film. 🙂

_____

Now get some flashes and go wild. If you do not know how to do this, take some private training and I can teach you this stuff in a few hours. Go to http://learning.photography and book a one-on-one or small-group course now.

Alternately, just hire me to do your kids’ photos. You’ll have great pictures to remember today: once you have a photo, no-one can take today away from you. And, bonus: if you hire me, you will see how I do it and get what amounts to a free lesson along the way. Win-win.

It is truly worth doing: please, however you do it, do it and beat time at its own game.

Fit for purpose

Portraits need to be fit for purpose.

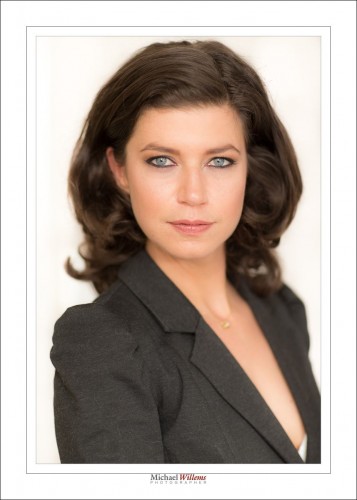
Take this picture. A résumé picture:

I have shot this model clothed, nude, in studios, outdoors, traveling: every picture is different.

A resume picture needs to be professional (the jacket, the hairdo); show beauty in the case of a woman (the overall make-up, the low cut, the eye shadow), but not excessively so; be perhaps a little sexy (the white top) but not overly so (the necklace, the businesslike jacket again). The expression should be friendly but neutral. Yes, some thinking goes into this.

As it should go into every portrait you make. Always ask:

  • What is the photo for.
  • Whom is it for?
  • What are they expecting?
  • What is the person being pictured expecting?
  • What are you expecting?
  • What demands does this put on the photo?
  • What problems need to be solved? What needs to be de-emphasized?
  • What do you want to emphasize?

If you ask yourself these questions, you will come up with answers all by yourself. Answers about clothing, setting, light, expression, and so on.

But if you do not ask, you will not come up with answers; or worse, you will come up with the wrong answers.

For those of you who are interested, after the “more” break, two civilized nudes from the very same shoot as the photo above:

Continue reading

Stay Tuned!

Stay tuned to this place. In the next week, lots of interesting articles coming up, spanning subjects from learning to hardware. One new item: I will have the world premiere review of a new small flash modifier you should get. Can’t tell you more, but you will learn soon enough.

Learning Photography: as you know, there are my courses and my e-books. What you may not know is how well they tie in together, and what the benefits are of learning from me, specifically. So check out this article on the e-store site.

I posted this yesterday, and a fellow pro asked me to explain:

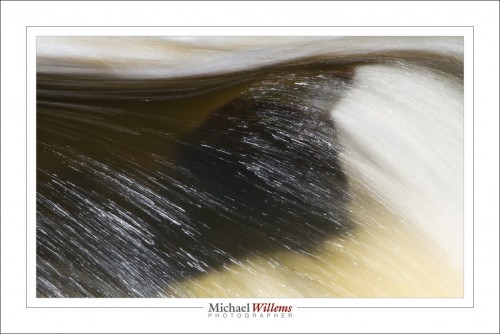
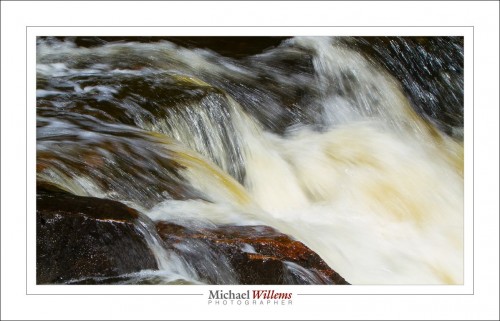
This is what I would call an abstract landscape picture. Clearly nature, and nothing man-made, but abstract, almost, in form.

Here’s the larger scene:

(f/22, 1/25 sec, ISO100)

And here, larger still:

(f/22, 1 sec, 100 ISO)

…all from a photo road trip yesterday.

So, the settings.

First, I used slow-ish to slow shutter speeds. As you know, I get those by using low ISO and high f-number, but even at the lowest ISO and highest f-number on a typical lens/camera combo, you will not go able to go slower than say 1/60 or 1/30 second. So I needed a Neutral Density (ND filter. I used my variable ND filter, which is able to go 8 stops darker if need be.

OK, so we can do a slow shutter (for which we must use a tripod). But how slow?

It depends!

For getting rid of all motion you need very slow. Like 10-20 seconds:

(1 sec at f/22, ISO100)

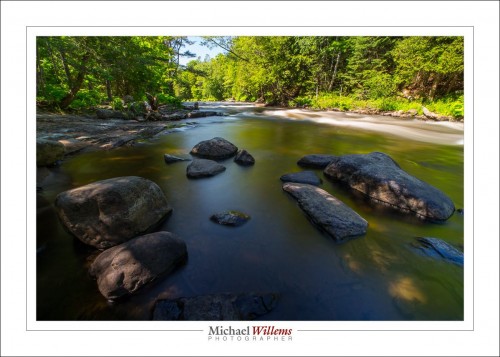
A smooth surface should be a smooth surface, so, the longer the better. 8 seconds, this one.

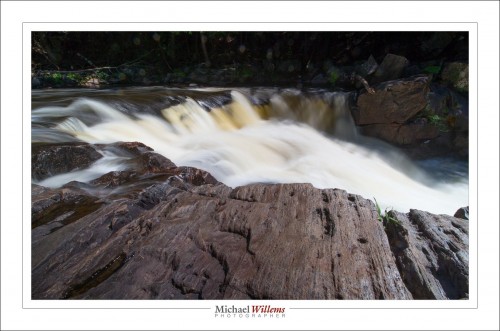
Waterfalls, a little less slow, since I want to see some texture of the water and its violence. The second pic uses 1/25th sec.

And the picture at the top? Here, too, excessive smoothing takes away the effect. I want to see violence, motion, speed! But I do want to do some smoothing. So I used 1/4 second. Perfect compromise.

Concluding: depending on lens etc, but as a rough guideline, 1/25 sec, 1/4 sec /  1 sec / 10 seconds are typical values for “a tiny bit of smoothing”, “visible smoothing”, “more smoothing”, and “extreme smoothing”. (And of course if I want tp freeze motion it’s 1/1000 sec or faster).

___

All this is also discussed also in my NEW  “Stunning Landscapes” e-book.  Get it here, now.

Sharp and crisp

Repeat after me: “Bright Pixels Are Sharp Pixels” (Willems’s Dictum).

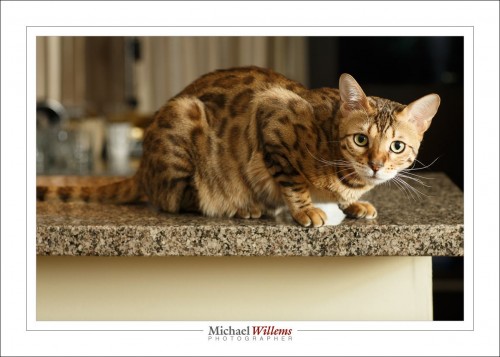
And that is one reason Shiva is sharp here (see original size to really tell):

A major additional reason, which is touched upon in this article also, is the use of the flash: a flash gives us great light and high contrast; and it fires at 1/1000 sec at full power, so at quarter power, which is what my flash was set to, it takes just 1/4000 sec to light up the subject. That leaves little room for motion.

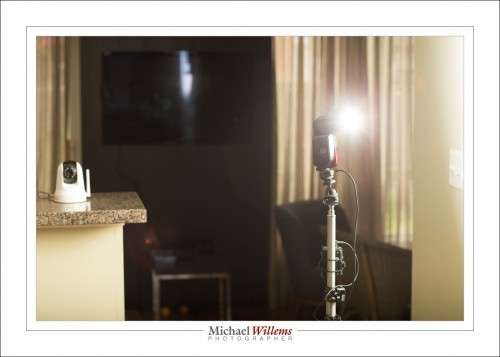
So I used a flash on a light stand:

As you see I bounced the flash off the wall. Flash fired via Pocketwizards, set to manual at 1/4 power, which on the camera needed f/4 at 1/250 sec, ISO 400 to light Shiva the cat properly. I used no light meter; just trial and error.

And that, as they say, is that.


Never Without My Hood Loupe

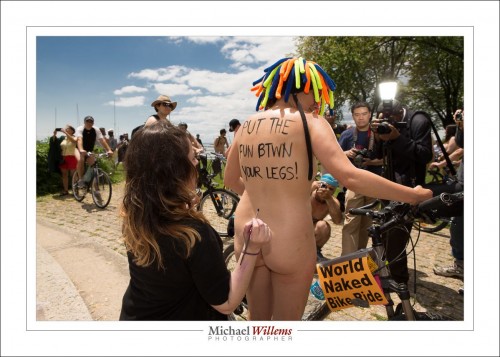
As you will have seen, last weekend I shot the World Naked Bike Ride in Toronto. During this event, many (many!) naked bike riders of all ages and sexes ride bicycles through major cities in the nude to promote “bicycles instead of oil”. Last weekend was Toronto’s turn.

I shot the crowd getting ready. So I shot outside. And outside it is… bright. especially on the sunny day that it was.

And when it is bright you cannot see the LCD display on the back when you press Playback. Hence, you have to guess that your exposures are right. Like in the film days.

Not cool.

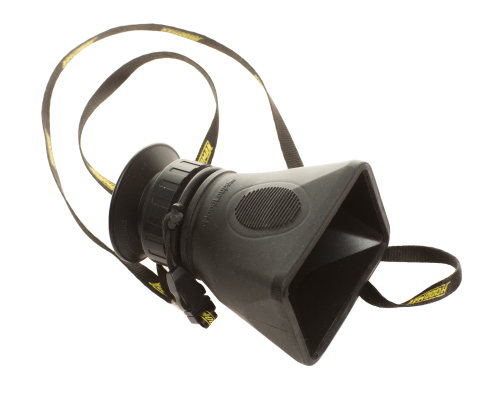
But the Hoodman Hood Loupe comes to the rescue.

You just hold this thing on the LCD, adjust the eyepiece to suit your eye, and you see a completely sharp and bright image. As though you were inside. However bright it may be.This Hood Loupe is worth every penny of its price, and then some.
Oh, and the Hoodman guys will get a kick out of the following, I think:

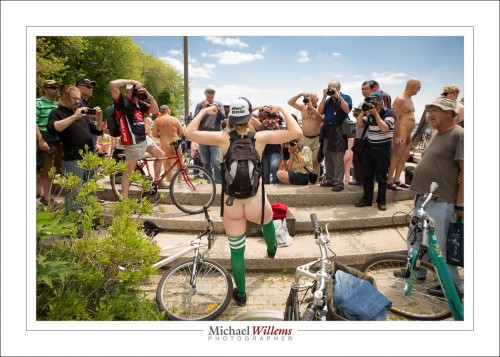
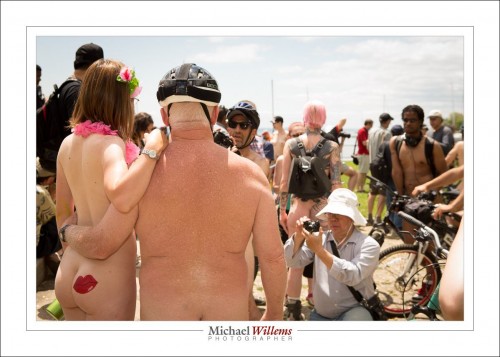
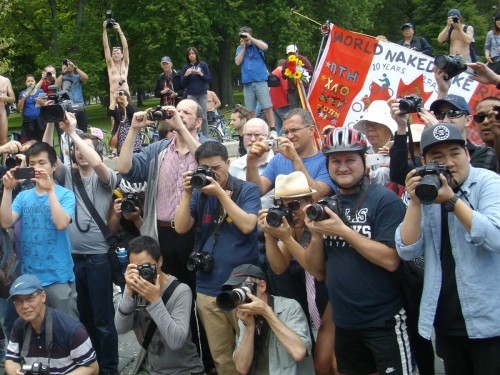
While shooting a park full of naked people, of course I did not stand there gawking like the rather suspect people in the foreground in the picture below. Everyone else, other than those gawkers, was naked. Of course I did as the Romans do, and went naked too. And you can see me in the picture below, at the top left, raising my camera to get the group shot.

And here’s the kicker: as you will see when you click on the image and see it large, I am naked.. except I am wearing my Hood Loupe.
I can think of all sorts of ad slogans (“I’d rather go naked than go without my Hood Loupe”). Silly, but they contain more than a grain of truth. The Hood Loupe really is a device I will not go outside without. And I am not being paid to say this!
 

Keeping it simple

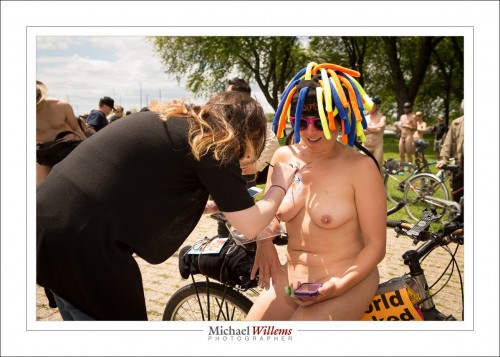
Today I shot some photos of the tenth Toronto Annual World Naked Bike Ride. So if nude human bodies offend you (and I truly hope they do not: I cannot see why they should), you do not need to read on.

If, however, you want to learn a little sunny day snap technique, read on.

Above: the snappers snapped. I photographed the “getting ready” part, in Coronation Park, right at the lakeshore in downtown Toronto. There are always curious people at an event like this who come out with their DSLRs to snap something that apparently they have never seen: “nude!!! women!!!”. My advice to those people: grow up, or at at least gather up some courage and get naked yourselves, too.

As a lens, I chose the 24-70 f/2.8 zoom. A zoom for convenience, and that one because it is razor sharp. Camera was the 1Dx.

And it was a mainly sunny day. Easy, therefore. Right?

No. Sunny days give contrasty light, ugly hard shadows, and washed out colours.  I want the opposite.

And to get that I want to use, you guessed it, my flash. That enables me to make the background a little darker, meaning saturated colours; and it fills in the shadows. Even a bare on-camera flash. So that is what I used. Without a flash I would have had to expose faces etc with ambient light, and the backgrounds would have had to be very bright. And washed out.

I want to not have too dark a background when I am using an unmodified on camera flash. So my technique is:

  • Camera on manual.
  • Flash in TTL mode, aimed straight ahead. I used a 600EX flash.
  • 100 ISO
  • 1/250th sec (synch speed)
  • Now choose an aperture that gives you a slightly dark background. Depending on cloud cover, this can be between f/5.6 and f/16. If your subject is not in direct sunlight, i.e. if you manage to find a little shade, you may well get away with f/5.6.
  • Constantly watch the light. If clouds cover the sun, be ready to go down in aperture number.

My aperture was between 5.6 and 11 for most of the day.

And as you see, the pictures have a nice vivid look. Without flash, I could not have done that. Take this:

1/250 sec, 100 ISO and f/6.3. If she had been entirely in the sun, I would have needed a higher f-number.

One more, and again you see the vividness, and the nice saturated colours, that only flash can help you achieve on a sunny day:

That was 1/250th, ISO100, f/9. So again, I watch the light constantly and adjust the f-number only.

Here, I am using f/5.6:

I.e. here I have a little more ambient light, for a lighter look. Each picture can be different; you need to get a feel for the light.

So in conclusion: for sunny day snaps, you’ll do better if you have a flash available. And in that case use ISO 100, 1/250th sec (or 1/200, if that is the maximum your camera handles with flash), and then just vary aperture from 5.6 up. Flash on TTL, perhaps dialled down a little (note: I say may because a Canon camera does this anyway if you have bright ambient conditions: it assumes that you want simple fill flash.)

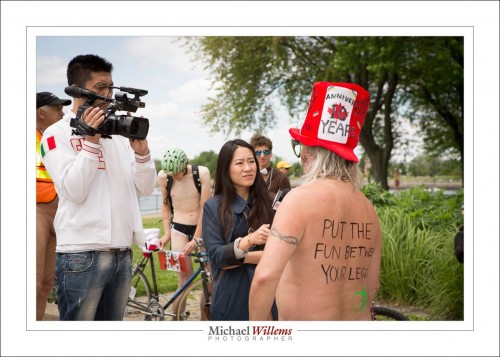
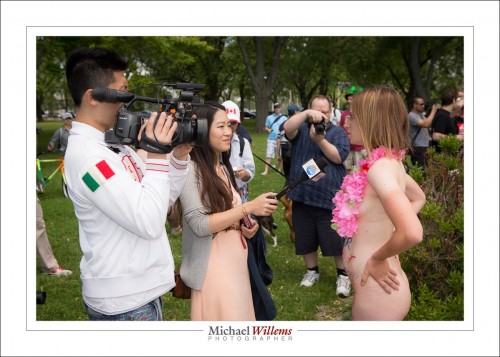
Enjoy. (And I hope Naked News TV uses the interview they did with me!)

FOOTNOTE: last day for the Father’s Day Specials. Please check http://learning.photography for them. Portrait, lesson and book discounts for dad. Got to buy by tomorrow!


Grey

A pastoral scene in The Netherlands, from Nov 2013:

(1/100 sec at f/6.3, ISO 400, using 16mm lens)

Why those settings? I wanted 1/100th to be free of shake. f/6.3 to get enough depth of field. So I set my camera to those values; then the ISO follows those two.

A grey, cold, scene devoid of positive feelings. Pretty much the way I feel after a provincial election where once again, due to the asinine British “first past the post” system, my vote was not heard, and a government that nearly 60% of voters voted against got 100% of the power.