Colours poetry

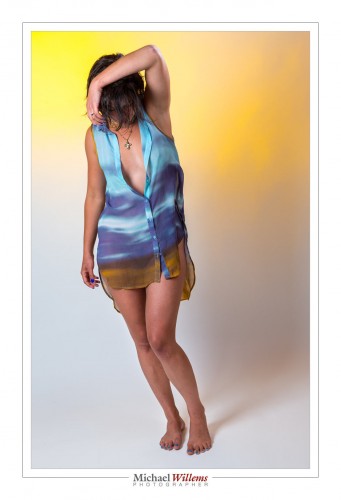
This picture, from the studio shoot on Sunday night, strikes me as one where the colours worked out just perfectly:

So what works here, exactly?

  • The rich yellow of the background is in separate areas rather than being homogenous. (That rich yellow is a Honl Photo “Egg Yolk Yellow” gel, by the way.)
  • It matches the brown/yellow at the bottom of the shirt perfectly. It also matches the cross.
  • The rich blue at the top of the shirt is in various shades and areas
  • It matches the blue-ish bottom of the image, and the blue toenails, perfectly. It also matches the fingernails.
  • The skintones tie it all together, as well.

To me, this image is like a poem in colour, a rhyme of form “ABab” going down, and the diagonal composition makes it also go left to right.

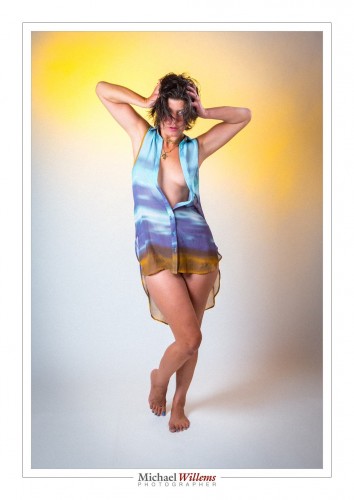
Here’s one more, where the yellows seem to line up with her elbows:

In both these images I had to set white balance very carefully, and I increased overall saturation and clarity a tad. Otherwise, they are the way I shot them.


Back Yard

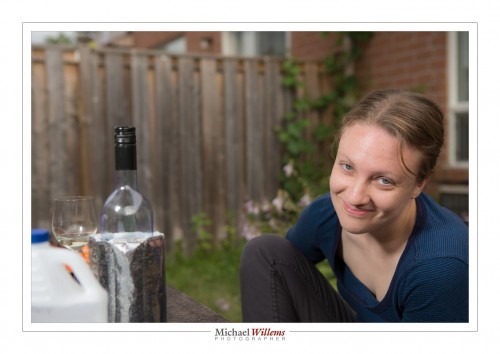
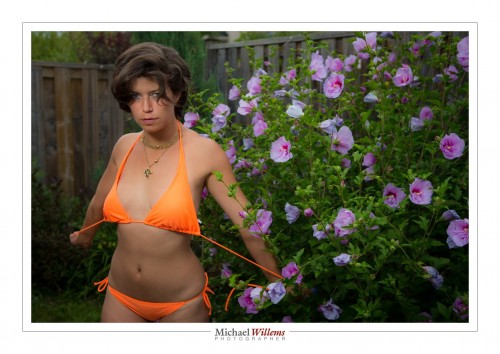
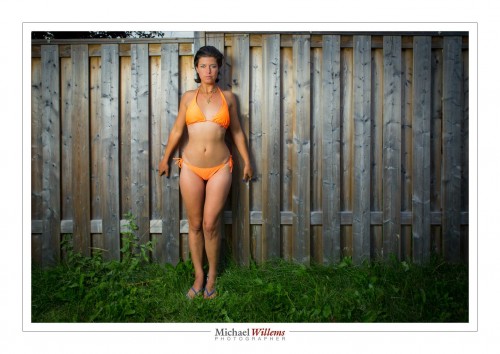
You can take nice pictures in the back yard. Like this one of yesterday:

To do this, you need:

  • An SLR camera with manual mode.
  • Off-camera flash: e.g. a remote flash in TTL mode fired by your camera’s pop-up, for many cameras, or by a 580EX/600EX/SB-900/etc on the camera; or a remote flash in manual mode fired with Pocketwizards.
  • Perhaps a modifier, like an umbrella or a small softbox.
  • A light stand and bracket to mount all the above.

So the equipment is relatively simple. And the use? Not so difficult either. Let me repeat how you do this.

First we set the exposure of ambient part of the image (the “background”):

  1. Camera on MANUAL mode
  2. ISO: Set to 100 ISO
  3. Shutter: Set to 1/250th sec
  4. Aperture: Start at f/5.6 if it is overcast. Or if it is brighter, go up to f/8, f/11, even f/16. Trial and error can work: you simply go as high as you need to get a darker background (for instance, on a sunny day, f/5.6 or f./8 will give you a way too bright background). For me, a “darker” background is -2 stops. If you like less drama, -1 stop is OK.

That’s the background done.

What about the foreground?

If the aperture you need to get to a darker background is f/8 or a smaller number, and your flash is close to the subject, you can probably use an umbrella or softbox. If it is f/11 or higher number, you will possibly need to use direct flash, unmodified, since a modifier loses power.

All I did was add a little vignetting and some minor tweaking.

Easy once you get the hang of this. And I can help in many ways. One of those ways: Aug 18-22 you get the chance to learn from me in a very intensive 5-day workshop at the annual Niagara School of Imaging, held at Brock University. There are still a few spots open: book now if you dig flash as much as I do.


Bail me out

When you travel, it is fun to do themes. Trees, say, or doors, or whatever fits the location.

Whatever fits the location – and there’s the secret: ask yourself that., and you are half way to a good picture series already.

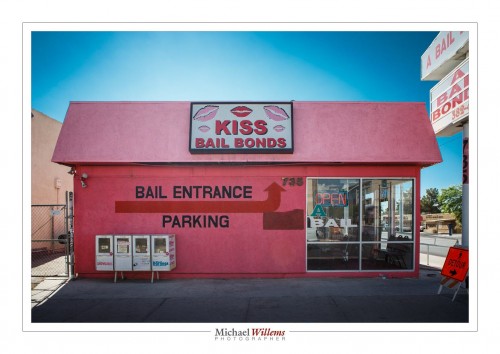
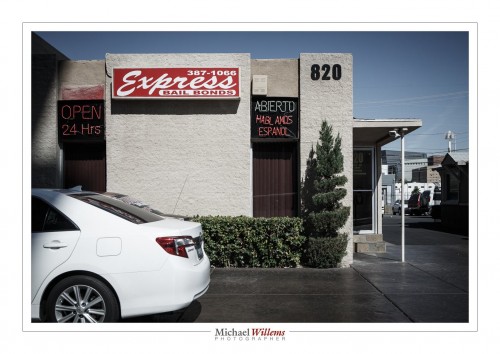
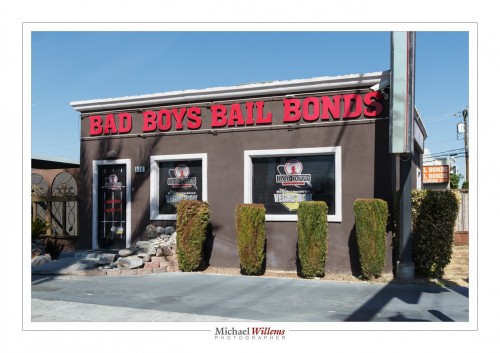
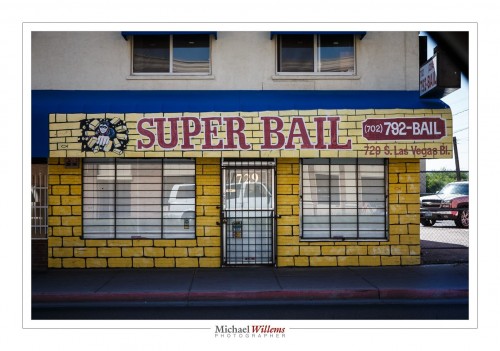
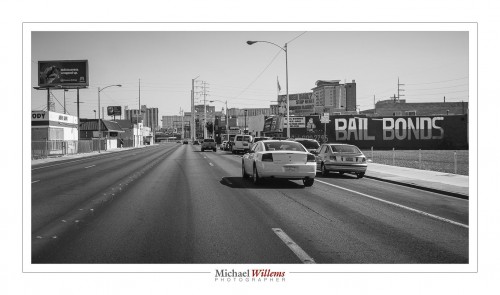
What fits – which in Old Las Vegas is, of course, Bail Bond brokers. Here’s just a few, from the other day:

And that picture of a thriving industry took just a drive through: Looking at these, it seems that all the citizens of Las Vegas do is get jailed and get bailed out.

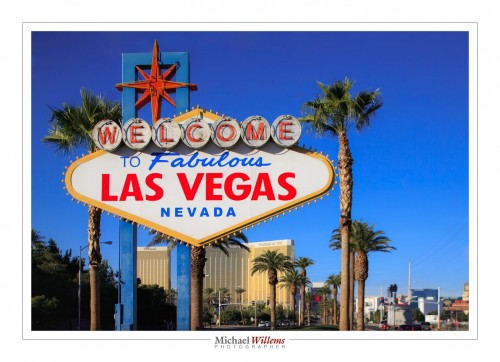
Yes, as you know, I have this too, but it’s only one small part of Vegas:

While this is needed, the Bail Bond pictures speak to me more. Sometimes you see more about a place when looking at detail than you would looking at the “big things”.


Portrait work

Centuries ago, portrait painters used to take months to create a commissioned portrait. Meticulously perfecting each detail with fine brushes.

“The past”, you may think. But photographers do essentially the same up to this day. When you ask me to make a portrait, you can expect some considerable time spent on it. Shooting, and also finishing. That’s why portraits cost some money: see my prices for prints, for example.

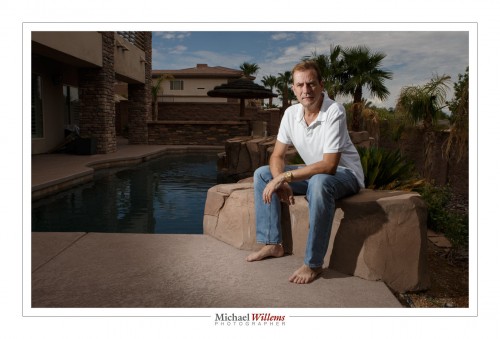
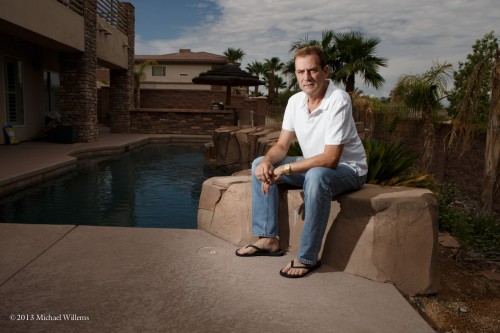
Some of the edits are very small. Take this self-portrait of a few days ago, in Nevada:

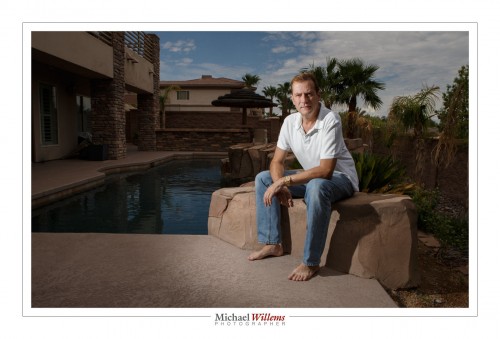
And look at this later version:

That second version is almost done. Look, the line in the concrete: gone. Some of the details in the background house: gone. If you were to look closely you would see many more very small changes; some shadows on my face; the odd piece of dirt on the ground; basically, things that do not belong in the image and could detract from attention on the subject.

These are the kind of changes that really do matter, if you make a large print and you want something good. Remember: Everything in a photo needs to be relevant, or it should not be in it. What applied in the 1600s applies equally today.

I am not saying every photo needs to be photoshopped for hours. What I am saying, though, is that in commercial or art photos and portraits, changes are OK, and often make the image better. Many things can be done while shooting; some cannot, and those can be edited afterward.

And of course I did all my changes in Adobe Lightroom, not Photoshop.


Because I can

Yesterday found me at Las Vegas’s Foundation Room, on the top floor. But it did not find my camera there. I had to check my camera and camera bag before entering the elevator. Not allowed.

This annoys me no end. We see more and more of it and it is not good. Usually the control freaks use “terrorism” as the reason, but surprise surprise: in Vegas it’s “money”. Apparently, some pro made some money from pictures taken from this bar – so now, all cameras are banned.

Except cell phone cameras.

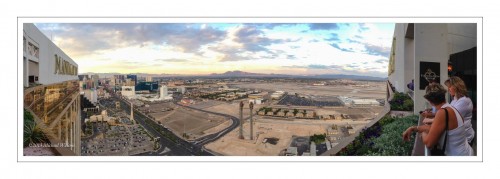
And today, these can do pretty decent pictures. So I made it my point to get a nice pic or two. And here’s what my iPhone 5 did in panorama mode:

You really have to see that in full size screen mode: click until you see the size I uploaded it at (1600 pixels wide, not counting the margin). And you will see it is good enough for a nice print. Take that, Foundation Room!

Moral of the story: learn to use your cell phone; it may be the only camera you carry and it can do decent work.


Dramatic portraits

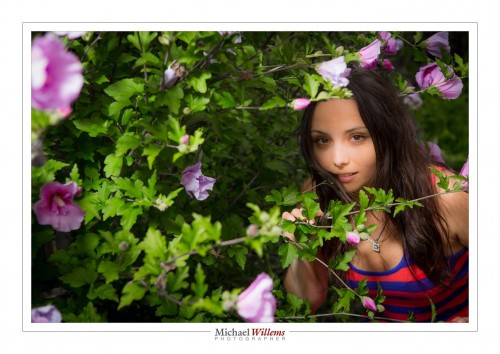
Why is my portrait style dramatic? Because it’s my style and I like it. And because I want to emphasize my subject. And because I like saturated colour. And because I like to be the boss of the light. Those four reasons.

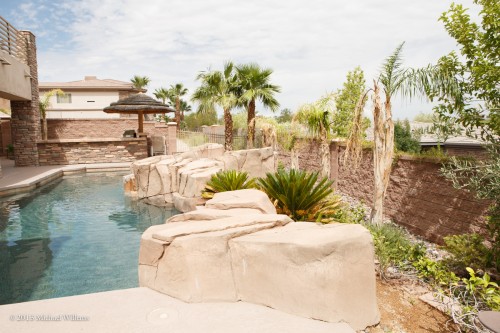
Here’s the back yard I am at, this morning.

And now I come. I do my thing.

  • ISO to 100
  • Shutter to 1/250th
  • Aperture to what I need to get a dark background (f/11 in this case)
  • Flash power to match those (full power, direct flash about 5ft away from me)

And that gives me what I have in mind.

Much more my style. And by the way, as always, to judge an image, view at full size -in my case, by clicking on the image and then selecting full size and if needed, clicking on the magnifying glass.

___

You can learn this too. Benefit from the many learning opportunities: NSI next month, private courses by me in Oakville all the time, 24/7, courses in Hamilton and Oakville as per cameratraining.ca, and courses at Vistek, just for a start. But better: get enough people together and I’ll fly to you anywhere in the world and teach you all about flash for a day.


Dessert.

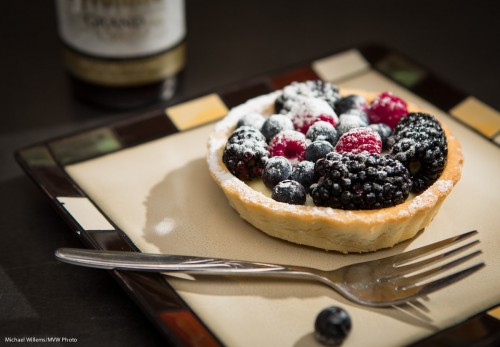
My student Rhonda left me an excellent meal after the food photography session Friday, and she even included a wonderful dessert, so I thought I would picture this dessert for you, before eating it just now:

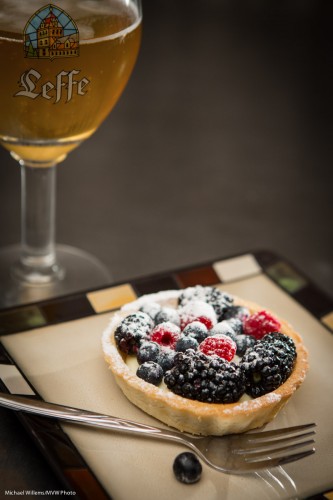
Yeah, call me unconventional: I am having it with a strong Belgian beer. What of it?

I shot at 100 ISO, 1/200th sec, f/8 or less.

Here, one more, now with a little reflection off the fork, by keeping the back flash lower. I made sure I kept the stem of the beer glass vertical:

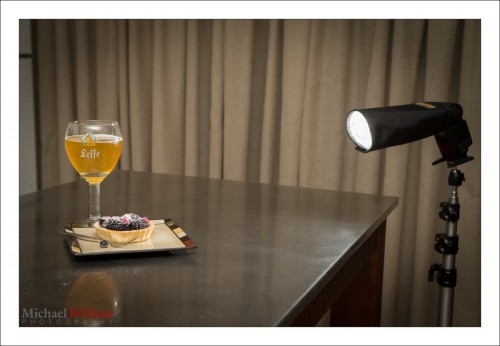
Here’s how I shot that. One flash on the camera bounced off the ceiling, and one behind, fitted with a snoot, aimed at me, using wireless TTL, with the A:B ratio set to 4:1:

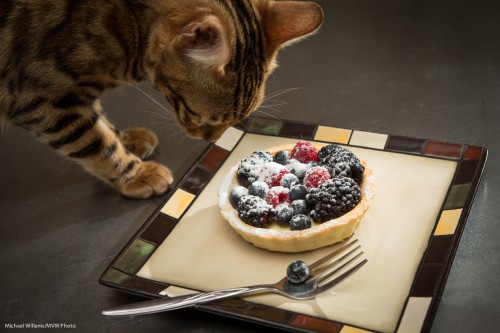
But what do I go through when shooting this? This, for instance: having to fend off unwanted attention from two beautiful Bengal felines.

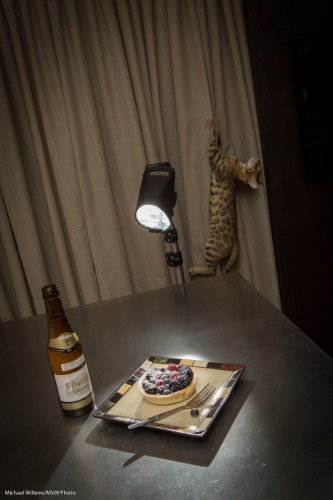
And worse, this:

Poor curtains.

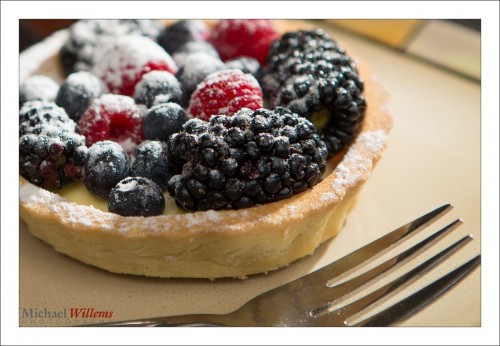
It’s all about the detail. Yum:

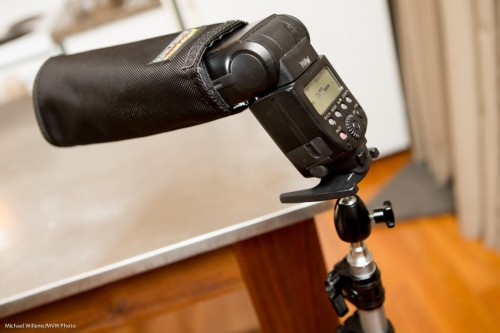
And talking of detail, here’s how you mount a remote flash. Working up from the bottom, I used:

  1. A light stand.
  2. A ball head.
  3. The flash foot (your flash comes with one!), screwed onto the ball head.
  4. The speedlight, set to remote TTL mode.
  5. A Honlphoto speed strap.
  6. Attached to that, the Honlphoto 12″ snoot.

That all looks like this:

…and away you go.


Nom nom!

Food.. food… food. Few pleasures in life as good, and blogger Rhonda of professional Toronto-area food blog http://oliveandruby.com/ knows this well, and makes it her mission to share her food insights, knowledge and recipes with the world. If you like food, this is a recommended blog.

But Rhonda is not only a food expert: she is a wonderful person, and she is very intelligent to boot. It all shows in her blog.

And in her photos. This year, Rhonda has been spending some time with me to hone her skills in food photography. How else to convey the quality of food but by great photos?

It’s not just necessary – it is also fun. Food photography is fun because it includes all of the following:

  • Composition insight.
  • Technical camera skills.
  • Technical flash skills.
  • Knowledge of flash modifiers.
  • Light skills.
  • Storytelling.
  • Post-production skills.
  • Planning.
  • Improvising.
  • Studio photography.

So while it seems simple (“prime lens… aim… click”), it is far from that. It’s pretty much “if you can shoot food, you are a pro”… and not even all pros can shoot food.

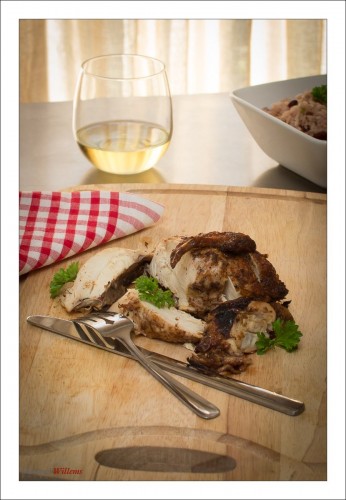
But Rhonda can. Look at the excellent work she produced today, under my guidance and with my feedback. First, a pro photo of her Jerk chicken:
…and then, a pro photo of her excellent soup. Look carefully, you will see that even some of the steam is included:
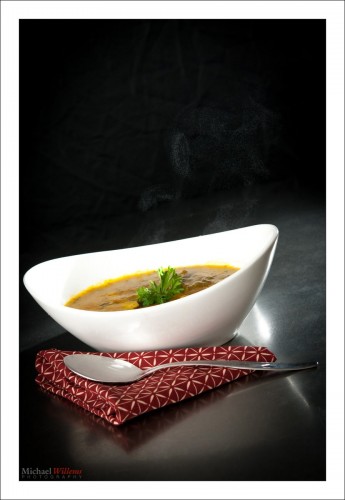
These compositions did not come out of nowhere. First, of course, Rhonda spent forever (that’s my careful estimate) cooking the food.

And then the compositions. They started with, first, a full discussion of the work she had done to date. Photo critique (not criticism: critique!) is a fantastic way to learn, which is why I like to take an hour or so as part of these types of lessons to do just that. People know their own answers if they ask their own questions. Questions like: “how could I have made this even better?”, and “is every element of this image supporting the story?”.

Critiquing and shooting in one session together is also a great way to learn because you discuss, and often debate, every decision made. Why is that flash there, not here? Why is that flash at quarter power, not half? Why aim forward, not backward? What do we do to see the steam? Why f/4 one time, and f/16 the next time? How does a light meter work?

These decisions involve some complex thinking, and there are many decisions to be made – in food photography, nothing is accidental. It is good to discuss these points at length, and private coaching is a great way to do this.

My top ten tips for food photography are:

  1. Keep it simple. Ask “is every element in the picture needed?”.
  2. Think colour!
  3. Think light!
  4. Get close and fill the frame
  5. Decide what should be in sharp focus, and what need not be.
  6. Crop carefully: put a lot of thought into this.
  7. Keep it simple.
  8. Keep it simple.
  9. Keep it simple.
  10. Keep it simple!

The equipment? That was simple too, today. A Nikon D90 with a 60mm micro lens (a macro lens, to non-Nikonians) and two simple flashes; one bounced off a white ceiling, and one as a “slave cell” follower. And a tripod. A Honlphoto 12″ snoot. And Adobe Lightroom.
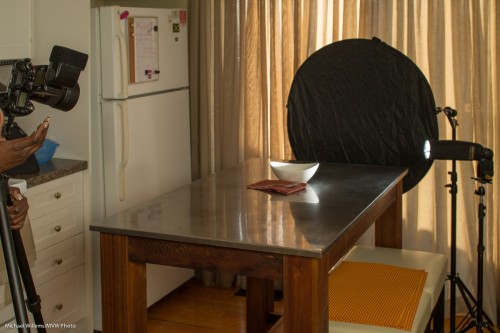
One of our setups

But it’s not just what you use – it’s how you use it. If you learn how to improvise, you can handle those pesky issues that will always, inevitably, crop up!

Like that steam. After the soup did not produce enough, we used two little cups of boiling water placed right behind the soup bowl. That, and a flash with a snoot behind the food aimed forward toward us, and a black background (as you see, a simple black reflector on a stand), and a setting that nixed all ambient light, and manual for all settings, camera as well as flash. Easy once you know.

Finally… from my perspective, the best part of food photography?

I get to eat the food.


Street

This blog is about photography, not just about cameras. So just for fun, today here’s a few random shots from me, all taken in the last few years. Just to show that regardless of modes and other technical issues, you can get interesting photos anywhere, if you just keep your eyes open.

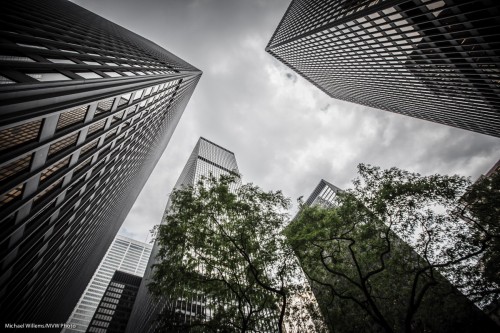
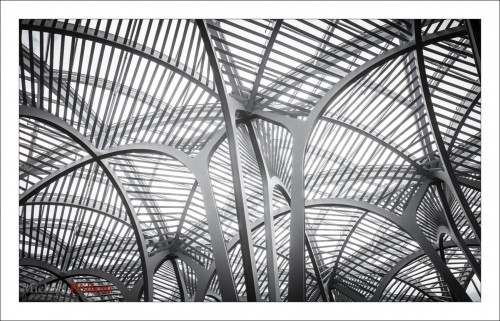
The roof in a downtown office/mall building:

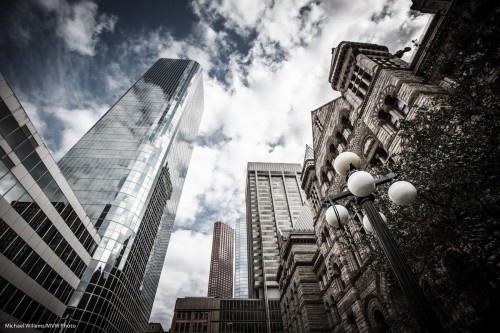
Next, outdoors, an edited picture from a single RAW file. We like reflections…!

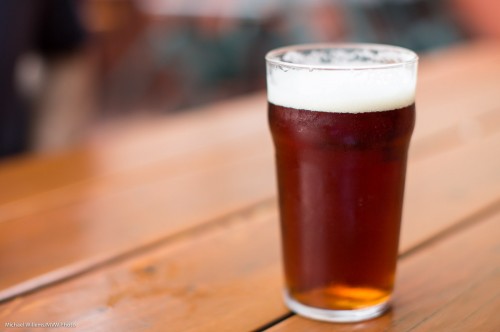
A Rickards Red beer, in an outdoors bar the day before yesterday…:

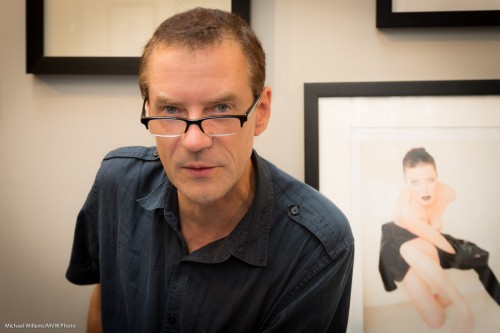
And here’s me, at an art exhibit I held at The Distillery last year, with my model in the background:

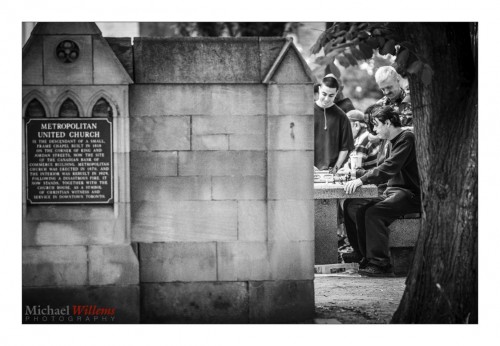
And finally, an image I really like, of a group of people (are they Russian, I wonder?) playing chess in a church garden:

That image almost screams to be black and white, doesn’t it?

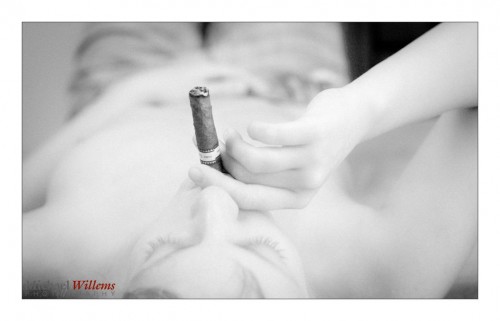
And finally, a studio shot of a few years ago, a girl smoking a Cuban cigar (yes, in Canada we are allowed to smoke those: our government does not tell us what cigars we are and are not allowed to smoke):

All these are snaps in the sense they are pretty simple in technical terms. But they are not snaps in any other sense: these images show me somethings about Toronto. For me, they show a snapshot of my life as it was in the past year or two.

Time travel, which is all a photo can do, and when a photo does this for you, it is a successful image.

And never forget, you need the techie stuff I teach in this blog, it is essential; but you are here for photography, not for that techie stuff. Learn the techie stuff so that it goes away for you: if you know it, it stops taking a significant part of your mindshare. It’s a means, not an end.