Cannot.

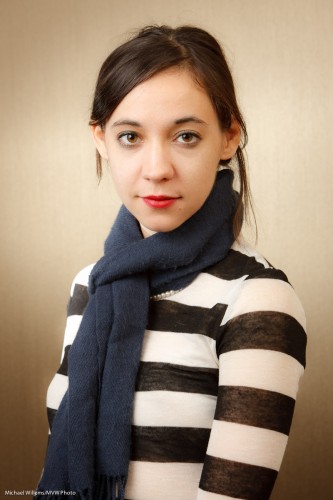
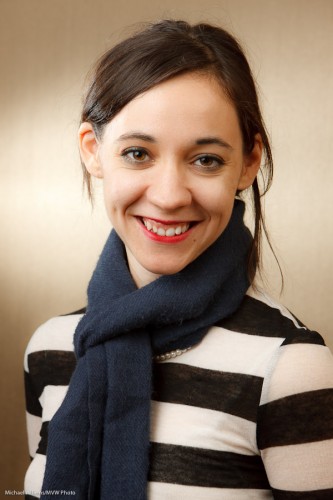
You cannot shoot a portrait handheld at 1/15th second. And you cannot shoot a portrait at f/1.4.

Right?

Portrait at f/1.4 (Photo: Michael Willems)

So that was shot as follows:

  • Canon 1D Mk4
  • 35mm prime lens (equivalent, therefore, to around 45mm)
  • TTL Flash (580EX) bounced 45 degrees up, behind me
  • Flash equipped with a half CTO gel; white balance set to “Tungsten”
  • 1/15th second at f/1.4, ISO 400

Wonderful background bokeh, no? And don’t you love the vignetting that this lens gives me wide open?

Of course, if you shoot at f/1.4, be careful that what you need in focus is in one plain (the camera and the face, here). And at 1/15th, handhold carefully and use fl;ash (1/1000th) to light your subjext.

So yes you can do it, and it’s probably best to sometimes push boundaries a little, and let go of rules of thumb, useful as they may generally be.


Today…

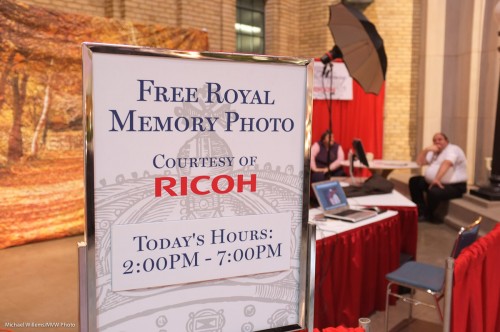
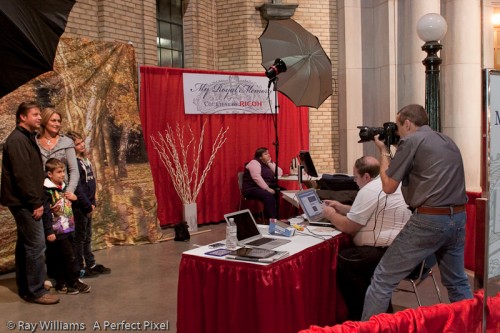
… courtesy of Ricoh, I made portraits at The Royal Agricultural Winter Fair, with Paolo Cescato. Here:

As I shall be doing for the next nine days, the entire fair except Monday, every afternoon/evening. Here I am (courtesy of my friend and student Ray Williams):

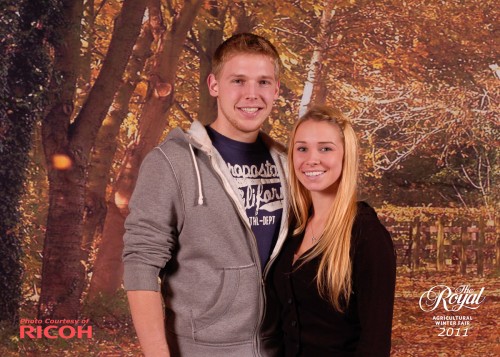
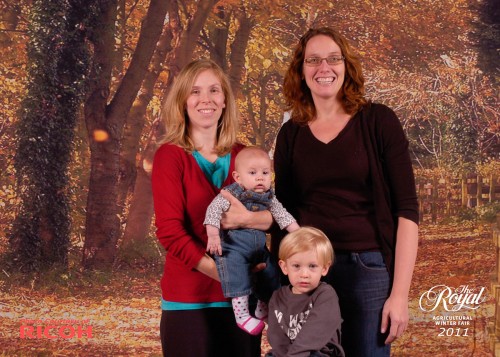
And these portraits look somewhat like this:

Or like this:

And the lesson in this?

  • Commit events like this, being together with friends and family, to photos. They only happen once. That baby above will be in university soon enough.
  • Light simply, if you are doing many portraits. We used two umbrellas. It is more about the moment and the people than about the artistic lighting.
  • Posing is fine, but turn people a little.
  • Perhaps put them into suitable groups.
  • Triangles are good.
  • Watch out for shadows.
  • Glasses and hats, especially: take care.
  • Yes, you know: 1/125th second, f/8, at 200 ISO; and the strobes do the rest.

I have precious few pictures of myself as a child (roughly zero). If you can do better with your loved ones or with anyone at all, you are doing great. Do it if you can!

Those of you in the Toronto area: the picture is free with the price of admission to The Royal. Come meet me (again), and come meet some cows, chickens and such, see great country stuff, and generally, have a good time.


Change of plans?

Sometimes as a photographer you need to be ready to change your plans.

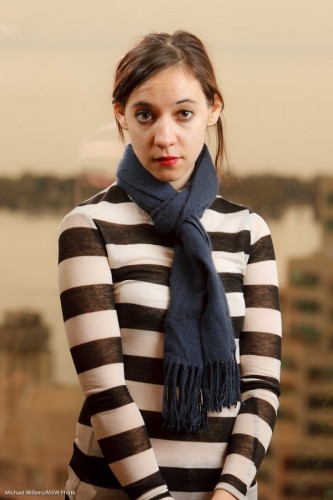
The other evening I did a corporate headshot session at a financial institution in downtown Toronto. This means driving there with an SUV full of lights and associated equipment. My plan was to shoot in front of a window, showing downtown. I have done many of these before, mixing ambient and flash light, like this  (straight out of camera, unfinished):

Headshot (Photo: Michael Willems)

But in this room, at this time, it just wasn’t happening. Here is my excellent assistant and second shooter Denise (who is a very good fashion photographer) – and of course this is just the main light, not a finished portrait:

Denise McMullen (Photo: Michael Willems)

But even this main light alone already shows me too many reflections (see her top reflecting behind her?). And the background is too dark even at 1/30th second. And the building in the background is a competing institution.

We tried for about ten minutes. And then I decided – “fugeddaboudit”.  You have to be willing and able to cut your losses. This can be tough – but it has to be done. Could I have done it? Perhaps, perhaps not. But it wasn’t worth more trying.

And as it turned out, not a loss at all – the texture of the wall on the other side of the room was good, especially when I lit it with a gridded speedlight, to get that nice oval of light:

Denise McMullen (Photo: Michael Willems)

Nice, no? And another one:

Denise McMullen (Photo: Michael Willems)

And just like every doctor in my opinion needs to undergo a digital rectal exam before graduating, so every photographer must be photographed. So here’s me:

Michael Willems (Photo: Denise McMullen)

The moral: know when to cut your losses and try a different approach. Just like a pilot needs to be ready to decide to  go to an alternate airport: “get-there-itis” causes many deaths.  Do not stick with an idea if it is not working. Go to your alternate.


Make every…

I taught all day today at the Exposure show, for the third day in a row: flash, portrait lighting, lenses: my favourite subjects.

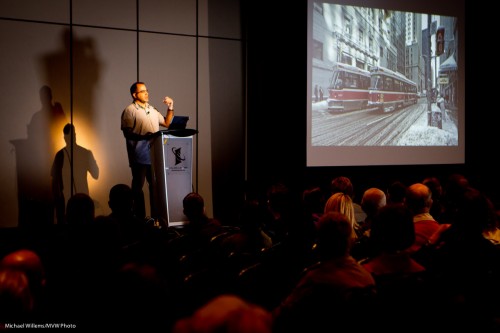
But I did have a couple of breaks in the past few days, and during one of those breaks yesterday I sat in on Sam Javanrouh’s talk.

Sam, of www.topleftpixel.com (“daily dose of imagery”), does a daily blog, just like me here – but he does a pic a day, while I do a teaching post a day.

Here’s Sam – and can you see how fortuitous the light was for me? One Sam, and several shadows within shadows.  I just happened to have a camera on me.

Sam Javanrouh (Photo: Michael Willems)

In his talk, Sam said one thing I strongly agree with and that I have also told many of you:

Make every walk a photo walk.

As I often say: don’t even go to Sobey’s without a camera. And don’t let anyone stop you: do what you can, take pictures of everything that fires up your imagination.

Open your eyes, and look. See interesting shapes? people? Colours? Reflections? Curves? Diagonals? Shoot. Always be ready and always picture what you see.

Like I did today in this picture – I suppose you could say I make every talk a photo talk. Groan. But you know what I mean.


Props and stories

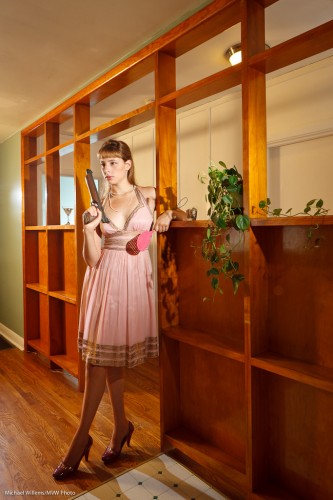
This photo, from a recent workshop Joseph Marranca and I taught, shows the importance of props:

The props here make the story. A well-lit pretty girl is interesting (see all the shadows?), but the photo becomes artistic when it has “off-kilter” items.

Like the 1960s background. And the martini-glass. (“Mad men”, anyone?). And then there’s the red Wizard of Oz shoes, and the dress. And of course the gun. And the flyswatter.

So when you next do a creative shot, ask: what odd , interesting, juxtaposing, curious props can I add?


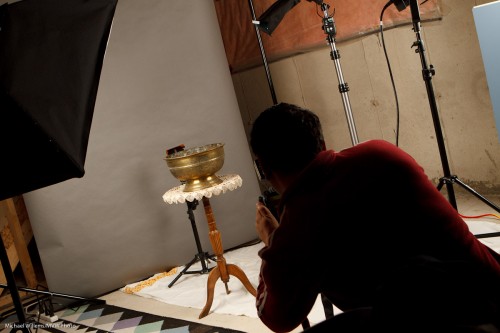
Magic Bowl

A simple trick for you today.

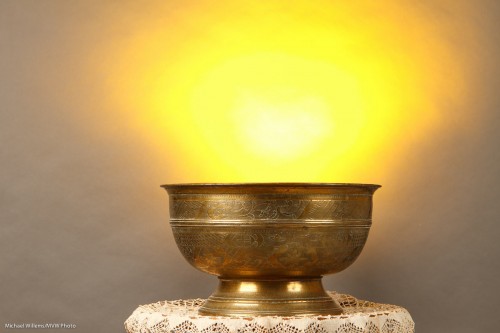
How do you create a magic bowl like this?

Magic Bowl (Photo: Michael Willems)

Gold? Incantations?

Simple technology, of course – you knew that, or I would not have mentioned it here.

  1. Use studio lighting with a key and fill light.
  2. Use a darker background – or move the subject away from a lighter background, to also make it darker.
  3. Then light the background with a flash with a gel – I used a speedlight (as it befits the speedlighter), with a Honl Photo “egg yolk yellow” gel.

That looks like this:

Magic Bowl Setup (Photo: Michael Willems)

See the flash behind the bowl, aimed up? Simple, innit – once you know?


Hidden worlds

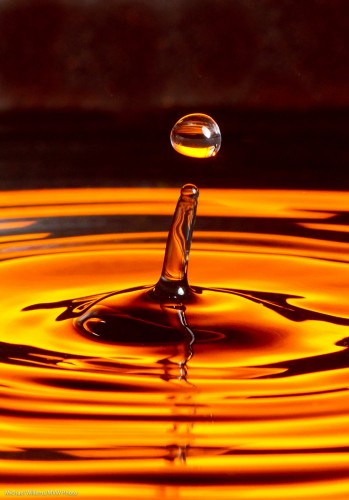
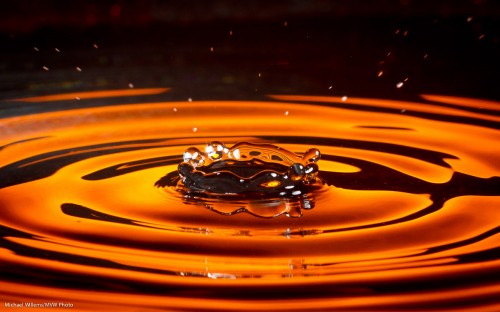
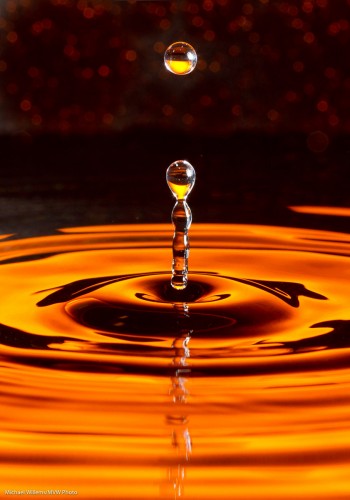
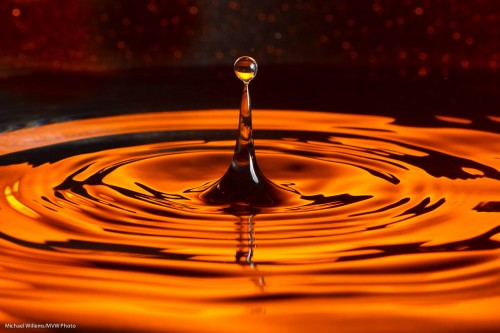
There is a hidden world in water’s surface tension. A world like this:

Water Drop (Photo: Michael Willems)

Is that difficult to photograph? Depends on how much patience you have.

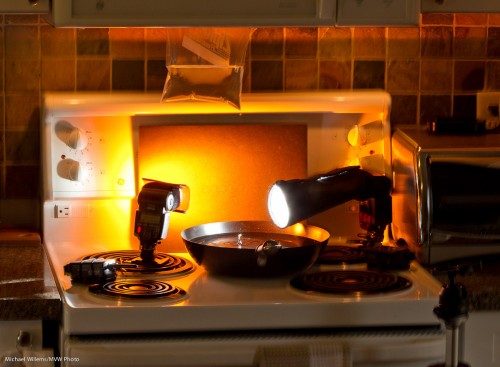
Here’s how I just took this picture:

  • Camera on a tripod, equipped with a suitable lens – I used a 100mm macro lens but a 50mm or a telephoto lens may also do.
  • I set the camera to 320 ISO, f/11, 1/250th second.
  • A black background, lit up with a gelled flash – or just a coloured background.
  • A tray with water – also preferably black. I used a wok since I had nothing else, plus a wok is round, so you get circular waves.
  • A plastic bag with water. I hung it from my microwave. Poke a very small hole in it with a pin.
  • A for the background – I used a 430EX with a Pocketwizard driving it. The flash set to manual 1/4 power and equipped with a Rust gel from Honlphoto.
  • Another flash aimed at the drops from the side. Also driven by a Pocketwizard, this flash was equipped with a Honl snoot. Also set to manual 1/4 power.

This looked like this:

Water Drop (Photo: Michael Willems)

See the ziplock stuck in my microwave door? And see the tripod on the right?

And given enough patience you will get pictures like the one above. Yes, patience is required – I just shot 500 pictures to get 10 great ones.

Gotchas to watch out for:

  • Too big a hole will give you streams of water – not flattering. You want slow-moving, large drops. Small pin hole achieves this (else, wait until the pressure lessens).
  • Like in any macro photo, you may need to clean up your picture to remove the dust you lit up with the flash.
  • You will also want to crop the image.
  • Watch for reflections of the waves in the bottom of the pan – shoot as horizontal as you can.
  • Watch for reflections elsewhere too – I got a reflection in the side of the pan; some of this I had to remove in post-production.
  • Focus manually; prefocus where the drops fall.
  • You want fast flashes – and since a flash’s power is set by its duration, this means not full power, so make sure the flashes are close.

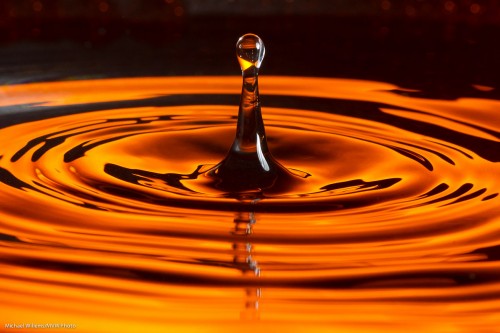
A few more samples:

Water Drop (Photo: Michael Willems)

Water Drop (Photo: Michael Willems)

Water drops (Photo: Michael Willems)

Water drops (Photo: Michael Willems)


Fashion flashin’

Sunday morning, around mid-day, in downtown Oakville I shot a fashion shot for a magazine front cover.

Outdoors fashion is, as always, a matter of many things coming together at once. One of those is light. Without light, even on a wonderful overcast day (wonderful in photo terms), the image lacks something. The mother and daughter models lack a certain je-ne-sais-quoi.

Actually I do know – they lack light:
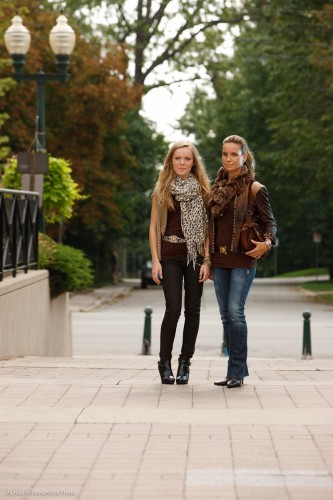
Models in Oakville (Photo: Michael Willems)

So we add a flash. I used a Bowens 400 Ws strobe, although I could have used speedlights. The sequence is as follows:

  1. I set my camera to manual.
  2. I select 1/200th second and 100 ISO.
  3. That gave me, on this particular day, an aperture of f/5.6 for a nice saturated background. (To arrive at this, I can use my in-camera meter or my light meter set to ambient.)
  4. I now add the strobe, set it to 80% power about 6ft away, and test this with the meter (now set to flash mode). Well have you ever:  the meter immediately indicates f/5.6! (This is just experience. If you are less experienced, no worries – just turn the light up and down until you do read f/5.6).

That gives me:
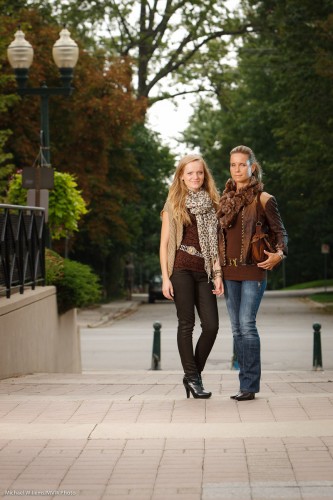
Models in Oakville (Photo: Michael Willems)

If I want the background a little darker I change the speed to 1/250th (still in my flash sync range):
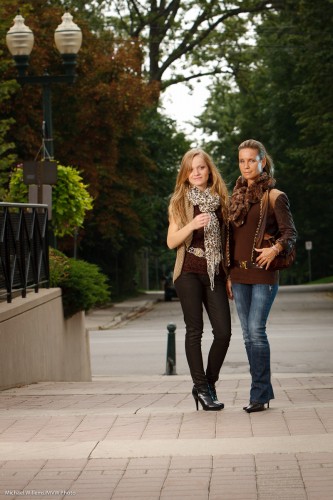
Models in Oakville (Photo: Michael Willems)

Okay, we are set. If the sun comes out a little more,  I go to 1/250th, and if it gets a tad darker I go to 1/160th.

The idea of this shot is autumn – so we now bring out the props. Autumn flowers and fruits and vegetables now gives us this:
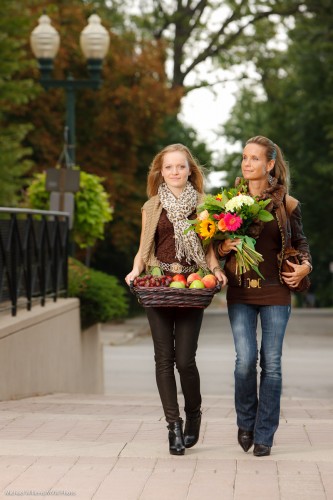
Models in Oakville (Photo: Michael Willems)

Notice the speedlight with a blue-green gel as accent/hair light on our right? The speedlight was held by Kurt, who assisted on this shoot, and was set to 1/4 power (again – experience tells me that setting will probably work – and it did).

The final step is to make that an egg-yolk yellow gel instead of a blue-green gel – yellow accentuates the late day setting sun feeling that is synonymous with autumn. (I use Honl Photo gels).
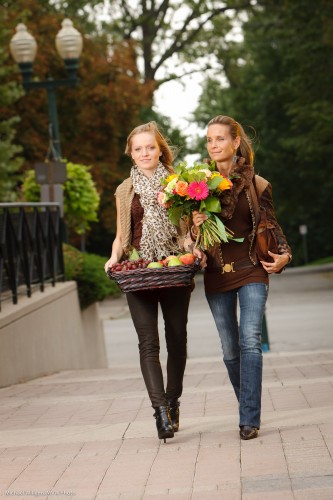
Models in Oakville (Photo: Michael Willems)

And there we have the image. (In fact this is not quite the image – that one went to the client, and I do not like to publish images in this open forum before the customer has used them!). Also – note that these are shot a little wide since this is for a magazine front page, so there needs to be space for text.

Notes:

  • Umbrellas and softboxes outdoors will be blown away, so hold on tight.
  • If the models move, use AF-C/AI Servo focus mode.
  • With two models, be very aware of the danger of blinking – one of them will blink in very many images, so check, and take many images.

The setup was as follows:
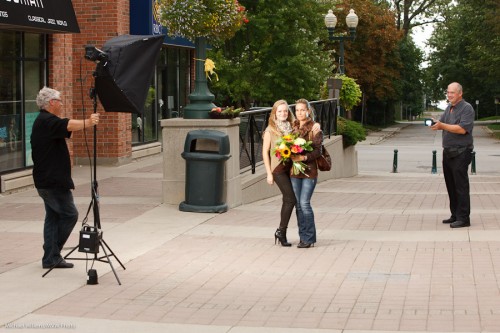
Fun shoot.

(And perhaps also, a shoot that explains why photography costs money: A car full of equipment, props that get used just once, two sets of clothing, and five people taking several hours. All this costs money!)


The Importance of being colourful

Colour is an interesting thing. It can help or hinder your pictures. It helps if you are using it where it is wanted; it hinders if you use it when it is not, or if you fail to use it when it is.

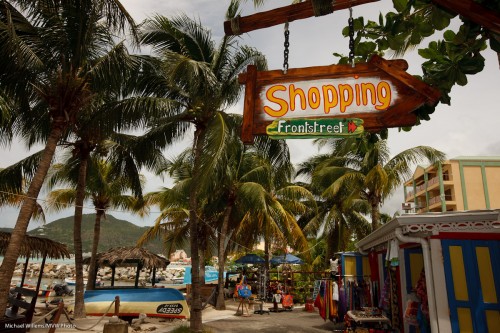
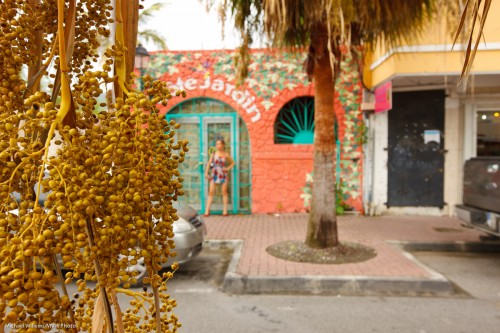
The Caribbean is all about colour. People are happy, the sun is hot, and everyone uses wonderful bright colours. So a scene like Philipsburg, Sint Maarten, needs colour:

Philipsburg (Photo: Michael Willems)

Technique needed:

  • Flash: I needed to use my Canon 580EX flash for this sign.
  • Exposure: I made the colours vibrant by exposing the rest of the image down a little: 1/200th at f/13 at 100 ISO.

In the following image, I needed no flash – or rather, it would not have done anything:

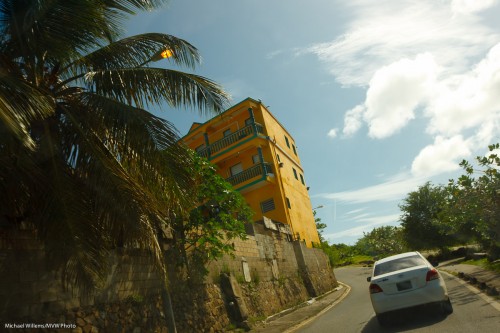
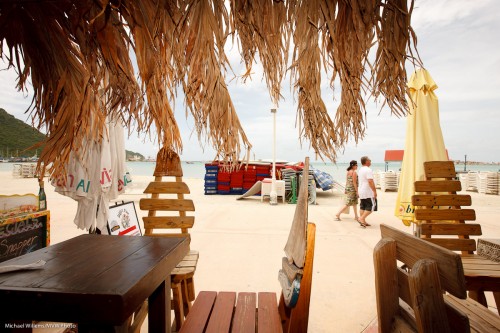
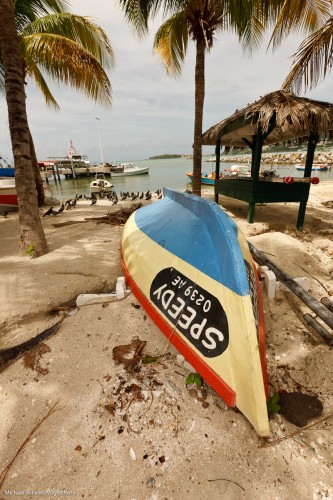
Sint Maarten (Photo: Michael Willems)

In the next example, I needed the flash just to light the plants that make up the roof, or they would have been black:

Sint Maarten (Photo: Michael Willems)

And one more, where I used the flash:

Sint Maarten (Photo: Michael Willems)

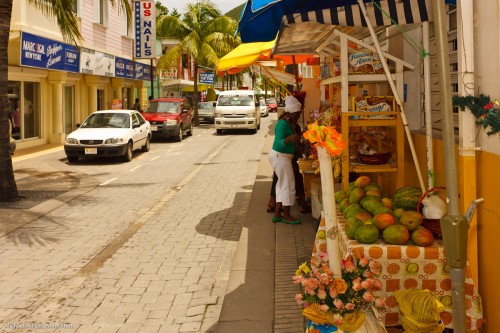
One more – a street grab:

Philipsburg vendor (Photo: Michael Willems)

And one more, again showing wonderful Caribbean colour:

Philipsburg (Photo: Michael Willems)

I suppose this all boils down to a few simple rules:

  1. Decide if color is needed; is it an important part of the image?
  2. If so, expose well – underexposing ever so slightly will make colours more. saturated; overexposing leads to washing out. (Note: you are allowed to “expose to the right and fix in post – you get better quality).
  3. Use a flash if needed to light up areas that need lighting up.
  4. Use the right white balance.
  5. Consider a polarizer on sunny days.
  6. Add a little saturation in post if you have to.


All very logical once you think about it.