You have heard me talk about the “Sunny Sixteen” rule before. This is a very useful rule of thumb that allows you to shoot without using your camera’s light meter. The rule is:
If your shutter speed is set to 1/ISO (e.g. 125 ISO at 1/125th sec, 200 ISO at 1/200 sec, or 400 ISO at 1/400 sec, etc), then on a fully sunny day at noon, f/16 will give you the right exposure.
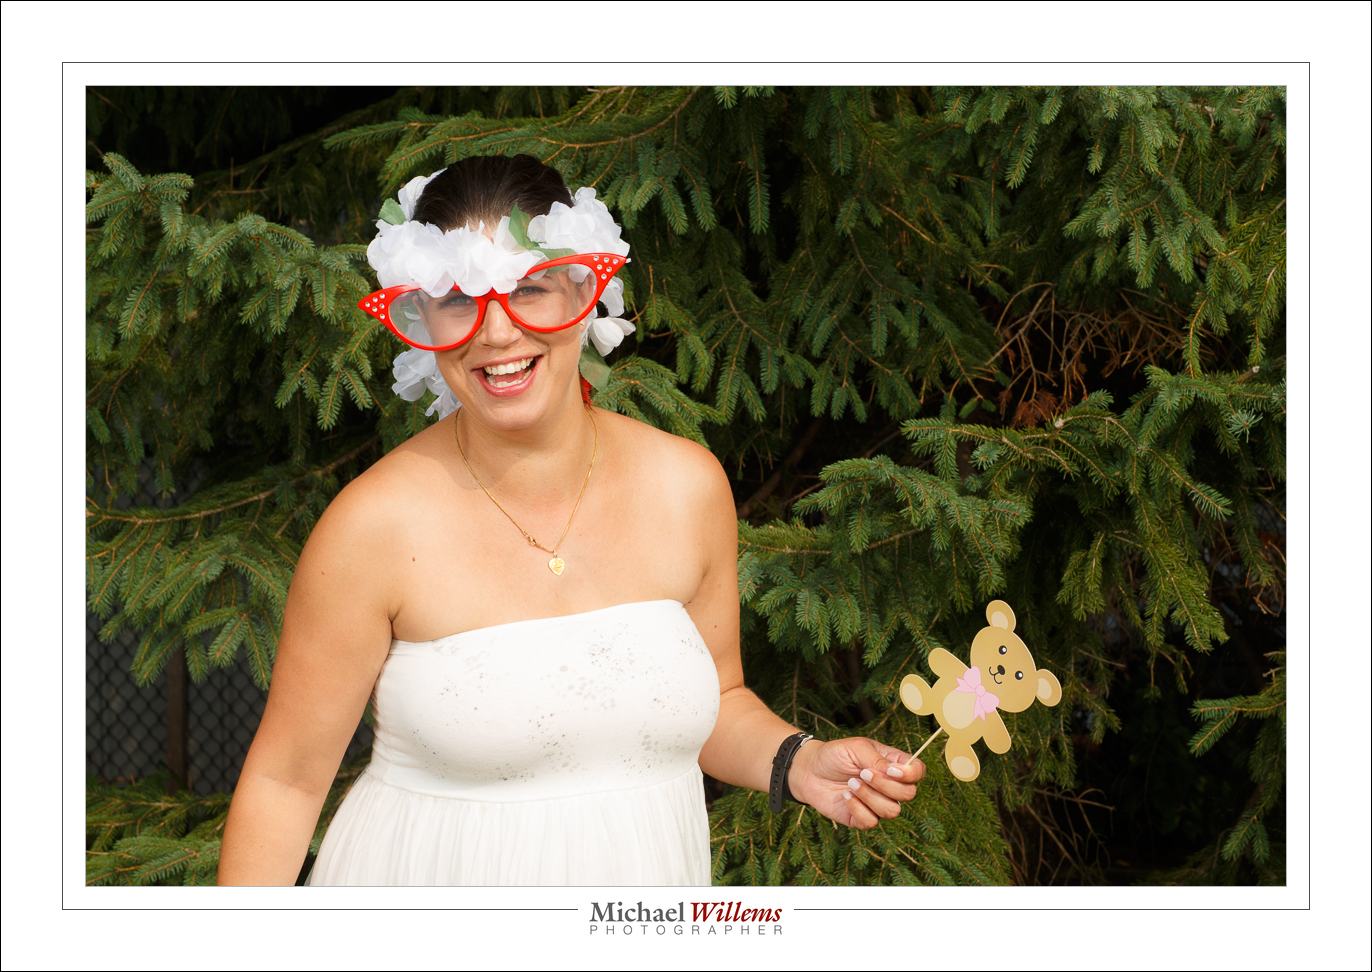
Like this, at f/16:

And if it is not sunny?
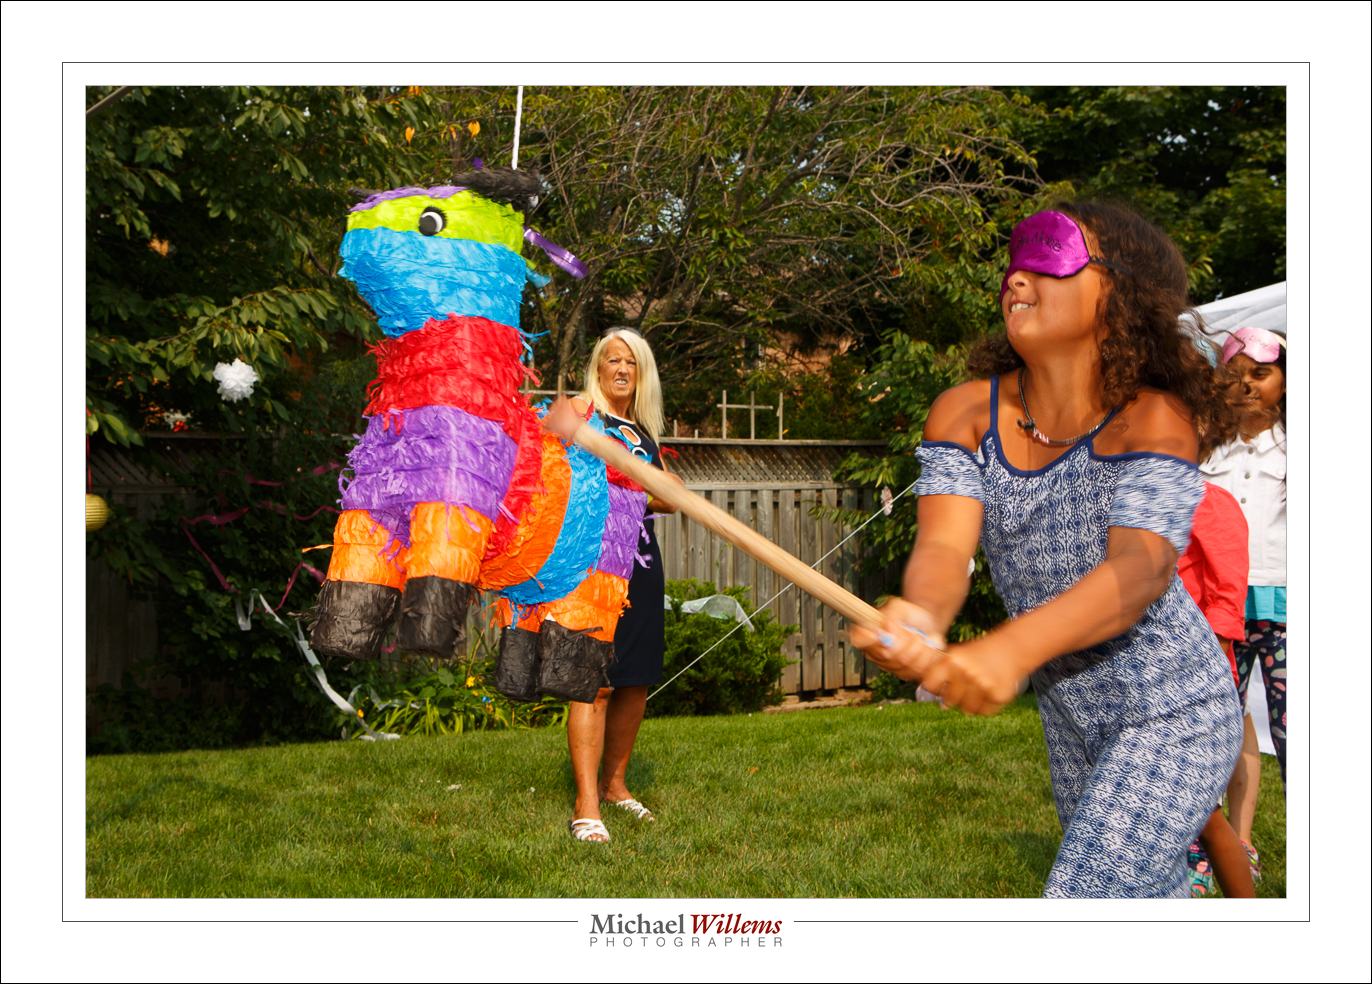
| f/16 | Sunny | Distinct |
| f/11 | Slight Overcast | Soft around edges |
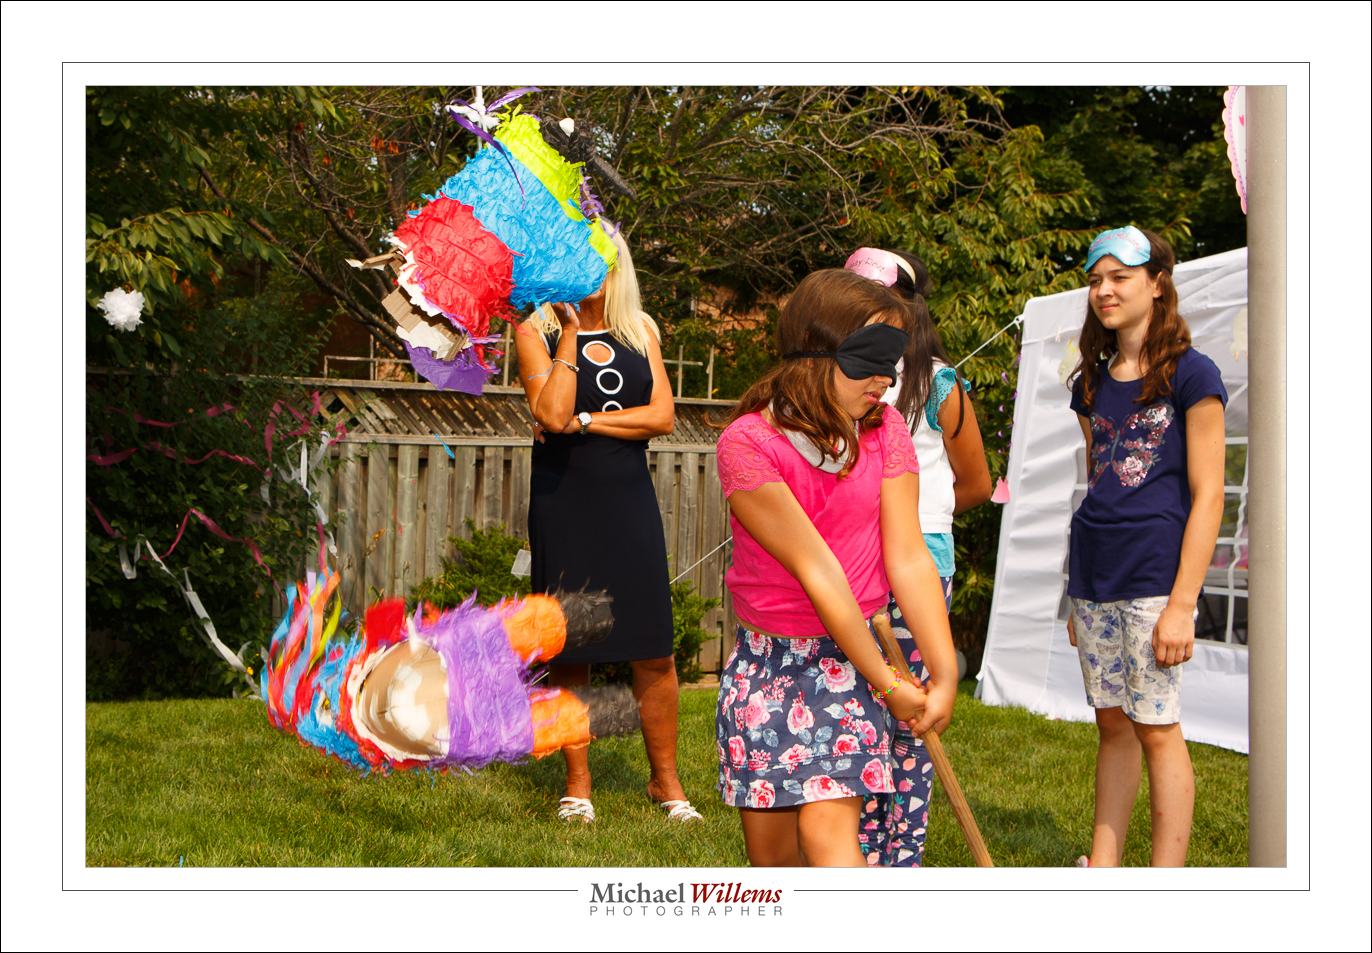
| f/8 | Overcast | Barely visible |
| f/5.6 | Heavy Overcast | No shadows |
| f/4 | Open Shade/Sunset | No shadows |
(Source: Wikipedia)
This rule is a rule of thumb, so feel free to vary – I often expose two thirds of a stop higher – but since the sun is always the same brightness, it holds well. And it is nice to be able to expose without light meters, if only in order to be able to check your camera.
Bonus question: how do you expose the moon?
Answer: f/16. The moon at noon (there, so any time here, including night) is as bright as the earth at noon- they are the same distance from the sun!