Building a studio portrait

A “standard” studio portrait is very simple to build if you have three or four flashes; and it is entirely repeatable, that is its beauty. Here’s how you do it in six easy steps:

ONE set the camera to settings where the ambient light does “nothing”. Like 100 ISO, 1/125th sec, f/8. Test this by taking a non-flash picture: it should be dark.

TWO set up your main light, using softbox or shoot-through umbrella, at 45 degrees from the subject, 45 degrees up. Turn your subject into that light.

THREE then add a fill light on the opposite side. You can use a reflector, or another flash with umbrella, set two stops darker than the main (“key”) light.

FOUR then add a hair light, for that shampooey goodness™. This is a light from behind at an angle, using a snoot or grid to avoid lighting all of your subject.

FIVE then add a background light – another flash.

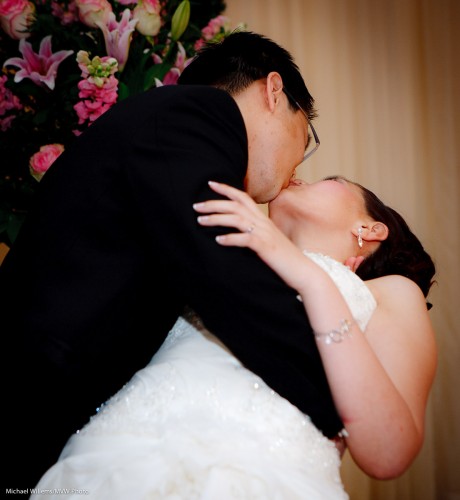
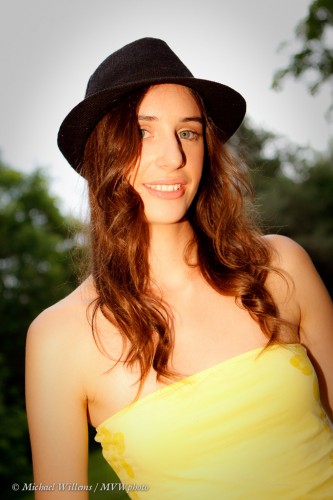
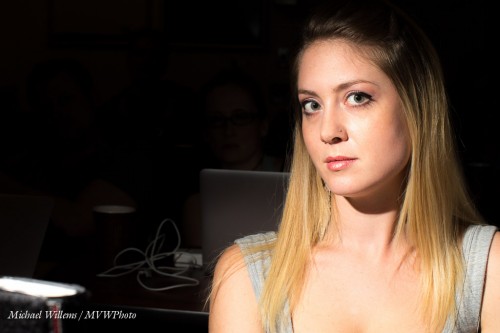
SIX then decide if you want colours anywhere – like the background. I used a complementary colour here – complementary to the subject and her clothing:

A Studio Portrait (Photo: Michael Willems Photographer, www.michaelwillems.ca)

Done!

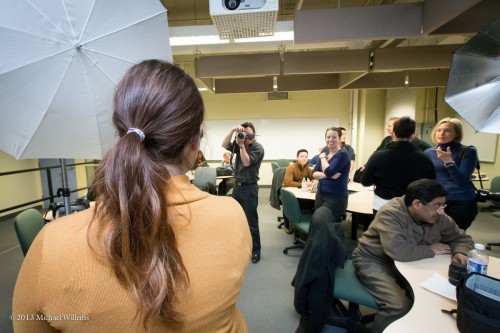
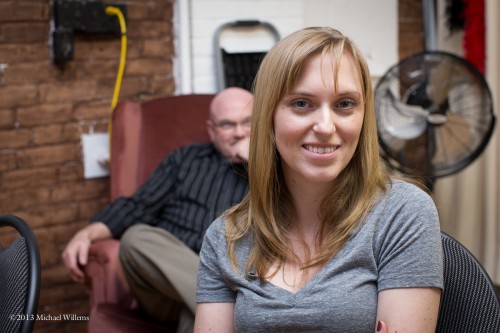
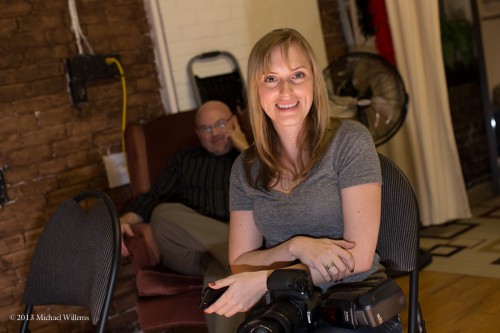
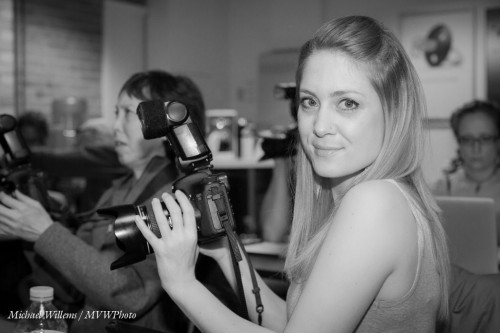
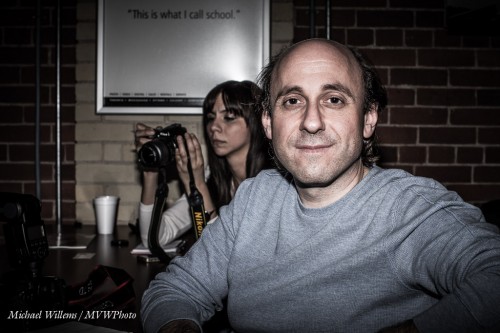
Here’s my Sheridan College class on Monday, practicing this:

___

Want to learn this? Next week’s workshop (April 10) in Hamilton, Ontario is about this very subject: studio photography. In one evening, learn to do this, use a light meter, use pocketwizards, compose, etc. There are still spaces, but this small, intimate studio workshop is limited to 10 students, so book right now!

http://photonetworkexpo.com/ : come see me talk this weekend in Toronto about Flash Photography, and even better: book online and use promo code Michael2013 to get 50% off a weekend pass. See you then!

Face it: you can do without faces

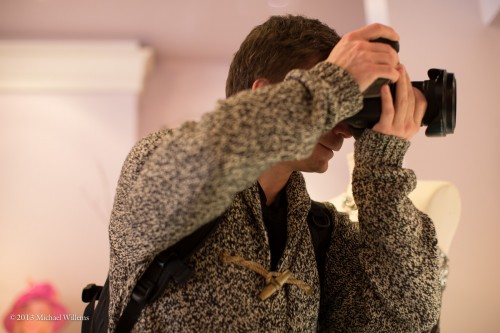
Following up from what I said yesterday: You can do without faces in portraits, and often it’s better, because the viewer, as I so often say here, has to put the story together in his or her mind.

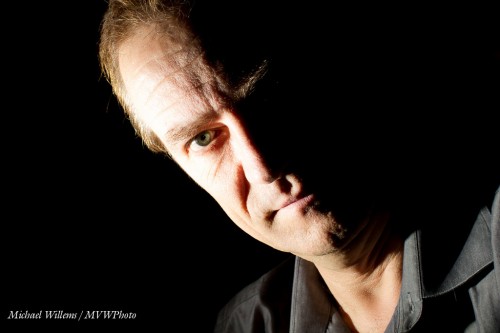
You see that I focused on his face, but you cannot see it. What you can see is his intense focus (pun intended) on the subject.

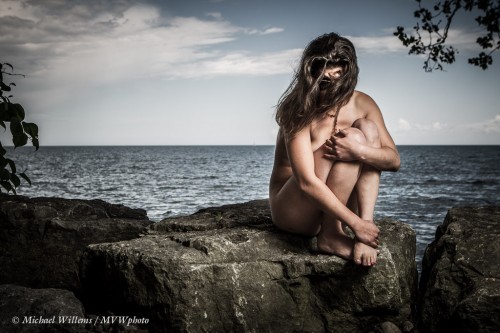
Or this moody portrait of a nude on the Lake Ontario shoreline:

Guarded, anonymous, closed: what’s the story? We cannot tell, we can only guess.

Or this faceless shot of amazing photographer Peter McKinnon also does not rely on a face:

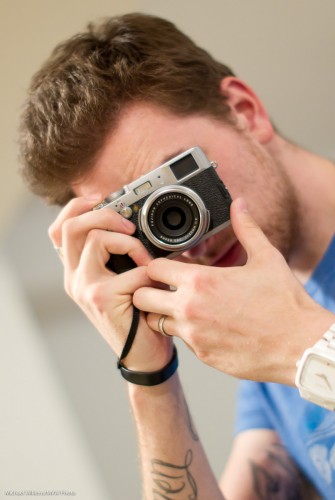
As you see, faces are not needed to make a photo interesting. Here’s one more example:

Your assignment, should you choose to accept it: go shoot an interesting portrait that does not show facial detail.

___

NEWS: http://photonetworkexpo.com/ : come see me talk this weekend in Toronto about Flash Photography, and even better: book online and use promo code Michael2013 to get 50% off a weekend pass. See you then!

NEWS: There are still spaces left on my signature workshops in Hamilton in the next few weeks: see http://www.cameratraining.ca/Schedule.html to book now!

What is wrong here?

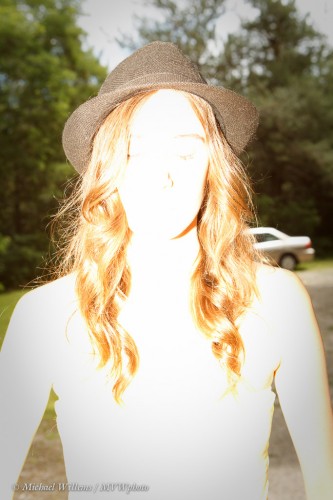
Look at this picture – a demo shot I made during a recent course, to show what not to do.

Can you see what is wrong here?

Yes, her eyes and face are all shadowy. Becuase I aimed my on-camera flash straight up. I see many people do this; it is seldom a great idea. Instead, of course, aim it behind you:

Note you need to have some kind of ceiling or wall behind you above that will reflect light. You may need to go to a higher ISO; in a large room, much higher, which is fine nowadays.

You can drive this “the umbrella is where you aim your flash” thing to extremes. Aim at the floor for eerie light – simply rotate your camera upside down, and you get:

Nice warm floor reflection!

Now, to see how fine modern cameras are with regard to ISO: a camera like my 1Dx goes to ridiculously high ISO values. 51,200 ISO with some noise reduction in Lightroom:

Yours will probably not be quite as good, but no problem if you want to go to a higher-than-usual ISO. Do it, and live with the grain – better than bad light or motion blur!

Rhonda

Here, from Friday’s workshop, is a photo of Rhonda:

Wonderful smile, truly! So that photo is good before we even start – how can you fail with a subject like that?

And yet, we have to get the focus and exposure right. Especially exposure is worth mentioning. hence this post.

Yesterday’s shots (scroll to yesterday to see them) had a pale-skinned subject in light clothing. Today, a darker-skinned person with dark clothing. So after the first person, do I need to, like, adjust anything?

If you are using manual flash settings (a typical studio shoot, with flash power set manually, perhaps using Pocketwizards): no. It’s set right, then it’s set right, never mind the subject.

If you are using TTL flash (automatic flash), then yes. You need to adjust flash exposure compensation – down. Down, somewhere between, say, -1 to -2 stops perhaps. Else the metering circuit will try to expose this shot just as light as the last one, and Rhonda will look light grey.

So remember: TTL (automatically metered) flash is convenient, but you have to know how it works and realize that depending on the subject, it potentially works differently each time you click.

Question Of The Day

A reader asks:

“A lot of the bars/venues I’ve been to have been showered in red spot light and it has horrible effect on my photos. Is there anything I can do, maybe in lightroom to lessen the effect, or maybe while shooting?”

My advice: Expose well. Use the histogram, color histogram if possible, to expose well: bright, but avoid blowing out reds. Use high ISO. You’ll want a modern high ISO camera, or/and a prime men’s. That will allow a fast enough shutter speed to freeze motion.

Focus – A Baker’s Dozen Tips

Following up from the last two posts, I shall share few more tips – a baker’s dozen, i.e. thirteen more tips – on obtaining sharp focus exactly where you want it.

Of course you know the basics, right?

  1. Select the appropriate aperture for the required depth of field (DOF).
  2. Select one focus point.
  3. Focus, with that point, on something contrasty.
  4. Holding the camera steady, now Focus-Recompose-Shoot (if using One Shot AF/AF-S).
  5. But if shooting moving subjects, AI Servo/AF-C can give better results. (Then, no recomposing!).

OK, sure. But is there more?

Well, yes. Little things, but important. Including the following:

  1. If you have time, it is better to move the focus point than to recompose. This gives you more accuracy – recomposing means shifting the focal plane a little.
  2. Set your joystick to be able to quickly move focus point (on the Canon 7D, for instance, by default you need to first press the focus point button, and then you can move it. Why that extra button?
  3. Low light is bad! The lower the light, the less accurate your autofocus will be.
  4. In my experience, low-level red (tungsten/incandescent) light is also not as good for autofocus as low-level white/blue light.
  5. If you have a flash and you have time, you can use your flash’s AF assist mode (the “red lines/grids”) to focus. Else, a flashlight can help, too.
  6. Not all focus points are equally accurate. Some, like the one in the centre, are sensitive to both horizontal and vertical lines; others are sensitive only to horizontal or vertical lines!
  7. The AF assist red lines from your flash will show you this – if you select a point that is sensitive to horizontal lines only, for instance, then the flash emits horizontal lines.
  8. Not all focus points are equally accurate with all lenses. On high end cameras, some focus points are horizontal or vertical only unless you use a lens that is f/2.8 or faster.
  9. If in doubt, use the centre focus point, since it detects both horizontal and vertical at all times.
  10. Focus points are in fact usually a little larger than the squares in your viewfinder.  This can easily confuse. If your camera has the option (like a Canon 7D or 1Dx), you can set a smaller focus area, meaning the focus spot is the size indicated.
  11. Lenses are sharpest when stopped down a little. In the shot above, I used my f/1.2 lens at f/2.0 – it’s sharper that way.
  12. But beyond a certain point, the wavelength of light becomes significant related to the small opening, so you get unsharp pictures. Most lenses will start to show this unsharpness beyond about f/11.
  13. You can also choose to allow the camera to use multiple focus spots to figure out where to focus. This can be helpful with moving subjects.

Even armed with this knowledge, you will find that often, especially when the subjects move or the light is low, it’s luck that gives you great images. My advice in those cases is simple: shoot a lot.


___

NOTE! Want to learn how to creatively use off-camera flash using “Master-Slave”/”Commander-Remote” TTL flash control for your Nikon or Canon system?  When to use modifiers? Flash secrets? Do not miss my evening course in Hamilton on Friday: http://cameratraining.ca/Flash-TTL.html. This and other upcoming workshops on http://cameratraining.ca/Schedule.html. Book now to guarantee your place.


Real Life shooting

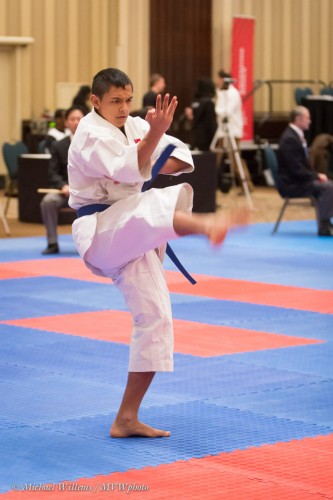
Today, a few more words about the “real life” Karate Championship shooting I did on Friday and Saturday.

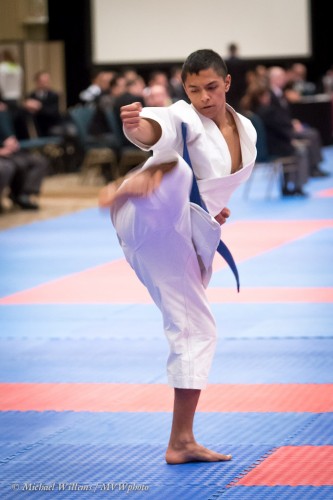
As you read yesterday, the light was low, meaning I had to shoot at 10,000 ISO (yes, ten thousand) at f/2.8 to get to a mere 1/160th second, which is kind of the minimum I would like. Even at that speed, motion blurs:

But what were the other challenges, other than the fast lenses and high ISO needed? I ask because while I have pointed out many times that photography is basically simple, it is in meeting the limits, overcoming the problems, that you get to be really good.

One: the dim light also makes focusing unreliable. Even on my 1Dx, I got a lot of incorrectly focused shots. Remedy: shoot more; focus as accurately as you can using cross-point sensors (the centre one, on most cameras, is always cross-point), and focus on cpntrasty areas (the collar, for instance).

Two: the very red nature of the light – about 2,500K in this ballroom, redder than a normal incandescent lightbulb – is not good even when you set the camera to “Tungsten” white balance. So you need to correct it afterward – meaning RAW is best.

Three: RAW is slower, so you lose some shots due to the camera catching up with writing to the memory cards.

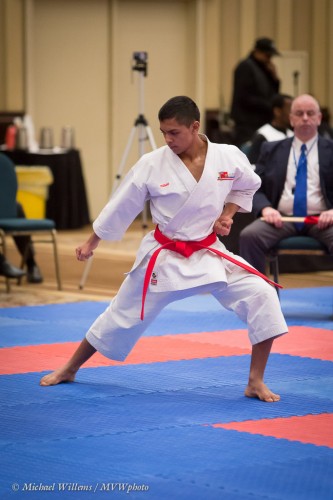
Four: the salmon and blue floor mat mean that in every picture, the bottom of the white suits looks either salmon or blue, which makes it look like the white balance is off. It’s not – it’s just the tungsten light reflecting off the floor.

Five: the competitors move unpredictably, so you need to:

  1. Shoot wide to ensure you do not cut them out of the frame.
  2. Use continuous focus (AI Servo/AF-C).
  3. Shoot sequences of shots.
  4. Use not one focus spot, but several (9 or more), to give the camera a chance to track the subject.

Six: in Karate, the subject turns away from you much of the time. The judges are on the other side, so lots pf shots of the subjects’ back. Just be ready to shoot in the few seconds you have, when the subject is looking your way.

Seven: the background is not of your choosing. Do the best you can, and throw it out of focus as much as you are able.

As you see here, there’s quite a lot of real life “working with limitations” going on in a real shoot – not just the basic thinking of “ISO+Aperture+Shutter = Exposure”.

___

NOTE! Want to learn how to use off-camera flash using “Master-Slave”/”Commander-Remote” TTL flash control for your Nikon or Canon system?  Do not miss my evening course in Hamilton on Friday: http://cameratraining.ca/Flash-TTL.html. This and other upcoming workshops on http://cameratraining.ca/Schedule.html. Book now to guarantee your place.


Tools Matter

For the past two days, I photographed a lot of this:

The national championships were held in Toronto in the Grand Ballroom at the Sheraton Hotel. And the photo may not show it, but grand ballrooms are dark, lit by rather dim tungsten light chandeliers.

How dark?

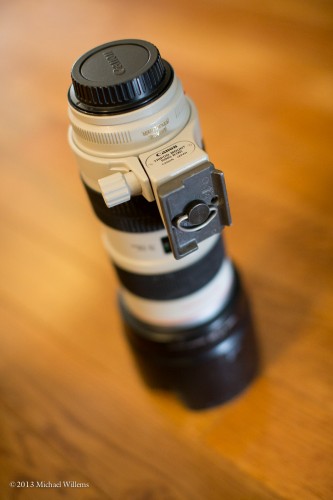
With my 1Dx and 70-200 f/2.8IS lens I had to shoot this morning at:

  • f/2.8
  • 10,000 ISO
  • 1/160th second

Yes, that is 10,000 ISO. Think of 1600, then add one stop (3200), then one more stop (6400), then two thirds of a stop (now you are at 10,000). Almost three stops more than I was comfortable with just a year ago. And I needed this to get to 1/160th second – I would have liked much faster, in fact.

Is there anything you could have done if you were using an “ordinary camera”? Many shooters came up to me to ask. Poor people with Rebels and 60Ds and D3100s and f/3.5-5.6 lenses. Think about it:

  1. If you have an f/5.6 lens you need two stops more ISO than I had at f/2.8 (the lens lets in less light).
  2. So if you want a fast enough shutter speed, like mine, you would need 40,000 ISO.
  3. But you can only use, perhaps, 1600 or -pushing it- 3200 ISO while maintaining good quality.

Is there a solution?

Well, yes. Use a 50mm prime lens on your camera, which gives you an 80mm equivalent lens, say at f/1.8. Now you are better than my zoom, one and one third stops better, so you can go to a lower ISO (around 4,000; or perhaps 3200 ISO at 1bout 1/125th second). One shooter, an intelligent young woman, got it, and pulled out her 50mm f/1.8. Saved!

And yes, you need those fast shutter speeds. Even at 1/160th second, if anything moves, it shows:

The moral of this story: equipment matters. I saw many people with simple cameras and kit lenses who expect to be able to do the same work I do. It doesn’t work like that, I am afraid. You buy modern cameras and fast lenses (low “f-numbers”) for a reason, and today illustrated that reason well.


Beginner’s Flash Mistake

Has this ever happened to you?

You want an outside picture with a blurred background. So you set your aperture to a low number, and click, a nice enough picture.

But your subject is a little dark, so then you realize “wait – I should have lit my subject with a little flash”. So you simply turn on your flash and change nothing else. And then this happens:

Whaa? What happened?

Ah. In the first picture, you were at 1/1600th of a second, say. But you forgot that you have a maximum flash sync speed – usually 1/200th to 1/250th second. So for the second picture, the moment you actiavted the flash, your camera said “oh, my owner is using flash. I am slowing down the shutter to the sync speed, whether he/she likes it or not”. The result: a grossly overexposed image.

Solution: either use a slower shutter and a higher f-number and forget the blurry background, or activate “high speed flash” (“Auto FP flash”, as Nikon calls it), where the flash emits a 40 kHz pulse of little flashes, so you can go beyond the sync speed, and you can keep your f-number low. Now you get this (shot at 1/1600th second, f/2.8, 100 ISO):

Problem solved!

Note: That “fast flash”mode is only available on speedlights (like the 600 EX/SB910). And there is a drawback: your range is significantly reduced. In the previous picture your flash might reach 10 metres; with fast shutter speed and high speed flash it can be as little as a metre or less. So it’s good when you are close, as I was here.


Simple means (redux)

For my new students, in today’s class: as you see, once you kow the techniques, you can keep it simple. Like today’s shots:

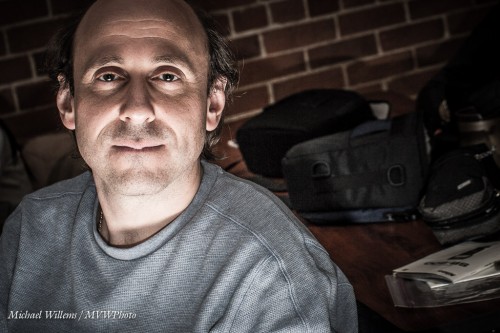
One minute’s work or less, prior to the class, self portrait. Shot “so the ambient light does nothing”: 200 ISO, 1/125th second, f/8, with the flash held in one hand and the camera in the other:

Students in today’s class with background “doing some work”, i.e. something like 400 ISO, 1/40th sec, f/4:

Now similar, but “this is what I call school” – the student from before, but shot again, and now with special rough direct flash plus a little post work (apologies, but it does look cool!):

Ditto, but now lit weirdly… Hallowe’en style… from below (how?):

And finally, two beautiful students; as before shot with “ambient light disappeared”, i.e. at 200 ISO, 1/125th second, f/8:

As you see in these two shots, direct flash can be great and beautiful – as long as it is not near the camera. The flash is off to our left.

None of these shots needed much thinking or much work.

  1. Decide what the ambient part should be;
  2. Make it so using ISO/Aperture/Shutter;
  3. Then add flash.
  4. Keep the flash off the background if you can (you could use a grid, or keep distance between subject and background).

All you need to remember is this simple logic, plus the limitations – like “do not exceed 1/200th second shutter speed”, and “oh, my lens can only be set between f/4.0 and f/16”, and “outside, make sure the flash is close enough to the subject to have enough power”.

It really is that simple, once you understand. And flash liberates your internal artist, once you do.

___

Additional courses ready for signing up on http://www.cameratraining.ca/Schedule.html!