Light it up.

A reminder:

Bright pixels are sharp pixels.

But they are also pixels without a lot of detail. And where do we not want such detail? Skin, and other surfaces where detail means bad things like pores and wrinkles.

Arguably, also here:

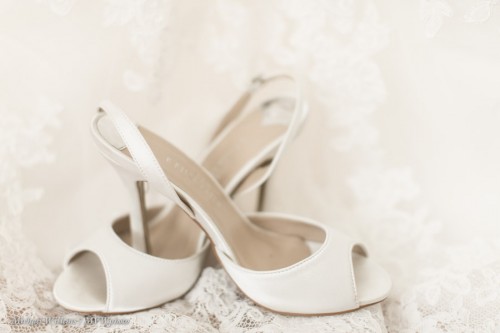
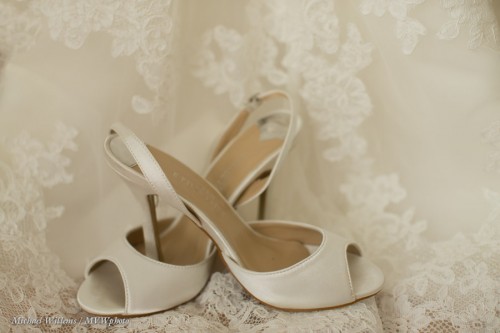
And now we will add an extra couple of stops. All detail will now go to the top of the image in terms of RGB colours. That means that if in the previous picture the darker detail takes half the colour space, say, then here it takes one eighth. Less distraction from the shoes, which are the subject.

The second picture is also better because it is more true to life: it was bright, But my reflective light meter gets that wrong, of course: it does not know I am shooting a white dress. So I need to help it along.

Summarizing:

I expose highly and brightly:

  1. When the subject is bright.
  2. When I want the subject sharp and crisp.
  3. When I need to reduce detail, as in bad skin, say.


In pictures like this I am looking for just a little bit of “the blinkies”, and a histogram to the right. Done!

 

Photon Epiphany

It is an epiphany for a photographer when he or she starts noticing the light. And in particular:

Primary questions:

  • What is the light? One source or multiple sources?
  • Which direction or directions is the light coming from?

Secondary questions:

  • What colour or colours?
  • How hard or soft?

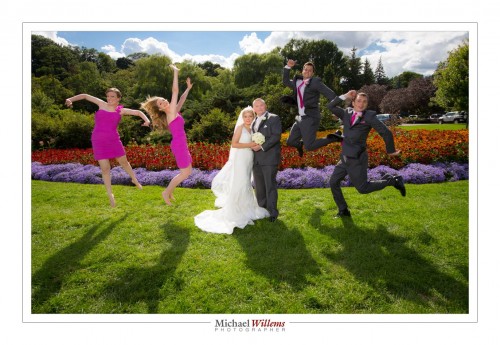
Look at this picture of Saturday’s wedding:

I did the following:

Look for the flowers. Decide to aim the subjects away from the sun; for three reasons:

  1. You get a nice hair light.
  2. They do not squint.
  3. You get great shadows in front of the subjects!

Of course the subjects would now be dark, what with the sun behind them. So I would need a heck of a large reflector – or, as was the case here, a strobe with an umbrella, fired with a pocketwizard. I only had one strobe available (don’t ask: shortage of pocketwizard-strobe cables), but one strobe was enough.

Light is fun, as yesterday’s photo of the little girl also shows, right? My tip today: Always, always try to see where the light is.


Outside Fill Flash

Look at me, yesterday, taking a picture of the flower-girl at Halyna and Vitali’s wedding in Toronto:

You see that in spite of it being bright daylight (1pm on a sunny summer day), I have my flash aimed at the girl. And you see I am getting down to child level. And here is that picture, taken the very same second:

The look is defined by me:

  • Underexposing the picture a little; the ambient part, that is, to bring out the colour in the sky. Look at the pavement to see how much darker I made my ambient (about two stops).
  • Using a wide angle lens (16-35 on a full frame camera).
  • Getting down to the ground.
  • Using the rule of thirds.

Flash outdoors, then. But because I used the flash to enable me to darken the ambient by a couple of stops, it is more than fill flash.

Indoors, on the other hand, I used no flash yesterday, not at all, in the house or church. Unlike me, but the results were good:

Instead, I used a higher ISO and a prime lens, almost wide open (like at f/2 – f/2.8). It’s all what’s needed: no dogma!


Plan!

I am preparing for a wedding tomorrow. And as always, I am pumped. Weddings are fun, and while shooting them takes a lot of talent, effort and experience, it is also very rewarding.

So what am I doing tonight? I am making lists. List of:

  • The shots I want.
  • The addresses and times.
  • Names and phone numbers.
  • The equipment I need. Including spares for everything!
  • Events specific to this culture (all weddings have specific cultural traditions – knowing them helps!)

Preparation is half the secret of success. Tip: ensure that your car is in good shape and full of fuel, and that you have cash for parking meters, etc.

I’ll share a little more of the success factors in the next weeks. But now – packing my bags, packing the car, preparing for an all-day shoot. Life’s good when you can do all day what you enjoy!


Focus

When you focus, for optimum sharpness you need to do the following – and not all are obvious, so read carefully.

Normally, when shooting stationary objects do this:

  1. Ensure you are in “AF-S” (Nikon)/”One Shot AF” (Canon)  mode. This allows focus locking.  (For moving objects you will often use use AF-C/AI Servo)
  2. Select one focus point. This is simply telling your camera “do not choose where to focus, but focus on whatever I point this focus point at. It does not get “less focus” or anything like that! To select a single point, use the button on the back, or the menu entry. All cameras can do this, at least in the more advanced modes (and this is one of many reasons why you never use the red or green “full auto” mode!)
  3. Aim that focus point where you want maximum sharpness – but this has to be a contrasty area. You do not aim at a dark or light shirt, for instance, but at “where the shirt meets the tie so there’s lines”. Or better still, at the eyes!
  4. Realize that some focus points look for both horizontal and vertical lines (the centre point always does that), but many focus points can only detect horizontal, or vertical, lines! If you select a “detects vertical lines only`” point and point it at, say, the horizon, you will not get accurate focus!
  5. If you now keep the shutter pressed down you can recompose before clicking fully down, but do this carefully. If you let go, the camera will refocus!

Why this blog post? Because out of all the times I see students who complain about unsharp pictures, if it is actually focus (and not motion due to slow shutter speeds), then 90% of the time, the four simple points above have not been observed. And it is so simple!

If you are not 100% sure you are doing this right, go practice it right now, for an hour.


Outdoor Opportunity Beckons

Learn a lot of photography with me in a four-hour photo walk!

"Remembering" (Photo: Michael Willems)

On August 25, right in between the Niagara School of Imaging and a trip to Timmins, I am doing a photo walk in Oakville, Ontario.

On this walk, we will:

  • Go over all the basics, from exposure to focus to camera modes to aperture to colour.
  • Go over composition, the use of lenses for effect, introducing depth.
  • Practice motion.
  • Learn about street photography.
  • Practice problem-solving techniques.
  • Help open your eyes to what is around you. Help you see opportunities.
  • Take you to various environments: shopping street; old homes; urban; lakeshore, etc.
  • Teach you how to express what you see and what you feel.

I will take no more than 10 students, so book soon: there are still spots open.

You need a camera (preferably an SLR) with an empty formatted memory card and a full battery. Additionally, if you have them, bring a telephoto lens, a wide lens, and a flash. A soft cloth or two in case of rain is good, too.

To book, go to http://cameratraining.ca/Schedule.html and select “other 4-hour course”. I will confirm your spot (or if the walk is full, immediately issue refund).


Colours poetry

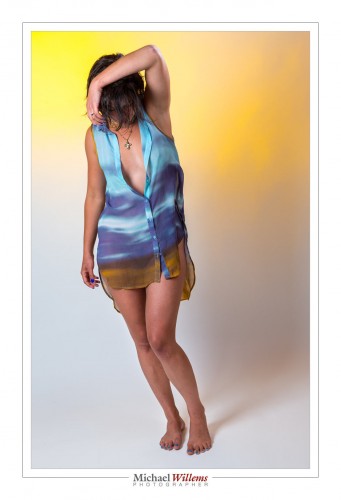
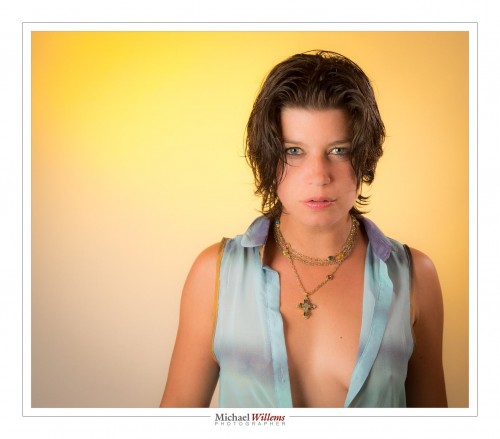
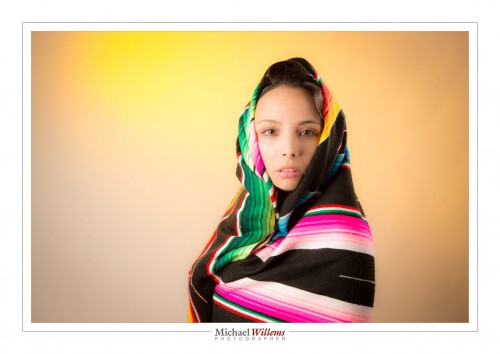
This picture, from the studio shoot on Sunday night, strikes me as one where the colours worked out just perfectly:

So what works here, exactly?

  • The rich yellow of the background is in separate areas rather than being homogenous. (That rich yellow is a Honl Photo “Egg Yolk Yellow” gel, by the way.)
  • It matches the brown/yellow at the bottom of the shirt perfectly. It also matches the cross.
  • The rich blue at the top of the shirt is in various shades and areas
  • It matches the blue-ish bottom of the image, and the blue toenails, perfectly. It also matches the fingernails.
  • The skintones tie it all together, as well.

To me, this image is like a poem in colour, a rhyme of form “ABab” going down, and the diagonal composition makes it also go left to right.

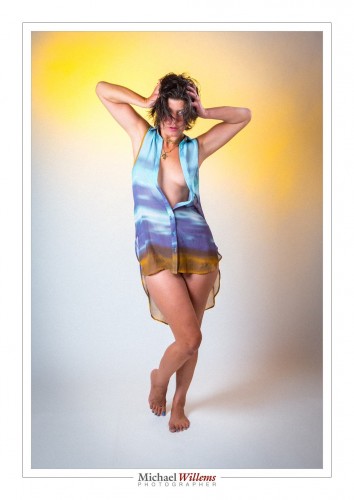
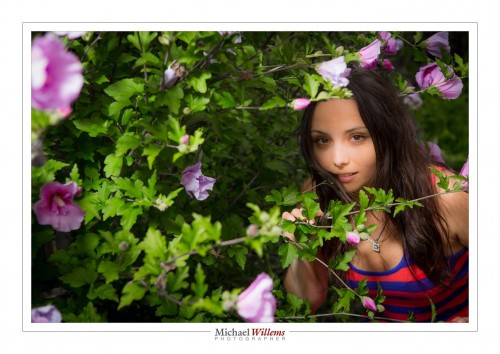
Here’s one more, where the yellows seem to line up with her elbows:

In both these images I had to set white balance very carefully, and I increased overall saturation and clarity a tad. Otherwise, they are the way I shot them.


Silence In The Studio!

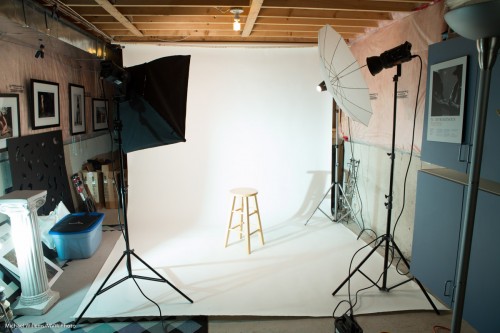
And here is my own studio:

That consists of:

  1. A backdrop stand with a white paper roll (other colours also).
  2. A main light with a softbox (on a light stand).
  3. A fill light with an umbrella (on a light stand).
  4. A hair light with a snoot (on a light stand).
  5. A background light with a grid and yellow gel (in this case, a speedlight on a clamp).

Other necessities include:

  1. Pocketwizards to fire the first flash and the speedlight (the rest can use the built-in “cell”).
  2. A stool.
  3. Music (so not “silence in the studio”!).
  4. Lots of props.
  5. Lots of extras lights and modifiers.

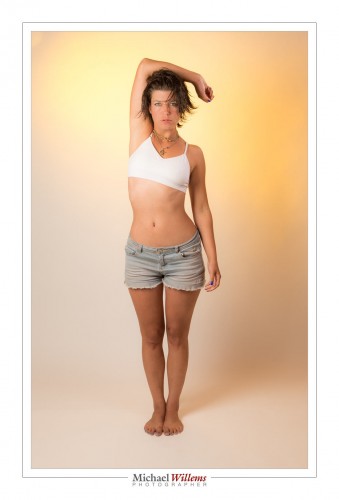
I used three strobes and one speedlight in the shoot a couple of days ago. That setup pictured above gave me shots like these:

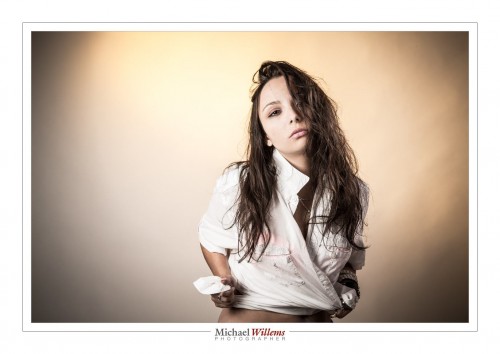
Where it is easy to enhance the saturation of yellow (and to go horizontal if you wish):

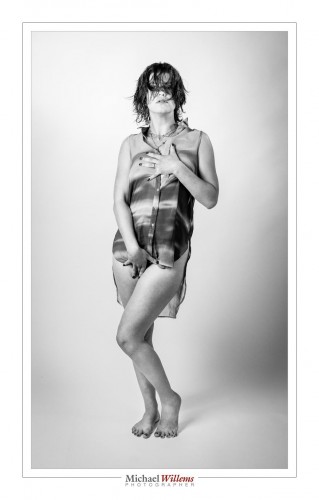
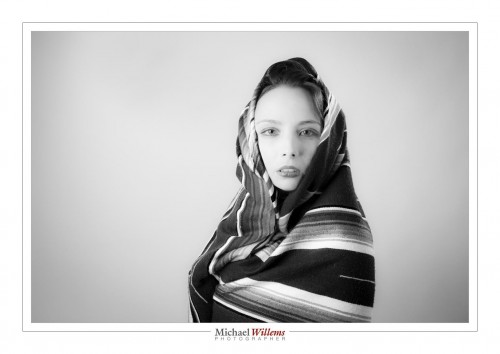
Or indeed to go back to black (and white), where it’s all about the shadows:

You can use the colours you shot:

Or you can go “desaturated”:

This shot, at first, seems to shout for colour:

But the same shot in B/W gives you new possibilities – e.g. to darken the lips a little and make the face stand out extra pale and beautiful:

What I like about studio shooting is that exposure is always perfect, provided you meter or guess it right in the first shot, and further, that you have control over everything. And that means you can now concentrate on expressions and ideas, not just on aperture and shutter settings.

PS: those of you who are in LinkedIn and do not yet have a headshot: contact me and have me make one. To be taken seriously, you need a headshot, and I mean need. No blanks, and no snapshots – those are two deadly sins.

___

I recommend you learn studio-style shooting and those of you who come spend the days with me at Niagara School of Imaging will learn all this, as will those who come to me for private or planned training (as in, Sheridan College Oakville starting in September).


Back Yard

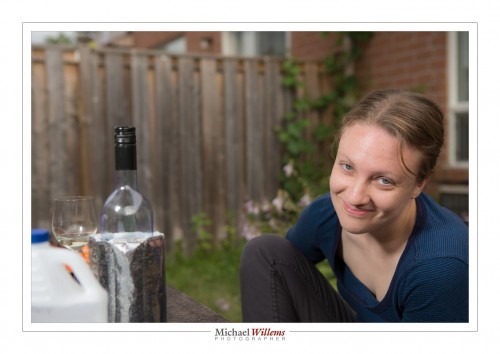
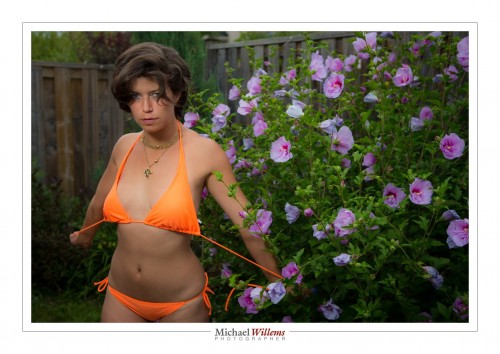
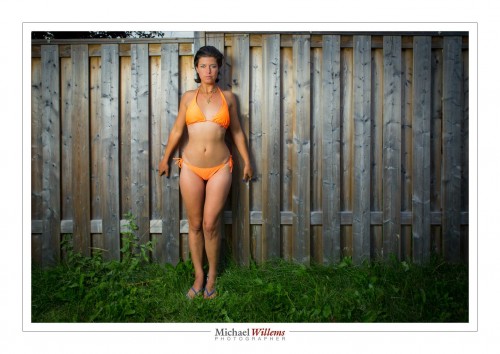
You can take nice pictures in the back yard. Like this one of yesterday:

To do this, you need:

  • An SLR camera with manual mode.
  • Off-camera flash: e.g. a remote flash in TTL mode fired by your camera’s pop-up, for many cameras, or by a 580EX/600EX/SB-900/etc on the camera; or a remote flash in manual mode fired with Pocketwizards.
  • Perhaps a modifier, like an umbrella or a small softbox.
  • A light stand and bracket to mount all the above.

So the equipment is relatively simple. And the use? Not so difficult either. Let me repeat how you do this.

First we set the exposure of ambient part of the image (the “background”):

  1. Camera on MANUAL mode
  2. ISO: Set to 100 ISO
  3. Shutter: Set to 1/250th sec
  4. Aperture: Start at f/5.6 if it is overcast. Or if it is brighter, go up to f/8, f/11, even f/16. Trial and error can work: you simply go as high as you need to get a darker background (for instance, on a sunny day, f/5.6 or f./8 will give you a way too bright background). For me, a “darker” background is -2 stops. If you like less drama, -1 stop is OK.

That’s the background done.

What about the foreground?

If the aperture you need to get to a darker background is f/8 or a smaller number, and your flash is close to the subject, you can probably use an umbrella or softbox. If it is f/11 or higher number, you will possibly need to use direct flash, unmodified, since a modifier loses power.

All I did was add a little vignetting and some minor tweaking.

Easy once you get the hang of this. And I can help in many ways. One of those ways: Aug 18-22 you get the chance to learn from me in a very intensive 5-day workshop at the annual Niagara School of Imaging, held at Brock University. There are still a few spots open: book now if you dig flash as much as I do.


Bail me out

When you travel, it is fun to do themes. Trees, say, or doors, or whatever fits the location.

Whatever fits the location – and there’s the secret: ask yourself that., and you are half way to a good picture series already.

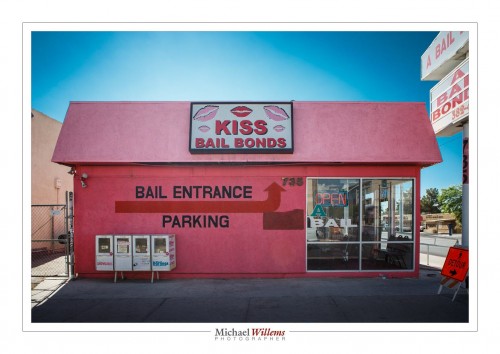
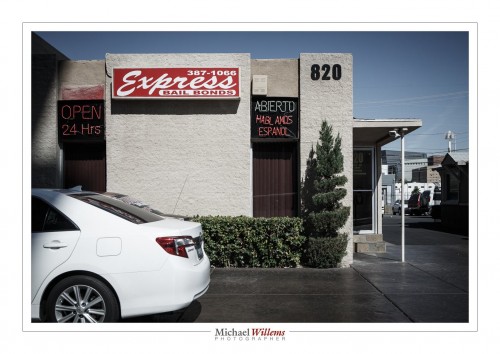
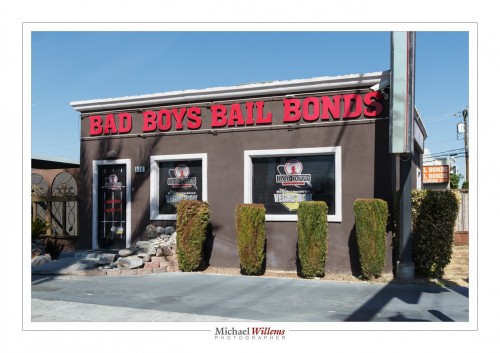
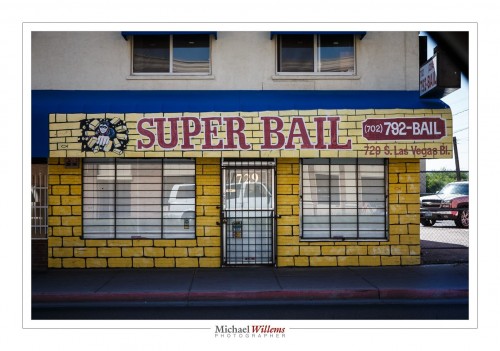
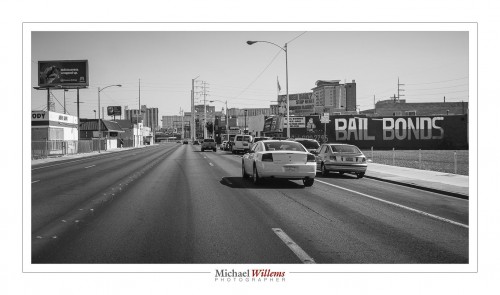
What fits – which in Old Las Vegas is, of course, Bail Bond brokers. Here’s just a few, from the other day:

And that picture of a thriving industry took just a drive through: Looking at these, it seems that all the citizens of Las Vegas do is get jailed and get bailed out.

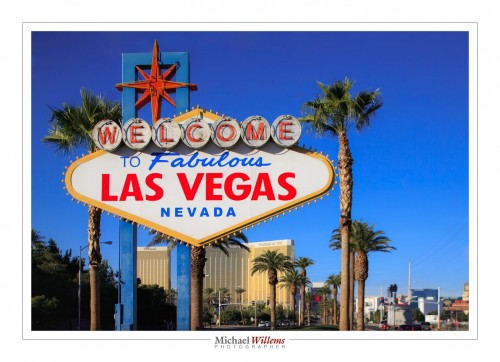
Yes, as you know, I have this too, but it’s only one small part of Vegas:

While this is needed, the Bail Bond pictures speak to me more. Sometimes you see more about a place when looking at detail than you would looking at the “big things”.