Tiger Direct, II

Worse: remember my to-be-returned hard drive from Tiger Direct, a local/US “cheap” electronics retailer?

After the broken English and vague promises from the Philippines yesterday, today, contrary to what the agent said, I get this:

WHOA. Jump though hoops: Contact manufacturer? Ship back at my own cost? “Fast, friendly service”, but it is slow, based in the Philippines, inefficient, doesn’t speak English, and.. the list goes on.

As in photography:

  • Price is not everything. Cheap means it does not get done well, or does not get done completely, or is risky, or comes with strings attached.
  • Service is everything. Tiger Direct has of course lost me (and I presume, now a fair number of my thousands of readers) as a customer forever: Best Buy gets me as a client from here on, even if it costs more.

You can do things efficiently, but you cannot do things cheaply. As Nasa says:

Fast – Cheap – Good : Choose Any Two

I cannot spend half a day finding a box, buying tape to close box (I have none!),  finding all the original bits, contacting original manufacturer, driving to post office, filling forms, paying for shipping plus “full insurance”, etc.

That $189 is lost, and I will now drive to Best Buy to buy two more drives.

Like in photography: cheap is expensive. I am editing photos as we speak – every shoot means lots of preparation and finishing work, and it is real work, and hours, and costs money; and no, you cannot cut it without compromising quality. As Tiger Direct shows. My strong advice: never, ever use them. Not worth it. Look:

Capitalized “DO NOT”… contempt for the customer if ever I have seen it.


An old refrain!

Backup. Backup. Backup.

As you know, I do make backups, and good thing too. My Lightroom library disappeared, or rather, became corrupted. But no worries, I have good backups at all times. Disaster averted. Plus, my Lightroom writes little XML files, so again, no disaster if it had been lost.

I bought two new 4TB disk drives recently, mail order from Tiger Direct online. One works. One worked for 20 minutes. Not a big deal, but a refund or exchange in store is not possible: now I need to wait for someone to pick up the drive:

Hi Sir,

We do apologize for the inconvenience.
We open a ticket here for Truck Pick up request meaning they will pick up the defective item to your address.
They will schedule the pick up and they will contact you to notify.
This is the best way to expedite the return.

Thank you for understanding.

Anna Ortua
Customer Advocate

Perhaps next time, just buy in the store, or buy from Best Buy, whose store and e-store are more integrated. Just a thought. But whatever you do, always have backups, and multiple backups. I told you, remember that!

I have seen the enemy, and he is…

…dust! Dust is the enemy of photos. Sensor dust, to be precise. Tiny pieces of dust that stick on your sensor.

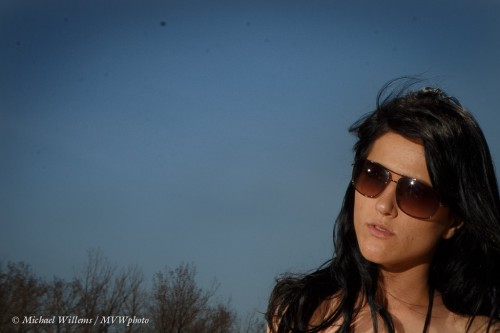
Look at this image of model Danielle on the beach yesterday:

Now look at a small section, with slightly enhanced contrast:

See all those blurry specks? View at full original size (click through twice to do that) and see how terrible that dust really is.

And you see it when you are both:

  1. Shooting at small aperture (like my f/14 all day yesterday), and
  2. Shooting against an even surface – like the sky.

In other words, you get this on sunny days outside!

Solutions? In order of dangerousness, with the safe options first:

  • First, use the built-in dust removal function in your camera repeatedly.
  • Or have Canon/Nikon/etc do it (but this will cost money and take time).
  • Then, with a full battery use the “manual cleaning” option – the shutter stays open while you blow with a rubber bulb blower. Blow with that blower  without touching anything, repeatedly, and try again.
  • As a very last option, use liquids and special pads, but use the right liquids and brushes specifically for your camera 9ask the manufacturer if in doubt), and be very, very careful – a destroyed sensor is not covered by warranty and can cost more than the camera.

Or.. live with them, and remove them in post-production.

TIP: if you do that, do it before you crop, so that you can copy/paste the adjustment to all images with sky.

___

I am teaching this weekend: tomorrow at Vistek in Toronto (“Macro”), and Sunday “The Art of Shooting Nudes” in Hamilton. Book now – there is space.

Beach Notes

So. Going to the beach and bringing my camera is a no-no, unless I have:

  1. Sunscreen.
  2. Either shady areas or an off-camera flash.

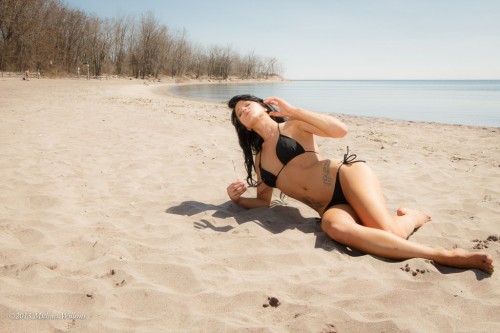
So here’s why. Today was the first day of good weather in Toronto. And here is model Danielle on the beach (Hanlan’s Beach in Toronto), the way a good photographer without flashes or reflectors might have captured her:

That is fine – well exposed, well composed, well focused. Which is all you can hope for. Great stuff.

But perhaps a tad boring, no?

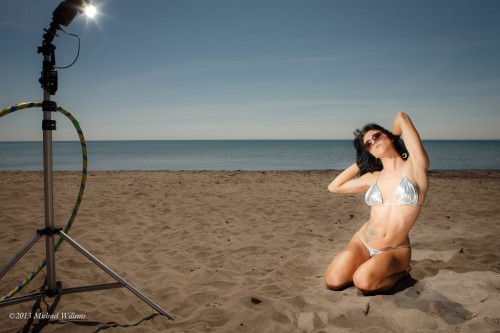
How about this instead? An artistic, dramatic portrait?

Taken at the same time. Yes – “bright pixels are sharp pixels”.

And I did this like this:

So:

  1. I exposed for a dark, saturated background.
  2. To this end, my camera was on manual at 1/250th sec at f/14, 125 ISO.
  3. Then I used a speedlight, set to half power, (manual), fired by pocketwizards, to light the subject.
  4. The speedlight was off camera, at an angle of almost 90 degrees.
  5. Yes and I held another such speedlight in my hand – photography is hard work.

What could be easier? A speedlight can do this in bright sunlight if unmodified . A strobe would be needed if I wanted to use an umbrella or softbox.

Seeing nude women on the beach, a man came up and chatted. “I like to lean, but I am told you cannot take good pictures in sun”, he kept telling me. “Yes you can. if you know and use flash”, I kept telling him. “No, cannot take good pictures in sun, shadow will be bad, light will be harsh”, he kept telling me. Yeah, right on for not listening. Yes, you can do great images in direct sunny 16 sunlight. All you need is flash knowledge and equipment.  It’s what I spend my life teaching and evangelizing.

One more shot:

No photoshopping: that is how I shot it!

Oh.. and about the sunscreen?

I. Forgot.

Yes, even though I brought it, I forgot to apply it – forgot, I kid you not. So now the aloe vera cream to mitigate the pain. Hey, I know about photography, but in life I still make beginners’ mistakes. I can teach you photography (www.cameratraining.ca), but please do not ask me to teach you life.  I know when I am beaten – ouch!


Group Shot Tips

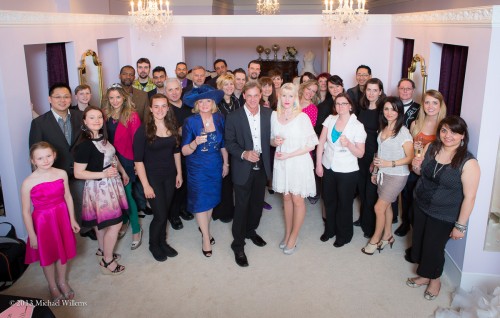
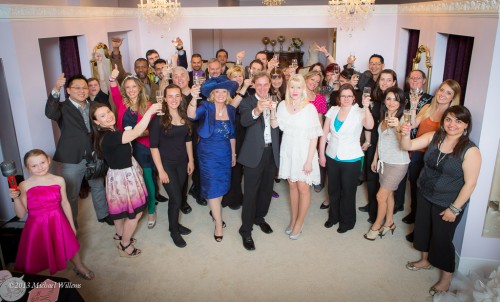
Today, let me share a few tips fror group shots, like the pne I took af the Royal Posh/Wedding Café opening on Saturday:

A photo like that works best if you:

  • Stand on something high – else, row 2 and further disappear behind the heads of row 1.
  • Use simple light – two umbrellas, or as in this case, one flash bounced off a white sheet held up behind me.
  • Direct. Be loud and clear and tell people what you expect.
  • Focus on someone in the centre row.
  • Tell everyone that if they can not see the camera clearly, it cannot see them clearly.
  • Take several shots – 3-5 is a good umber – in case of blinkers.

Do not forget to get fun expressions also:

You may or may not use them, and I often do, but in any case, they lighten the mood!


Cardinal Rules for studio light

So yesterday I taught my signature “Advanced Flash” workshop in Hamilton. And one of subjects was restricting and directing light.

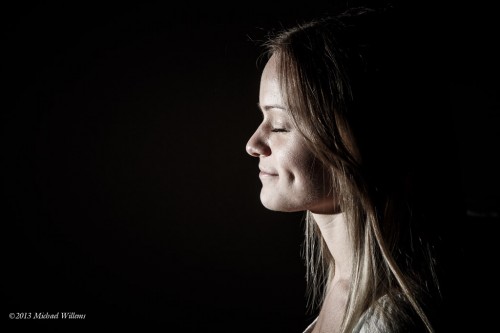
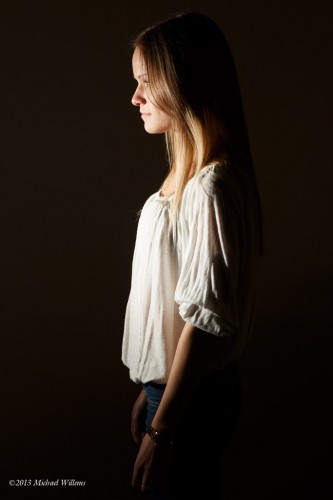
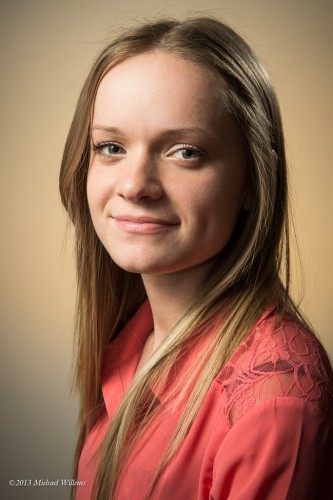
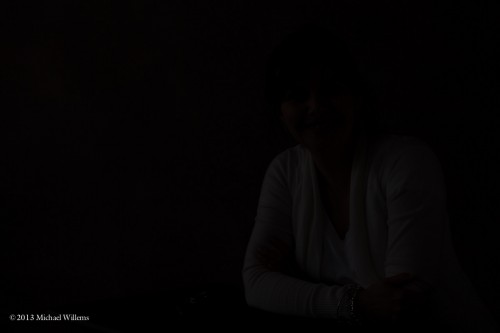
Look at these four images of Vanessa, our workshop model for the day, and consider me what you see happening here:

As you see, they are in increasing order of, as I like to call it, “specificity of the light”.

And can you see how they all show a different aspect of the model’s personality? And how they are all “storytelling pictures”?

Here’s the thing: all of these were taken with just one flash. Four very different types of light; one flash. And here were you, thinking “I can’t do what Michael does because I don’t have all the gadgets and gizmos he has, and I don’t have $30,000 to spare on equipment like he does”. Well – no longer true. You can keep it simple. Just keep in mind what I like to call my cardinal rules:

  1. Work out what the background should be like.
  2. Set your camera accordingly.
  3. Have the flash elsewhere than where your lens is.
  4. Always know what your flash reach is – “where is it shining”.
  5. And for effect, make it specific.

As for (1) and (2), I shoot at 1/125th second, f/8, 200 ISO. That gives me the dark ambient light I want.

As for (3), in the interest of speed, I used wireless TTL flash setup. But I could have used pocketwizards, of course, and I normally would have.

As for (4) and (5), except in the first image, which was bounced and hence not at all specific; and in the second image, where I used a Honl Photo 8″ softbox and which hence was only somewhat specific; I used a grid on the flash for the rest (my favourite flash accessory, a Honl Photo 1/4″ grid), in order to restrict where the light goes.

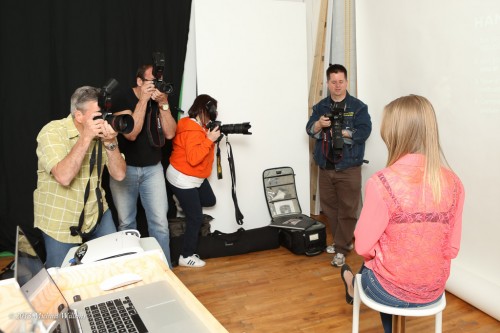
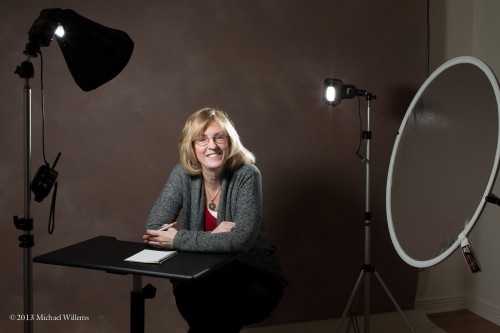
Here’s what the studio, and a few of the students, looked like:

Of course we can make it more complicated, and add the required “shampooey goodness(tm), but even that only neeeds a few flashes and a reflector:

And then you get creative – two flashes, one with a grid, one with a blue gel. And then you can concentrate not just on your light, but on your positioning – as in this one, where my friend and great fashion photographer Baz Kanda did the positioning:

Even that is simple – just two small flashes with simple modifiers.

___

Learn the skills and become a great photographer with little equipment: it is very rewarding and you can do it. Many more courses coming up, so stay tuned on http://www.cameratraining.ca (click on “schedule”).


Treasure Trove

Your old photos are a treasure trove.

I reminded myself of this again last night: searching for some images for a client, I came across many great images that I had overlooked before. Like this, of Miss Halton 2009, Evangeline Mackell:

Some images are great because they remind you of the times you shot them in. Others, because they show friends you may have almost forgotten, or places that seemed humdrum at the time, but carry meaning in retrospect. Or perhaps they show people who have since become famous. Yet others, because they are artistically good. Some, because you simply overlooked them, and that is more common than you may think. Always revisit your images multiple times.

Also, over time, you get new insights into how to finish images. The image above is desaturated – my flavour of the moment. In this image, it makes it good.

One thing to do with your images is to:

  1. Date them in the filename.
  2. Organize your images in folders by date.

TIP: When images are imported into Lightroom, you have options, and here are two of the most useful ones to apply automatically when you import any image:

  • File renaming. My images automatically get renamed upon import to “year+month+day+original filename:, so that an image named “MVWS0318” becomes “20100114-MVWS0318”. That way whenever I find this image on my hard drive in the future, I can quickly go to folder “/photos/2010/2010014-Toronto” to find the other pictures from this shoot.
  • I set the camera calibration Profile to “Camera Standard”, not “Adobe Standard”. That way the images look more like the way they look on the back LCD after I shoot them.

More images:

As you see, even the waitress can make for a nice shot. Or people with nice backgrounds thrown out of focus:

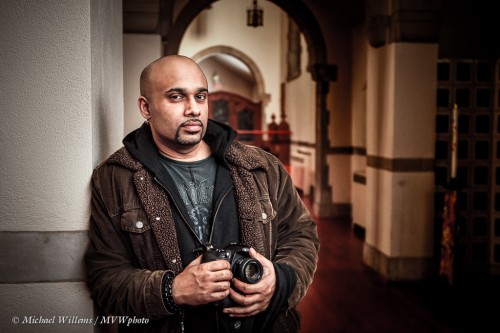
Or people like my friend and animal lover and incredibly talented photographer Baz Kanda, who is expected at the Willems Studio Residence (i.e. here) in an hour to accompany me to the Flash course I am teaching today. Here he is at Storey Wilkins’s residence and at a church, in January 2009:

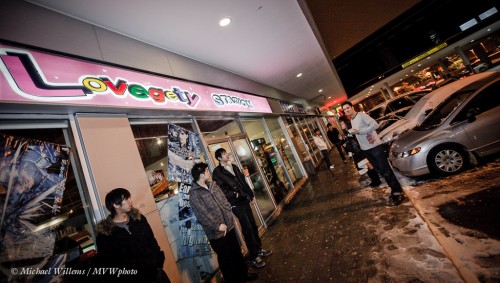
Dallas Hansen at Lovegety Station – only the Japanese can come up with a word like “Lovegety”…:

And those are just a few random picks from a few random days a few years ago. Can you see the potential?

Now, time to prepare for my course.


A “Simple is Good” studio setup

I trained a local photographer in the subject of studio photography yesterday, and we kept it simple. Because simple is good!

First, let me show you a resulting picture of her friend, the model for the day:

Good studio photo, right? Yup.

So how did we get to this?

First, set the camera to standard studio settings. Like 1/125th to 1/200th second, f/8, 100 ISO.  This is designed to make ambient light go away. The studio was a bright room – big windows with only light sheer curtains. And yet with those settings, it looked like this in photos:

Second, now add lights where you want them:

  • A camera with a pocketwizard transmitter on it.
  • A main light – a speedlight (Canon 430EX) fitted with a Honl Photo Traveller 8 softbox.
  • A Pocketwizard to fire this flash.
  • A Flashzebra cable from Pocketwizard to flash hotshoe.
  • A light stand with ball head for it to sit on.
  • A reflector to act as fill light.
  • A  430EX flash to act as hair light (Shampooey Goodness™).
  • A light trigger from Flashzebra to set off that flash.
  • A similar ball head and stand.
  • A Honl Photo 1/8″ grid to restrict the light’s path.

All this looks like this (remember, take a “pullback shot”):

Third, now set the power levels. With the camera at 100 ISO. 1/200th, f/8, a power level of about 1/2 on the main flash and 1/4 for the hair light did the trick.

All this takes minutes to set up. A pro studio shot can often be done with simple equipment like this. And note the appropriate backdrop. The blond hair means we wanted a darker background. For dark hair I might have wanted a lighter backdrop: in that case I can add another light to light the backdrop I have.

This image is good and needs no pst work other than cropping to taste. Note the correct catch lights in the eyes: 45 degrees off centre and crear (and round, here).

Now, another shoot, the day before: friend and ex colleague (and client) Keith, showing true character:

This was done with three lights: One with softbox where I am., and two feathered flashes, unmodified, on each side, lighting both backdrop and side of his face. Again, a simple setup, although it took a few minutes work to set up. Slifght clariti enhacement to give it more pop, and slight desaturate to meet the web spects that this image was taken for.

By the way, fun expressions are good. Can you see how in that picture, Keith’s nice guy nature really shines through, even that was not te point of the picture? try to capture your subjects’ personality in the images you make.


Families, and what precedes them (weddings)

Why do I love to shoot weddings and families?

Because we live to love. We live a short time (although my son Daniel, when he was perhaps nine years old and I said “life’s very short!” instantly responded “No it isn’t: it’s the longest thing you’ll ever do.”)

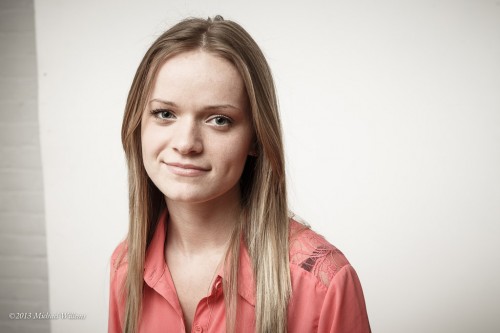
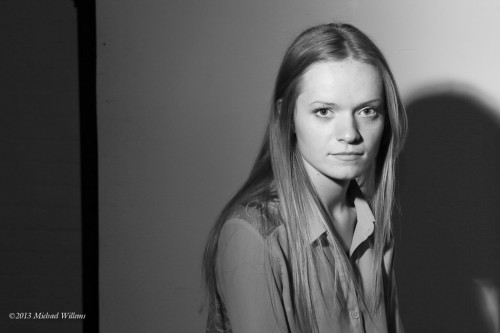
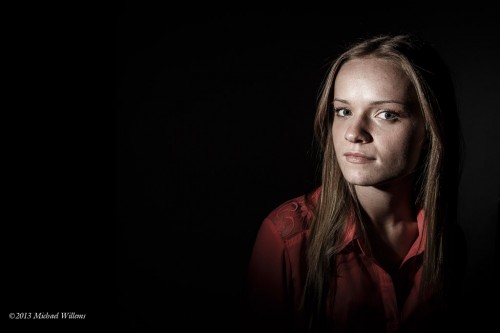
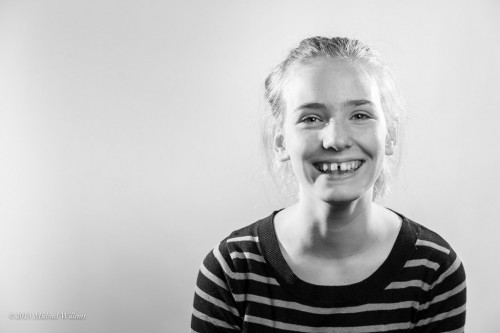
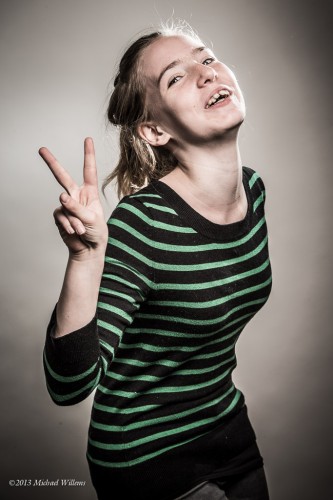
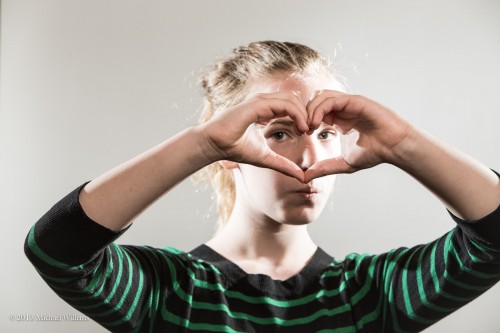
In any case, capturing personality and life events is one way we can be immortal. Look at this kid at a portrait shoot I did yesterday: four different looks in a few minutes. Happy and open; death stare; typical teen Facebook pose; and cool. If you were the parents, would you not love immortalizing your daughter this way?

And just think at the excellent pictures mom and dad will be able to project onto the wall at the time of her wedding (or more likely by then, holographically project in front of each guest).

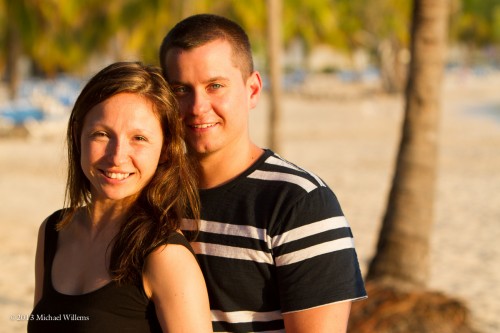
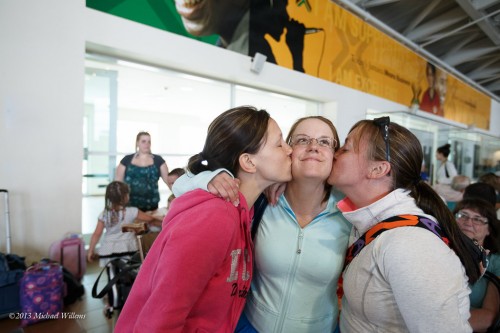
Talking of weddings… I just got back from Jamaica, and my mission there was to tell a story. Not just to get the standard wedding shots – the ones you might get when you hire a local resort pro – yes, those too, but so much more: the story of the entire trip. Smiles. Moments. Love. Beach. Fun. Friends. Outings. Jamaica. Airports. Buses. The entire trip. One of the bride’s best friends (and bridesmaids) just responded to teh slideshow I put together:

What an amazingly great job on the video Michael! I LOVE the pictures!!! I laughed and I cried! I flashed back to the great times we had on the trip…and it made me wish I was closer to my friends! THANK YOU so much!! Amazing, amazing, amazing job!!! 🙂

And THAT is why I shoot destination weddings: I met great people and I made a difference to them by enabling them to remember and relive this life event forever.

And that of course must include a “b-roll” of pictures that include:

  • fun.
  • events (like “the plane ride”)
  • background, to show the environment.

Like these:

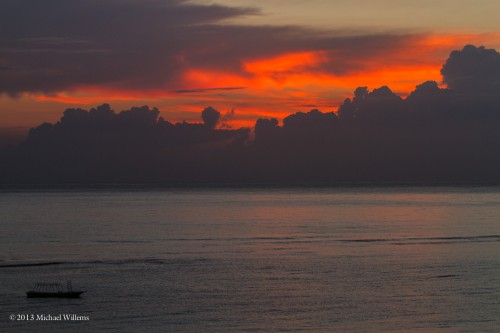
Most of these were taken at 5:30AM on the day of departure. All of these are extra to a “normal” wedding. No local wedding pro will every get you anything close to that. So if you want a wedding trip to remember, bring your own photographer.

So when you make a trip:

  1. Tell a story! And to do this:
  2. Look for markers – moments in time that mark a transition, like airport arrival; climbing up the waterfall; leaving; entering the bus; that sort of thing. Every time a new phase starts.
  3. “If it smiles, shoot it”.
  4. Look for anything funny and capture it, too.
  5. Carry the camera when you think you will NOT need it. Some of the best pictures arrive without warning.
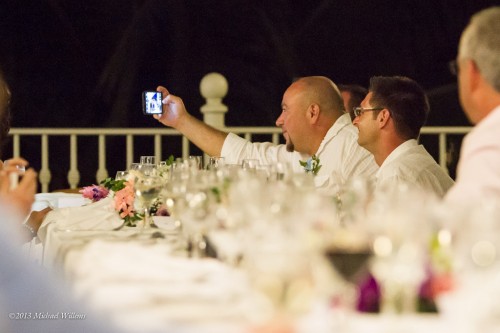
  6. Look for background, the “B-roll”, to remind people “what it was like”. Signs are good. So are views. The food. The detail; the little things you notice when you arrive. Shoot them; later, sort out of you want to use or not.
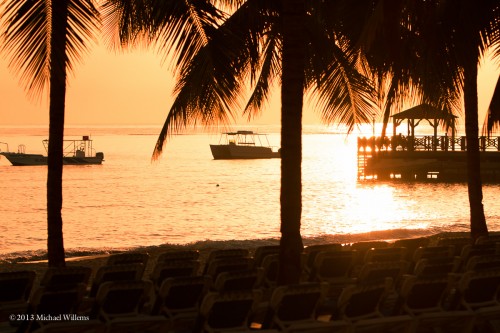
  7. Sort into the right order later.

  8. Make a slide show – or make multiples, maybe 5 minutes each. Background and “Ken Burns effect” are good.

That’s what I do when I shoot a destination wedding.