Lefties Unite

Did you know that just like you are left- or right-handed, you are all left-eared or right-eared, and left-eyed or (more usually) right-eyed? The ear thing is easy: what ear do you hold your phone to? For me, left – for most people, right.

And the eyes? How do you know?

Find a small object some metres away. Then cover it with your thumb held up. Now hold that thumb, and alternately close left and right eye. You will see ONE eye has the thumb in front of it. For most people, this is the right eye. For me, the left.

Why is this important? because it also affect the way you hold your camera. I use my left eye on the viewfinder. You probably use your right eye. And if you use your right eye, make sure your left eye is closed. I do not have to do that, since my “other” eye is behind the camera. I prefer it that way!


Presentation.. is important.

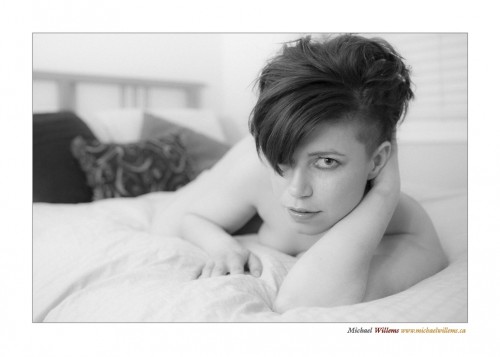
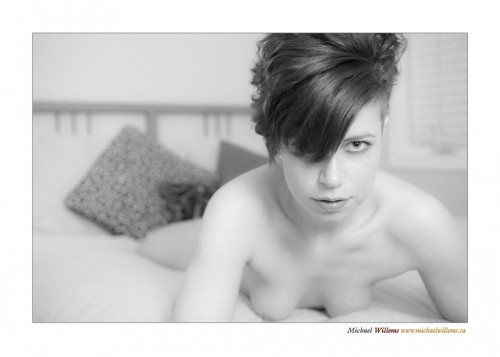
Presentation of images to show you are “not Uncle Fred” can be very important. As in this here example from a recent shoot:

That looks better framed than as “just the image”, no? As in food, presentation counts for a lot.

So how do I get this white frame in a JPG file without the hassle of using Photoshop? I use a quick two-step trick. Saves me time.

STEP ONE: I use the Lightroom print module:

  1. After selecting my image, I select the “PRINT” module.
  2. In “Page Setup”, via the menu, I make a custom size of, in my case, 175 by 125 mm, portrait mode. (175mm is about 7 inches).
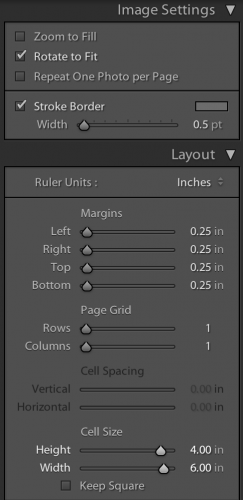
  3. In the “Image Settings” sections on the right, I select a stroke border, grey, 0.5 point wide. I also set the Layout settings properly. Like this:

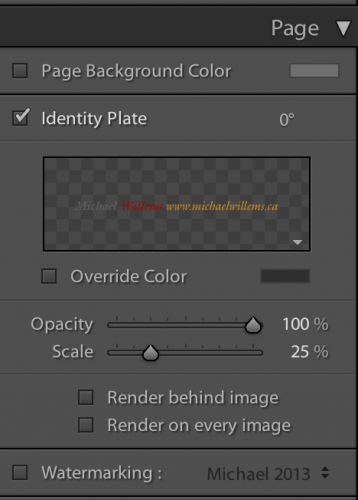
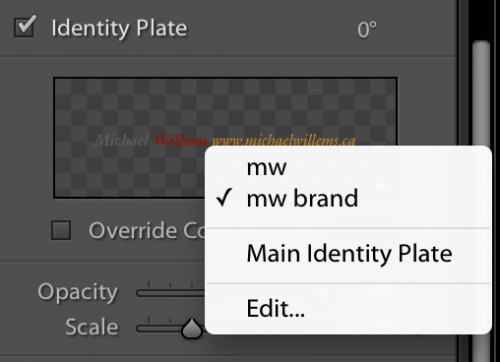
You can create an “Identity plate”, with fonts as per your choice and rotated as needed; and placed where you prefer.

Then I set a print resolution of 240 ppi in the Print Job section; this gives me enough pixels. (240 x 7″ = 1650 pixels; more if I want larger JPGs).

Of course all these settings can be saved as a “User Template”, so once you get this right once, every next time it is just one click.

Having set up my image, I now click on “Print”.

But I do not actually print: instead, I “print” (really, export) to a PDF. I select PDF from the choice menu. The PDF is created on my desktop.

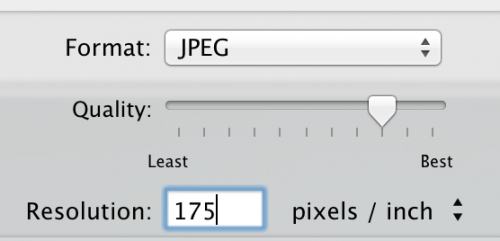
STEP TWO: I now open that PDF, and I select the FILE menu; and within that, select EXPORT. I now select export type JPG, and a resolution of 175 pixels/inch:

That gives me a JPG 1205 pixels wide Just what I needed.

(Why? Well, a “print” 175mm wide is what I selected initially. That is (175/25.4) = 6.89 inch wide. So exporting that to JPG as 175 pixels per inch gives me 6.89 x 175 = 1205 pixels.)

All this sounds complicated, but once you have set it up, it is really just a few clicks every subsequent time. And those clicks are worth it if you want your work to be distinguishable from others’. Here is another example:

Adding a little class to your work’s presentation never hurts.

PS – this works very well printed, too. Print a 4×6 on a 5×7 piece of photo paper, as we have done here in our “virtual print”, and it looks much classier than anything Uncle Fred will ever produce!


A little technique.

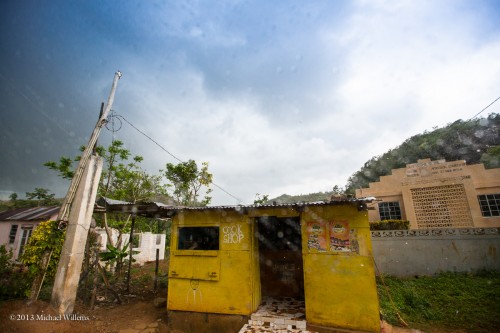
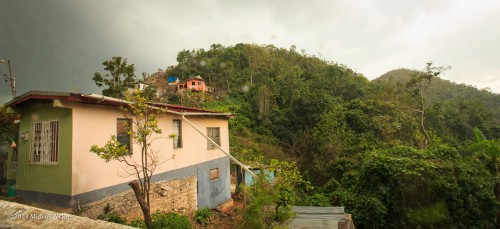
Sometimes images need a little TLC.. a little post work, to bring them back to waht you saw. Like this one, a rainy shot in Jamaica last week:

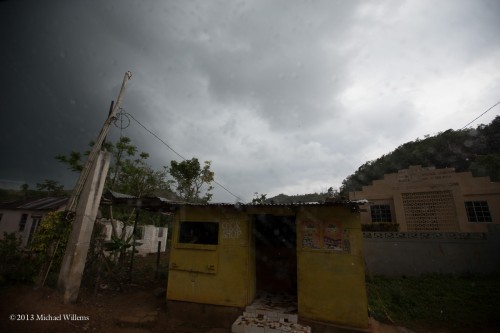
That is what it looked like. But the camera shot, taken in a hurry from a moving bus, was not quite right:

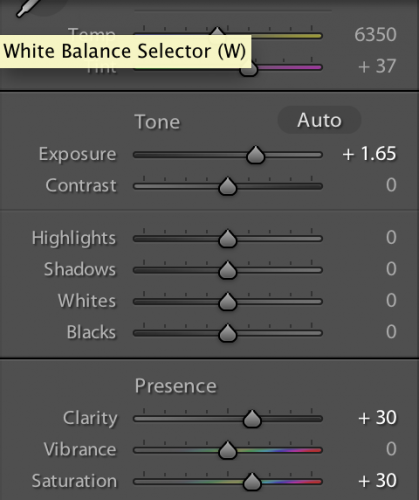
Underexposed, so the colour does not show. So I made some adjustments to bring it back:

A graduated filter at the top; then the “basic” adjustments: Exposure up; then clarity and saturation up. That way, the image looks the way it looked to me. Shoot RAW, and you can do these adjustments without any noticeable quality loss.

It is OK to change an image. “Pixels were born to be punished”, as Frederic Van Johnson says. But in general, I tend to restrict changes to a minimum; and to bring back images to what they looked like.

If you do alter images to create an effect, which I do sometimes too, then I advise you to keep it simple, and to realize that fashion comes and goes, while style stays, so keep the original!


Tropical Paradise.

If you are thinking of a destination wedding, I say two things:

  1. Do it – you will never regret it. The beauty is amazing, and “all in once place just metres from your room” is great for a relaxed wedding. Marry in a beautiful resort and your images will show that beauty.
  2. Bring your own photographer. He will be able to capture your wedding better, but he wil also capture more than just the wedding, in a way no local hotel photographer can ever do.

Jamaica was fabulous. The people, the wedding…

A few tips.

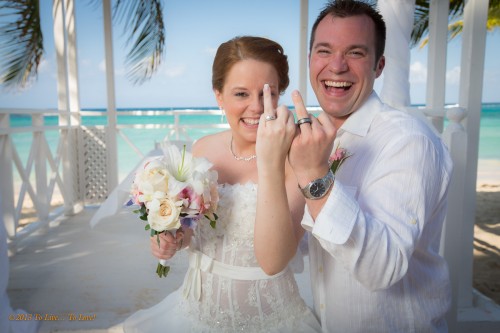
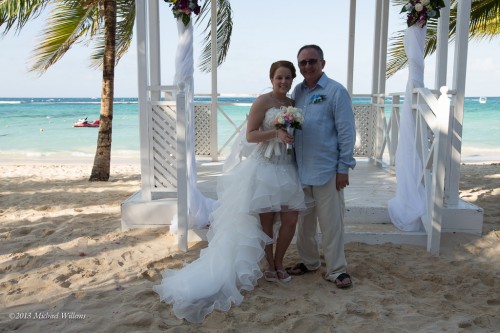
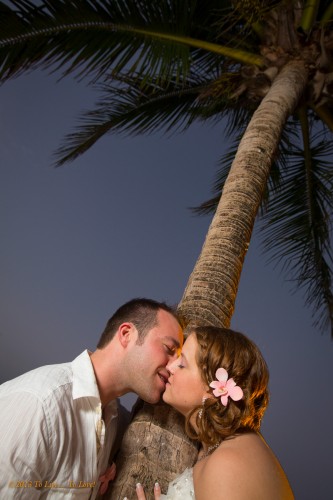
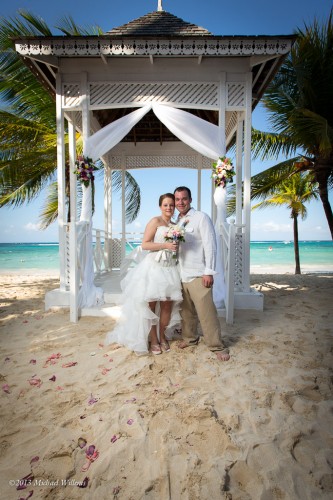
In terms of light, I did several things. Mainly, create colourful backgrounds by exposing for those backgrounds, and then use flash to light the foreground; as in the image above.

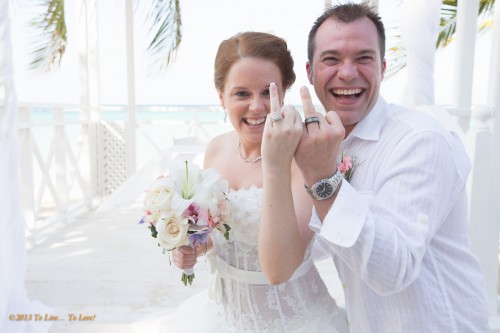
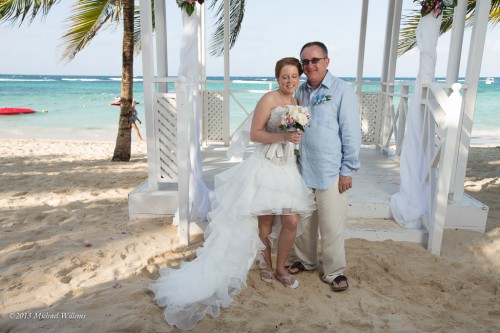
But I also did some with blown out backgrounds: look at the background:

The first has no flash, and is exposed for the couple. The second has flash, and is exposed for the background. Both are good, and I advise all photographers to do various styles: “your” style, but also other styles, and then you choose the best later.

And d not be afraid to use high ISOs. You may need them in order to get fast enough shutter speeds.

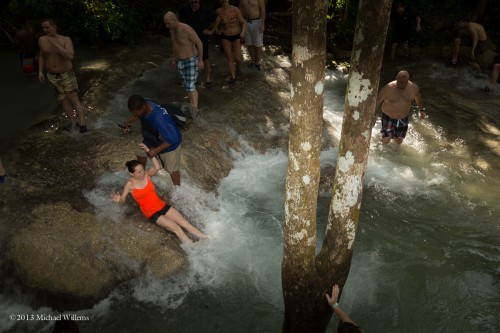
I also encourage shooters to use selective lighting, like I am using here at Dunn’s River Falls:

My flash was zoomed to 125mm even though I was shooting at a wide angle, and it was aimed at the subject. Magic!

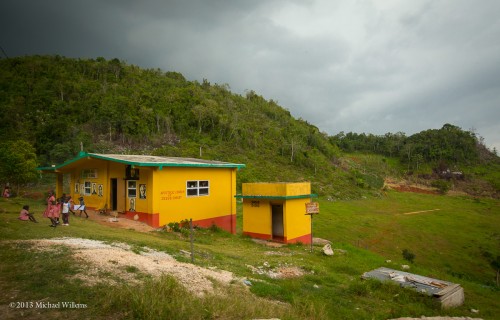
Do not be afraid of rainy days. They are beautiful, as in Nine Miles here (where Bob Marley was born):

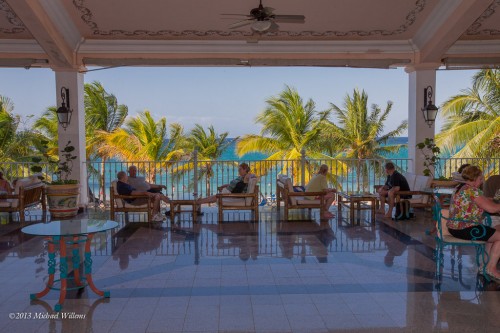
Now, back to my photo finishing – which will take me a little while (think, all week). I will leave you with one more Jamaica image:

Jamaica

As Bob Marley said:

No want you come galang so;
No want you fe galang so.
You want come cold I up;
But you can’t come cold I up

(“I don’t want you to be like that / You want to put me down, but you can’t put me down” – from “Trenchtown Rock”).

Jamaica made me cheerful. Not just because Bob Marley, whose music I have listened to since 1975, was from here (I saw his Mausoleum, and much ganja was smoked there), but because people are friendly and happy and smiling; and because I love the Jamaican patois, and the handshakes, Ya man, everyting irie. Respect!

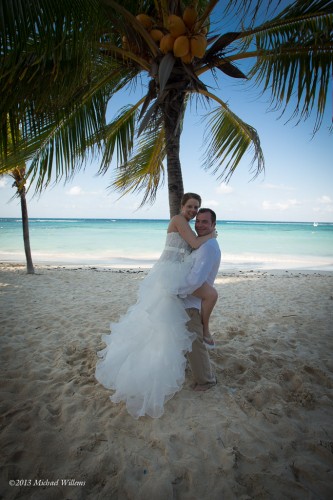
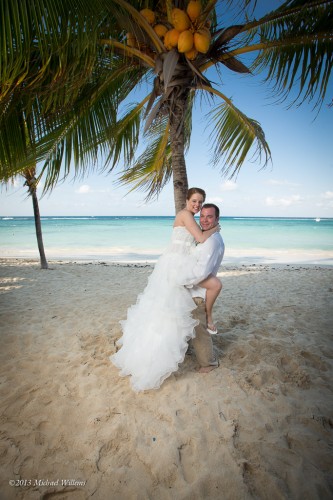
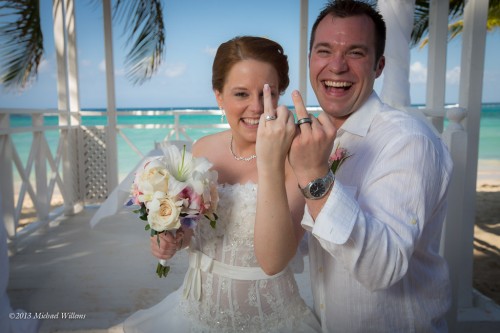
But I am cheerful also because Kristen and Dan’s wedding was a lot of fun to shoot. Since I was with them all week, they got the entire week covered: the trip, the wedding day, the “trash the dress” the days after, and their friends and family.

And when the mood is great, the photos are great, as was the case here this week.
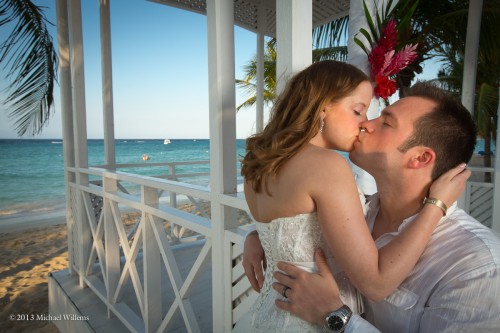
And in the Caribbean, it is all about colour and light.

Or lack of light: keep light off subject, then expose for the background and the picture takes itself:
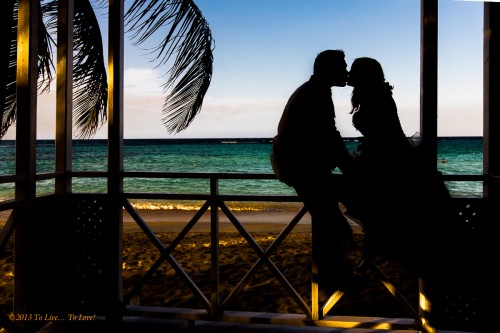
But sometimes the light needs some help, like here:
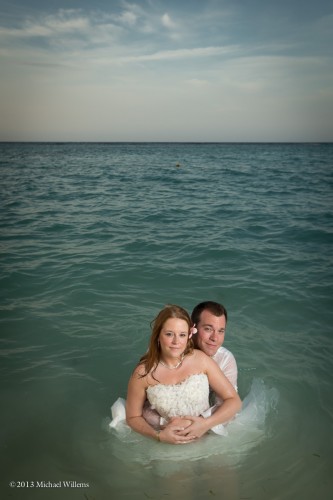
An image like that is taken how? Well..

  1. by first exposing for a darker background – 1/250th second, 100 ISO, f/8 perhaps. F/11 would be even better but then the flash has to punch through that f/11, so it had better be a powerful, close by flash.
  2. By taking the flash off camera. I used pocketwizards and one flash, today.
  3. And by modifying the light.

My single flash was modified and held by guest TJ:
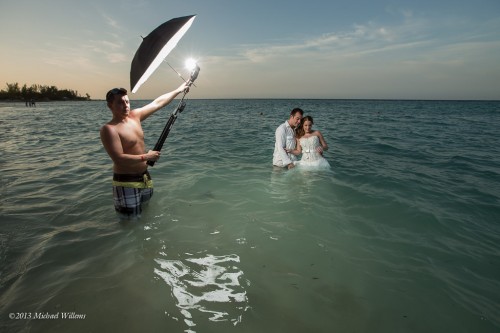
This makes for great photos, some of which I might also do a little Lightroom treatment on, like here:
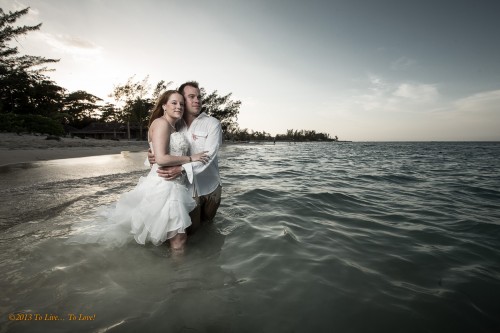
And some I will not do that to, like this:
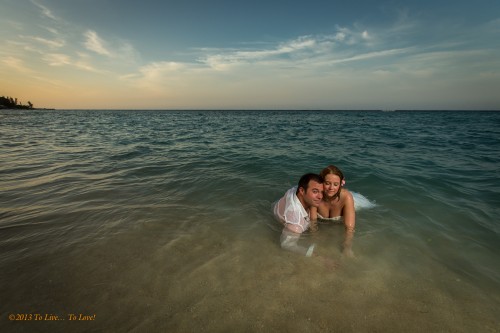
I apply the Rule of Thirds, of course. And I use negative space. And close-far. But can you see how here, it is all about light and colour?

In family shots too, which I made for a few people (featuring Catharine, the groom’s mom):
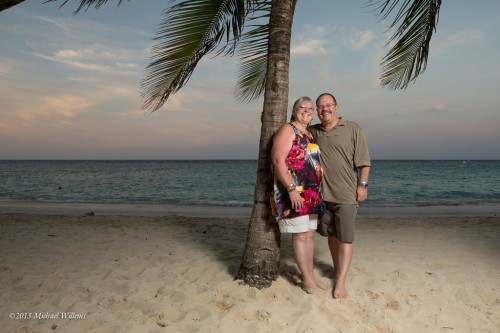
Now in all these I used the settings and rules and principles above. But as the day went down, it as necessary for me to progressively open the lens more. More about this later – and how and why I did them without using either TTL or a light meter.

Going home tomorrow. No want Sunwing to cold I up….!

Michael


What you need on the beach

…is an umbrella, and an off-camera flash in that umbrella, as I said the other day. Some of you have asked “why” – so here’s why.

Bride and dad, with no flash:

Same, but with flash in an umbrella:

As you see, the first example is terrible. Now, I could have increased exposure (higher ISO, slower shutter or lower “f-number”), but that would have also lost the background: it would have become all white.

Two more examples:

Both cases show why you need flash, no? Without my flashes, I would have done little of value in Jamaica.

And on-camera flash would have looked flat und uninteresting.

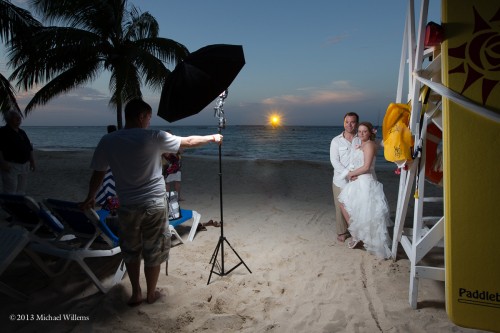
Here’s a typical setup – and the yellow flash and ghost hand (if you look carefully) belong to a person I have removed here for clarity 🙂

And I did not need a lot:

  1. Camera, of course
  2. Wide angle lens.
  3. Two pocketwizards.
  4. PW to flash cable from flashzebra.com.
  5. Flash, with spare batteries.
  6. Lightstand.
  7. Bracket for mounting umbrella and flash on lightstand.
  8. Optional: second flash with pocketwizard and cable, fitted with 1/4″ Honlphoto grid and Egg Yolk Yellow gel.

Easy once you have the knowledge… which brings me to my courses. Have a look at www.cameratraining.ca under “Schedule” and see what I can help you achieve – then sign up now.


Light.

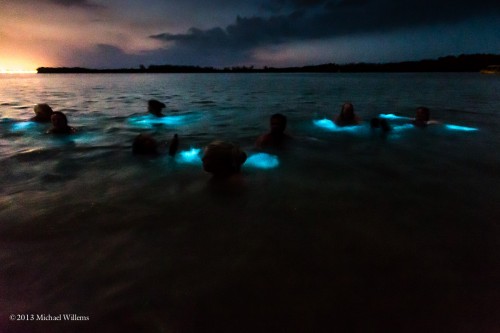
A phosphorescent dinoflagellate, you say?

Yes. A kind of microorganism that glows in the dark.  And it lives in salt water, but especially in Jamaica’s Luminous Lagoon. And it glows when agitated – like when there’s swimmers:

I was the only person to get any pictures. Why? Because it was dark. Very dark. Very, very dark.

So I had to shoot like this:

  • 16,000 ISO (!)
  • f/2.8 – f/4
  • 1/2 second shutter time, on a boat.
  • Manual focus – guessed because it was too dark to see even to focus manually.

Even then, I had to push the shot a little in post.

Longer shutter speeds and a tripod, you say? Not on a moving boat!

I could not see my focus scale, so I could not even look at the lens and manually set the sharpest point to, say, 3m. It was all guesswork – and guess what, it worked. Good gear (f/2.8, 16,000 ISO, yes, sixteen thousand) helped me a lot.


Note To Self

I am in Jamaica shooting a wedding. When traveling, you may want to bring some of the things that in packing last Sunday at 3AM, I did not remember to pack – and usually do:

  • Bring a power bar. Hotels never have even remotely enough  power outlets.
  • Bring clear lens filters, just in case.
  • Bring enough memory cards.
  • The worst, for me:  Bring a mouse with the computer if you want to edit. Pads are useless for accurate editing.

I did remember some things of course, so I was able to get a lot of good shots.

The things I remembered include:

  • Bring enough batteries! Change them all the time.
  • Bring an umbrella. Without the umbrella and Pocketwizards and flash cables and enough flashes I could not have done the shots I did, like the one above.
  • Bring a laptop and Lightroom.
  • Bring a spare disk – backup, backup, backup!
  • Bring two cameras and 16-35, 24-70, 70-200 and 50mm prime lenses.
  • Bring microfiber cloths and a small brush to clean cameras at beach.
  • Bring medication for tummy upsets – have not needed this but always carry!

If I had had more powerful lights, I could have made more dramatic images – but the images I made were just what I had in mind…!

Now  bath, then off to breakfast, then the pool or the Caribbean sea: decisions, decisions!


Tomorrow the wedding.

Now, early bed. Tomorrow, a wedding shoot.

The challenge tomorrow will be: dark shade and direct sunlight in all shots. Together. Meaning I will need flash. Meaning I will use flash. And no light stands: it will be way too windy at the beach for that.

This is the kind of thing photographers do – I watched a wedding in the same venue today at the same time, so I know what the light will be. Yes, wedding photography takes effort, and rather a lot of it.


Zoom zoom zoom!

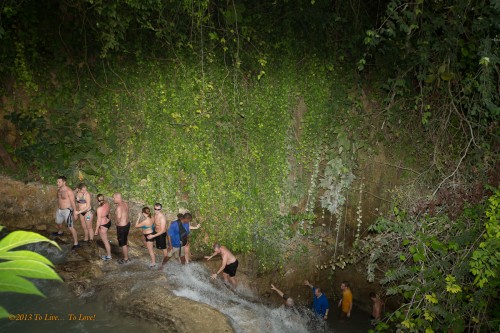
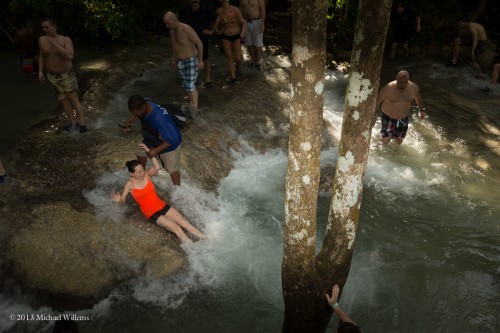
The documenting of Kristen and Dan’s wedding continues, and so, of course, does the photography. Today at Dunn’s falls:

So, how did I light that?

With an on camera flash aimed straight ahead – yes, you can do that outside, when the flash is being mixed with ambient light. On-camera, straight-ahead flash. Which is often a sin, but not here.

But it was flash with a special setting: I zoomed in the flash to the “135mm zoom” setting, while shooting 35mm wide angle (yes, your flash has a zoom setting). That had two effects:

  1. The light is concentrated “flashlight style”, i.e. it is centered, leading to this great vignetting.
  2. The light is more concentrated, and that is what I needed to beat the f/11 at 200 ISO.

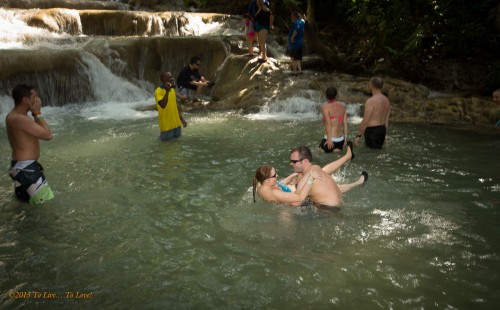
Another couple of examples:

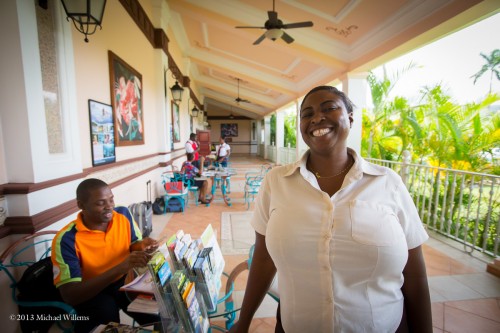
Jamaica is wonderful, and the people are wonderful.

Ya man!