Following up from the last two posts, I shall share few more tips – a baker’s dozen, i.e. thirteen more tips – on obtaining sharp focus exactly where you want it.
Of course you know the basics, right?
- Select the appropriate aperture for the required depth of field (DOF).
- Select one focus point.
- Focus, with that point, on something contrasty.
- Holding the camera steady, now Focus-Recompose-Shoot (if using One Shot AF/AF-S).
- But if shooting moving subjects, AI Servo/AF-C can give better results. (Then, no recomposing!).
OK, sure. But is there more?
Well, yes. Little things, but important. Including the following:
- If you have time, it is better to move the focus point than to recompose. This gives you more accuracy – recomposing means shifting the focal plane a little.
- Set your joystick to be able to quickly move focus point (on the Canon 7D, for instance, by default you need to first press the focus point button, and then you can move it. Why that extra button?
- Low light is bad! The lower the light, the less accurate your autofocus will be.
- In my experience, low-level red (tungsten/incandescent) light is also not as good for autofocus as low-level white/blue light.
- If you have a flash and you have time, you can use your flash’s AF assist mode (the “red lines/grids”) to focus. Else, a flashlight can help, too.
- Not all focus points are equally accurate. Some, like the one in the centre, are sensitive to both horizontal and vertical lines; others are sensitive only to horizontal or vertical lines!
- The AF assist red lines from your flash will show you this – if you select a point that is sensitive to horizontal lines only, for instance, then the flash emits horizontal lines.
- Not all focus points are equally accurate with all lenses. On high end cameras, some focus points are horizontal or vertical only unless you use a lens that is f/2.8 or faster.
- If in doubt, use the centre focus point, since it detects both horizontal and vertical at all times.
- Focus points are in fact usually a little larger than the squares in your viewfinder. This can easily confuse. If your camera has the option (like a Canon 7D or 1Dx), you can set a smaller focus area, meaning the focus spot is the size indicated.
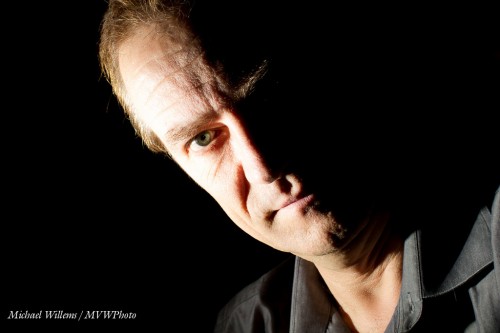
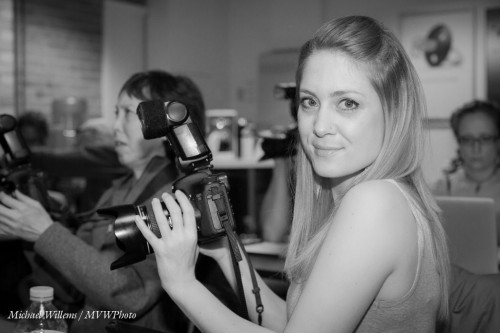
- Lenses are sharpest when stopped down a little. In the shot above, I used my f/1.2 lens at f/2.0 – it’s sharper that way.
- But beyond a certain point, the wavelength of light becomes significant related to the small opening, so you get unsharp pictures. Most lenses will start to show this unsharpness beyond about f/11.
- You can also choose to allow the camera to use multiple focus spots to figure out where to focus. This can be helpful with moving subjects.
Even armed with this knowledge, you will find that often, especially when the subjects move or the light is low, it’s luck that gives you great images. My advice in those cases is simple: shoot a lot.
___
NOTE! Want to learn how to creatively use off-camera flash using “Master-Slave”/”Commander-Remote” TTL flash control for your Nikon or Canon system? When to use modifiers? Flash secrets? Do not miss my evening course in Hamilton on Friday: http://cameratraining.ca/Flash-TTL.html. This and other upcoming workshops on http://cameratraining.ca/Schedule.html. Book now to guarantee your place.

