More Modifiers

Today, another look at flash modifiers for you.

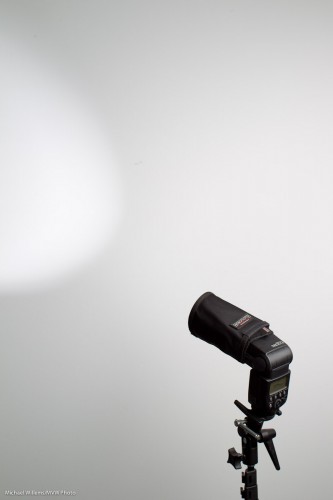
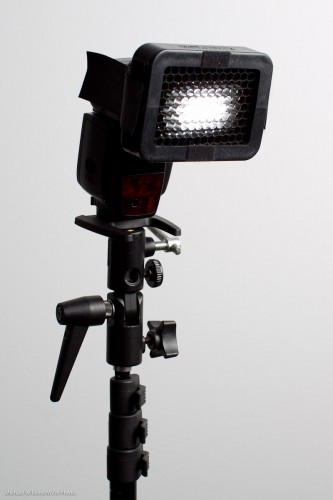
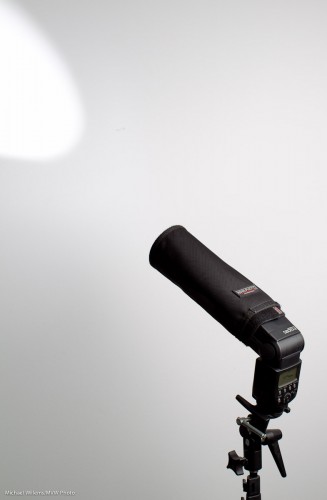
Here’s a smaller snoot (again, I am using the excellent range of Honl Photo modifiers):

This also makes a small well-delineated light area, but it is larger then the one from the large snoot.

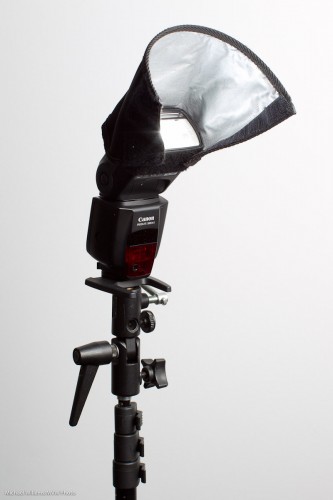
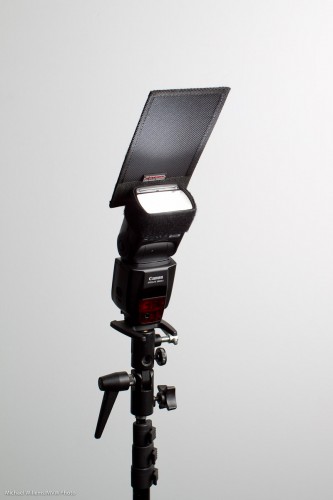
A small reflector. This allows me to direct the light somewhat; it also softens the light a little:

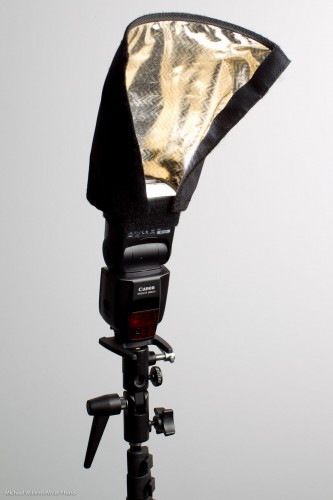
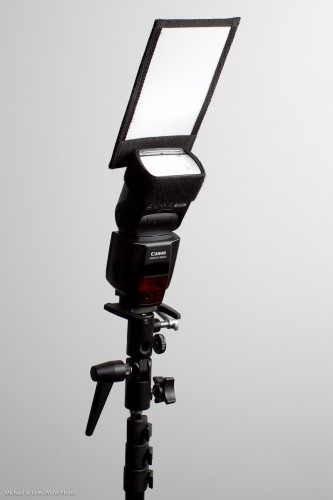
And a large reflector:

Observant readers will notice this is the same device as the long snoot – just not rolled up. This particular one is a CTO version – “colour temperature orange”, giving it a warm, tungsten-like bounce.

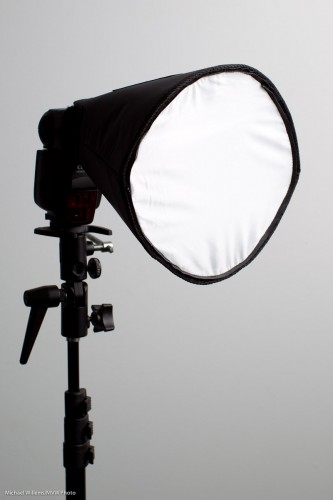
And finally a small portable softbox (this is the Honl “Traveller 8” – there is also a larger version):

This creates wonderful, soft light.

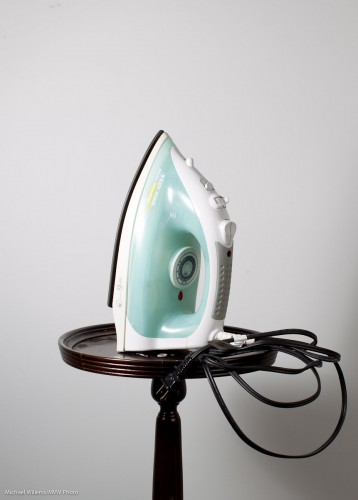
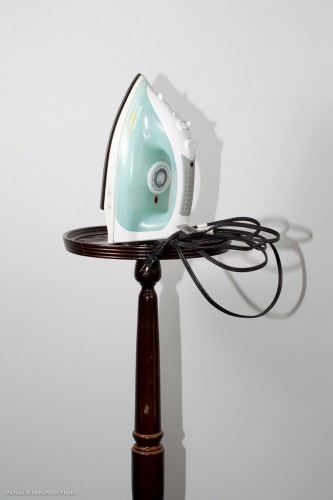
Without a softbox, this would have looked like this:

See that annoying side shadow? The softbox would have taken care of that.

___

As you know by now, my Photography “recipe” book is out: this 108-page (non-DRM!) eBook is available for purchase right now for just $19.95 –  see www.speedlighter.ca/photography-cookbook/


Modification Good

You hear me talk about flash modifiers a lot here: today I thought I might show you what some of them actually look like. In particular, some of the ones that let me direct or colour the light (tomorrow, I’ll mention more, and talk about softening the light).

A grid restricts the spread of the light from your flash. Here’s a grid (a Honl Photo grid: I use Dave Honl’s excellent small flash modifiers constantly. They attach using simple velcro and are small, sturdy, light, and affordable: a pretty good combo):

The grid is my most often used modifier. After all:

I want to direct where the light goes, which clearly implies that I also want to direct where the light does not go.

The grid helps me do that. You can even see it in the picture: the flash is firing but it’s not blinding us. I can light a subject without also lighting up the wall.

Next, the snoot. Here’s a snoot (another Honl device: the reflector rolled into a tube is a snoot):

See? Even more directional than the grid. Great for very selective lighting.

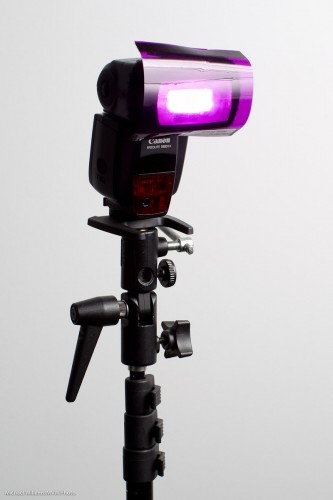
One more modifier today: the gel. Here’s a gel:

Now we have a purple flash!

Another device is the Gobo (“Go Between Objects”):

That is in fact a bounce card with the dark side used. Here’s the bounce card with the light side used:

You can see both keep light from certain areas; one also reflects to the opposite side.

Finally today, here’s a photo taken with a gel and a snoot. Can you tell?

Tomorrow, more modifiers for you!

___

My Photography “recipe” book is out: this 108-page (non-DRM!) eBook is available for purchase right now for just $19.95 –  see www.speedlighter.ca/photography-cookbook/


Photography as a business?

If you want to make money with your photography, then I have some advice for you.

Here we go:

  1. First, forget about it.
  2. Then, if you still want to: go for it and follow your dream.

But in that case, do it cleverly – run it like a business from the start. Profit and loss. Accounts. Taxes. Budgets. Forecasts. Marketing budgets. Reviews. And so on. My Small Photography Business course starts again tonight at Sheridan College. I take 20 students through what, as a business executive, as a small business owner, and as a photographer, I have learned over the years.

  • Photography skills
  • Photographic Equipment
  • Office equipment and -tools
  • Marketing
  • Accounting and bookkeeping
  • A business plan
  • Admin work

One small but significant part of a photography business is your web site. Can I suggest the following:

  • Keep it simple.
  • Make it about your clients, not about you.
  • Be clear: why you? Not because you make good pictures: presumably that is a given. What’s in it for the client – why should he or she choose you, not someone else?
  • Remove barriers. No slow-loading flash, unnecessary music, absent email addresses, compulsory fields, or other hoops for your clients to jump through.

I have seen some bad ones, but I think I have just re-found the worst web site I have ever seen. Since it belong to a working photographer I will not share it here, but I am so tempted.


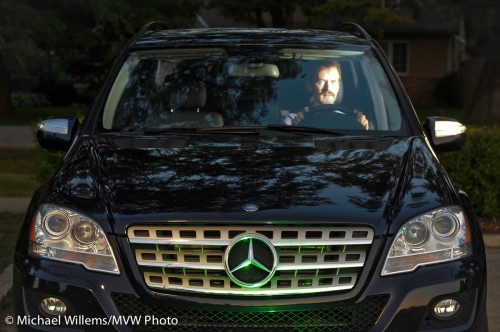
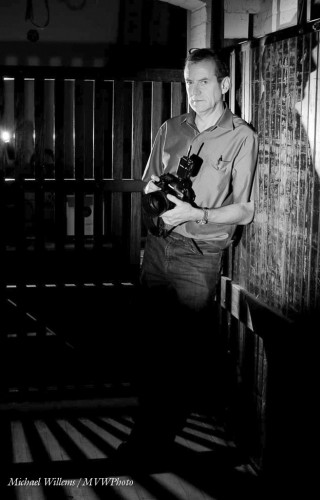
Here’s me during a shoot last week:

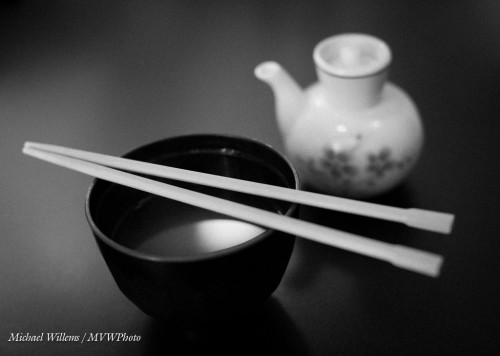
And here’s part of my lunch, the day before:

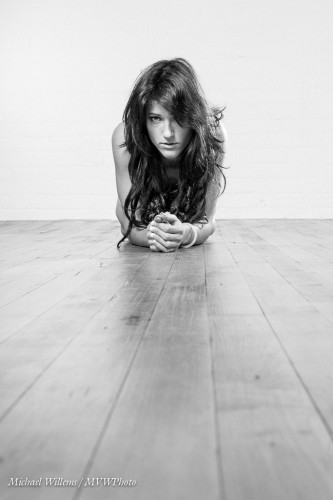
And my model the other day:

And:

What do all these have in common? They were shot in (or rather, converted to) black and white. And they work: black and white often works very well.

So my suggestion is that if you have not recently done this, shoot some black and white today.  Shoot them in colour as RAW images, but convert to B/W after you shoot. And see what works, and what does not.


Why flash at all? Why outdoors?

No, I am not referring to people who enjoy opening their raincoat outdoors to show that they are wearing nothing underneath. As the Speedlighter, I am of course once again referring to flash lighting.

On a pro photographers’ forum recently, a few people said they shot “with available light only”. They seemed proud of it.

I have heard this many times. And I admire people who can do this. But I must admit that whenever I hear it, I think “this is probably because the person in question does not know flash”. And in most cases, that is true.

I know, there are legitimate differences in artistic insights. And yes, you can make great art without flash. No dispute there.  But that said:

  1. The number of situations you can handle is very much restricted if you do not use flash as an option.
  2. The number of styles you can produce is very much restricted if you do not use flash as an option.

Situations include very dark rooms. Back light. Bad colour. High contrast light. Badly directed light. Uneven lighting. Direct sunlight without squinting. Special effects requiring extra light. Special effects requiring colour. The list goes on.

And styles, even more so.

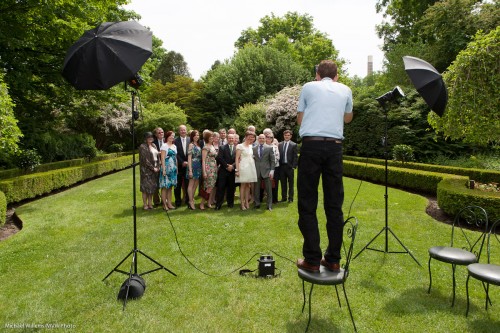
An example. Lucy and Matt’s wedding last year. Here’s me, about to shoot a group shot in direct sunlight:
\

(Notice how I am up? That is the only way to get all these people into the shot, if there are many layers of people.)

Anyway, if you zoom in (click until you see “original size”, you will see the people are not that well lit – not, that is, in a flattering way. And “bright pixels are sharp pixels” (Willems’s Dictum) – here, the people are not the bright pixels!

But in my shots, they are:
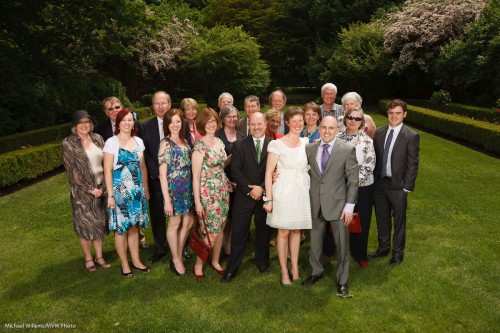
See what I mean?

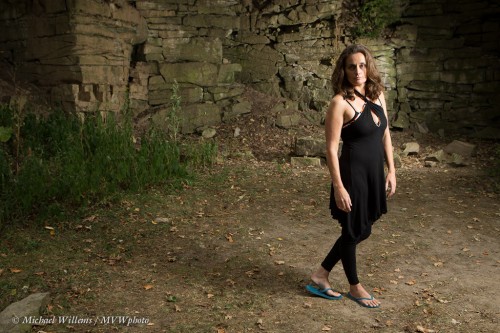
And take student Melissa at last year’s Niagara School of Imaging at Brock University. No way you could do this type of dramatic portrait without flash:
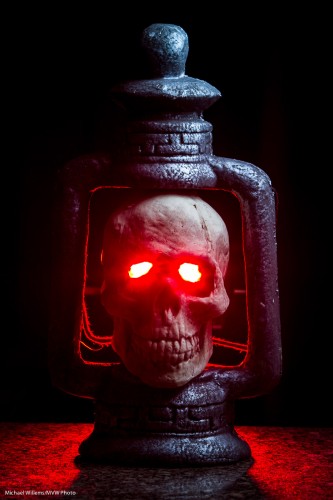
Obviously, the effect photo from the other day cannot be done without flash either:
Nor can this:

Or this:

And the list goes on. Like this outdoors fashion shot of Melony and daughter Vanessa:
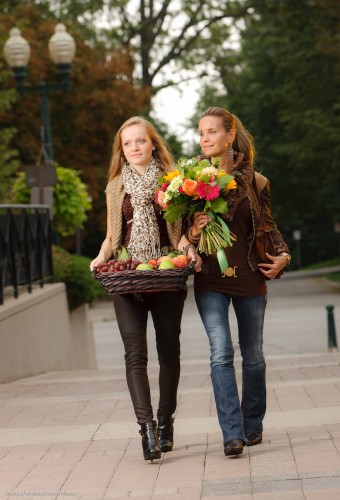
Vanessa and melony showing fashion (Photo: Michael Willems)

Which was shot like this, of course:

This, too, needs flash:
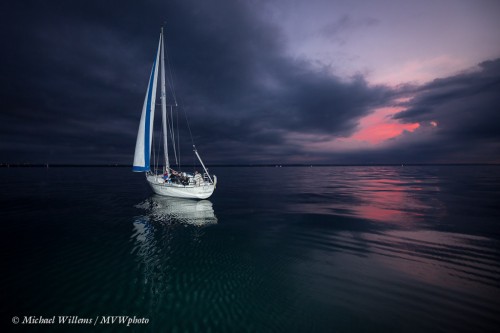
The list goes on. I think perhaps over half my images could not be made without flash. So.. why would you want to be a photographer who deliberately restricts herself or himself to half the possibilities?

___

Don’t forget, my new eBook is out: A unique book with 52 photographic “recipes” to help you get started immediately in many situations – including many that need flash. Read all about it here and order online today:

www.speedlighter.ca/photography-cookbook/


OCF again

And today, some more off-camera flash, using images I made earlier today as an example.

Simple means (a camera, a couple of speedlights, a light stand or two – all affordable, light, and simple) and some knowledge is all you need for this:

In fact I used just one (off-camera, modified) speedlight for that shot.

And for this one, just two:

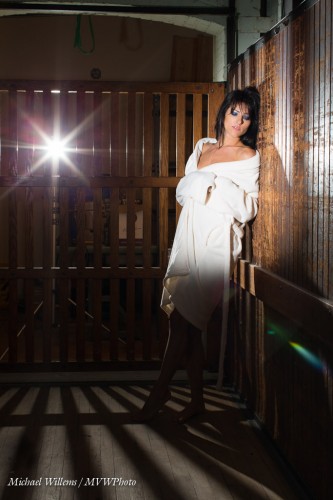
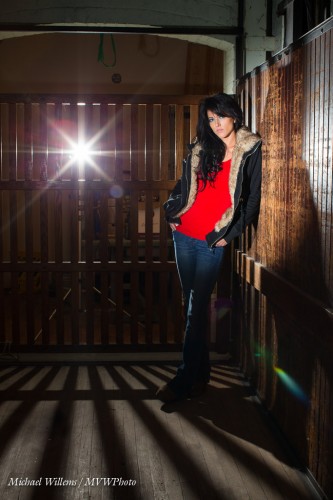
One was behind the elevator as you can see – aiming at us. It was fitted with a Honl Photo 1/4″ grid. The other flash, on our left, was fitted with a Honl photo snoot. That’s all – very simple, and with great results. Here’s another version:

What do those images show?

  • That you can use direct, unsoftened flash – as long as it is off camera.
  • That it is more about not lighting – that’s where it starts.
  • That shadows are cool.
  • That prime lenses are good.
  • And no filters, or the back light will cause unacceptable flare and lens artefacts.

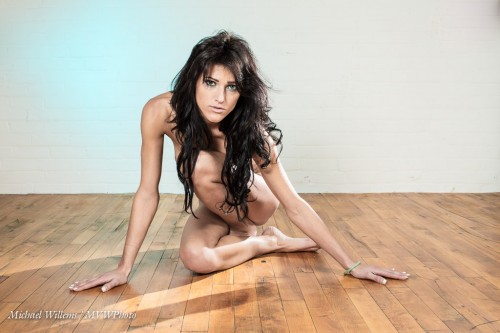
If you wish to see more, head for my tumblr site (those are nudes).

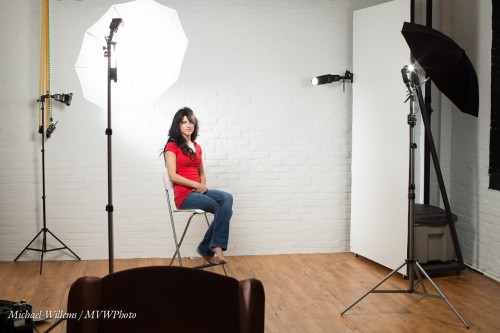
Sometimes I use more lights, as in here: two speedlights with umbrellas, one with a snoot, and one with a grid and a gel:

Which can lead to images like this:

All these shots can be made using very simple means.  And that is my point here today: off-camera flash can be very simple indeed, and can lead to great results.


OCF!

OCF? Yes, “Off-Camera Flash”.

The worst place for your flash is on your camera, near the lens. Taking the flash off camera is one of the best things you can do. And so why are you not yet doing it?

Look at a shot like this:

Took a long time to set up? No – student Jeff and I did this in a few minutes earlier this evening, right on my kitchen counter.

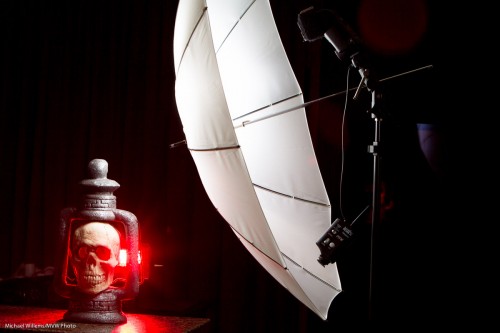
This needed off-camera flash. Here’s what we used:

  • One small flash (a speedlight) on our right, shooting though an umbrella.
  • With that, the shot looked OK but a little bland, so Jeff suggested a red light behind. Good idea: another flash behind the skull.
  • This second flash was fitted with a Honl Photo 1/4″ grid, to stop the light from going “everywhere” and spoiling the shot.
  • It was also fitted with a Honl Photo red gel, as you can see, for great effect.

All this setup looked like this:

A few other notable points:

  • I am firing the flashes using Pocketwizards, so that Jeff (who shoots Nikon) and I (who shoot Canon) can both make the same images.
  • This means I used a light meter to measure the light, and hence to set the flashes’ power.
  • The umbrella is close to the skull in order to be able to be at low power. This in order to not light up the rest of the room. (This is the “inverse square law”).
  • I am not using lens filters… they would add ruinously more flare.

You can do this too. And even simpler: use remote TTL. A Nikon or modern Canon camera, two flashes (SB600/700; 430EX) and a few affordable stands, some ditto modifiers (I use the excellent Honl range of modifiers), a few ditto brackets: this stuff is NOT complicated or expensive. It’s simple once you know.

Like brain surgery.

Ah. But the difference between this and brain surgery is that brain surgery takes years to learn, and this takes.. well, hours. I recommend you learn to take your flash off-camera… today. And you will never look back.


Simply simple.

I had lunch with a student today – this student is bright, and is doing a private one-week full time crash course with me, something I recommend for anyone wanting to do real photography (tomorrow, we do a studio shoot).

Over lunch, we brought our cameras. Of course.

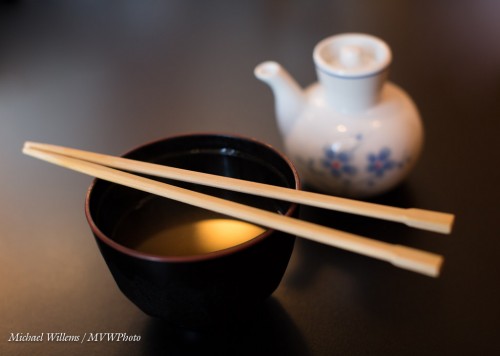
And I made this shot of my Miso soup:

A few questions. Like: “what was I using”? And “What makes this shot effective”?

I was using a full frae camer with a 50mm prime lens. My student, a crop camera with a 35mm lens. Equivalent, therefore. The prime lens allows those nice blurry background, and it allows fast shutter speeds at low-ish ISO values: I shot this at 1/80th second at f/2.8, at 400 ISO. With a non-prime lens I would have had to use slower shutter speed (motion blur) or higher ISO (grain), and I would not have obtained the nice blur.

What makes this image work, though?

  • The simplicity. The original shot was just a little wider but had some “stuff” in it. A pro shot is good is if has no “stuff” in it that should not be there – and generally, “stuff” should not be there!
  • The blur. Only part (around the chopsticks) is sharp.
  • The contrast – the dark table really helps.
  • The 45 degree angle.
  • And finally that wonderful sunlight reflection in the soup. Yes, that was deliberate: I angled the shot until I got the reflection.

My student did well, too: here’s his shot:

Well done, Jeff. Here, again selective sharpness, combined with the backlight, makes this an effective shot. In this shot, too, we cropped to get rid of distractions.

So the lesson today?

Keep. It. Simple.

That is so often the secret to one of those “wow, that one worked!” shots. Everything that is in a photo should be in that photo because it should be in that photo, or else it should not be in that photo.


Square roots? …Really??

Why, I am sometimes asked, do the engineers who design cameras make it all so darn difficult? Like using square roots, and stuff.

And I agree, sometimes they do make it complicated. Like by calling “Continuous Focus” (which you might just understand) by a name like “AI Servo” instead, which relies on you knowing that “AI” means “Artificial Intelligence” and that a servo motor is a closely controlled electrical motor with built-in negative feedback loop. Right. And like by making the zoom-in/zoom-out function on my new Canon 1Dx as unintuitive as the one on the old Nikons. Why make it simple, eh?

But sometimes, the engineers are right.

Like in using fractions. f/16 is smaller than f/4 because it is a fraction. Instead of saying “f 16” we should really say “Focal length F divided by 16″, and we certainly would say that way if it weren’t so many syllables. Clearly, 1/16th of a pizza is less than 1/4 of a pizza, and the same is true of aperture.

Anyway – fractions are very useful when a magnitude (like shutter speed or aperture) tends to double or halve all the time. (In contract, ISO is not expressed as a fraction, and hence it can be confusing… 12800 ISO is only a little faster than 800 ISO, but because we do not use fractions here, it looks much faster.)

So get that out of the way. Fractions can be useful.

But why those silly numbers? f/2, f/2.8, f/4, f/5.6, f/8, f/11, f/16: why not just f/1, f/2, f/3, and so on?

Ah. There is a reason.

  • You see, those numbers mean something. The “f-number” indicates the size of the lens opening as a fraction of the lens length (so a 200mm lens set to f/4 would have an opening, or aperture, of 200/4 = 50mm).
  • And if you want to, say, halve the light that enters your lens (i.e. reduce it by a stop; a stop means double or half), you would have to halve the area of the aperture (the opening).
  • And to halve the area, you would have to reduce the diameter by… the square root of two. (area is Pi x radius squared, you may recall from high school). And indeed, the square root of two (roughly, 1.4) just happens to be the ratio between those funny numbers.

In other words: hose funny numbers mean that every next number up gives you a stop less light (or when you go to lower numbers, a stop more light). And that, you will agree, is a very convenient thing!

So before you dismiss the engineers and their silly complexities: sometimes it is actually quite useful to see why they do what they do. Confession: I am an engineer (electrical), but unlike other engineers, I do not assume that everyone knows engineering language. I do, however, know when the techie bits are needed. And I will teach you all of then if ytou hang around!

___

NOTE: In case you missed it: my “Photography Cookbook” eBook is now out! Click here to read about it, or click here to order.


Book!

As I mentioned, my long promised eBook is ready and is available now!

Here’s the link:

www.michaelwillems.ca/Buy_Book.html

The book, a 108-page PDF (without DRM) costs $19.95.

(“Without DRM” means you are not addled with complexities in downloading or cumbersome technical restrictions on how you use the book you buy!)

This book is pretty unique in that it gives you recipes you can apply immediately, not just basics where you have to work out how to apply them.

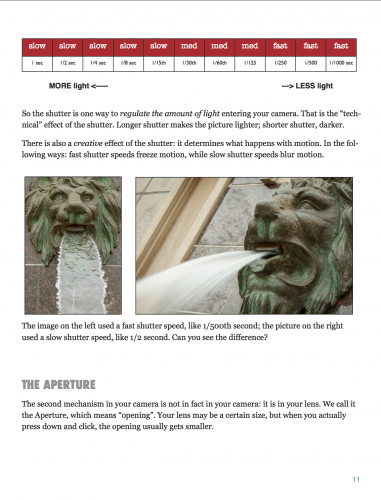
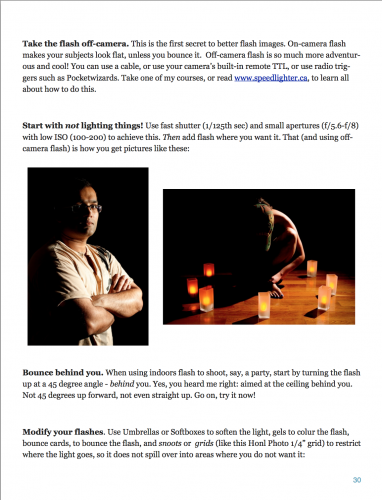
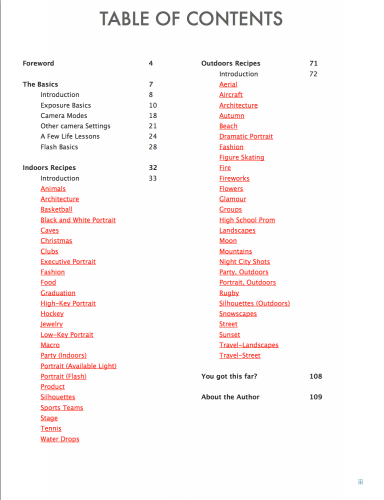
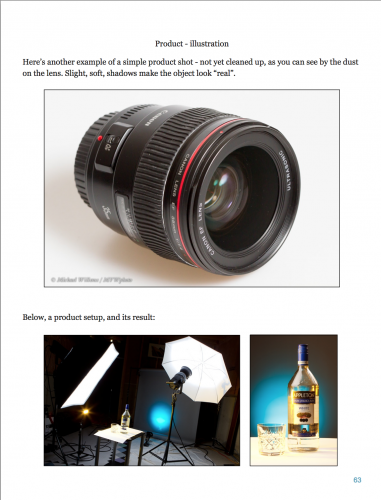
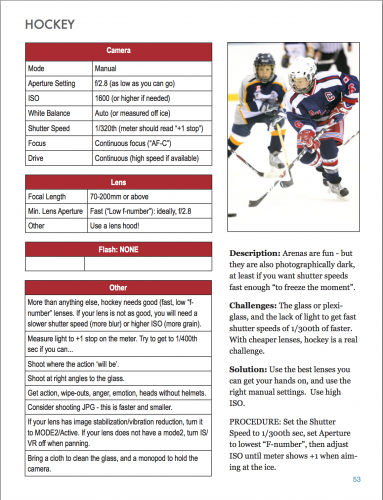
A few sample pages:

I look forward to hearing what you all think. And remember: questions and requests are always welcome.

Michael

(PS Why not free, or $5? Well, I do give away the free speedlighter.ca as you know. But as for eBooks: There are many free ones, but they tend not to be the best. Many eBooks like mine sell for $30-$50. Look at Kelby, Grecco and McNally, all of whose books sell for around those prices.  I myself recently bought a photography eBook for $79US. Also – most eBooks are DRM protected; mine is not. An important distinction. And finally, the Photography Cookbook is 108 pages, not the 30 pages you so often see in eBook PDFs. Enjoy!)