Learn, then learn more.

As a photographer, I am always learning. Always: the moment I give up, I might as well retire. Won’t happen for many decades, I assure you!

Here’s a few ways we can learn; a few different methods for learning:

Learning from others. I read widely, as should you. Do be careful, though: up to 80% of what you read is ill-informed and simply wrong. Watch forums for that. That said: the other 20% is very useful. My advice: Find someone who knows their stuff and who shoots well – the proof of the pudding is in the eating – and then follow them and listen to them (like you are listening to me!)

Learning from myself – I am very analytical, as you might want to be.  So I constantly ask myself : “what am I doing in this situation to be successful”. And I then analyze and boil it down to the success factors. I also shoot new situations all the time, and shake up the equipment, the locations, and so on: taking me out of my “comfort zone” creates learning, too.

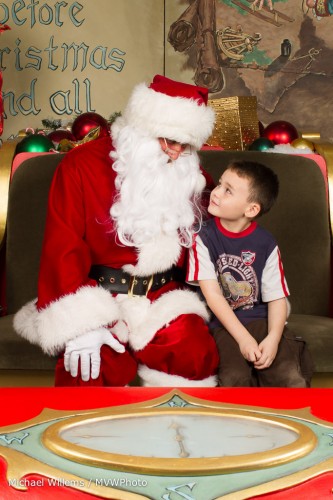
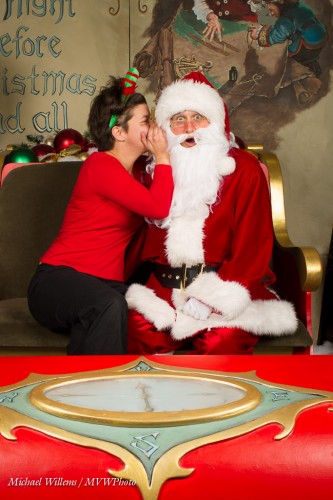
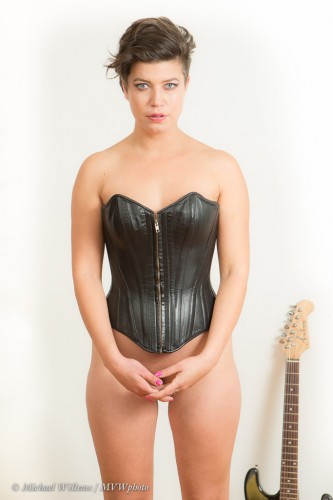
Learning from my subjects. I always try to learn from every subject I shoot. Whether it is a two year old, a family, Santa, or an experienced model. Here’s a new “non-nude nude” pose that the model came up with:


Either way, I always learn. Interact. Ask.

I teach. Teaching is a good way to learn. I teach at college, privately, and in international tours. Teaching forces you to get your thoughts straight: so try to teach your son, your daughter, your wide, your father, your husband: when you teach someone you’ll have to be very clear on what it is you are saying.

So my advice is:

  • Write down what you do and what you learn.
  • Check your images’ EXIF data.
  • Explain what you do to others.
  • Read magazines.
  • Join clubs.
  • And above all: shoot, shoot, and shoot; and analyze your results, and ask “how could I have done better?”, and “what could I have done differently and how would that have worked?”.

Do all these things and you will learn quickly.

Your assignment for the week: shoot all week with a prime lens. Like I shot the Santa month all with a prime lens also. And I am about to put a 35mm f/1.4 prime lens on my Canon 1Dx now for the next week. Remember, take yourself out of your comfort zone.



Doing A Studio Shoot?

Studio shooting? In that case, I have a few quick tips for you.

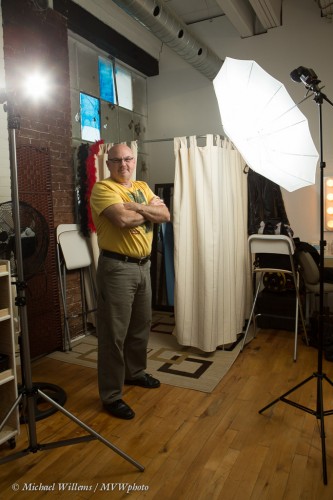
(Here’s hamiltonstudio.ca and its owner:)

So here are my studio success tips:

  1. Always have music playing. I have an ipod with a Bose dock and it just sits there playing away.
  2. Supply some refreshments like drinks and snacks, and have them sitting on a table in the studio.
  3. Make sure you have some of your art on the walls; large prints are good.
  4. Set up your cameras prior to a shoot. 1/125th second, f/8, 100 ISO, and set your lights accordingly. Consider sharp primes.
  5. Use a tripod. Not for every shot, but use it when you can.
  6. Free as much space as you have. Try to create space so you can move back and use a longer lens. There’s never enough space!
  7. Have backdrops and stands – or better, a hanger, which takes less space.
  8. Display some extra light stands, etc, showing that it is a studio (even if it is a basement).
  9. Ensure that you have softboxes and umbrellas for your studio strobes.
  10. Ensure that you have modifiers like barn doors, strobes, gels and grids. I use my speedlights for those.

These simple tips will help you get started with successful studio shooting.

And going back to the image above: why am I using speedlights in that shoot? Because I can – and they are lighter and smaller than my strobes.


As Standard As It Gets… or?

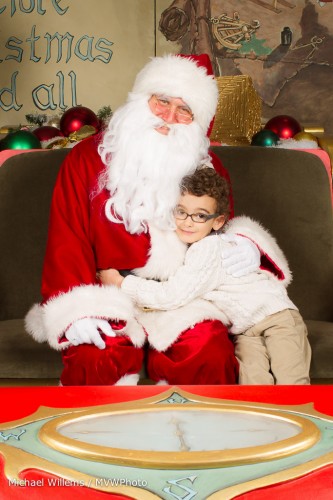
As you will have read, I spent the last few weeks having enormous fun with the kids and their parents shooting mall pictures with Santa.

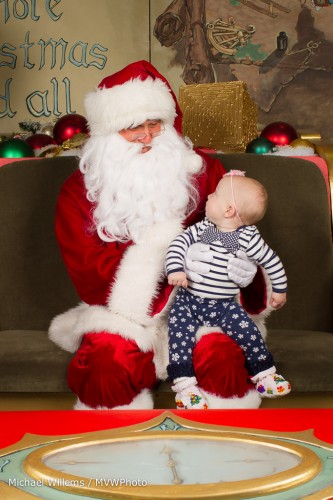
Usually, these are normal “pictures for grandma”. Standard smiles. Nothing wrong with those, but why not shake them up a little?

Like a scarily fast sleigh:

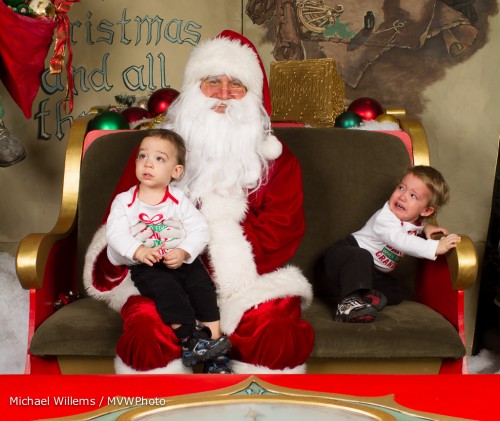
Or real emotion:

Or personality:

Or interaction:

A Back-to-back pose:

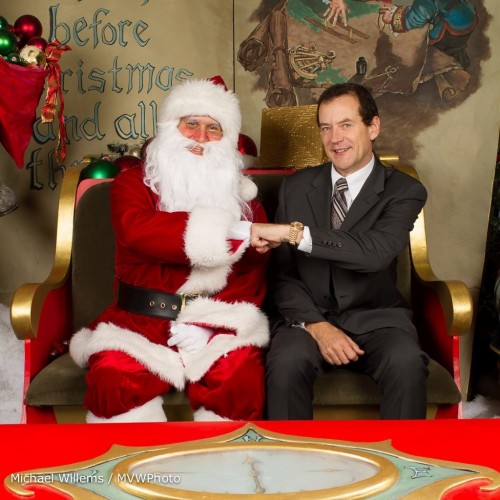
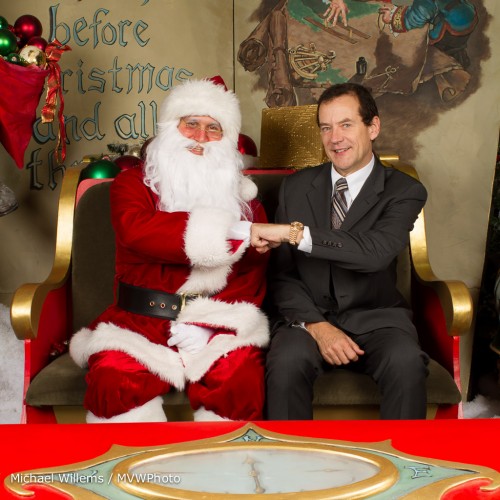
And here’s me (without the beard), giving Santa Props:

There’s so much you can do with a simple, simple setup.

And if you want smiles, then here are my tips of the day:

  • Avoid telling boys (and some shy girls) to smile! Rather, try to make them laugh. Anything fun is good.
  • Alternately, tell them to laugh. This often gets you smiles.
  • Have parents stand behind you, so the child looks at you when looking at the parents.
  • After a few smile pictures, do something else – anything. Ask for grumpy faces. Ask for silly faces. Say that smiling is forbidden. Anything to relax them a little. Then go back to regular smiles.
  • For little ones, do a game of peek-a-boo behind the camera. This sometimes works quite well to raise a smile.
  • Try  toys – Trish, my co-shooter, brought a colourful rattling toy and a cookie monster, and these worked well.

Out of the hundreds of kids I photographed, only one or two were devoid of any expression or personality. Most came out of their shell – some with some effort, but all except a couple worked.

I prefer “fun” and “real” portraits to standard shots, but I shoot both. And I had great fun coming up with some great poses for the parents. They may not buy them, but often do – and at least they get a choice.

Merry Christmas!


New Macbook…

My MacBook Pro died yesterday, in the middle of a shoot. So this morning I quickly bought a new MacBook Pro (Retina screen, 15″) and then proceeded to the Santa shoot; installed Lightroom; and the shoot continued.

Great stuff, but a new MacBook shows me some Apple problems. The MBAs are taking over, so Apple is doomed, unless Mr Ives fixes things. Like:

  • I cannot set the screens to not mirror from the top bar anymore.
  • iTunes is a terrible kludge: just a vessel for sales and advertising that needs a degree to sort out.
  • iCloud ditto… like my dead laptop: how do I “de-authorize” it? You can de-authorize a working computer, but a dead one? No idea how!
  • iWeb, the world’s only proper GUI web app, is no longer downloadable – it’s been killed. All my web sites are made with it. There’s no other app I know of that is as easy.

That’s just for a start: there’s much more. Apple makes great hardware, but many apps are iffy, and the good (not for dummy) apps are killed. Wow. Apple is becoming IBM.

Regular teaching posts will continue after the end of tomorrow’s Santa shoot!


Tethering your camera

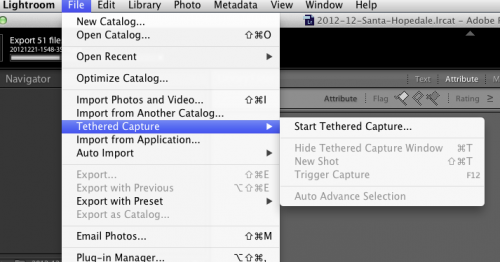
As I have mentioned before, tethering your camera to the computer is a very simple solution. You get the pictures onto the computer immediately for review and post-production.

It is especially simple in Adobe Lightroom:

It does, however, have some watch-its.

For one, it is not always stable. Even with the latest version of Lightroom, that fixes bugs that “only happen to Canon cameras tethered to a Mac” (yeah – only the most popular combination!), there’s still plenty to worry about. Disconnect the camera momentarily and things grind to a halt. Change the memory card: ditto. In real-life use like the Santa shoot, several times a day I have to reset camera, restart tethering; even restart Lightroom or worse, reboot the Mac.

Also, you can be lulled into a false sense of security.  The pics are on the computer now, so all i swell, right? Yes, but backups… what if your computer fails?

So my tips for real life tethering:

  • Find a long USB cable
  • Secure it well
  • Use large memory cards
  • Do not delete them – keep them until your computer is backed up
  • Take your time, allow for restarts
  • Update Lightroom to the very latest version
  • Avoid doing anything else with the camera while shooting tethered.
  • Unselect “Auto Advance Selection” if you are working while shooting.
  • Apply your favourite develop settings as at of the tethered setup.

Do all that and you can have a good workflow!

Back to Santa shooting.


Shake It Up

A quick pic of the day, taken today:

Yes, you can have fun and shake it up!

Of course I used studio lights for this photo (I am shooting Santa pics at Hopedale Place Mall, every day until Christmas Eve). And I am working all day and sending emails out part of the night.

So tonight, because it has been very busy, let me just share a little reminder with you of camera settings:

Studio:

  • Manual exposure mode
  • f/8
  • 1/125th sec
  • 100 ISO
  • Manual flash

Indoors flash, as in parties and malls:

  • Manual exposure mode
  • The Willems 444 rule: 400 ISO, 1/40th second, f/4
  • Flash on the camera aimed backward (or pop-up activated).
  • TTL flash

Those will get you going. For the rest, ask me about the still abaiable Christmas Training Gift Certificates.

Back to regular programming soon!


Anyone have a double A?

I am often asked “Why do you use the oldfashioned Pocketwizard IIs, Michael? Why not the new ones, or a cheaper smaller Korean or Taiwanese version?”

When I use wireless flash transmitters, like Pocketwizards, or when I use any other battery-powered equipment, two things matter.

  1. Are they reliable? They need to be 100% reliable – I cannot have things malfunction when I am shooting.
  2. Are they tried and tested? If everyone uses a certain type of equipment, it is likely that this is trustworthy equipment.
  3. Do they use ordinary batteries? I am not a fan of special batteries.

The latter point is big for me; as big as the former points. Any equipment that uses funny cell batteries – i.e. expensive, hard to find batteries that last for days, not months – is a no-no in my book. Pocketwizard IIs use ordinary AA batteries.

And if there are three things in life that are certain , they are death, taxes, and the availability of AA batteries.


Simple does it.

Shots are good when you take them using simple means – and when the shots are simple themselves. And your life is easier that way.

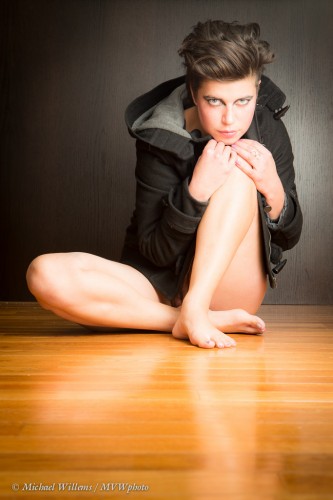
Like this shot from the other night. We started with a great outfit and great make-up, done by the model herself, and hair by Francis. Then we added a simple setting and great technique:

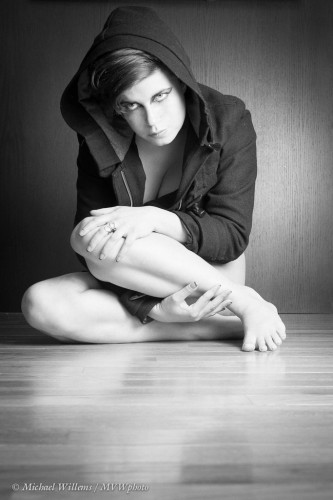
And another version, perhaps even better:

What did we do here?

  1. First, we adjusted the shot to the available space. A floor. A floating wall. But the floating wall had a TV on it. So we had the model sit down below the TV.
  2. Then, I got on the floor. I wanted the floor to lead to the model, and that meant I had to be close to the floor. I suppose I work out to be able to do this stuff!
  3. Then, the light. I used one off camera flash, shot through an umbrella, on our right. I made sure we had a nice reflection – reflections rock. The camera was set to manual exposure mode, and for the flash I used remote TTL. I used a prime 50mm lens. (That would be a 35mm lens if you had a crop camera).
  4. In post-production, I cropped, and gave the image a slight vignette; and in the second image, I made it black and white and popped up “orange” just a tad.

The entire shoot took just a few minutes. Learn technique (I teach pro flash courses, remember?), keep your compositions simple, and think about the light. And Bob’s your uncle: pro shoots with simple equipment and little time spent on the shoot and on post- production.  Go try it: your camera is for more than just snaps.


Rough to finished

“What finishing work do you do, Michael?”, I am often asked.

I try to keep it simple, as simple as I can. That way, there’s little work, and I feel like I am a photographer, not a Photoshop/Lightroom artist.

But I often use techniques like:

  • Adjust white balance if needed.
  • Adjust exposure a little if needed.
  • Adjust “blacks” and “whites” as well as “highlights” if I have to, e.g. when the shot’s background should be dark but is not quite dark enough.
  • Add brightness where I need it, if I need it.

Those are the “fixing mistakes” adjustments, and I keep them to an absolute minimum. In studio shots these should be zero.

Then there are the creative adjustments, and those I feel better about if I have to make them. I keep them to a minimum, but I will do them if needed.

  • Crop – to whatever aspect ratio I like (unless I know I am making a print, in which case I crop to that print’s aspect ratio).
  • Vignette a little – but keep it minor.
  • Adjust “Clarity” down a little if humans are involved (a minimum – perhaps -10 to -20).
  • Adjust sharpening.
  • Reduce noise if needed, e.g. in shots over 1600 ISO.
  • Add film grain if I feel like a film-type look.

I often shoot a little wide so I can crop to taste afterward.

Here’s a rough shot, as taken by me a couple of hours ago:

And here, adjusted and cropped:

In this example, I added a little more vignetting than I usually would, for clarity.

So my advice: keep “fixing” adjustments to a minimum by shooting properly, and keep creative adjustments to a minimum if like me you want to be a photographer rather than a photoshopper. Oh – and do it in Adobe Lightroom.