An HDR from one RAW shot

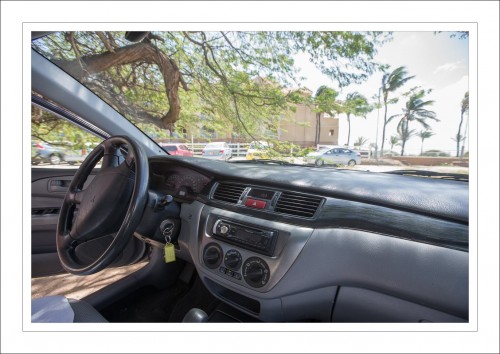
Consider this image from Aruba, of a rental car inside:

Without a flash, a dynamic range like that is difficult. So look at the before/after:

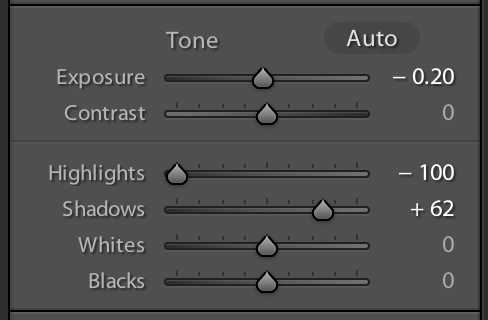
And so yes, from that image on the left with its very black blacks and blown out whites I can still get back to a reasonable picture—provided I shot in RAW, of course. Here’s my develop settings:

This gives me a sort of one-image HDR.

What lens what used, you ask? My standard ultra-wide, the 16-35mm f/2.8 lens set to its widest 16mm zoom. Shot at 1/100th sec at f/5.6, 200 ISO.


Jello cam

I a teaching video with DSLR to a high school for a few days. Fun stuff: you can do so much movie stuff with a modern DSLR. As long as you know the limitations, you can do pro work—and then some. Today, a few randomly selected tips to give you a taste. Worked all day, up at 6am, so a very quick post. Don’t worry, I will make it up to you all!

One of the DSLR video limitations is focus. Tip: generally, do not try to focus during a scene; instead, focus before the scene on where the subject will be. Shoot short clips. Re-focus for each clip. If you must focus during a clip, use manual focus only.

Another one is sound. The built-in microphone is not very good (to say the least). Here’s a cool tip: use one or more iPhones to capture sound, and in post-production, mix that with (or use that instead of) the camera’s captured sound.

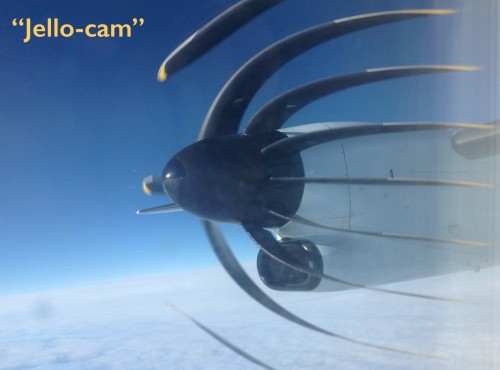
Finally, with a CMOS equipped camera, avoid the jello-cam effect:

This is due to the fact that the sensor is read from top to bottom. While it is being read, the prop moves. Weird effects ensure.

Anyway: get ready, More to come about video. You have a great video tool: let’s use it!


Narrow depth of field in studio-type pictures

Normally, if you ask me “what is the studio portrait setting”, I would say 1/125th sec, f/8, 200 ISO.But sometimes, even when you are essentially shooting “studio-type” photos, you can use narrow depth of field.

Like in this picture, where the only thing that is in the plane of focus (i.e. that is sharp) is the face:

This was an 85mm lens set to f/1.4. The light was a bounced (behind me) flash. The f/1.4 gives us a depth of field just enough to have the face, and only the face, sharp.

So when you do a portrait, ask “what type of portrait”. You will not often want to go as wide as f/1.4, but the question is always the same. Whether you are in a studio, or shooting studio-type flash pictures in any environment.


Selfies…

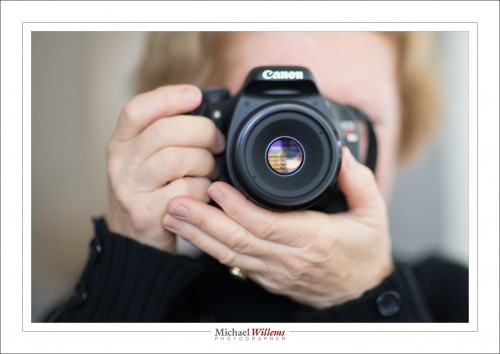
I often do a quick self portrait—all photographers should. Both so you understand what your subjects go through; and just to remember.

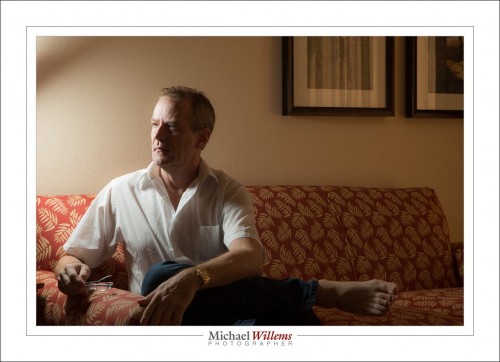
Here’s a selfie in Aruba the other day:

Done with an off-camera flash and a Honl softbox and the self timer.

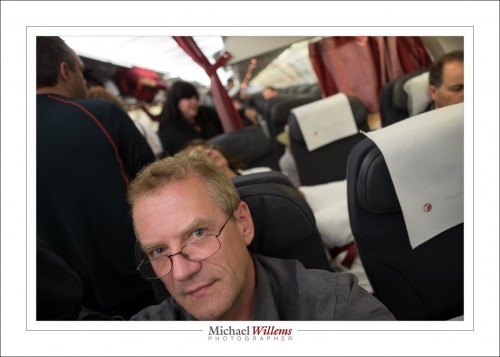
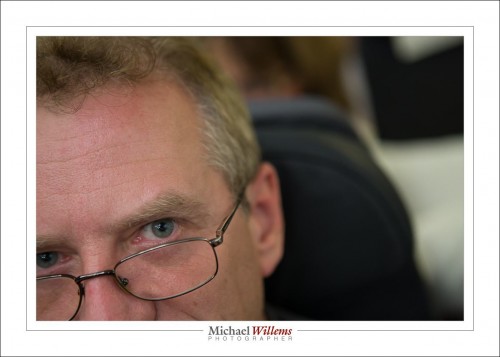
And here’s me in the Air Canada Rouge aircraft the other day, at around 24mm, handheld:

And here, the same but zoomed in to around 70mm. See how “filling the frame” can be effective?

In the latter two shots, I set the camera to choose the focus point automatically.

The point of this post? That you should have some fun with your photography. And that you should document every part of a trip, even the trip itself, the taxi to the airport, the airplane: you name it.

And if you feel like an assignment, here it is: go do a selfie or two.


Why you have fast lenses

Why, I am often asked, do you use prime (non-zoom) lenses? And why such fast (low f-number) lenses?

Consider this, a student today at f/1.2:

If you look at that full size, you will see how wonderfully sharp it is, and what incredibly shallow depth of field it has. So why do I have fast lenses?

  1. They are crazy sharp, and I like crazy sharp.
  2. They are consistent (zooming, on the other hand, makes every picture an adventure in different depth-of-field, acceptable slowest shutter speed, etc).
  3. They give me blurry backgrounds if I want (see the picture).
  4. They allow me to use a fast shutter speed. If I shoot in a living room at 400 ISO at f/1.4, I can use maybe 1/250th second. But if my lens was an f/2.8 lens, I would need to use 1/60th second (or I would have to raise the ISO). And with an f/5.6 kit lens (brrr), I would have to shoot at 1/15th second!

That is why I use fast prime lenses. And if I were you, I would get at least a 50mm f/1.8 or even f/1.4 lens.


Trails

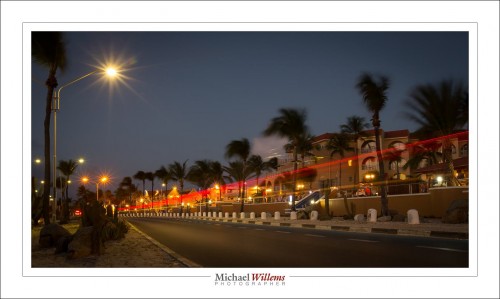
Consider this, the Aruba resort I stayed at:

So how do I decide on the settings for a shot like this?

First, of course I need a tripod.

  1. I want the trails. To get these, I need a long exposure time, of 10 seconds.
  2. To get this, I need a low ISO, so I start at 100.
  3. Then, with exposure time and ISO given, I figure out the aperture I need. Which was f/16.
  4. That’s good – because the “starburst” effect is due to the small aperture of f/16.
  5. If I had needed a smaller aperture than f/16 (say, f/45), I would have had to increase ISO. If I had needed a large aperture (say, f/4), I would have had to wait until it was darker, or I would have had to use a neutral density filter.

Simple. Right?


Live View—a tip

Live View (seeing the photo on the back of the camera instead of through the viewfinder) is not generally recommended. Use the viewfinder!

Except in a few special circumstances.

Namely, you would use Live View when you need accurate manual focusing. This is often the case when shooting macro, or product, or night pictures, when the camera’s autofocus either will not work well, or is not accurate enough.

On many cameras, like on my Canon bodies, you can:

  1. Set focus to “manual” (slide on the lens goes to “M”);
  2. Put the camera on a tripod;
  3. Activate Live View;
  4. Zoom in on the preview (press the “+” loupe symbol, or just the loupe symbol on many Nikon bodies). Repeatedly: on the Canons, when you press it twice, the preview shows (10x” (i.e. 10x magnification);
  5. Now focus accurately by hand;
  6. Now turn off live view.

You are now ready to shoot. Ensure that your subject and camera do not move, and that you do not zoom in or out after focusing (most lenses will lose focus if you do), and especially, that you do not accidentally move the focus ring.

I am writing this as I prefer to do some night sky shots in the next few days, provided I can find a clear sky without too much light pollution.

By the way, my favourite lens for night sky shots is my 35mm f/1.4, which offers pretty much the best combination of:

  • Large real aperture diameter (means more light gathering) and
  • Wider angle (means longer times are possible without creating star trails. To understand why, imagine a telescope: the longer it is, the more the stars will move).

14 seconds at 1600 ISO at f/1.4 should do it. And at that aperture, accurate focusing is essential—which brings us back to where we started: manual focus using Live View.


Back to the grindstone

I am back from Aruba (the roundabout way, via Caracas, Bogota, and back via Panama City, Orlando) and I am blogging again. About, of course, travel photography; what else.

When I shoot some pictures (an this was not a picture trip: rather, a vacation with some pictures), I think “what is the character of the place”. So I think, when I think of Aruba, things like “the trip”. I will spare you all the photos, but it is important to get these “B-roll” photos: the ones that tie together the photos of the trip. Travel Photography is storytelling.

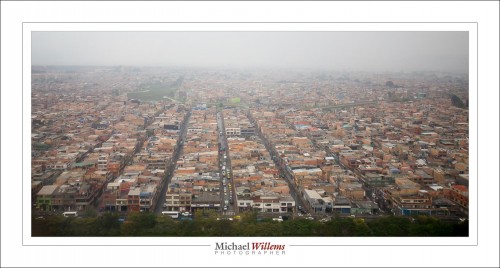
So you include shots like this, of Bogota, Colombia, by the airport (I travelled to Aruba via Caracas and Bogota):
And of Aruba arrival:
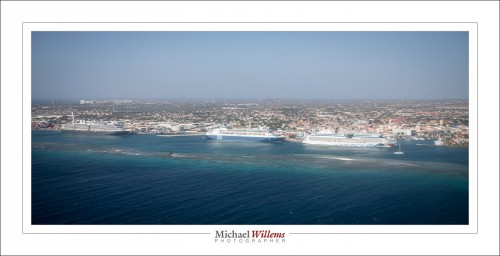
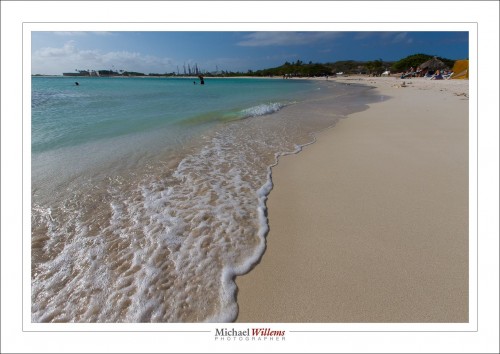
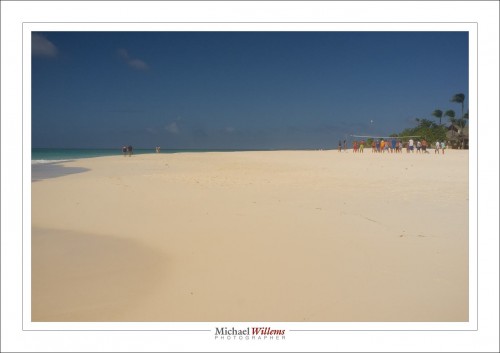
When I get to my destination, I think “beach”:
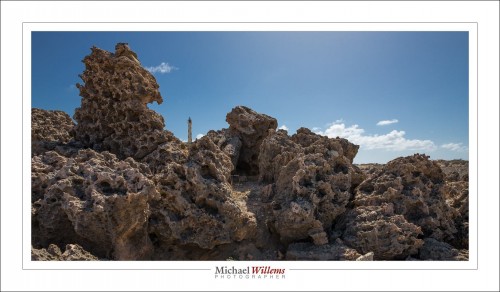
..and I think “sites”: the lighthouse…
Oranjestad…
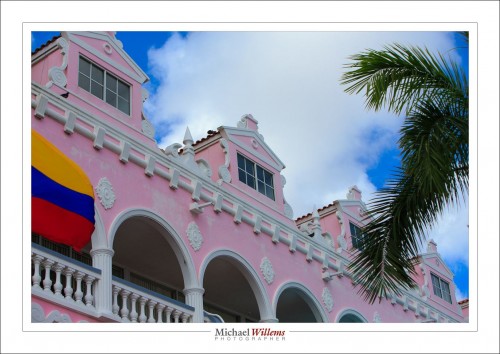
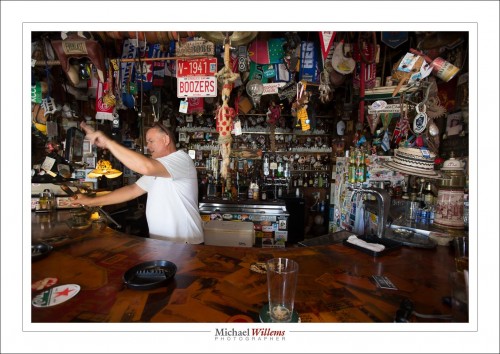
Charlie’s Bar, San Nicolas:
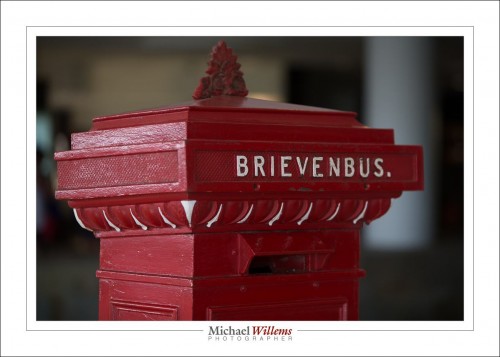
Dutch heritage:
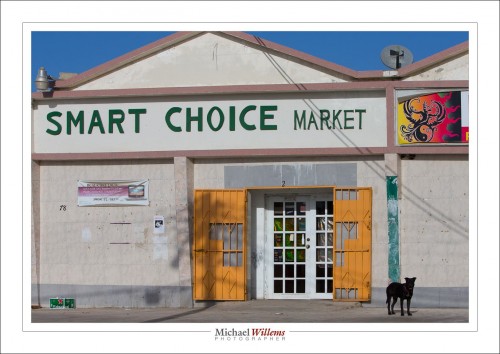
The way ordinary people live:
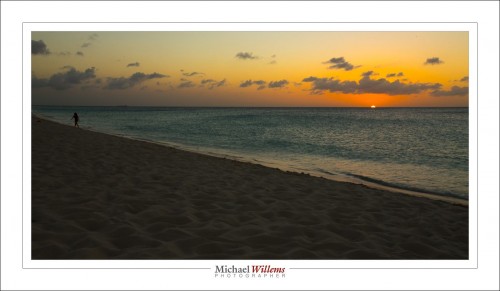
And yes, of course I do also think of sunsets:
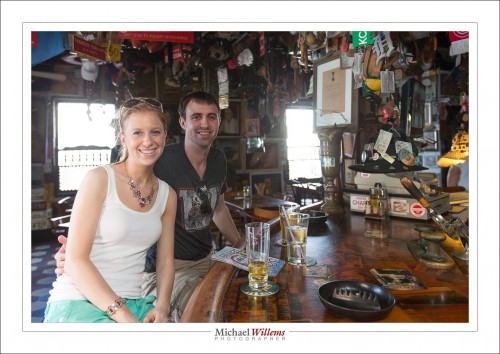
And one more thing—I am always happy to offer the people I meet a memory, as well. Like the young couple in Charlie’s Bar:
And the couple next door:
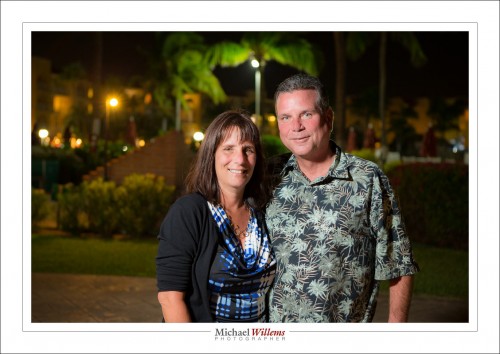
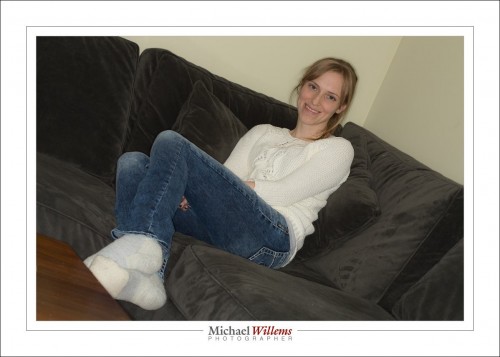
…I mean, why not? They can’t take photos like this, so I’ll do it for them. A very small effort, but it does require some equipment (bounced flash in the first one; off-camera flash with a Honlphoto softbox in the second one).

More about this trip, and in particular about its photography, in the future, but now to unpack my stuff. A week of 31C, now followed by freezing again. But the photos last, and that of course is why we like to take them.

 

Delay?..

All is well, but I am in Aruba and Internet connectivity is slow, unreliable, and limited to my iPad. So I cannot blog for a few days.. After four years of daily posts. Sad, but can’t be helped.

This shows again how we cannot live without internet anymore. I could use my phone but this would cost thousands of dollars (literally). So, I will, I guess, have to admit defeat… travel is made difficult by these telco’s!

Ring Flash!

If, like me, you do not like Terry Richardson’s hard flash shadows (Google it…), then you prefer softer shadows. And so, traditionally, do most fashion photographers.

And they often use a ring flash for that. A flash that forms a ring around your lens. Because it is the only flash that can work great when fired straight on to the subject, as in this image of one of today’s Advanced Flash students:

Wow. Direct, unmodified flash ON camera is acceptable?

It is when you use a ring flash. And the ring flash achieves that by being a circle of flash around the front of your entire lens. So there’s not so much “no shadow” as much as “shadow everywhere”. Look at the typical “halo” shadow:

See that halo? Since the model is bigger than the camera, the shadow lines move outward. If we move the model farther from the wall, it gets even larger:

And if we move the model closer to the wall, it gets smaller, and more difficult to notice:

Also, of course, the wall is brighter (she is closer to it, i.e. it is closer to her: the Inverse Square Law doesn’t get much of a chance).

You can get donut-shaped highlights if you are close to the model. I like these. If you don’t like them, move outward a little.

So do I like ring flashes? Yup. For fashion, and for some macro work. Love them:  a great addition to the serious photographer’s kit bag.

But—one note of caution: you will get red-eye. In the images above, each eye was red, and I had to use Lightroom’s Red-eye correction feature. Which is very able and simple, so it’s no big deal. Unless you forget!