Upgrades, upgrades

A quick note for you this morning.

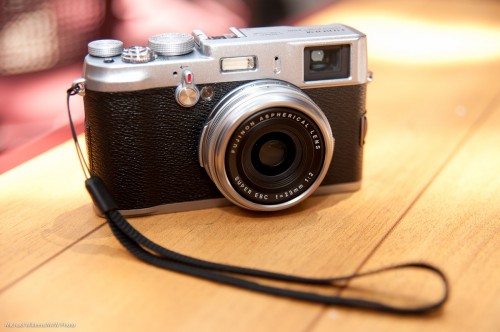
Those of you with a Fuji x100 camera: the new 2.0 firmware is out!  Faster AF and a host of other little improvements.  Go here for the download and details.

Fuji X100 (Photo: Michael Willems)

Those of you with a Mac and who also use the apps, namely Pages, Numbers and Keynote: for the love of God, do not upgrade. The apps are now dumbed down to be compatible with the iPad and iPhone. Gone is that newt inspector (it was genius). And worse: all your documents are likely to need reformatting, often expensive reformatting. I am not about to spend the next month fixing all my documents: thanks a bunch, Apple. And the apps are so dumb now, I may switch to MS apps (the horror), or just back to OpenOffice.

The moral of today’s post: be aware of all updates and upgrades to software and firmware, but apply them with some caution, perhaps after browsing for reactions. Apple ruined my work apps, the apps I use every day, and I, like many others, are far from pleased. The only reactions I have seen are entirely negative.

The Fuji upgrade, by the way, works fine. Fuji is always quietly plugging away at making things better. Take note.

Postscript: About the Apple apps: Ars Technica, for example. says: “with the Mavericks updates to the iWorks applications, Apple has gotten so aggressively user hostile that I’m rethinking some of my habits”. Read the article here.

Postscript: the good news? the new apps have an “export to v.09” option, and the old apps are still present on your Mac. There you go. Bye bye, new apps, until Apple fixes them.



Consistency.

Is. Important.

And to get consistency, you usually want to do things manually in photography.

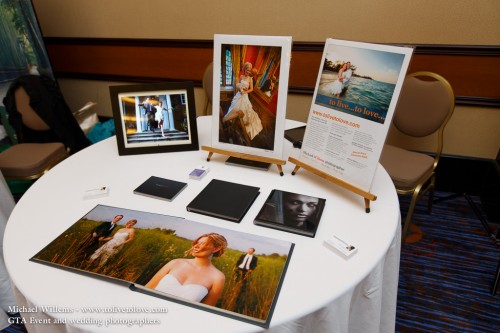
I shot a wedding show I exhibited at, on Sunday. Here’s my micro booth:

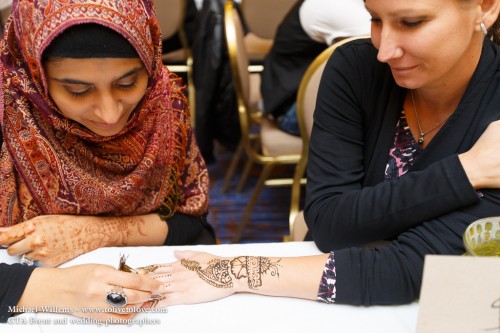
And here’s the kind of thing I shot:

And so yes, you can bounce in a big hall. But you may need 1600 ISO at f/2.8 at 1/125th second, that kind of thing. Which is what I used for that shot.

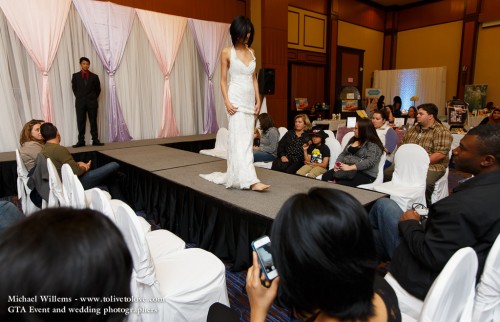
And then there was the show – again, all with bounced flash:

But here, I found TTL metering let me down a little. The bride shots were a little inconsistent. Metering off all these different moving things, with white dresses; well, that can happen.

So that is when you think to yourself: go manual flash, too. After all, I am not moving and the runway isn’t moving, so the inverse square law is not going to get in my way. So I popped the flash into “M” (manual) mode and from experience, guessed 1/2 power would work. A quick check on the back (and the histogram) told me this was correct – so I shot all the other runway shots in that mode with that power setting, and hence they were all identical (and good).

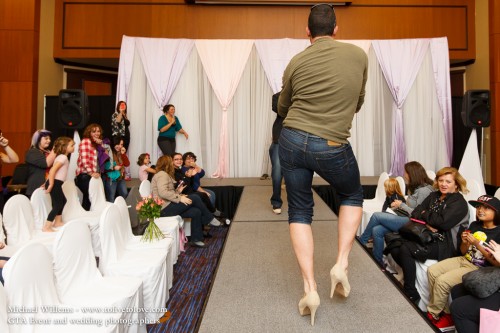
Including this one:

Yes, much fun was had.


Trick

You know why I want people, and especially my students, to know all about flash? Because you never know when it will be needed.

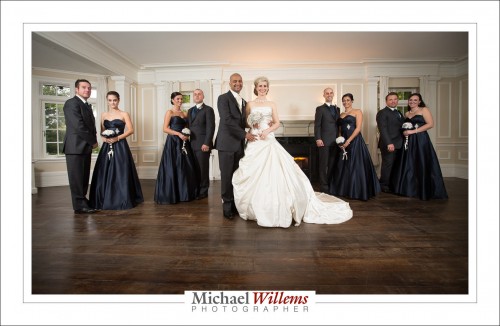
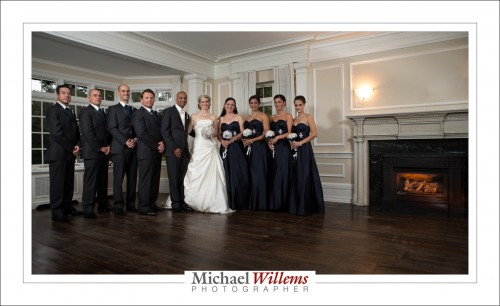
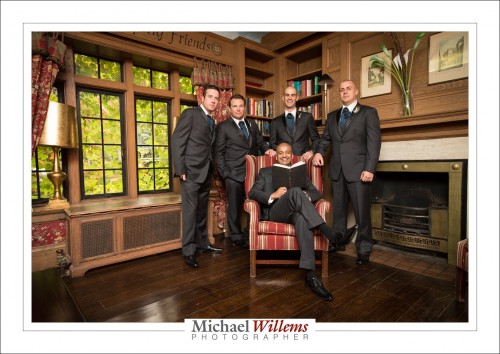
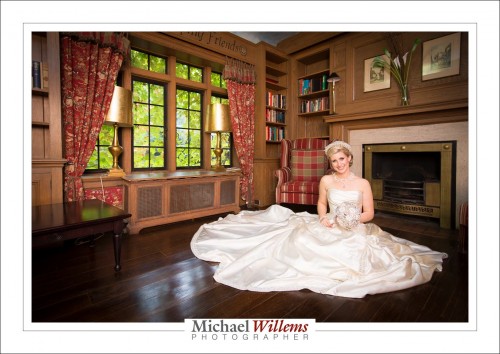
Take this shot, from the wonderful wedding of Stephanie and David on Saturday:

That nice fire in the fireplace, with its warm glow? The bride wanted the fireplace. And so we turned it on, of course.

Yeah right. There was no turning on – not possible. So that is a 430EX speedlight fitted with a snoot and a rust-colored gel (both Honl photo).

Same here:

The moral of the story: flash is not always used simply “to light a dark room”. In my world, the more common world is to do something creative. Take charge of the light, including its location and colour.


A wedding shoot

At Saturday’s wedding of Stephanie and David, I shot mainly with the wide angle lens – in fact all but two or three shots were done with the 16-35 on a full frame body. Why? Because of the environment I am in.

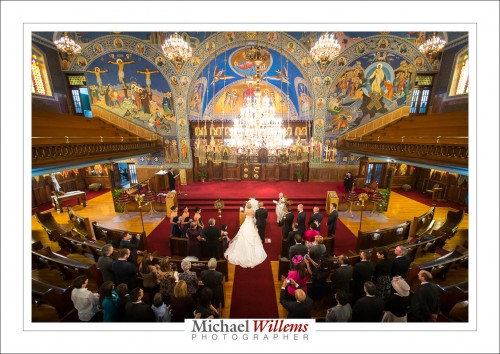
First, the Ukrainian church – the same church, incidentally, where my big fat Greek wedding was shot – and a beautiful church it was:

Why would that make me shoot wide?

First, it calls for wide to “get it all in”. And second, I want wide to get that wonderful sense of the beautiful church. But also, because of technical reasons: I can shoot at f/2.8 and still get great depth of field. With a longer lens I would have to shoot at f/4 or f/5.6 or even more, and that means slower shutter speeds or higher ISOs. And my shutter was already at 1/30th second, and my ISO was already at 1600.

Why available light? Well, the flash would not do much in a wide shot like that, but even if not: I do not want to disrupt a solemn occasion with constant flash-flash-flashing. The wedding is not there for me: I am merely documenting it. This is one of the times I use available light only” let no-one say that The Speedlighter doesn’t know available light.

But there’s a limit! Here, later the same afternoon, I am using a little bounced flash:

Here, I also used bounced flash, but still at high ISO to get good shutter speeds:

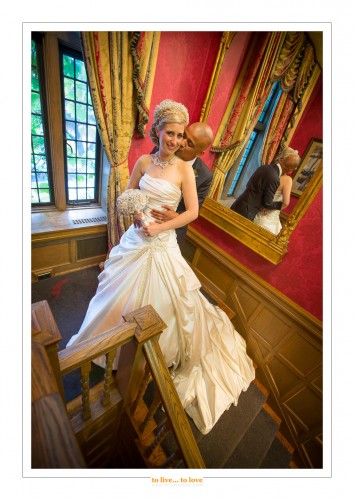
And one more, of the radiant bride:

All done with the wide lens, the entire wedding. Spectacular shots, great depth of field at low aperture numbers, and slow shutter speeds without camera shale: what is not to like? And yet, the Uncle Fred shooters I saw all day (and there were many!) all had ordinary lenses, even long lenses like the 70-200. Good luck with that lens in such dark environments!


Light or dark?

When you need to decide what to make of a shoot, light is of the first importance. And sometimes that is the question: light or dark? Go for a high-key bright look, or for a low-key dark look?

I often do both. Let me share an example.

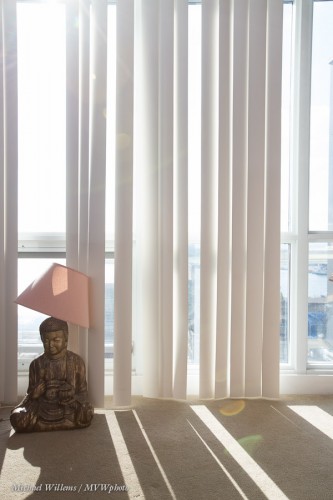
On a very recent shoot, just after walking in, I saw this:

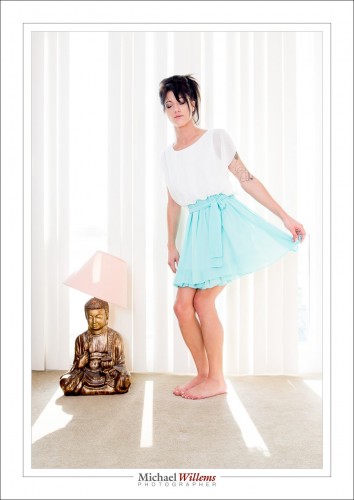
And that immediately made me think “the Buddha”, “pastel”, and “bright”, and “backlit”. So you go with the flow, and I asked the model to find a pastel outfit. The outfit was a skirt, which worked extremely well when she pulled it out to make it the same shape as the lampshade. I exposed highly (1/250th sec at f/6.3 at 400 ISO), and hey presto:

High key means everything is bright except the subject, which therefore stands out. Can you see how highly I exposed that? Basically, everything except the Buddha and my subject was flashing “overexposed!”. Get this right and shoot RAW. But it is not difficult at all, as long as you realize you can make things bright or dark at will with your camera. It is a light shifter.

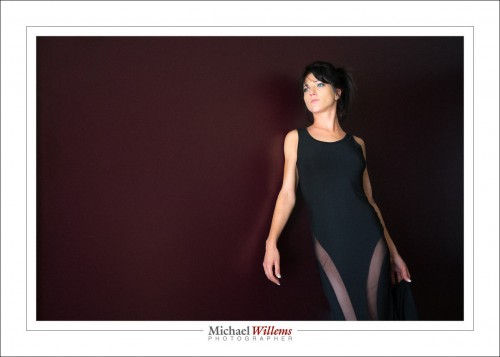
I had also seen a dark wall, a rich bordeaux, in a dark area. So hey, let’s use that too. But with this dark wall I thought low-key, i.e. everything is dark except the subject, which therefore also stands out. So, perhaps a dark outfit, which it just so happened she had:

Both made on the same shoot.  You can do this if you think about the light and use what you have, or what you can make under the circumstances.


Reader question

Time for a reader question. Today, one of my readers asks: “What lens should I use to shoot nudes?”

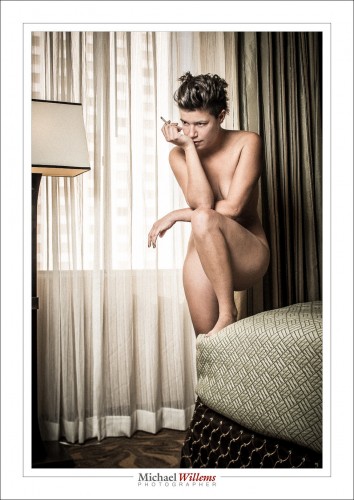
A very difficult question to answer satisfactorily, because “it depends”. How large is your space? What are you shooting, what style? And it it detail? Or headshots? Well, if they are nude perhaps a little more than headshots, but presumably not always full body shots like this:

That, by the way, was shot with a 45mm tilt-shift lens.

When I get a question like this, I try to do some objective analysis. So just now I looked at my statistics, which is very easy to do in Lightroom, and I see the following. Out of many thousands of images, I have used the following lenses:

  1. 100 Macro f/2.8: 0% of shots (just 5 shots out of thousands)
  2. Tilt-Shift f/2.8 45:  1%
  3. 70-200 f/2.8:  1%
  4. 35mm f/1.4:  3%
  5. 16-35 f/2.8:  5%
  6. 50mm f/1.2 : 9%
  7. 24-70 f/2.8: 82%

So as you see, I probably shoot in small spaces (yes, usually); I do not often need to shoot in very low light (correct; I use flash); and I often need the convenience of a zoom lens. The 24-70 fast zoom, therefore, is my top used lens. It’s not that I prefer it, I prefer primes; but when shooting outside a controlled area like a studio, a zoom is the easiest option, often enough.

But your circumstances may differ, so I cannot say what you should use. It’s entirely up to you: as you see, you can use anything. Just use it well. Do not, for instance, use a 16mm lens when doing close-ups, unless you want distorted body parts. And do not shoot at f/1.4 if you want the entire person to be in focus. And do not use a 200mm lens in a tiny room. And so on.

You’ll see, it doesn’t really matter. Whatever you feel like using, and the “normal” portrait recommendations apply.

Mullets Unite

Why do you NOT normally shoot at your subjects with a flash aimed straight at them, unmodified? Especially when your subjects are in front of a wall? Especially if they are male?

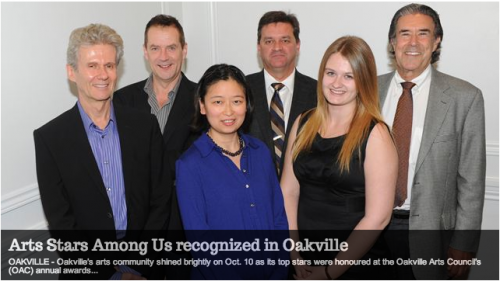
A picture in the local newspaper shows us exactly why not:

Um, yeah, that’s me there, second from left (this was at the recent art awards ceremony).

And like the three other gentlemen there, I have a “virtual mullet”, caused by the shadow thrown by our ears. Awful, and one reason people hate flash.

And yet the photographer could have easily bounced: conditions for it were prefect. But he did not know the right techniques. Ouch! So you get shiny skin, flat unnatural light, hard shadows, and mullets.

Instead, bounce the flash. Aim it up, 45 degrees behind you – depending of course on where you are, where the ceiling is, and so on. Go to 400 ISO or higher at f/4. It’s what I teach in mu courses… it’s a simple technique and I can teach everyone this. Start with what I just said, and see how that works for you. Better than the mullet shot, I am willing to bet!

___

Oakville “Flash” Courses 9/10 November: I think Saturday Nov 9 is full, but Sunday Nov 10 is still open. I am limiting the number of students in each class to no more than 4-5, so do get there first.  See the syllabus here, and book via the link at the bottom of that page – indicate your desired date!


That’s a wrap

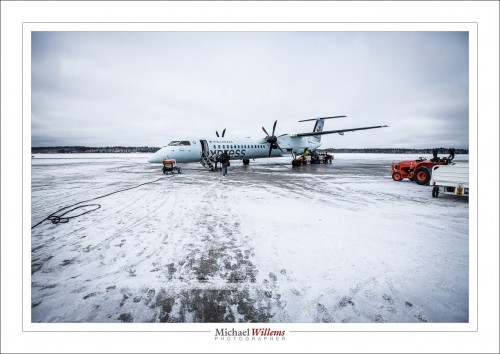
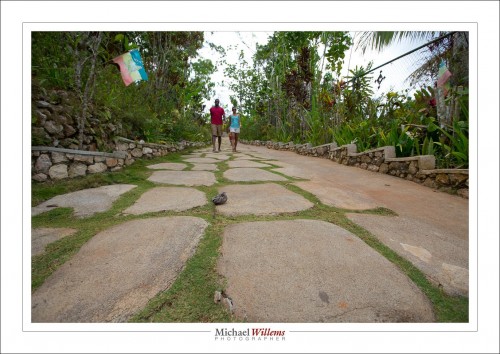
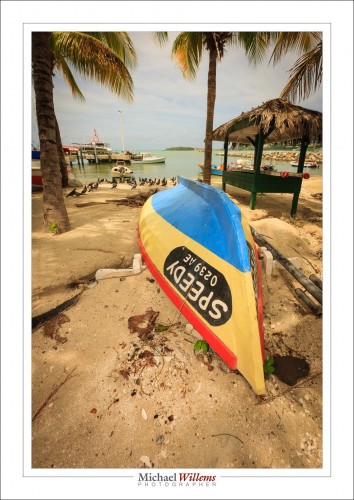
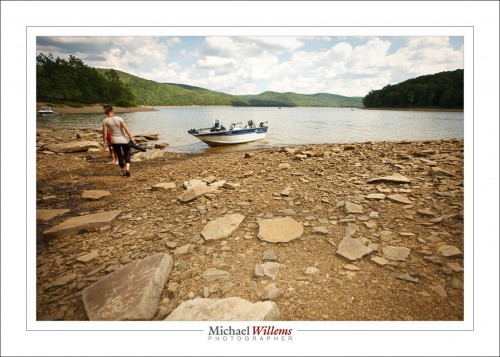
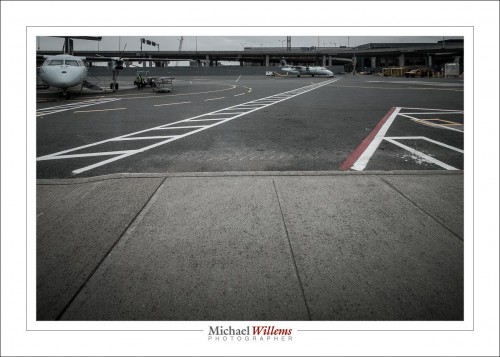
No no, no fear, I am not stopping this blog. I am, instead, talking about the “wraparound” effect a wide angle lens can give you. Wide, like 10mm on a crop camera or 16mm on a full-frame camera. That angle looks like this (Timmins Airport, the Bob Marley mausoleum in Jamaica, and Philipsburg in St Maarten, respectively):

As you see, the picture seems to wrap around you, giving an effect of “being there” and of perspective and depth. That’s why so much photojournalism, and so many National Geographic images, are made this way.

But to really get this effect, you need to have a few things in place.

  • You need a wide lens, zoomed out (10mm/16mm as said);
  • You need to be close to something, like the ground in this case;
  • And also – and this took me years to figure out – this effect depends to a large extent on lines converging. That means you need some kind of pattern or texture or parallel lines in the close-by area so you see the lines converging.

The stones here seem to wrap around; without stones, no wrapping:

And the lines are clearly converging, leading to the same – and again, without lines, no wrapping:

So if you like that look, now you know how to get it.

___

Oakville “Flash” Courses 9/10 November: EDIT: Saturday Nov 9 is AVAILABLE, but Sunday Nov 10 is FULL. I am limiting the number of students in each class to no more than 4-5, so do get there first.  See the syllabus here, and book via the link at the bottom of that page – indicate your desired date!


Flash x2!

OK, here’s what we do. I am now offering TWO Oakville “Advanced Flash” Courses: on Saturday, November 9; and again on Sunday, November 10. Both in Oakville, Ontario. This course is for everyone from amateur to pro: I expect you to know basic camera operation including the use of aperture and shutter, but you need know nothing at all about flash.

Why flash? So that you can make pictures like this, straight out of your camera:

As mentioned yesterday, I am limiting the number of students in each class to no more than 4-5, so do get there first.  See the syllabus here, and book via the link at the bottom of that page – indicate your desired date!

Your flash tip for the day: when using your flash outside, keep your shutter speed at 1/200th second or below. Else, your flash would have to go into high-speed/FP mode, which drastically reduces the range. Use manual or shutter-speed priority mode to be sure!