My day

First, more episodes of season 7 of “24”… the inimitable Chloe… one episode to go 🙁

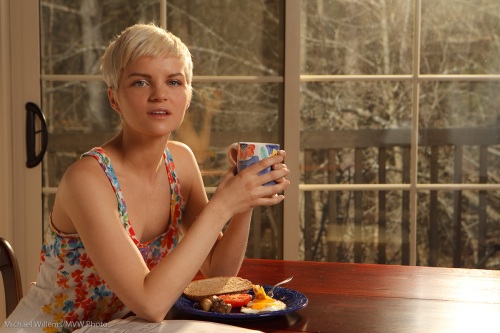
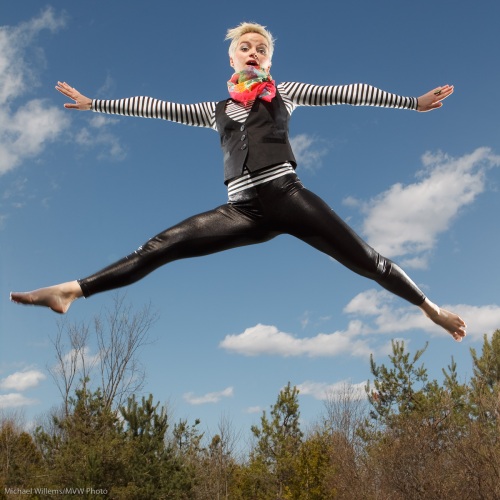
Then, teaching, and then to the gallery in Toronto’s historic Distillery District:

That was a wide angle lens: 16mm on a full frame camera. Aperture mode, exposure compensation minus two stops, and flash on. (Aren’t wide angles great?)

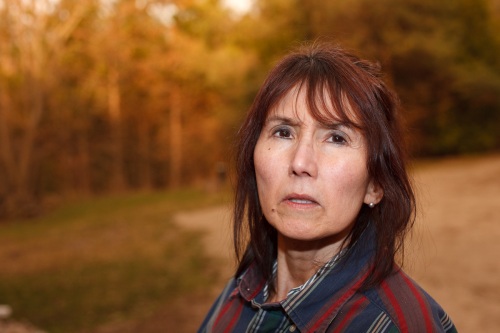
Then, in the gallery, a snapshot of a gallery visitor and potential student of flash:

That was done with:

  • The camera on “Manual”…
  • …with exposure set to around minus two stops.
  • A CTO-gelled 580 EXII flash aimed to my right.
  • …and white balance on “Tungsten”

Isn’t TTL wonderful?

Balancing light

One subject photographers need to learn all about it balancing light. In particular, I mean balancing background light with foreground light.

If you take one of my workshops I’ll teach you all about “overpowering the sun”.

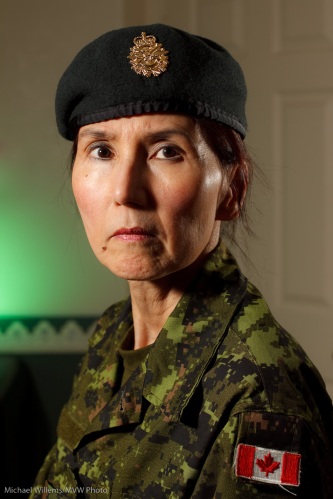
As an illustration of that, three years ago almost to the day I took a few snaps of my son in Army Cadet uniform. The sky was mid-day light blue, but I used three off-camera flashes, two of which were in umbrellas and one was direct, to overpower the sun and make the sky dark:

I used the 5D in manual exposure mode, set to -3 stops from ambient, and used TTL metered flash. Piece of cake. And yes, remote flash using light control does work in super bright sunlight, as long as you keep line of sight between the master and slave flashes.

Can you also see that for this portrait I used a very wide lens? Even though you are not supposed to do that for portraits? That is because it is a situational portrait. Where the environment is as important as the subject. Just keep your subject’s face away from the edges – centre, or near the centre, is good.

New firmware for Canon 7D

There’s new firmware for the 7D, here: http://web.canon.jp/imaging/eosd/firm-e/eos7d/firmware.html

I’ll update mine this morning.

UPDATE: I just updated it. All well, but note, the upgrade reset my image number to 1, which I do not like. (NOTE: never use “do not import suspected duplicates” to ON in Lightroom, since LR appears to look just at the file number. This has cost me images!)

Son in car

My son, just now, in a car in broad daylight, in a shot that took only a couple of minutes to set up:

I used three speedlites on light stands; all three were fired using e-TTL light control from a fourth one on the camera.

One speedlite is on camera right, one on the left, and one in the middle using a new Honl softbox to light up his face.

Of course with a few more minutes I would have

  • Moved the softbox so it did not reflect,
  • Positioned the other better
  • Used more gels to add more colour
  • Cleaned the car more

… but with a teenager, even three minutes is a rare gift.

A portrait with three speedlites

Here’s a portrait I just shot.

I used the Canon 1D Mark IV with a 580 EX II flash on the camera, used only to drive three 430 EX II flashes using remote e-TTL. This is easier than ever: with the right knowledge and tools it takes mere seconds to arrange.

So here’s how I did it.

I used a 50mm prime lens (meaning 65mm effective focal length) with the camera on manual, 100 ISO, f/5.6 at 1/125th second.

The lights were:

  • One 430 speedlite, the key light, is on camera left one foot away from the subject and is mounted on a cheap light stand. It is equipped with a new Honl Traveller 8 softbox.
  • The second, the accent light, also on a light stand, is one foot behind the subject, is aimed forward at her, and has a Honl 1/4″ grid fitted.
  • The third flash, aimed at the wall, is mounted on its little plastic light stand and has a green Honl gel fitted to its speed strap in order to add a splash of colour to the background.
  • I set an 8:1 A:B ratio to stop the accent lights from becoming too bright (the key light was A). I also used – 1/3 stop Flash Exposure Compensation, since the initial frame showed the face a bit bright.

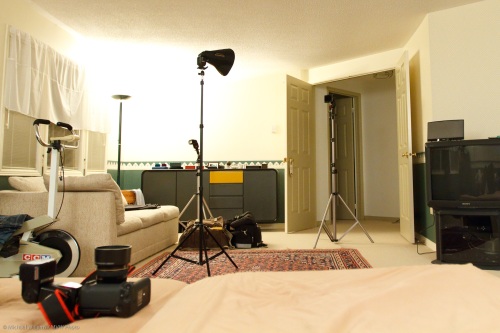
That setup was:

Simple and effective. And if I say so myself, I think the green gelled background accent was an inspired choice.

Today, with small flashes and modifiers, using TTL, you can do professional studio work in no time.

Setting up a sunny morning

That is, creating one with studio lights.

This is one of the things Joseph Marranca and I taught our students at the Advanced Lighting workshop we held in Mono, Ontario this past weekend.

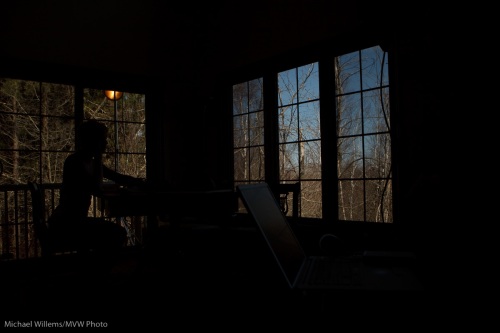
Start with a normal day. Lit by available light, that looks like this when you expose for a proper background:

Not much foreground, of course. That is why we add studio lights. The trick is which ones, and how.

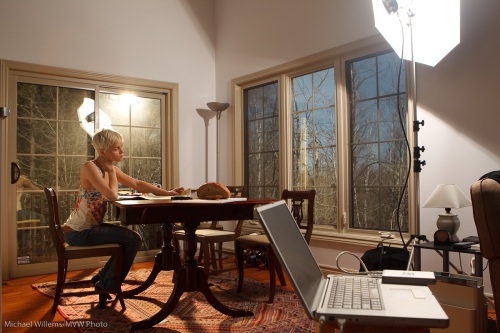
One goes outside, aimed at the model through a grid, and is equipped with a CTO (colour temperature orange) gel. That makes the day look like a sunny morning.

Then we add another studio light, indoors, on camera right, with an umbrella.

So now we have:

Which when done gives us one of those “Folgers moments”:

(On Sunday May 23rd, Joseph and I are doing another workshop in Mono, this time a one-day one, which builds on the light practiced in the previous workshop.)

Fun with gels

Look at these images, and see why you need gels.

A gel is a piece of sturdy plastic that you put in front of your flash. (At least if you use something like the Honl Photo system it is sturdy; the ones that come with your SB-900 flash are very fragile and will melt quickly).

So assume you have some good, easy-to-use gels. Look at what just two gels and a bit of knowledge of my camera can do. And this takes mere seconds to set up!

Case One: Warm Face, Neutral background. Flash equipped with a CTO (“Color Temperature Orange”) Gel, white balance set to “flash”:

Case Two: Neutral Face, Cold Background. Flash equipped with a CTO Gel, White Balance set to”Tungsten”:

Case Three: Neutral Face, Warm Background. Flash equipped with a CTB (“Color Temperature Blue”) Gel, white balance set to “Shade”.
I mean – is that fun, or is that fun?

Note that the effect may not be totally right in camera – gels do not exactly correspond with white balance settings, which in any case vary per camera – but that is unimportant: you can fine-adjust later in Lightroom. The essence is that you throw different light onto the subject than onto the background.

Now do you understand why photographers are always going on about gels? Secret weapon – but now you know the secret, too.

Fast Flash!

To exceed your camera’s maximum flash sync speed (which is something around 1/200th – 1/250th second), you need high speed flash (Auto FP flash, in Nikon terminology) where the flash pulses at ca. 40kHz instead of firing all at once.

You need an external flash for this, like an SB900 or a 580 EX.

  • When you need it: when you need to exceed your flash sync speed, e.g. when taking an outdoors picture of close object with blurry background. That means low F-number, which means even at 100 ISO you’ll need fast shutter speeds.
  • Advantage: in theory, you can you can go to any fast shutter speed and still use flash.
  • Drawback: you lose much power, so that Fast Flash is usually only suitable for close-by subjects.

The Shot: Shoot a close object or person with blurry background. To achieve this, set your camera to A/Av mode, and select a wide open aperture (f/2.8,say). (If your lens cannot go down to f/2.8 or it is a very dull day, you may need to go to 400 ISO).

You should now be exceeding your flash synch speed-if you set your flash to Fast Flash. Else you get an overexposed picture (your camera will refuse to go faster).

Note, your object has to be close, especially if you get to speeds of 1/1000th o rfaster. Else, your flash will not have enough power.

And now you can get this – the following image was lit by flash at 1/1600th second, at f.2.8!