Picture Change

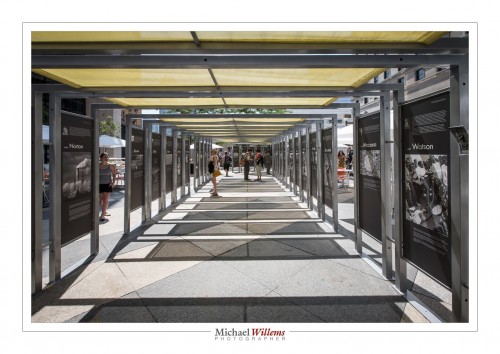
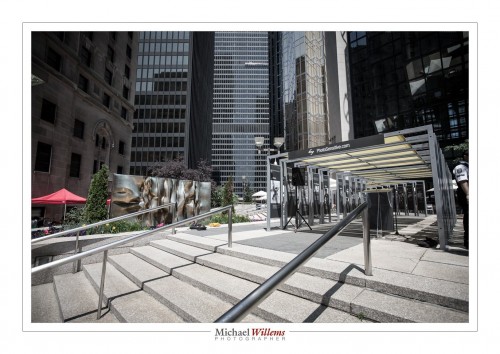
Today marked the opening of the six-month Picture Change exhibit by Photosensitive, a collective of Canadian photojournalists.

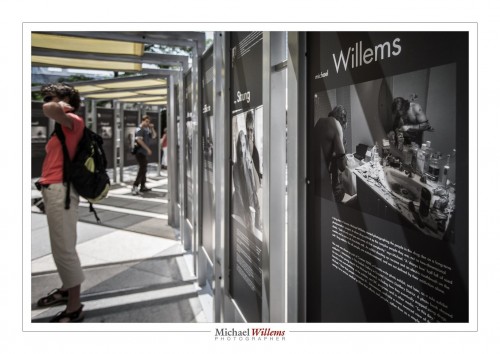
An amazingly well organized exhibit, which will run in 6 different locations in Toronto until the end of the year. I was honoured to be chosen to be one of the 100 photographers who each submitted an image.

As a photographer, I feel it is my job to tell stories with images. A picture, as they say, paints a thousand words: a good picture has a unique ability to convey an enormous amount of information, feeling, fact, and subtlety, all in one go, but most importantly: to show that things aren’t simple, and to make the viewer think.

I usually bring my skills to bear on portraits, art, weddings, local news, and more. From local news in Oakville to corporate headshots in Toronto to weddings in Jamaica. And those are worthy endeavours, and I love doing them, they’re why we still have photographers – but they’re not why I became interested in photography, way back in 1869 (All right, 1969).

Growing up in the Vietnam era, in the era of hippies, student protest, and Life magazine, I learned so much from photos, and I felt strongly that photos could change society for the good. Photographers of that era did change society, and they did it not by imposing viewpoints, but by forcing people to think.

And that power has not gone. Thank God, its still here. As much as in the 60s, photos can bring nuance into news. The nuance that “headline sound bites” so badly lack. In sound bites and headlines, everything is black or white. A photo can show that isn’t that simple. Pictures have a unique power. The Mona Lisa says more than a dozen books about Mona Lisa.

And it seems to me that today, we need photography more than ever before. Especially now that newspapers are on the decline, photographers are being fired, now that photojournalists are being let go everywhere, now that there’s no more Life magazine, and now that more and more of us get our news in short video clips and in shorter soundbites. A few years ago I asked 18 people in an office: “who reads a newspaper here?”. The answer: just one, and it wasn’t even a national newspaper.

In that world, I often think all that saves us is the power of a photo to speak 1,000 words; and that is a power which cannot be taken away. Words may be cut, but images remain.

As a photographer, I think I have the duty to help people see the complexities. It was for that reason that In 2007-2009, I did a photographic project called “IV – Intravenous”about drug addiction, to do just that, to bring nuance into the societal debate.

And that is why I was so very honoured to be asked to join the Picture Change project with my photo of a Toronto drug user. A photo (see above) that shows complexities most of us haven’t even considered.

This is my first project with Photosensitive, a collective I have admired for years; and I certainly hope it will not be my last.

I say that because I am very impressed by the work here, and I hope that if you have a chance, you will go see it, or at least get the book. I say it especially because if we are to make society better, we need social engagement, we need photography skills, we need photographers, and we need projects like Picture Change that bring them all together.

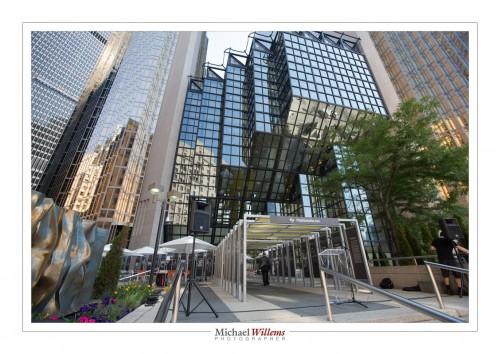
Finally: an outdoor exhibit like this is one thing that makes Toronto a great city. What better way to spend your lunch hour than to go see some great photographs?

Tech note: I used a 16-35mm wide angle lens for these images. But you were able to guess that from the photos, right?

 

Square peg, round hole

…I hear a lot of confusion about the following subject: Cropping. And a lot of wishful thinking.

For example. People shoot a 4×6 shaped image (that is what your camera probably produces with its 3:2 sensor, after all!), and now want to print it as an 8×10 but without either “cropping off feet” or “having white edges on the side”.

Not! Possible!

It is one or the other. To understand why, just imagine for a moment that your camera produces, say, square images. You are saying “I want to put that square image on a rectangular piece of photo paper, but without either trimming or white edges”. Well, you can presumably see that this is by definition impossible. You either lose part of your image, or you get white sides.

Here’s an original image, shot closely cropped:

Original Image

And here the same image cropped to 8.5×11:

Image cropped to 8.5 x 11

Unless I had shot it wider, I cannot crop that to 8.5 x 11 – let alone to square – without losing important parts. Cropping means cutting!

TIP: Every time it gets confusing, imagine you want a square print. How would you do that?

So what do you do if you do want 8×10 prints, say, and your camera produces 3:2 (i.e. 4×6) images?

You have three separate options:

  1. Shoot the way you want. Now print on the 8×10 paper – but you will get white edges around two of the sides. Cut those off. Of course you no longer have an 8×10 print, but you can at least use 8×10 paper!
  2. Or shoot wider, then before printing, crop to 8×10. This will involve cutting off part of the photo, hence “shoot wider”.
  3. Make the image wider in Photoshop, i.e. “add stuff on the outside so have more to crop”. This is laborious and not easy, and not always possible.

There are no other options. Square peg, round hole!


Open, or not quite open?

Look at these images of an Apple remote:

1/125th sec, 3200 ISO, f/1.8

1/125th sec, 3200 ISO, f/1.4

1/125th sec, 3200 ISO, f/1.2

They get a tiny bit brighter as you go down. Correct. And that is because I opened the aperture a little more each time: f/1.8, f/1.4, and f/1.2, respectively, on my 50mm f/1.2 lens.

Ah. But now look at the circle next to the remote. The actual light source in the distance was the “ON” light on my TV, a tiny blue light. But the more open my aperture, the larger the circle caused by that out-of-focus light.

And now observe the most important thing. Only wide open do we in fact see a circle. In other images, the “circle” is not a circle, but the shape of the lens diaphragm that creates the aperture (“opening”). In my case, an octagon. Not quite a circle.

So if you want out-of-focus hexagons or octagons in the distance, stop down your lens. If you want out-of-focus circles, open the lens as far as it can go.


Thanks to…

…Peter McKinnon for pointing out yesterday how beneficial a clean workspace is. As it happens, I was cleaning mine as he sent that:

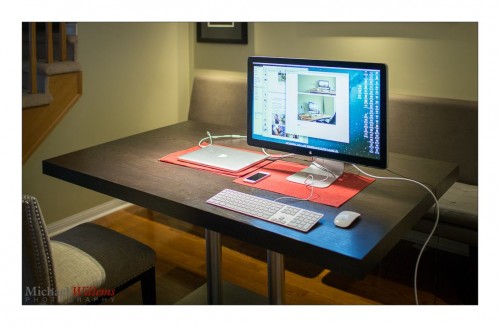
This by the way is my laptop plugged into a new 27″ Apple Thunderbolt display. The display powers the laptop as well as connecting various devices (it has USB2 and Thunderbolt outputs and more). It also has built-in speakers but those took me a while to figure out – you have to enable them in AUDIO settings in your system preferences.

Anyway: if your workspace is not this clean, go fix that now. You will be inspired to work harder, I promise.


Bubutbut

I often, of course, say this – “Limit: when using flash, you cannot exceed your camera’s fastest sync speed (usually 1/250th second)”.

And then almost as often, I hear the following objection:

“But Michael: you can use High Speed/Auto FP flash!”

And that way, you can exceed the sync speed. Sure – like in this photo of Aurèle Monfils of the Porcupine Photo Club, which I made yesterday with the standard sunny day blurred background setting (write it down!) of:

  • 100 ISO
  • f/4
  • 1/2000th sec

…using an on-camera flash fitted with a Honl 8″ Traveller 8 softbox:

Yes. You can, as you see!

But now I have a “but”.

The high-speed mode works by effectively making your flash into a continuous light, at least for the duration of the shutter speed; it flashes pulses at 40 kHz. Fine, but most of those pulses reach the closed part of the shutter, so most energy is wasted; hence, your effective range is reduced dramatically. Maybe just over a metre at 1/2000th second when using the flash without modifier; with a softbox as I was using here, maybe 30cm, no more.

Hence the slight “wide angle” look in my image above due to me having to be close, with a wide lens. As in this one of Aurèle’s daughter Lisa:

So while it is true that high speed/FP flash solves the sync speed problem, it’s  not a panacea, and in practice, it is only occasionally usable.

Footnote: Lisa is turned away from the sun: It is behind her, meaning she is not squinting, and the sun becomes the shampooey goodness™ light on her hair!

___

Want to learn to use modern Flash technique? I travel worldwide for hands-on seminars. Vegas, London, the Netherlands, Phoenix, Niagara, Toronto, or Timmins: wherever you want me, I’ll be there for you.


Canon redux…

Aha! I can admit when I misjudged: Canon just called me – the Manager, Professional & Customer Service, no less – and they are taking it seriously – the sales guy did escalate my issues, and perhaps read the blog? They are now making arrangements for investigation/repair and loaners. I shall keep you all in the loop!


Building a studio portrait

A “standard” studio portrait is very simple to build if you have three or four flashes; and it is entirely repeatable, that is its beauty. Here’s how you do it in six easy steps:

ONE set the camera to settings where the ambient light does “nothing”. Like 100 ISO, 1/125th sec, f/8. Test this by taking a non-flash picture: it should be dark.

TWO set up your main light, using softbox or shoot-through umbrella, at 45 degrees from the subject, 45 degrees up. Turn your subject into that light.

THREE then add a fill light on the opposite side. You can use a reflector, or another flash with umbrella, set two stops darker than the main (“key”) light.

FOUR then add a hair light, for that shampooey goodness™. This is a light from behind at an angle, using a snoot or grid to avoid lighting all of your subject.

FIVE then add a background light – another flash.

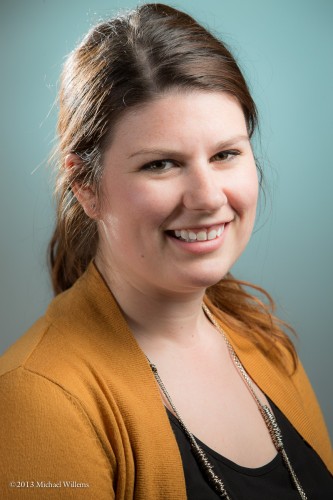
SIX then decide if you want colours anywhere – like the background. I used a complementary colour here – complementary to the subject and her clothing:

A Studio Portrait (Photo: Michael Willems Photographer, www.michaelwillems.ca)

Done!

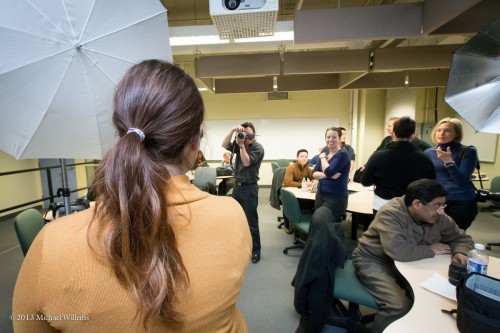
Here’s my Sheridan College class on Monday, practicing this:

___

Want to learn this? Next week’s workshop (April 10) in Hamilton, Ontario is about this very subject: studio photography. In one evening, learn to do this, use a light meter, use pocketwizards, compose, etc. There are still spaces, but this small, intimate studio workshop is limited to 10 students, so book right now!

http://photonetworkexpo.com/ : come see me talk this weekend in Toronto about Flash Photography, and even better: book online and use promo code Michael2013 to get 50% off a weekend pass. See you then!

Prepped!

Tomorrow I teach “The Art of Shooting Nudes” in Hamilton, Ontario, and I am looking forward to it very greatly. I rewrote and updated the material; we have a great model and an MUA; great studio, wonderful participants (there’s one more spot open for a last minute interested photographer, by the way).

A lot of this course will be about light. But it is also about posing, composition, and about the fact that nude is not lewd. Students are a mix of men and women.

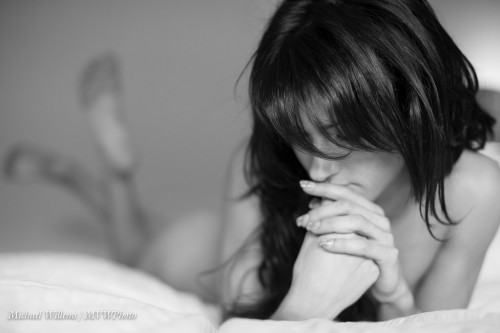
And it is not all about being explicit every time, either: often, implied shots are great:

Use selective focus. Fill the frame. Use the right light for your pictures. Experiment. Break the rules.

And nudes are timeless.

How timeless?

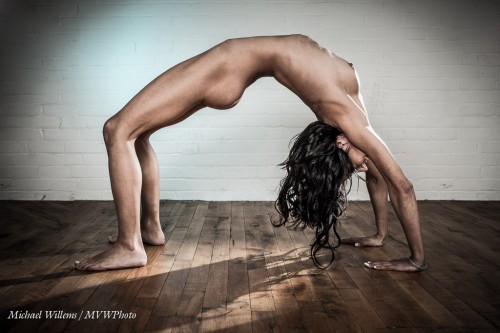
Here’s how timeless. This is a shot I made the other day with tomorrow’s model:

And… lo and behold…

After I took this, I found this next image online.

From several thousand years ago.

Plus ça change….!


Expressions, and fun.

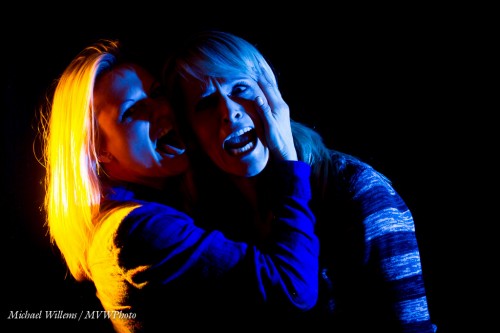
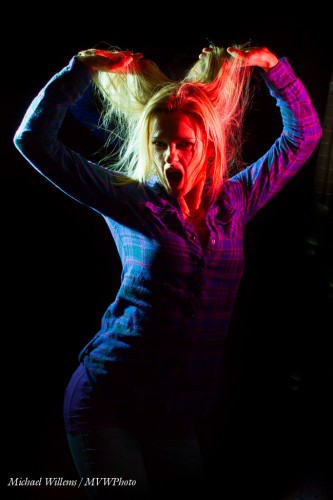
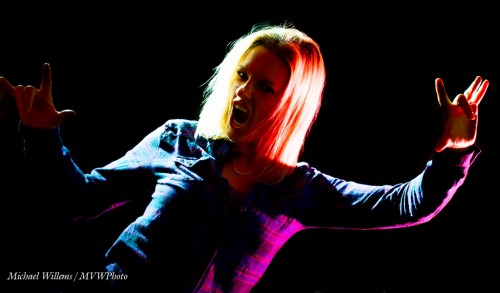
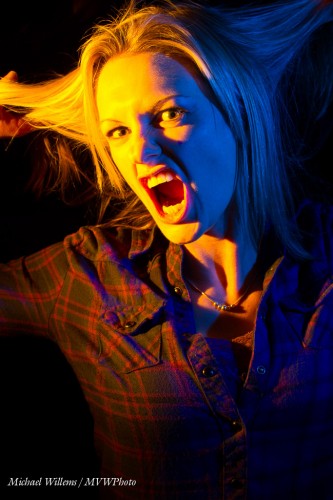
Two talented photographers, Jen and Becky, spent today, and will spend part of tomorrow, with me learning flash skills. And flash skills are sooo essential. So you can fill in light, solve backlight problems – and so you can get creative.

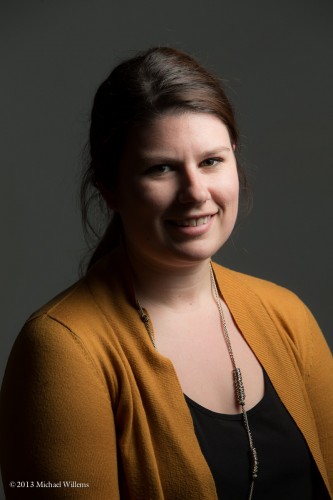
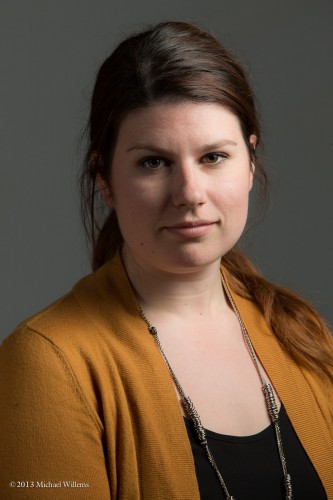
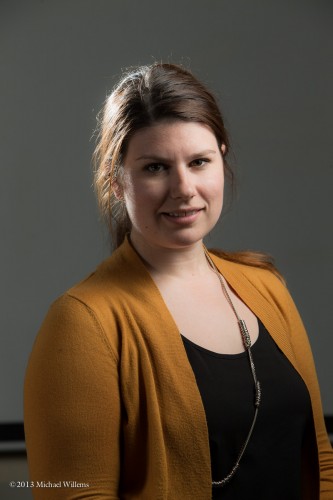
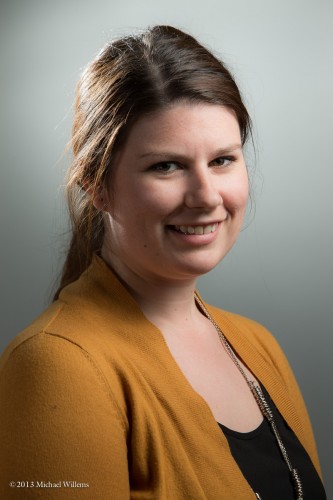
Like in these sample images from today:

Yeah, fun shots. To do these:

  1. Set your camera to MANUAL
  2. Select the right ISO, aperture and shutter to make the ambient light disappear (1/250th second, f/8, 200 ISO, say).
  3. Add flashes – use remote TTL (fired by flashes from your cameRA).
  4. Add grids to those flashes so they do not throw light everywhere
  5. Add gels for colour
  6. Shoot. Adjust flash compensation as needed.

Or use more ambient light – simply use a higher ISO, larger aperture, or slower shutter, or a bit of all three:

In any case… save for a little post work if needed, you are done.

But… you also need something a lot of “technical” photographers forget: a subject.

These images were made not majorly by the light. They were made majorly by the subjects. Thanks, Jen and Becky, good work. Amazing and fun expressions.

That is why photographers need models. Not everyone has the personality needed for these.  Modeling for photos of all types is a real skill, and when you find people who have it, shoot them, and you cannot go wrong. A pretty face is not quite enough: personality is needed too. try to have some fun. Try different expressions: happy, scary, sad, worried, confident, elated, serious, sad: you name the emotion, then have the model try and express it.  This process is fun!


___

Want to learn all this stuff? Private coaching is a great way to go, but if you want to do it another way, allow me to once again point out these learning opportunities:

Michael