Landscape

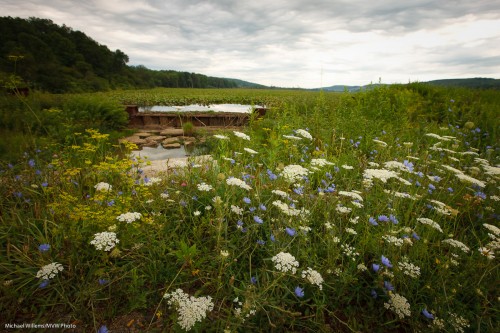
Why use wide angle lenses for landscapes like this?

Machias, NY (Photo: Michael Willems)

For various reasons. I have gone through them repeatedly, but here again, all at once:

  1. The wide angle lens gives you a feeling of being surrounded by the environment. That is because of simple geometry – if I look left, lines I am travelling along will look horizontal, while ahead of me they look vertical.
  2. I get more in.
  3. I can get depth into the image (get close to something and you get the “close-far” depth effect).
  4. It is easier to focus on “everything” – the wider the lens, the more extended depth of field.
  5. It is easier to shoot slow – a 200mm lens may need 1.200th second to be sharp, while a 16mm lens may be able to do a sharp picture at 1.15th second.

That’s why I always carry my 16-35 lens (on a full frame camera).


Excuses, excuses. Eat!

Every time I have dinner, I try to use that as an excuse to do some food photography, before I eat it.

And often I can. In those cases, as on the evening of August 10, I do the following:

  1. I whip out my 35mm or 50mm prime lens;
  2. I go to manual or aperture mode;
  3. I set a very large aperture – a small “F”-number, like f/2.0, or in this case, f/2.5;
  4. I compose carefully, to remove distractions. So I tilt, get close, move things, and blur out backgrounds, all to get a simple image;
  5. I get close! Cutting off half the plate is good. Fill the frame!
  6. But I include some of “plate, fork, glass”: things to indicate that this is food in a nice setting.
  7. I expose well, ensuring a fast shutter speed;
  8. I turn the plate, or reposition the food on the plate if needed;
  9. Ideally, I want open, soft light, and backlight. So I reposition the food to obtain that, if at all possible.

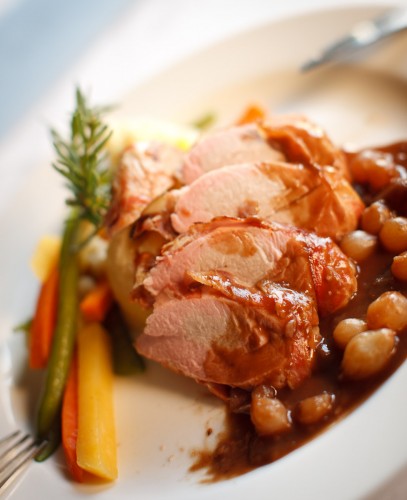
If I do this right, I now get this:

Pork Tenderloin ( ©2011 Michael Willems Photography)

And then I eat (Pork Tenderloin – yum).

And while the food lasts mere minutes (knowing me, seconds), the image lasts forever. I thus see restaurant food as an investment. I eat, and I get a stock photo into the bargain.


Open wide

I have said it many times: wide angle lenses are under-rated. Few of my readers even have one.

I mean a wide angle lens in the range of 16-35mm if you have a full-frame camera like a 5D or a D700, or 10-20mm on a crop camera like a digital Rebel, D90, 60D, or D7000.

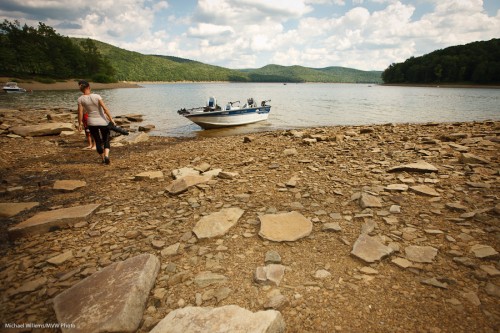
A wide lens, as I said yesterday, makes the scene wrap around you, or around the close by object.

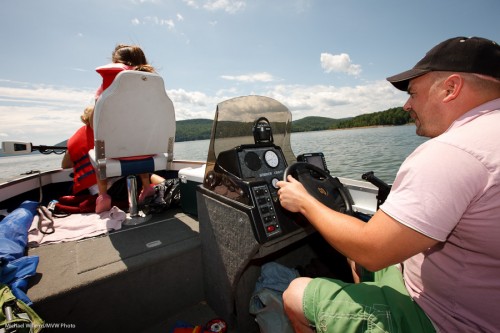
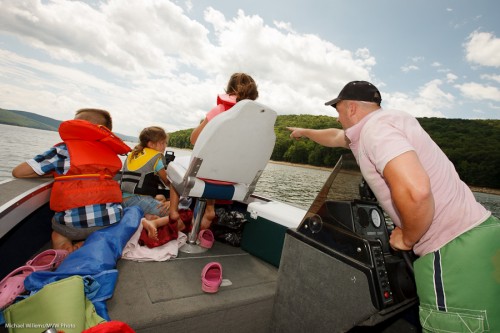
Upstate New York (Photo: Michael Willems)

Upstate New York (Photo: Michael Willems)

Upstate New York (Photo: Michael Willems)

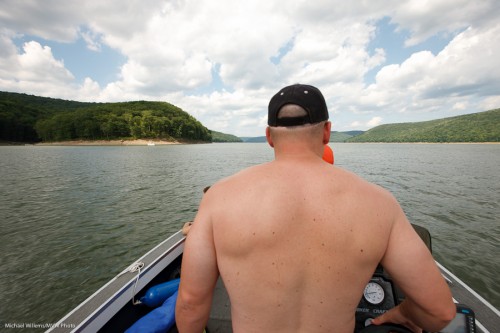
Boating in upstate New York (Photo: Michael Willems)

Frequent readers here will know the following:

  • Do include a close object (even the ground, as in picture #1 above)
  • Do not put people in the corners – they will be distorted, sinc eanything near the edges will look larger.

Use a wide lens and get close, and your pictures will look unlike others’.


Lonely? Good.

Loneliness is one of those subjects photographers like.

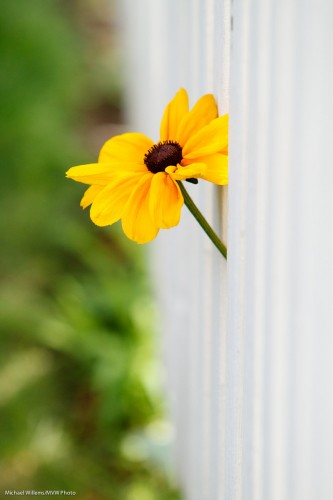
So when you see a lonely flower sticking its head out of a fence, isolate it by focusing carefully and using a narrow depth of field (selective focus is a great way to isolate a subject); then surround it with “negative space” if you like, and shoot:

Lonely Oakville Flower (Photo: Michael Willems)

We like pictures to say something. A sense of isolation is something we can all identify with – we are all, after all, alone, for better or for worse.

A second advantage of this technique is that it simplifies your pictures, and simplicity is so often the hallmark of a great image, that aiming for a simple picture is a good thing.


Prime cut

I am not referring to beef, but to a picture I took today with a prime lens – and where I have cut through the subject’s face. Yes, you can do this and yes, it can result in good pictures.

For today’s image, I used a Nikon D3100 with the new 50mm f/1.8 lens – the new one, the one that does autofocus with the low-end Nikon bodies. If you are a Nikon low-end camera user (D40, D60, D3100, D5100, etc), then go get one today – run to your retailer, do not walk.

Why?

Because you can get selective depth of field and you can use available light.

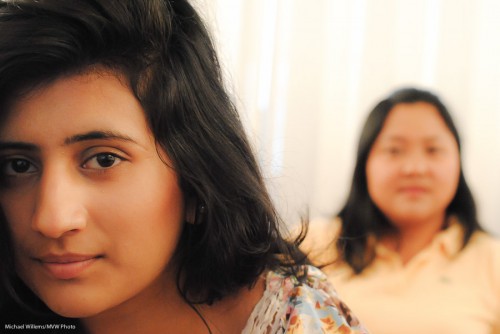
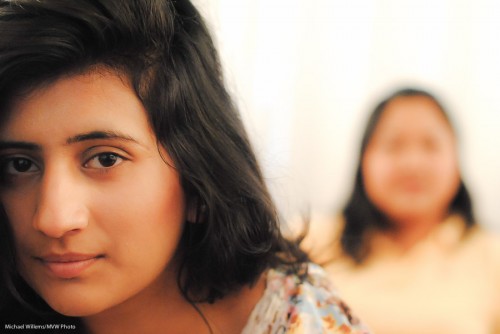
Of course you can get selective depth of field with any lens, if you are close enough. Even at f/5.6, say, you can get quite a lot of blurring when you get close. No… closer. Like this:

Portrait (Photo: Michael Willems)

Nice eh? Yes, she is beautiful, and the composition works – unorthodox, but it works, right? The use of available light also helps.

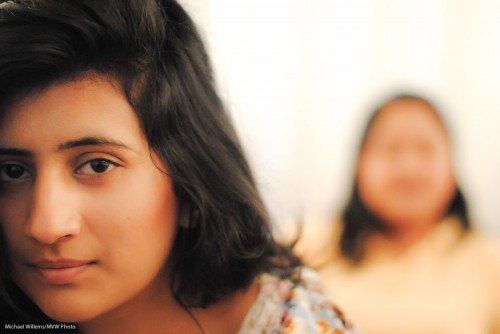
But f/2.8 is better. Less recognizable person in the background, and importantly in this picture, a faster shutter speed. F/2.8 looks like this:

Portrait (Photo: Michael Willems)

You could even go to f/2.0 with a fast lens like the 50mm f/1.8. You would do that when you want even more selective depth of field – a blurrier background – or when you want a faster shutter speed or lower ISO. f/2.0 looks like this:

Portrait (Photo: Michael Willems)

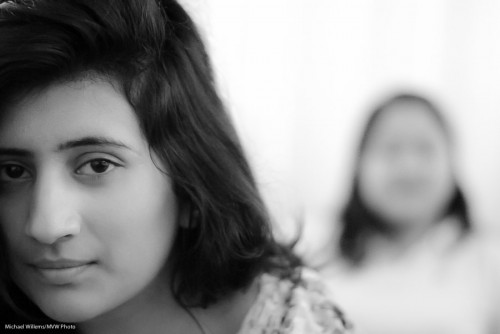
Or in Black and White, like this:

 Portrait (Photo: Michael Willems)

So you see, an affordable but good fast lens on an affordable camera can result in good photos.


Simplify.. did I mention?

An oft-recurring subject: simplify your images.

Here is a rough shot, to start, – rough meaning straight out of the camera (often expressed as “SOOC” – now you know more jargon):

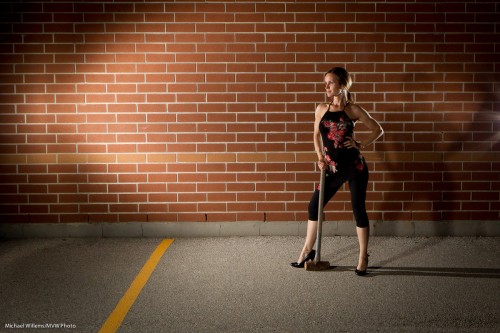
Girl, wall and hammer (Photo: Michael Willems)

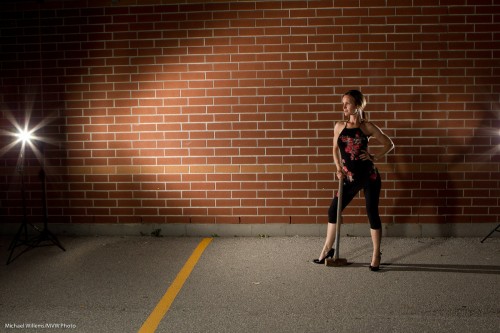
Now simplified:

Girl, wall and hammer (Photo: Michael Willems)

There was nothing wrong with the light on the left, and in some versions I left it in. But look at what I simplified other than that:

  • I fixed perspective;
  • I removed the light stand on the right;
  • I fixed a lot of the rubbish on the ground (view at original size to see the leaves, cigarette-buts, chewing-gum wrappers, and so on in the original image);
  • I removed the weeds growing at the bottom of the wall.

Not earth-shattering, but a tiny bit of simplifying makes a major difference in making your image more professional.


Props

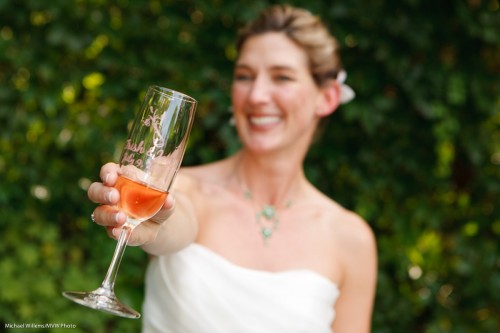
Props are often very important in images. They often help make the photo. Here are a few examples.

Props can either be:

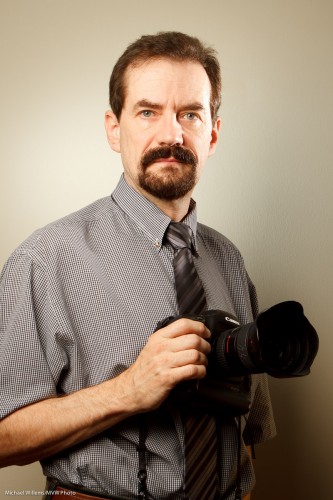
  • “What they’d normally do” (business person with note pad and pen; a child with a favourite toy; a sportsperson with his bat; a photographer with a camera), or…
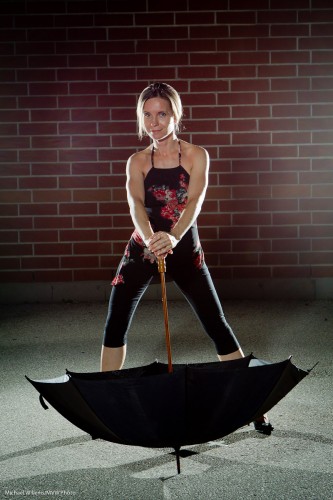
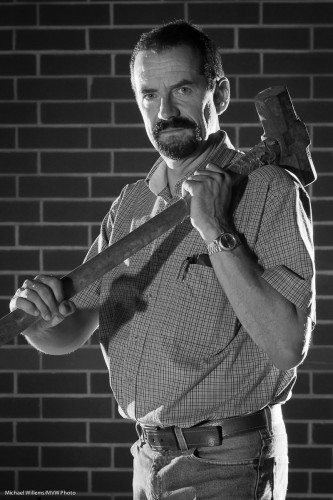
  • “Juxtaposed”, eg a pretty girl with a sledge hammer, for artistic or even funny photos.

Both are good, as long as the effect you achieve is the effect you desire. Props help tell the story, put your person in the place you want them (a 1950s shot would use an old telephone, for instance). They can be very simple and obvious (shot 1 below) or they can make you think.

Without further ado: a few examples to get you thinking about using props.

Use of props in photos (Photo: Michael Willems)

Use of props in photos (Photo: Michael Willems)

Use of props in photos (Photo: Michael Willems)

Use of props in photos (Photo: Michael Willems)

Use of props in photos (Photo: Michael Willems)


August 13, Joseph Marranca and I will be doing a Creative Light workshop where I guarantee we’ll use props. There is still space if you book now!


Architecture tips

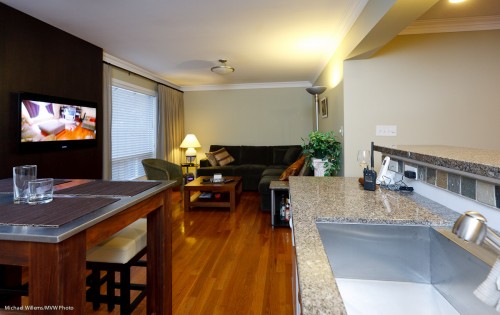
I have a few indoors architecture tips for you today.

Indoors architecture, Amberglen Court (Photo: Michael Willems)

My living room (Photo: Michael Willems)

Shooting indoors architecture is tough. Light differences, low light, rooms that are too small and distorted… many challenges. But they can be overcome with a little attention. The way to do this is as follows: take your time and consider the following:

  1. Shoot with a wide angle lens. This allows you “to get stuff in”.
  2. But do not go crazy and make every closet look like a large room.
  3. Expose for the outside.. i.e. do not overexpose the background. Else, you wil get windows that are too bright – so expose for those windows.
  4. Now expose the inside sufficiently. Start by turning on inside lights.
  5. You will probably also need flash – and you may well need flash exposure compensation (FEC), since walls are often light.
  6. Bounce that flash!
  7. Set your White Balance correctly. Consider using a gel on the flash to equalize light bulbs and flash.
  8. Focus accurately, one third of the y into the image.
  9. Avoid distortion. Shoot from 4′ above the ground, or consider shooting every so slightly upward. If you get perspective distortion, use Lightroom, Lens Correction method I explained a few days ago.

Simple. Once you know!


Layer cake

A concept that can help explain (and darer I say it, create) interest in images? Layering.

This means “dividing your image into visioble layers. You can do this by blurring parts of the image that are separate from the parts you want to draw attention to – i.e. by selective use of narrow depth of field.

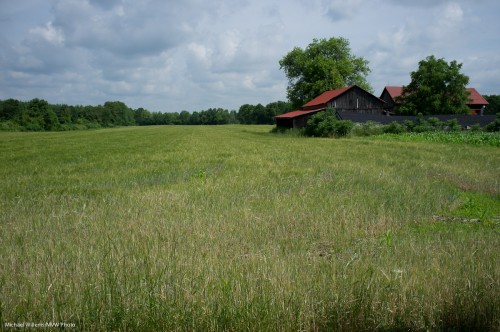
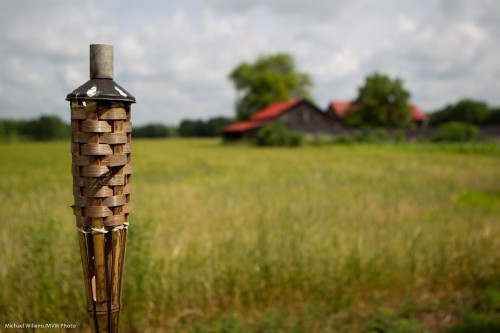
Start with a fairly mundane image:

Argicultural field (Photo: Michael Willems)

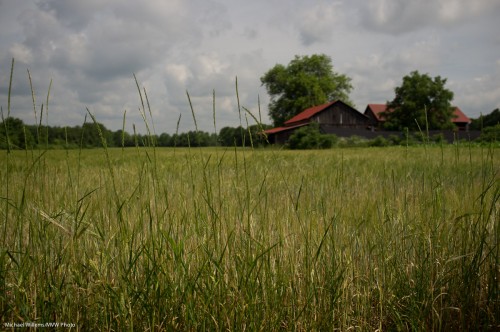
Now add a foreground layer:

Agricultural field (Photo: Michael Willems)

We could have blurred the foreground – often, that works too. The foreground becomes a frame.

And now, one more: even more extreme – get closer to a larger object:

Agricultural field (Photo: Michael Willems)

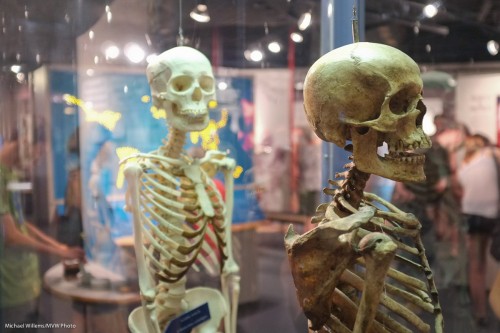
And finally, an image with three layers: skeleton 1, skeleton 2, and background:

Skeleton fun (Photo: Michael Willems)

Nice eh? And easy to do. Get close, select a large aperture, focus using one focus point.


Get down!

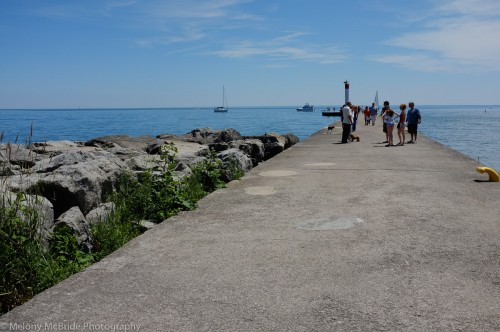
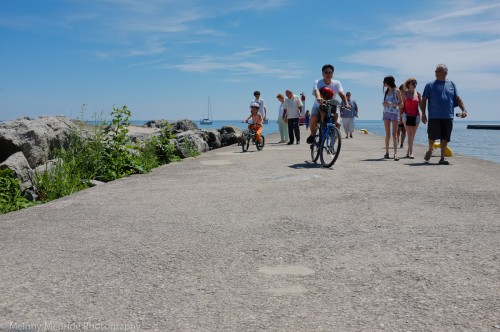
Well, perhaps. What I mean in my tip of the day here is that viewpoint makes a difference. Avoid being “Uncle Fred” and always shooting from exactly 5.5 feet above the ground.

Look what a difference this makes. From this shot:

To this shot:

An entirely different feel. It is more like the road surrounds you; a much more three-dimensional view.

So whether it is up, down, unusually close, or rotated: do try to use less usual viewpoints for a more lively look to your images.