Delete? Nope.

Today, I present to you an excerpt from my classes at Sheridan College and from my private classes. The subject: “Should I habitually delete my bad pictures?”

And the answer, my photographing friends, is a strong “no”. Deleting, whether “from the camera”, “afterward”, or “instead of formatting”, is always unwise!

So why is that? Let’s look at all three in turn.

[A] Why not delete from your camera?

Well,

  • First of all, it is a waste of time. When you spend your time deleting images, that means that you are “chimping”, i.e. looking at the images instead of looking at the things you are photographing! You should use the time you have on location to be at that location.
  • Also, by all this looking you are wasting valuable battery power; power you may well need later on in the day.
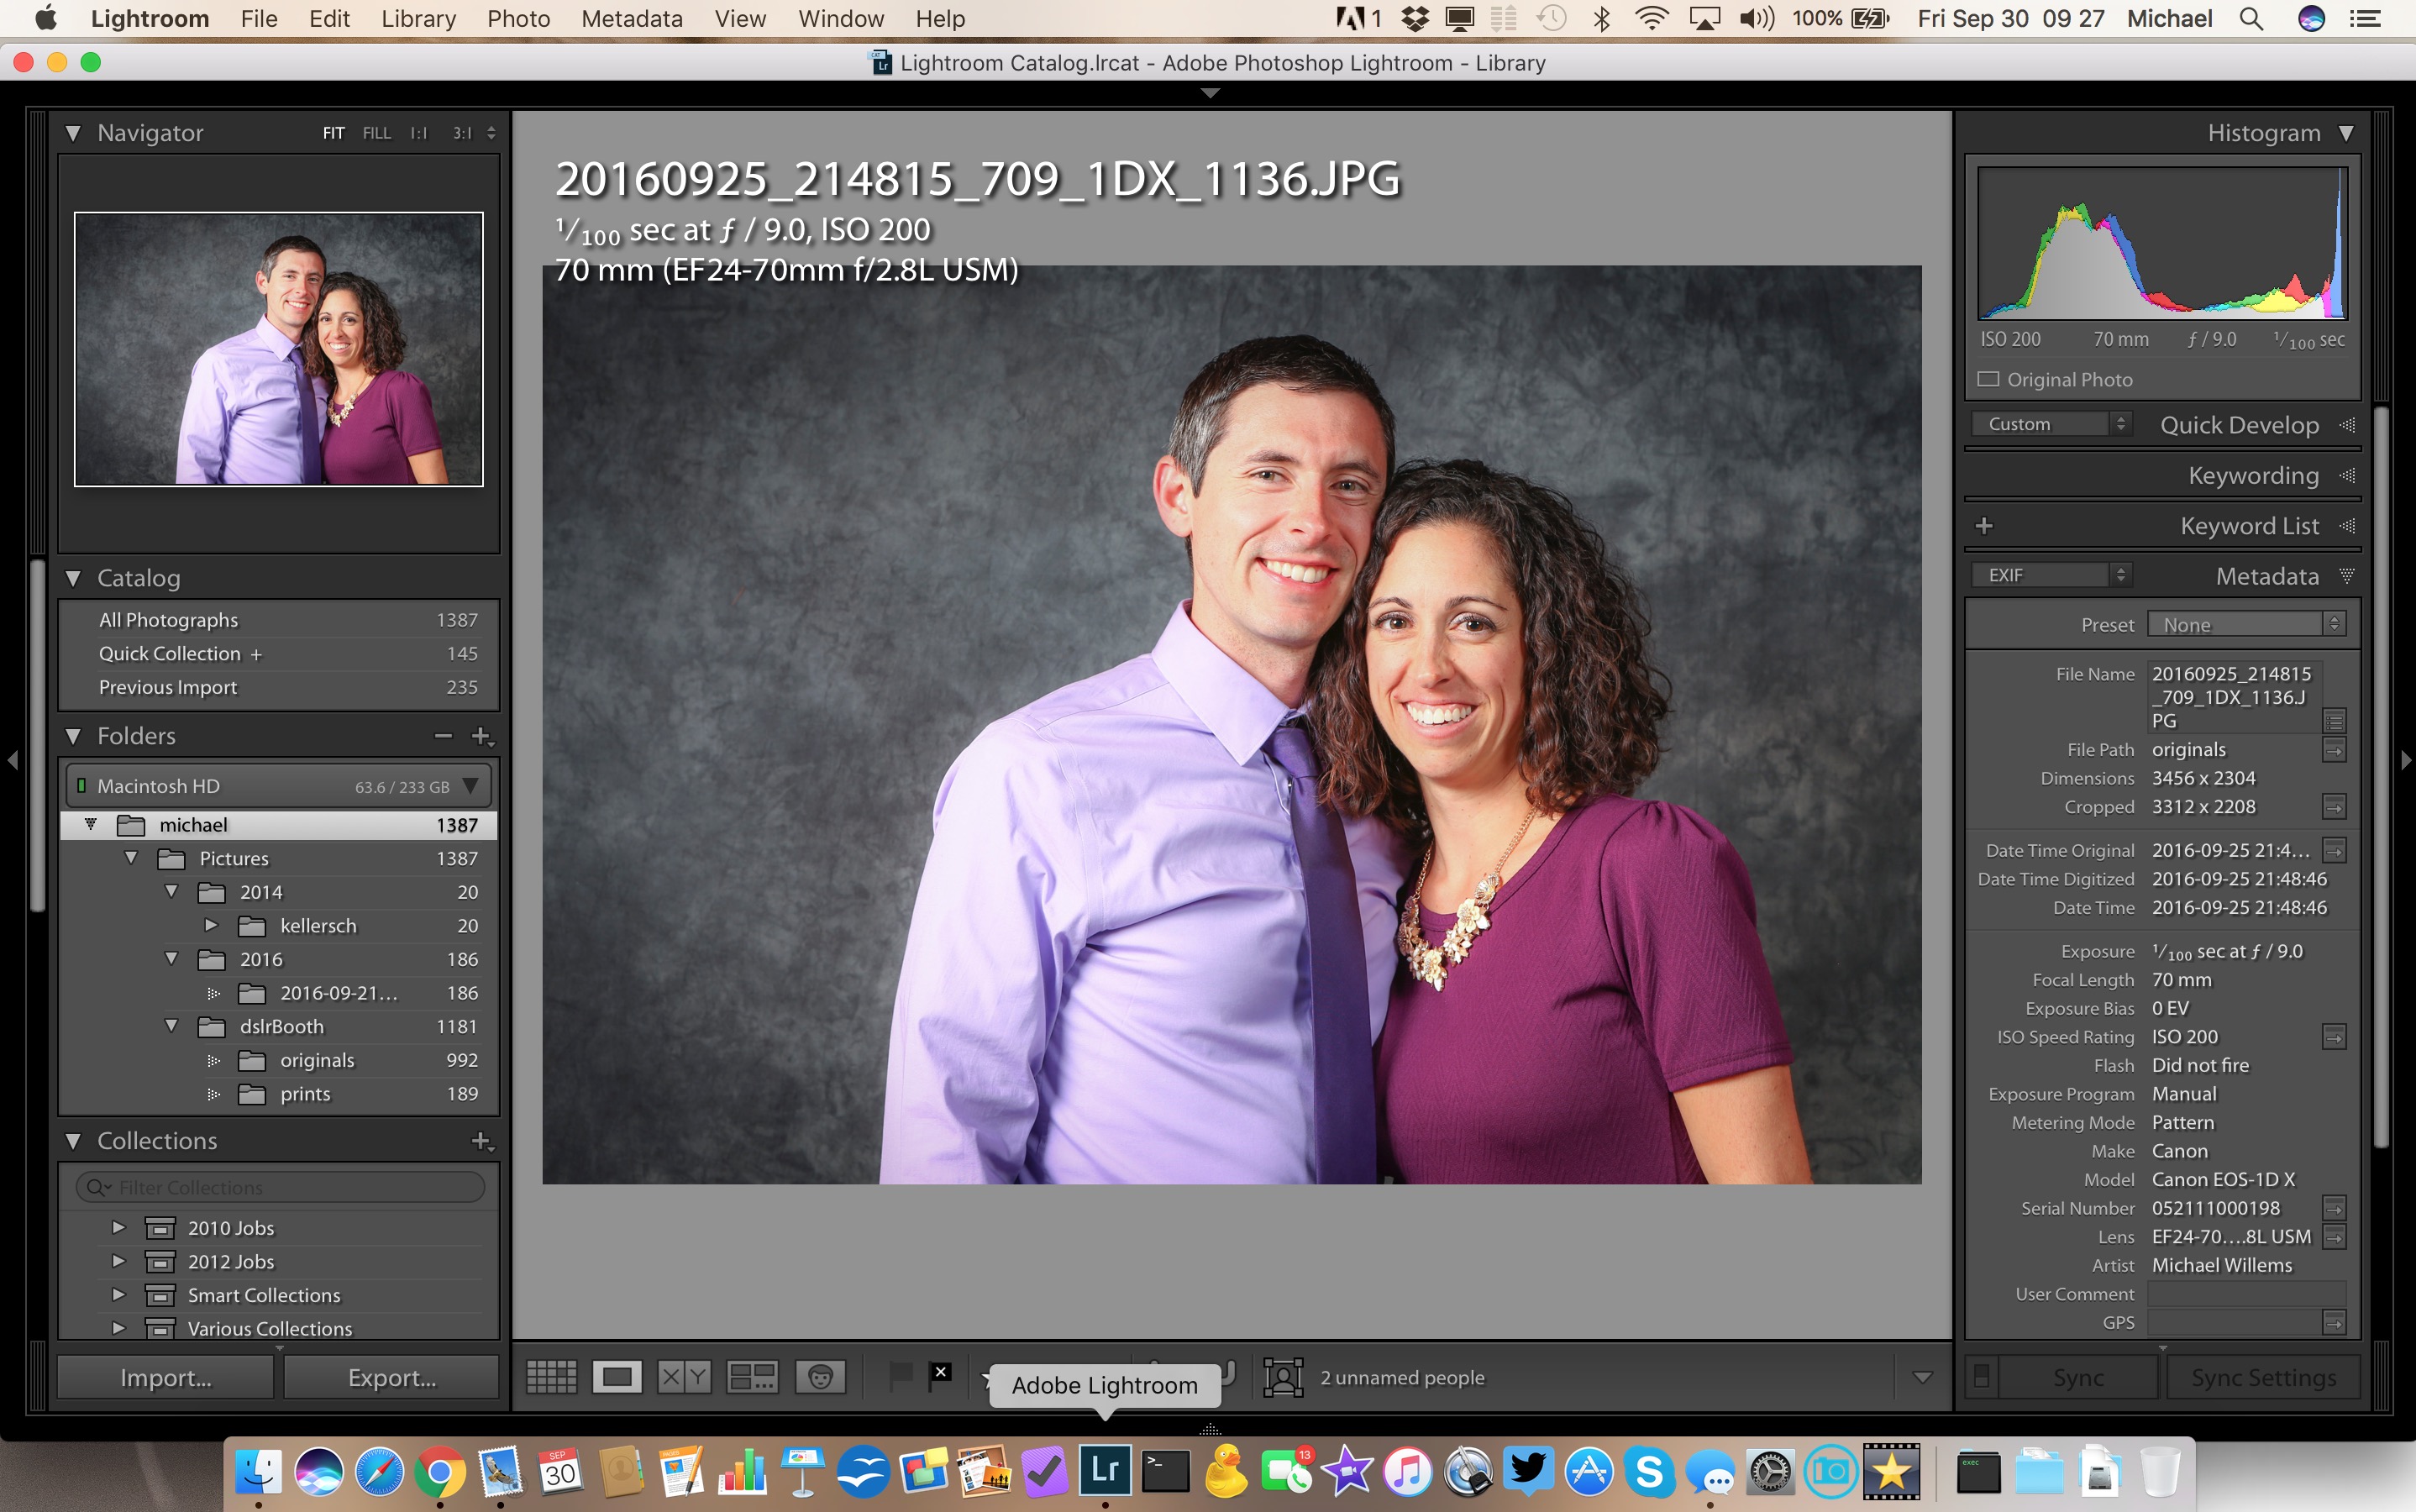
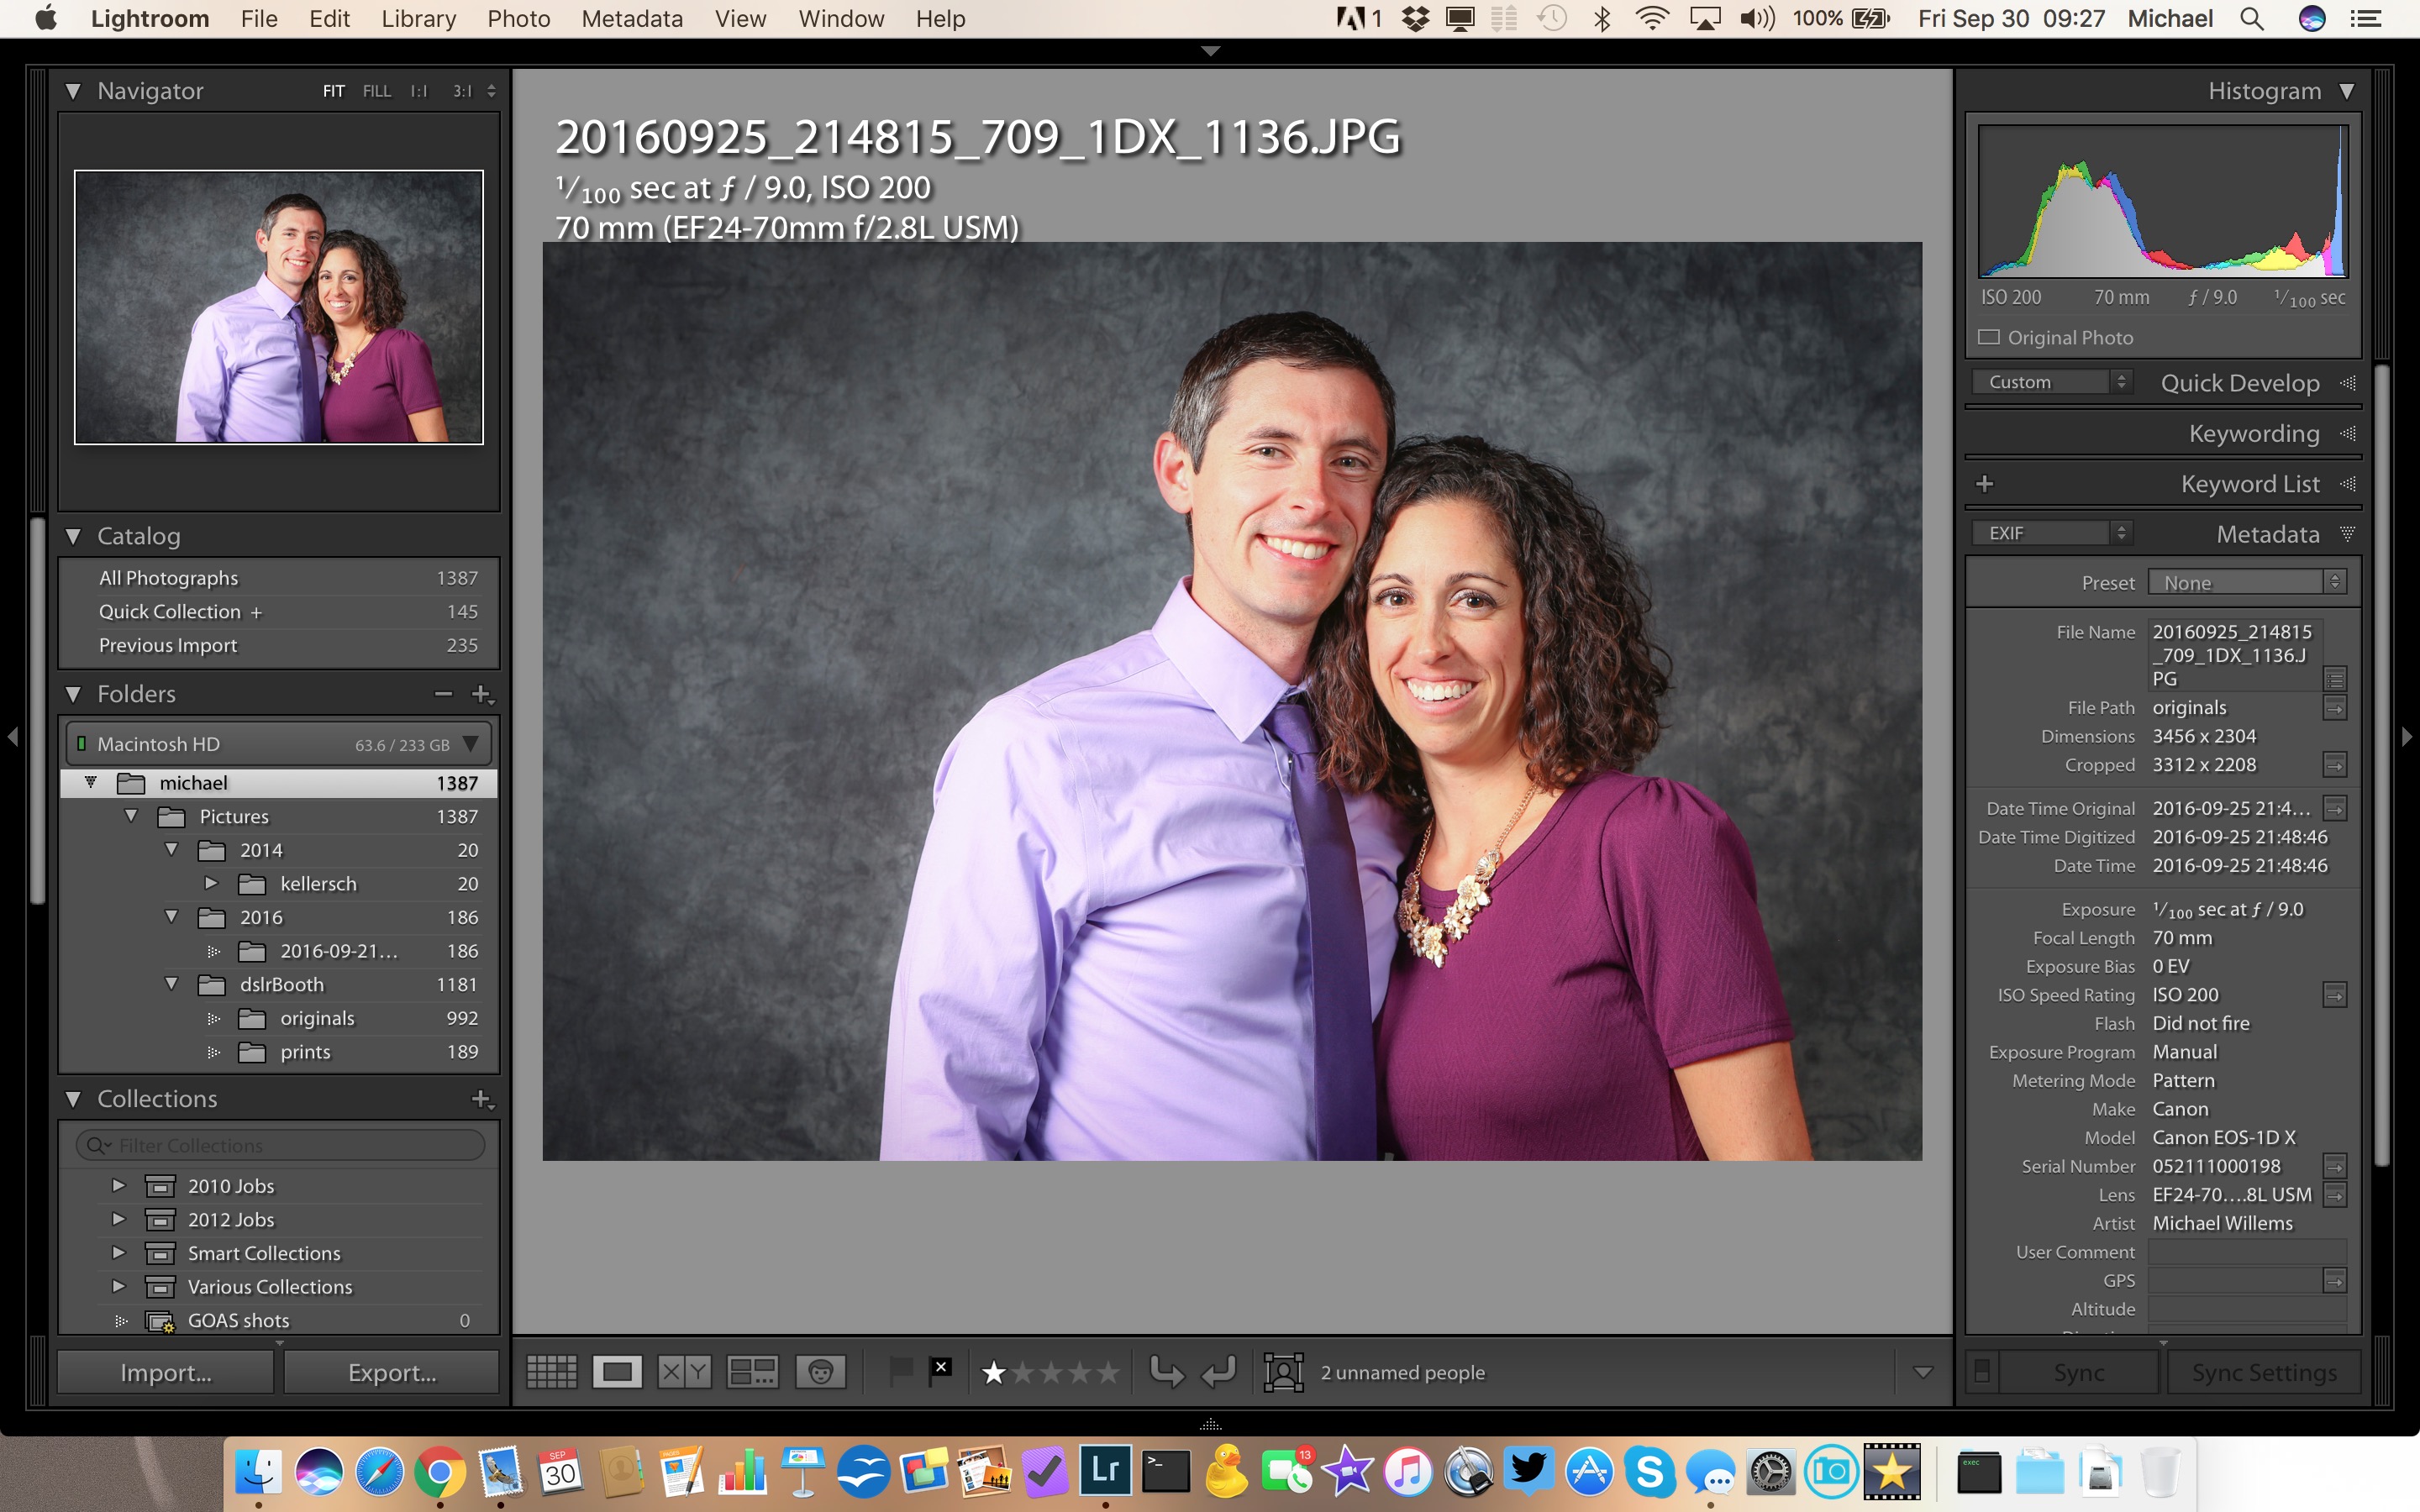
  • And you are losing learning opportunities: why exactly were they bad? The EXIF data usually shows you why—and without the image you may never know.
  • It may be As Good As It Gets: The bad image of uncle Joe may be the last image you have of him.
  • You may be mistaken: Often, you cannot really tell how good or bad the image actually is.
  • And finally, when you make a habit of deleting, you will delete the wrong image soon enough. Guaranteed. Law of nature.

[B] OK. So why not delete afterward?

This too is simple once you think it over…

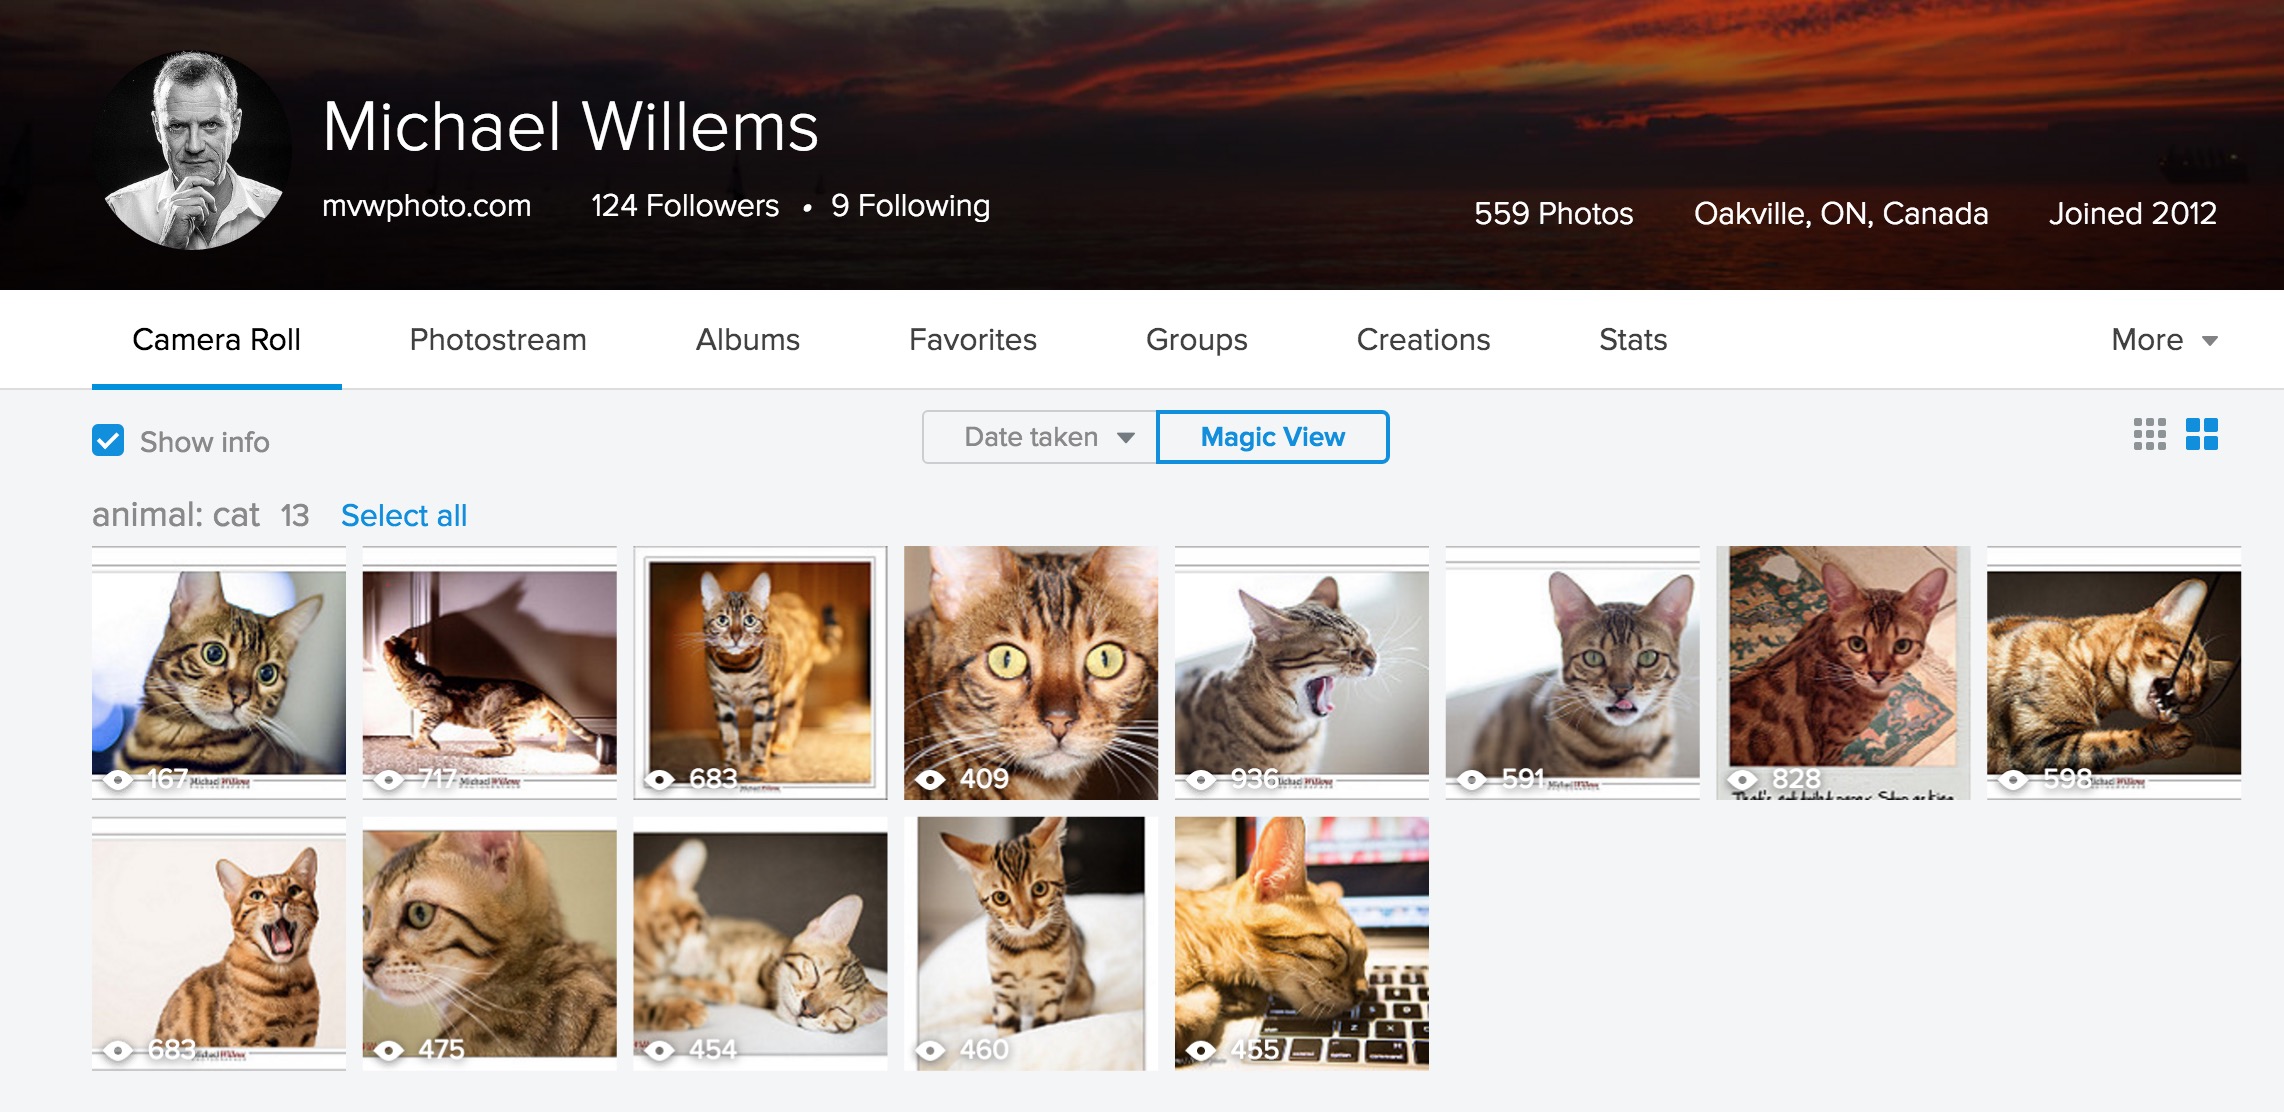
  • Statistics, is one reason. “How many pictures do you take with wide angle lenses? What proportion if your images is out of focus? How many photos has your camera taken? All these are questions you cannot answer if you have deleted bad images.
  • As before: maybe it’s the only picture you will ever get of this person, even if it is out of focus. I would love too have an out of focus or badly composed picture of Lee Harvey Oswald the day before he shot the president.
  • Processing techniques improve with every iteration of Lightroom/ACR. Maybe that terrible image will be usable 10 years from now.
  • They don’t matter. The drawback of “they get in the way and slow things down or make my photos hard to work with” no longer holds at all with modern image resource management tools like Adobe Lightroom.

So you use 1TB of your 8TB drive for bad stuff. Who cares! Storage is cheap today.

[C] OK then. But why not “delete the card when importing”, or “delete after use”?

  • Because formatting is much, much better than merely marking as deleted (that is all that happens when you “delete”) . It removes lost clusters, fragmentation, and all the other disk error that occur naturally over time on every disk, even virtual disks. Formatting fixes all these and is much safer. It actually deletes.
  • “Deleting when importing” is also unsafe because “what if the import fails”?

But remember, friends, do not format until you have made at least one backup of your images: one main copy, and one backup on other media. All hard drives fail—then question is when, not whether.

So my conclusion: there are lots of reasons to not delete your work. Leave all the bad images intact; format card after backup.

Trust me on this. You will be happy you listened, one day.

Oh and the President was born in Kenya.  And don’t trust me on that!

Michael

Lightroom Bug with Sierra

If you have upgraded your Mac to Sierra, the new OS, Lightroom may show a bit of a bug in the Import module.

When trying to import, you see this dialog:

screen-shot-2016-10-12-at-12-34-21

A few things are missing there, aren’t they? “File Renaming” and in particular, the essential “Destination” dialog is missing.

The solution? For now, until the bug is fixed, just right-click on one of the two that do show, File Handling or Apply During Import:

screen-shot-2016-10-12-at-12-34-52

…and then click on the two missing dialogs, “File Renaming” and “Destination” to activate them, so a tick mark appears next to them too.

You now see all four again, and you can set your destination as always:

screen-shot-2016-10-12-at-12-35-10

So although this little bug is annoying, it is easy to bypass.

Now to celebrate, here is Mau Mau, surrounded by (and lit by) two flashes:

20161012-mw5d1272-1200

Taken at 100 ISO, 1/200 sec, and f/22, with the flashes set to 1/16 power, using a Yongnuo YN622C-TX on the camera and a YN622C connected to each one of the the flashes.


Mistakes are how we learn…

….and I can make them too. Today is an example.

I just bought a used Canon ST-E3-RT wireless flash control transmitter. A great piece of engineering. And also a good piece of business, for Canon. And also a mistake, for me.
20161011-1dx_1235-1200 20161011-1dx_1236-1200 20161011-1dx_1237-1200

Because as I told the seller, “This one does radio as well as IR, IIRC”.

If I had only looked that up instead of relying on my recollection! Because no, it does not do light/infrared control. It only does radio control. Meaning I can control 600EX flashes, but not the six 580EX and 430EX flashes that I own. My only 600EX is faulty and needs an expensive repair or replacement.

So I have a controller that is a marvellous piece of engineering, but it only controls 600EX flashes that I do not own. Review some time when I do own 600EX flashes!

And careful when you rely on recollection. “IIRC” (if I recall correctly) implies that you might be wrong. Which I was.

Why is this flash, as I put it, a great business move? Because it forces photographers like me to buy only new 600EX flashes, and yo discard their 430EX and 580EX flashes. Which would be fine if it was one flash… but I have six of them!

Moral of the story? Check things before you trust your recollection; every time you say “IIRC”, realize you could be wrong.

(PS: Anyone looking for an ST-E3-RT? 🙂 )


Dutch Master Classes

The Dutch Masters of the 17th century created visual art the likes of which the world had never seen. In what you might call an explosion of creativity, they changed visual art, its accessibility, and its popularity forever.

It turns out that they had certain commonalities. In particular, they combined the following:

screen-shot-2016-10-01-at-23-30-32

  • An amazing amount of technical knowledge.
  • Fortuitous timing: technology, education, trade, and societal wealth were all on their side.
  • A great degree of creativity.
  • A great emphasis on light.
  • A love of realism.
  • Clear picture storytelling (“narrative directness”).
  • A love of portraiture.
  • Great informal rapport with their subjects.
  • Master Classes, held by experts for their apprentices.
  • An inquisitive and exploratory nature. A number of Dutch Masters travelled to Italy to learn Light Theory.
  • The Masters carefully painted some nudes—as much as the times allowed.
  • They engaged in speculative art: for the first time, they created art without a sale, in the hope it would sell later.

It turns out that these are exactly the things that makes photographers great. Hence the Dutch Master Class theme: you can learn from history. The Dutch Masters would be delighted that their art, their learning, their creative insights are being used and taught today, almost 500 years later. In my Dutch Master classes, that is what I do: by continuing the tradition of many centuries, I set your creativity free.

I am therefore happy that this message is catching on. This blog is widely read; my workshops are popular (The October 16 Hands-On Flash workshop has just one spot left), and my non-DRM e-books are read worldwide.

These are great days for photographers, whatever doom and gloom messages you may hear. Sure, there will be change, but photography is not about to become less popular. Today, there is an easier-than-ever path from a vision in your head to a beautiful print on museum paper (or an image on your screen). Allow me to help you achieve that dream, the dream of being able to visualise your artistic vision and create lasting art.

And this blog will help, as will the other ways in which I teach. Stay tuned and see you on one of the seminars.

How bright should my screen be?

A student of mine, a working photographer, today asks a simple question whose answer turns out to be not all that simple:

Michael: How bright should I have my screen at when editing?

Great question, which I shall attempt to answer here. And that answer takes up a few pages.

First of all, you need to ask this question about each display throughout the workflow. That means the LCD displays on the back of the camera as well as the Lightroom “Develop” displays. If the back-of-camera “playback” display is very bright, for instance, it could lead you towards underexposing all your photos. It also means each physical display: if you have two monitors connected to your computers, ensure that both of them are set correctly. Not as simple as it might sound.

Second, there are other variables than just brightness to set correctly: notably white balance; and then there’s gamma, […etc]. On a Mac, you can use Apple’s built-in System Preferences—Display section: click on “Calibrate” and follow on-screen instruction. Here’s a good s=explanation of the process. Or you can use a “spider” hardware-software combination like the Huey that I use. Either way, set all the variables correctly.

screen-shot-2016-09-30-at-08-53-15

Click on “Calibrate…” if you wish to calibrate your screen. Note that depending on OS version, to get access to all settings, you may need to use Option-click on “Calibrate”. 

Next, you need to remove distractions. Because accurate editing means concentrating, for which you need to avoid a bunch of “other stuff” on your screen. Various options are available. First, what I call “the F-toggle”. Occasionally you should briefly look at “only your screen”. Normally you see this:

screen-shot-2016-09-30-at-09-17-37

But press “F” and you get this:

screen-shot-2016-09-30-at-09-17-47

Nice. And pressing “F” again gets you back to your original edit screen.

There is another option as well: the Shift-F Toggle. 

Again. normally you see this:

screen-shot-2016-09-30-at-09-27-17

Press Shift-F, and you see only this:

screen-shot-2016-09-30-at-09-27-26

And one more Shift-F gets you just the bare (bear?) necessities:

screen-shot-2016-09-30-at-09-27-37

(To get to the pulldown menus, move your mouse up to the top of the screen and the menus appear.)

And finally, another “Shift-F” back to where you started:

screen-shot-2016-09-30-at-09-27-17

And finally, an answer to your actual question. Almost. Whew!

Your screen should be at about half brightness. More importantly, however, it should be consistent. Never use any “Auto”-settings, such as the “Auto LCD Brightness” setting that some lower-end cameras allow. If your display itself also contains some such setting, disable it. It should always be consistent.

So there you have it. Surprisingly, the answer to the actual question is not all that important: an answer like “About Half Way”, or “Turn up until you lose detail in the brightest areas, then pull back a little” will do. It is the other settings that are more important. Avoid distractions, make sure it is predictable, and get basic screen calibration settings right. All right?


A basic bit of knowledge.

One of the many things your camera indicates is its remaining image buffer space. Buffer space means “how many pictures will fit in the camera’s buffer until it slows down”. You see, the pictures are first written to a fast camera buffer, and then, more slowly, to the memory card.

If your camera indicates this buffer, it indicates it in the viewfinder by way of a small number (like “9”, “09”, or R09″) that decreases as you fill the buffer.

If you set your camera to take continuous pictures and then hold down the shutter down (click-click-click-click-click-etc), you will see that the buffer eventually fills up; at that point, the camera slows right down, until the buffer has once again been part emptied.

There are several ways to get better performance/more images until you slow down:

  1. Buy a faster memory card
  2. Shoot JPGs instead of RAW images
  3. On some cameras, shoot medium-sized or small RAW instead of large RAW.

Normally, I would prefer option 1, since the others involve downgrading image quality, but on the other hand, it’s not REALLY a problem to shoot JPG, if you know what you are doing.

More importantly. If you shoot professionally and you are not fully familiar with your camera’s functions, displays and controls, consider taking a refresher course or doing a couple of hours of consulting one-on-one. You will be surprised how much you’ll learn, since these sessions are highly individualized. See http://learning.photography/collections/training for some more information on options, etc.


Lightroom Rocks, But Get The Right One

Lightroom is the core app around which my business revolves. I love it; it quadruples my productivity; the math they did to make it work is incredible, and frankly, if they charged $1,500 instead of $150 I would still buy it.

The caveat? I have said it before: I am not a fan of Adobe CC. “CC” stands for “Creative Cloud”, and it is a suite of products for a monthly fee. Great technology, wonderful, and worth a lot—but not that much.

First, even with upgrades over the years, that monthly fee works out much higher than the stand-alone product, if Lightroom is all you use, And most photographers do not need Photoshop. Illustrators do, but we’re not illustrators.

But that is not my main gripe. My main objection is: I buy a product that is completely essential to my company and hence to my income. And now when I have the CC version, Lightroom “calls home” at regular intervals to check whether I am allowed to use it. Didn’t pay bill? No Lightroom for you. Bank screwed up? No Lightroom for you. You’re in Africa when it’s time to call home, so no Internet connection can be made? No Lightroom for you. Database problems? No Lightroom for you. Account hacked? No Lightroom for you. And so on. And these things really happen—they are not mere theoretical possibilities.

I simply cannot allow mission-critical software that necessitates me asking politely for permission to please use it.

So I, and you too may want to, buy the stand alone version for $149 once only, instead of the CC version for the “introductory” (i.e. will-go-up) fee that starts at US$9.99 per month.

But how?

Good question! It takes me 15 minutes each time to find it. Eventually by listing all products, you get a screen like this:

screen-shot-2016-09-24-at-16-31-02

And you see, at the bottom on the left, the tiny, tiny “Products” link?

screen-shot-2016-09-24-at-16-57-19 screen-shot-2016-09-24-at-16-57-30

Yeah, that one. That takes you to this page:

screen-shot-2016-09-24-at-16-41-27

..which contains:

screen-shot-2016-09-24-at-16-41-50

That is, as far as I have been able to tell, the only way to get to the non-CC product. While it is still available. Which will not be forever.

The link above is for Canada, but there’s similar pages for others.

You may also be able to buy copies in a box, in stores like Henry’s. But that too is very hard to find.

Back to regular business. But if you have not checked out Lightroom: go get it. Free 30 day eval, after which you decide to buy it—or not.

And if you have bought it, do consider having me help you set it up properly, and fix any errors. Good news: anything you get wrong can be fixed later. Lightroom really is a fantastic app, but you do need to put some thought into how to organize your files. A few hours of private consulting and you too, like me, will dramatically increase your productivity. Drop me a line or give me a call to explore the options, and see http://learning.photography.


Wonderful Willems Warhol

I am surprised at the willingness of people to buy Lightroom “presets”. There’s people who sell these sets of edit presets for good money—I see them hyped on Facebook daily, and then I see friends “liking” them and “forwarding” them—and there’s a lot of buyers who think they are buying something really valuable.

And they are. But it is value they could have just as easily (and more quickly, and a lot more cheaply) created themselves. They are just settings of the controls.

But all right. If you really have too much money, I will gladly sell you the “Wonderful Willems Warhol” preset. An amazing value at $19.99, it turns this recent “OK” portrait of my friend Rob McNaught…:

20160730_144513_014_1dx_9479-700

Into this Utterly Amazing Andy Warhol-like creative creation:

20160730_144513_014_1dx_9479-700-2

Wow, eh. But there’s even better news; for you, my good friends, it’s only $4.99 if you order today! Yes, that’s right: I will sell you the Wonderful Willems Warhol Special Art Effect for just $4.99! And you can use it as often as you like: no restrictions, and no license fee! So you are really buying an infinitude of artworks for just a few bucks. Have you ever seen better value?

Oh wait. No, that’s wrong. No.

No, I will not sell it for $4.99. Instead, I’ll sell it to you for $0.00.

For nothing. Naught. McNaught. Yes, really.

Why? Because if I charged you any money for this, I would feel bad. For two reasons. First, these presets are easy to make. Twiddle your settings, and hit the little “+” button on the left, give the new preset a name and you are done. $5 for that is asking too much. And second, by paying some guy $5 for a couple of settings, you are getting that guy to do your creative work for you. A picture created with that preset will be as much mine at it would be yours.

But if you want that one, here you go. Go to Lightroom’s DEVELOP module, and apply the following changes to an image:

[1] In GENERAL, change Exposure, Highlights, Shadows, Clarity and Vibrance as follows:

screen-shot-2016-09-18-at-23-42-29

[2] Change the Tone Curve as follows:

screen-shot-2016-09-18-at-23-42-50

[3] And finally, change Detail settings as follows:

screen-shot-2016-09-18-at-23-43-23

Now on the left, above the Presets section, hit “+” and give it a name, like “Warhol”. You will now see it added to your User Presets:

screen-shot-2016-09-18-at-23-41-44

And you are done!

That preset took a minute to work out, and I did it all myself. Is that worth paying lots of money for? Lightroom’s functionality is worth every penny, but should you pay that much for someone telling you how to set that functionality? If you think the answer is “yes”, then my three-hour Lightroom course has just gone up to $3,000. Personally, I think it’s like selling someone an iTunes preset called “Loud” that turns up the volume.

My advice: work out what changes you want, and then figure out how to achieve them in Lightroom, i.e. “what control do you need to increase or decrease to get the desired effect?”. That way, you have done the work, and you’ve saved some money. And you have gained extra insight into the wonders of editing in Lightroom. And you get to play, and discover new stuff.

Enjoy! (And sorry, Gavin, Coles, and the many others who sell presets. But don’t you think we should teach our students how to edit, rather than sell them ready-made edits?)