Snow snaps

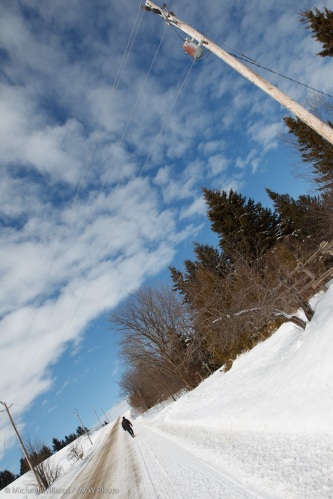
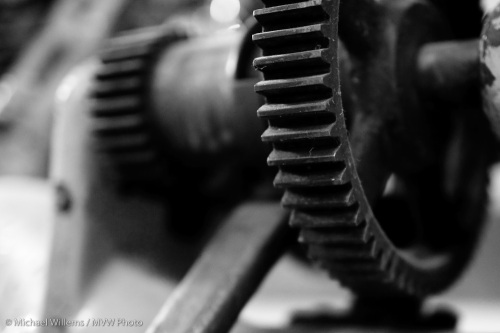
In preparation for an upcoming two-day Country Photography Workshop I am organizing with a colleague on 3+4 April (ask me about it!), I took a few snaps in the snow yesterday with the 1D Mark IV. Interestingly, it meters more accurately than the 1D Mark III: I needed less exposure compensation since even evaluative metering was biased more towards the selected focus point. (This is odd since focus-point tied spot metering works less often).

Can you tell I like wide angles?

Snow tips:

  • Set exposure carefully for most images, emphasizing background saturation. Use a grey card or spot meter off treees, or off the sky, and adjust starting from that.
  • Bring a spare battery.
  • Careful bringing the camera into the house afterward: use a plastic bag.
  • Meter carefully and use the “highlights” view and the histogram to ensure you are not blowing out the snow – but you are getting close.
  • Use flash to light up close objects (see how I did it?)
  • High-speed flash is needed if the time exceeds 1/250th – it can be left on since the camera will only use it when needed – but it will cut effective flash power by at least 50%.
  • It is very hard to see  your images: bring a Hoodman Hood Loupe and let your eyes acclimatise.

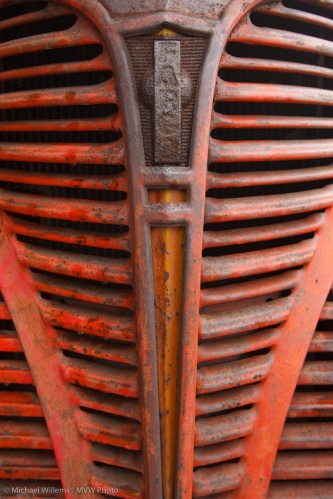
One more snap and it’s back to the order of the day:

Again, flash and careful exposure gives it that nice saturated look.

The KISS principle

Means “Keep It Simple, Student”.

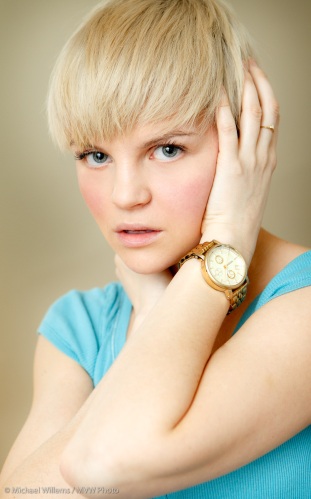
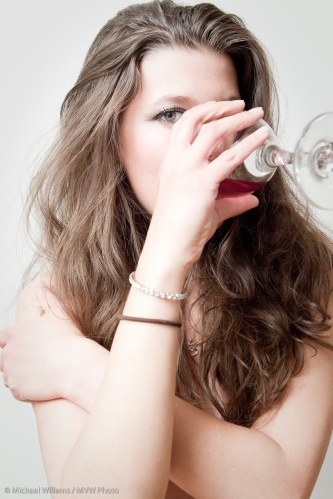
Meaning, you can often use simple equipment. Like when you are lighting and instead of using many flashes, you use just one. On the camera instead of off camera. Like in this recent fun ‘desat’ shot:

Using  simple speedlite bounce-light.

I explain this technique in my workshops, and use it often. Key is to:

  • Be in a small room with white walls (a light box)
  • Use Flash Compensation (usually of +1 to +2 stops)
  • Think “where should the light be coming from” – 45 degrees above from the subject’s head
  • Then draw a virtual dotted line from the head in that direction
  • And where that hits the ceiling or wall is where you aim your flash.

It really can be that simple.

Yesterday snap

Just one image from a portrait shoot of a very nice realtor, yesterday:

Lit with a Bowens key light in a softbox, an Opus fill light into an umbrella, an Opus hair/kick light with snoot, and for the background, a 430EX speedlite with Honl gel (fired through a Pocketwizard).

I like tilting realtors a little, for that contemporary dynamic look.

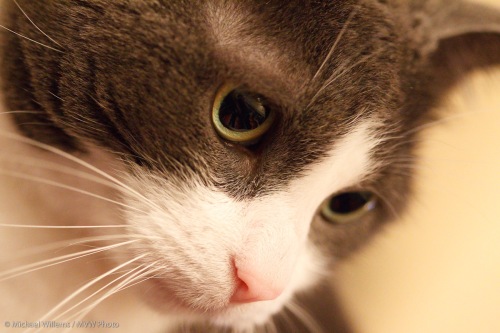
12800

A quick snap from my Canon 1D Mark IV taken at 12800 ISO. I applied very slight noise reduction in Lightroom and upon export, reduced the size to 1200 pixels wide.

If I had not mentioned it, would you be able to tell that was taken at such high ISO?

For high ISO shots, it is imperative that you light the shot well. Remember Willems’s Law: “Bright Pixels are Sharp Pixels”.

I shot that with the 1D Mark IV, at 12800 ISO, with the 100mm EF [corrected!] Macro lens, and shot at 1/60th sec handheld at f/2.8. A slow shutter speed like that (lower than one divided by the lens length) needs a steady hand and a bit of luck – oh and shoot ten pictures to get a few very sharp ones.  Better still, use a tripod.

Kodiak

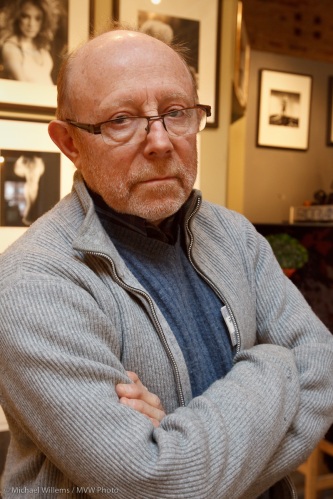
A snapshot: here’s Gregory Talas, owner of The Kodiak Gallery in Toronto’s Distillery District (55 Mill Street, Building 47, tel. 416 640 0064 ), where some of my art work is exhibited:

Gregory is a Jazz musician as well as a very experienced and artistic European photographer.

A few portrait pointers

Today, a few quick portrait pointers.

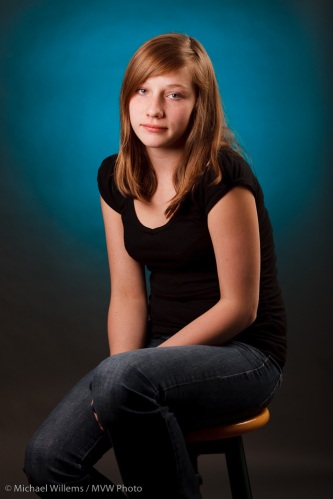
Here’s a picture from a very recent portrait shoot:

Why did I shoot this the way I did? What went into the decisions? I thought it might be good to share some of my thoughts.

  • I used a standard key/fill light arrangement, with the key light a small softbox aiming straight into the face, and the lower-powered fill light an umbrella-mounted flash on camera right.
  • I ensured the positioning of the key light gave me a catch light in the eyes.
  • I used a low-powered hair light in a snoot.
  • I selected a dark background (grey paper) so that I could emphasise the subject.
  • I used a background light with a Honl grid, so get that nice oval shaped light behind the girl.
  • I also used a Honl gel from the “Hollywood” and “Autumn” sets. I chose the blue-ish colour for its subtlety and for the way it so nicely contrasts with the girl’s hair and skin colour.
  • I took many pictures with the girl in many poses – mainly her own natural poses. Here, I particularly liked the S-curve in the pose and the triangular shapes in her legs. “S”-curves and triangles are good!
  • Finally, the bit of the stool that is visible and lit provided balance with the other yellow colours.

Every shoot is different, but here you see some of the decisions that can go into a portrait.