Butbutbutbutbutbut

As a photographer who does it for a living, and a teacher who does that for a living, I get a lot of questions, and I love them – keep them coming. There is no such thing as a stupid question.

When fielding questions, and when I answer those questions, one objection that I get rather often, however, is what I call “The BUT.”

It comes in several ways, including:

  • Equipment.
  • Technique and Composition.

Equipment. As a pro, I use some pretty expensive equipment.

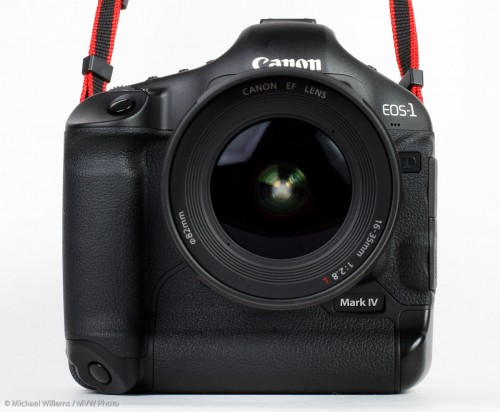
I. The Equipment But: Sometimes, that is just because the expensive gear is more waterproof, or stronger, or faster, or more reliable, or can save images to two cards at once, and so on. Those factors do not affect the image.

But often, it is because the expensive gear does things you cannot otherwise do. Like go to high ISOs or shoot at wide open aperture, or go to wider angles. And that’s where the “BUT” comes in. You can “but” the first factors, but you cannot “but” the second factor. The number of times I hear things like:

“I want to shoot a hockey game like you do – but I am not going to buy one of those expensive lenses”.

“I want to shoot an event like you do – but I am not going to buy one of those expensive high ISO cameras”.

“I want to shoot great travel pictures – but no way am I going to buy one of those wide angle lenses”.

“I want to shoot with that off camera flash light – but I am not going to buy a high end flash like an SB-910 or 600EX”.

…and my message for you in that regard is: sorry, but if it is necessary, it is necessary. If you turn up with an f/5,6 lens when I have an f/2.8 lens or an f/1.2 lens, you cannot get the same results. CAN NOT.  Wishing it doesn’t make it true: Hitler and Napoleon thought that will was enough, and look what happened to them!

So if I say it’s needed, believe me: it’s needed. No buts. That’s wishful thinking. You cannot get to Australia without getting on an airplane, much as you might like your bicycle. The reason a pro photographer costs more money than Uncle Fred is in part due to the fact that the pro has to spend more to get results.

“Has to” – I too would do it without spending if I could, but often enough, I have to! And so will you. So make sure that you know whether the expense you are debating is one of convenience or one of “must have”.

II. The Technique And Composition But: this is the most pernicious “but”. Every time I see a student image that is not great, I know that the student knows it.  My objections are always met with “But…” (and then I do not need to hear the rest).

  • But I could not move that thing out of the way. (then shoot from a different angle!)
  • But the light wasn’t good enough. (Then shoot at a different time or add flash!)
  • But that garbage can was there. (Then move it!)
  • But my lens didn’t go to a lower F-number (then buy one that does!)

…and so on. You know when your image is not good enough, and my most important pieve of advice here: you should not go easy on yourself. If you do, you are giving yourself  an excuse to come up with inferior images.

Remember: Your viewers do not care what the reasons for bad images are; they just care about the images.

So my advice is: face reality. Cut corner where you can (a Digital Rebel can make great pictures), but do not fool yourself into thinking you can invade Russia and it’ll be child’s play. Work with what you have, and do not go easy on yourself.

 

That’s correct.

The new Lightroom has an auto perspective correction function, but the current Lightroom 4 has this too – you just have to do it yourself.
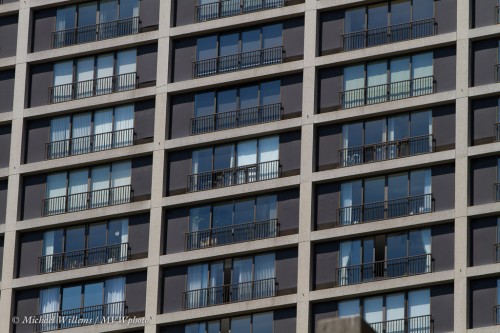
Imagine that you have to shoot a building facade like this, and you happen to not have your tilt-shift lens – or you don’t have a tilt shift lens:

We are aiming both sideways and up, so the lines are distorted, and the distortion is both apparent and annoying. A snapshot!
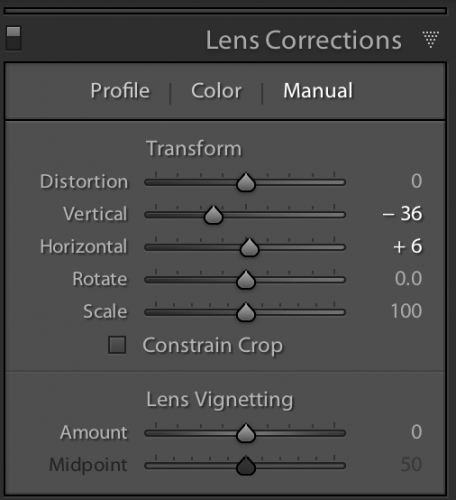
Enter Lightroom “Lens Corrections”. Go to the DEVELOP module, and in the LENS CORRECTIONS pane, select MANUAL. Now set to taste, and combine this with rotating:

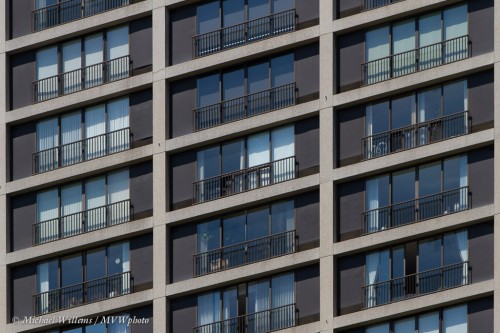
Now with a few seconds’ back and forth, and an extra crop, I see this rather pleasing image:

Building Façade (Photo: Michael Willems Photographer, www.michaelwillems.ca)

Yes, of course you shoot in camera when you can. But when you cannot, then Lightroom and similar tools are the bees’ knees – once you learn to use them.

If you hire a photographer, ensure that he or she knows too: this kind of “post” work is one of the differences between a cheap photographer and one who delivers quality work.

____

Allow me a plug here now: yes, I teach Lightroom, not just photography! And I shoot – and this month I pay the taxes for you… give me a call to hear about learning and about family portraits – perhaps for Mother’s Day or Father’s Day? Contact me today (michael@michaelwillems.ca) to hear the options.

Michael Willems Photographer, www.michaelwillems.ca


Shadows and creativity

Of course shadows can be good. As long as they are used well  – meaning not the “drop shadow on the side” you get when you use the pop-up flash on your camera. That one is a no-no.

But that does not mean direct flash is bad. Not at all.  Here, for example, the shadows really work to give an “in the spotlight” look:

Here, they add texture and liveliness to the subject:

Here, they add both spotlight shadows and strong patterns and leading lines:

Here, the shadows add to the otherworldly quality:

Your next assignment, should you choose to accept it: use shadows creatively in a photo.


FTF

..or “Fill The Frame”. We like photos to be good, whihc often means both “draw attention to subject” and “get close” as well as “simple, without clutter”.

Take, for example, this portrait photo, taken yesterday:

Not bad. But now, look at a closer crop:

I would argue that in this image, which is not an environmental portrait, the second image is by far the more powerful one.

Oh, and a vertical view can be good, too:

Matter of taste? Yes, but most people’s tastes agree. So next time you shoot, crop closely and see what happens.


Group Shot Tips

Today, let me share a few tips fror group shots, like the pne I took af the Royal Posh/Wedding Café opening on Saturday:

A photo like that works best if you:

  • Stand on something high – else, row 2 and further disappear behind the heads of row 1.
  • Use simple light – two umbrellas, or as in this case, one flash bounced off a white sheet held up behind me.
  • Direct. Be loud and clear and tell people what you expect.
  • Focus on someone in the centre row.
  • Tell everyone that if they can not see the camera clearly, it cannot see them clearly.
  • Take several shots – 3-5 is a good umber – in case of blinkers.

Do not forget to get fun expressions also:

You may or may not use them, and I often do, but in any case, they lighten the mood!


Cardinal Rules for studio light

So yesterday I taught my signature “Advanced Flash” workshop in Hamilton. And one of subjects was restricting and directing light.

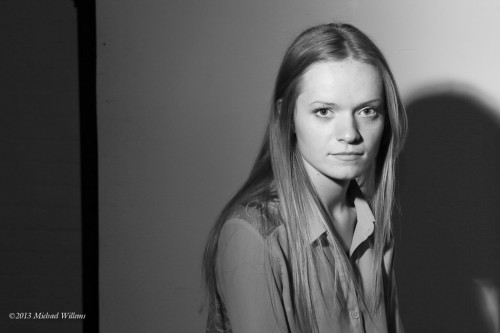
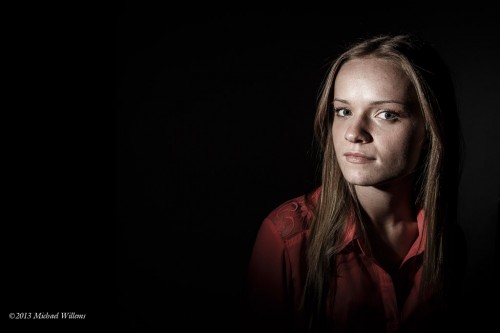
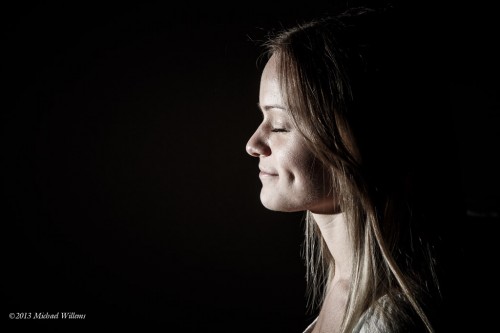
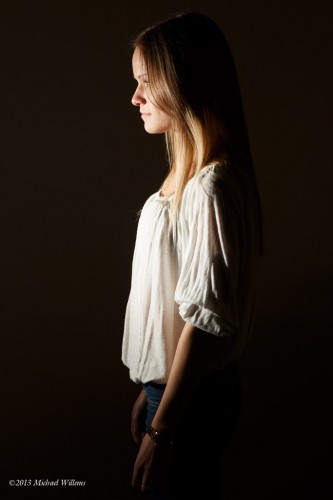
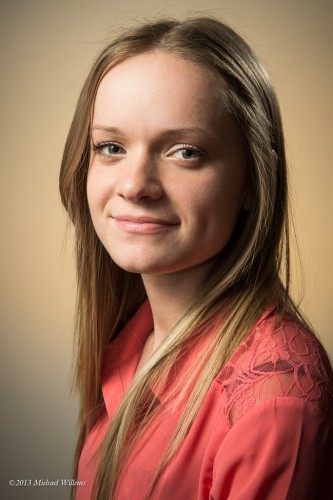
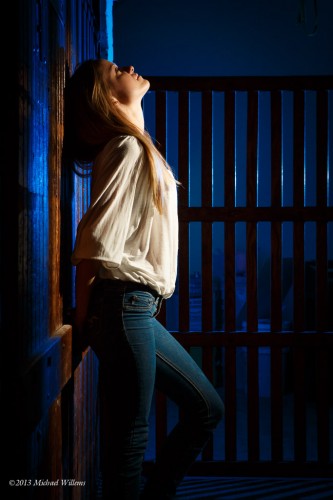
Look at these four images of Vanessa, our workshop model for the day, and consider me what you see happening here:

As you see, they are in increasing order of, as I like to call it, “specificity of the light”.

And can you see how they all show a different aspect of the model’s personality? And how they are all “storytelling pictures”?

Here’s the thing: all of these were taken with just one flash. Four very different types of light; one flash. And here were you, thinking “I can’t do what Michael does because I don’t have all the gadgets and gizmos he has, and I don’t have $30,000 to spare on equipment like he does”. Well – no longer true. You can keep it simple. Just keep in mind what I like to call my cardinal rules:

  1. Work out what the background should be like.
  2. Set your camera accordingly.
  3. Have the flash elsewhere than where your lens is.
  4. Always know what your flash reach is – “where is it shining”.
  5. And for effect, make it specific.

As for (1) and (2), I shoot at 1/125th second, f/8, 200 ISO. That gives me the dark ambient light I want.

As for (3), in the interest of speed, I used wireless TTL flash setup. But I could have used pocketwizards, of course, and I normally would have.

As for (4) and (5), except in the first image, which was bounced and hence not at all specific; and in the second image, where I used a Honl Photo 8″ softbox and which hence was only somewhat specific; I used a grid on the flash for the rest (my favourite flash accessory, a Honl Photo 1/4″ grid), in order to restrict where the light goes.

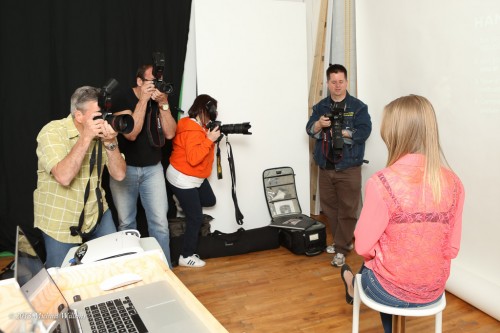
Here’s what the studio, and a few of the students, looked like:

Of course we can make it more complicated, and add the required “shampooey goodness(tm), but even that only neeeds a few flashes and a reflector:

And then you get creative – two flashes, one with a grid, one with a blue gel. And then you can concentrate not just on your light, but on your positioning – as in this one, where my friend and great fashion photographer Baz Kanda did the positioning:

Even that is simple – just two small flashes with simple modifiers.

___

Learn the skills and become a great photographer with little equipment: it is very rewarding and you can do it. Many more courses coming up, so stay tuned on http://www.cameratraining.ca (click on “schedule”).


A “Simple is Good” studio setup

I trained a local photographer in the subject of studio photography yesterday, and we kept it simple. Because simple is good!

First, let me show you a resulting picture of her friend, the model for the day:

Good studio photo, right? Yup.

So how did we get to this?

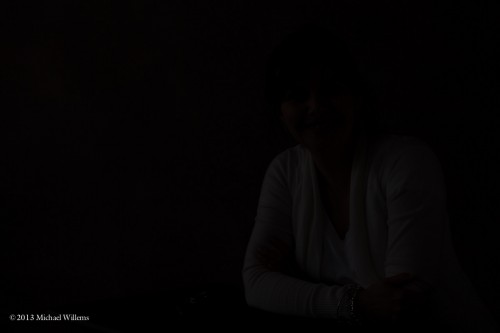
First, set the camera to standard studio settings. Like 1/125th to 1/200th second, f/8, 100 ISO.  This is designed to make ambient light go away. The studio was a bright room – big windows with only light sheer curtains. And yet with those settings, it looked like this in photos:

Second, now add lights where you want them:

  • A camera with a pocketwizard transmitter on it.
  • A main light – a speedlight (Canon 430EX) fitted with a Honl Photo Traveller 8 softbox.
  • A Pocketwizard to fire this flash.
  • A Flashzebra cable from Pocketwizard to flash hotshoe.
  • A light stand with ball head for it to sit on.
  • A reflector to act as fill light.
  • A  430EX flash to act as hair light (Shampooey Goodness™).
  • A light trigger from Flashzebra to set off that flash.
  • A similar ball head and stand.
  • A Honl Photo 1/8″ grid to restrict the light’s path.

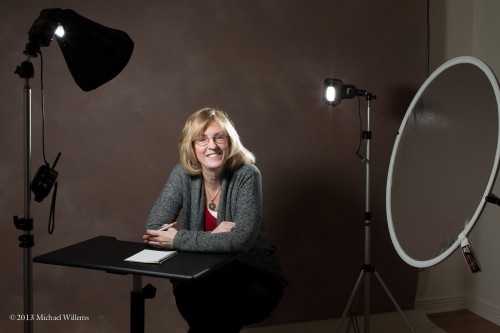
All this looks like this (remember, take a “pullback shot”):

Third, now set the power levels. With the camera at 100 ISO. 1/200th, f/8, a power level of about 1/2 on the main flash and 1/4 for the hair light did the trick.

All this takes minutes to set up. A pro studio shot can often be done with simple equipment like this. And note the appropriate backdrop. The blond hair means we wanted a darker background. For dark hair I might have wanted a lighter backdrop: in that case I can add another light to light the backdrop I have.

This image is good and needs no pst work other than cropping to taste. Note the correct catch lights in the eyes: 45 degrees off centre and crear (and round, here).

Now, another shoot, the day before: friend and ex colleague (and client) Keith, showing true character:

This was done with three lights: One with softbox where I am., and two feathered flashes, unmodified, on each side, lighting both backdrop and side of his face. Again, a simple setup, although it took a few minutes work to set up. Slifght clariti enhacement to give it more pop, and slight desaturate to meet the web spects that this image was taken for.

By the way, fun expressions are good. Can you see how in that picture, Keith’s nice guy nature really shines through, even that was not te point of the picture? try to capture your subjects’ personality in the images you make.


Families, and what precedes them (weddings)

Why do I love to shoot weddings and families?

Because we live to love. We live a short time (although my son Daniel, when he was perhaps nine years old and I said “life’s very short!” instantly responded “No it isn’t: it’s the longest thing you’ll ever do.”)

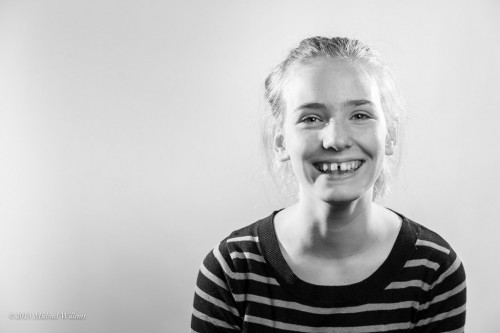
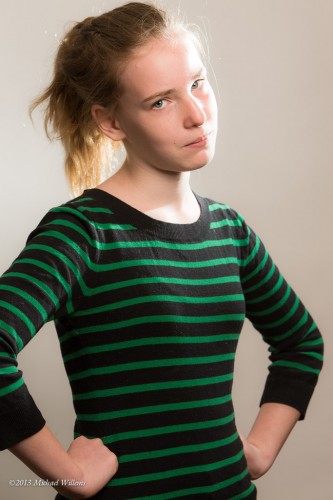
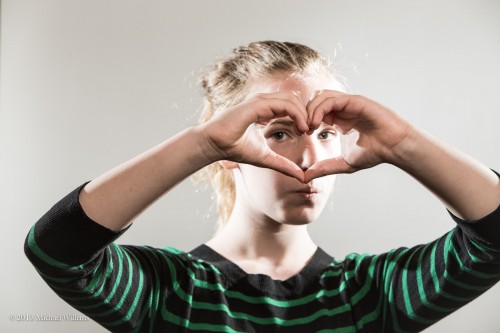
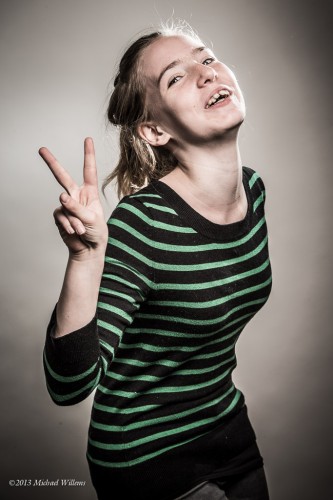
In any case, capturing personality and life events is one way we can be immortal. Look at this kid at a portrait shoot I did yesterday: four different looks in a few minutes. Happy and open; death stare; typical teen Facebook pose; and cool. If you were the parents, would you not love immortalizing your daughter this way?

And just think at the excellent pictures mom and dad will be able to project onto the wall at the time of her wedding (or more likely by then, holographically project in front of each guest).

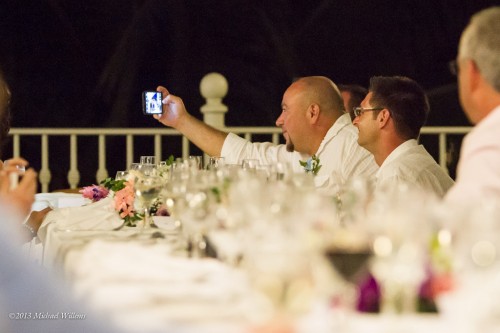
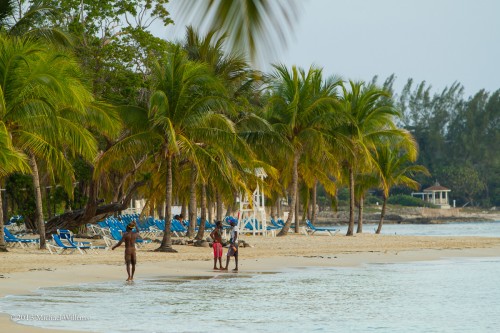
Talking of weddings… I just got back from Jamaica, and my mission there was to tell a story. Not just to get the standard wedding shots – the ones you might get when you hire a local resort pro – yes, those too, but so much more: the story of the entire trip. Smiles. Moments. Love. Beach. Fun. Friends. Outings. Jamaica. Airports. Buses. The entire trip. One of the bride’s best friends (and bridesmaids) just responded to teh slideshow I put together:

What an amazingly great job on the video Michael! I LOVE the pictures!!! I laughed and I cried! I flashed back to the great times we had on the trip…and it made me wish I was closer to my friends! THANK YOU so much!! Amazing, amazing, amazing job!!! 🙂

And THAT is why I shoot destination weddings: I met great people and I made a difference to them by enabling them to remember and relive this life event forever.

And that of course must include a “b-roll” of pictures that include:

  • fun.
  • events (like “the plane ride”)
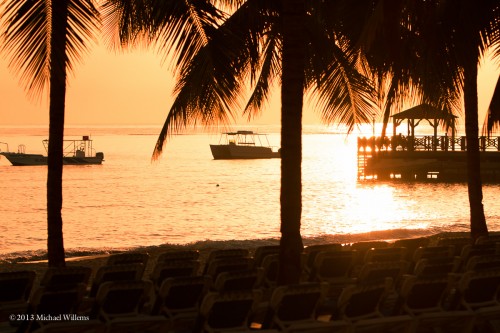
  • background, to show the environment.

Like these:

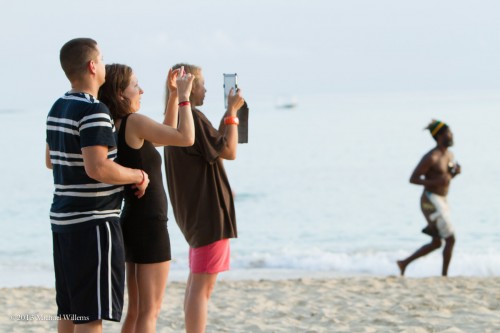
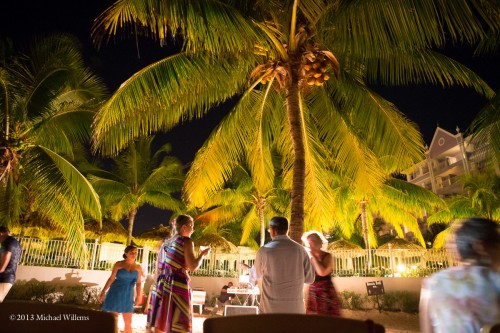
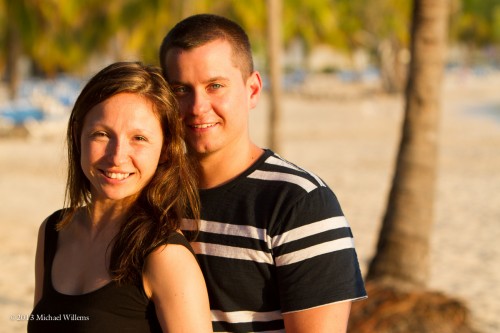
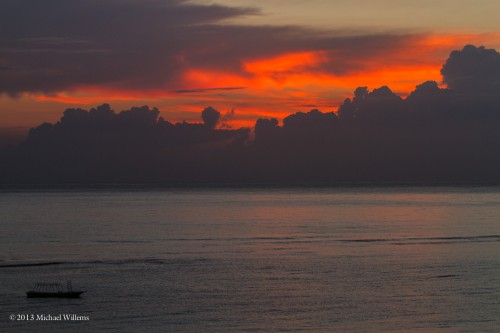
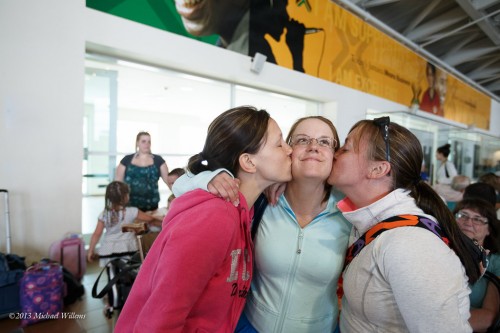
Most of these were taken at 5:30AM on the day of departure. All of these are extra to a “normal” wedding. No local wedding pro will every get you anything close to that. So if you want a wedding trip to remember, bring your own photographer.

So when you make a trip:

  1. Tell a story! And to do this:
  2. Look for markers – moments in time that mark a transition, like airport arrival; climbing up the waterfall; leaving; entering the bus; that sort of thing. Every time a new phase starts.
  3. “If it smiles, shoot it”.
  4. Look for anything funny and capture it, too.
  5. Carry the camera when you think you will NOT need it. Some of the best pictures arrive without warning.
  6. Look for background, the “B-roll”, to remind people “what it was like”. Signs are good. So are views. The food. The detail; the little things you notice when you arrive. Shoot them; later, sort out of you want to use or not.
  7. Sort into the right order later.
  8. Make a slide show – or make multiples, maybe 5 minutes each. Background and “Ken Burns effect” are good.

That’s what I do when I shoot a destination wedding.


Presentation.. is important.

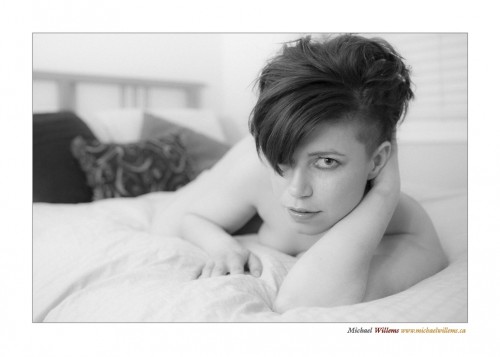
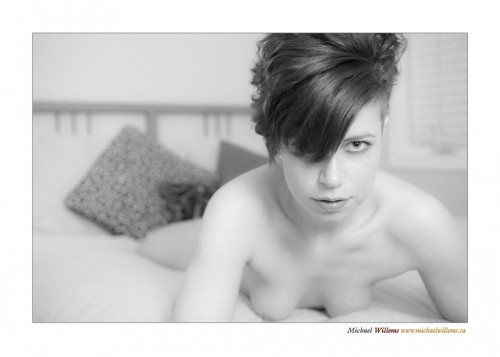
Presentation of images to show you are “not Uncle Fred” can be very important. As in this here example from a recent shoot:

That looks better framed than as “just the image”, no? As in food, presentation counts for a lot.

So how do I get this white frame in a JPG file without the hassle of using Photoshop? I use a quick two-step trick. Saves me time.

STEP ONE: I use the Lightroom print module:

  1. After selecting my image, I select the “PRINT” module.
  2. In “Page Setup”, via the menu, I make a custom size of, in my case, 175 by 125 mm, portrait mode. (175mm is about 7 inches).
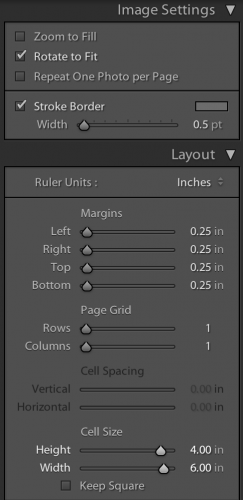
  3. In the “Image Settings” sections on the right, I select a stroke border, grey, 0.5 point wide. I also set the Layout settings properly. Like this:

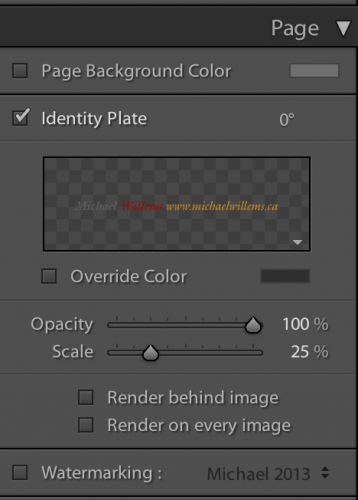
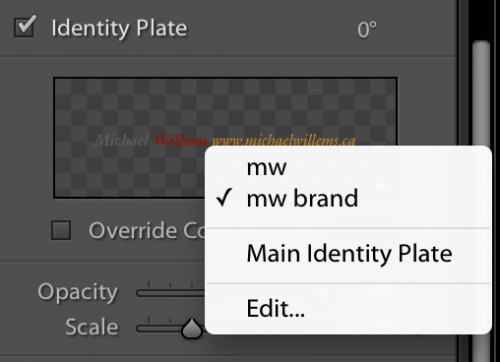
You can create an “Identity plate”, with fonts as per your choice and rotated as needed; and placed where you prefer.

Then I set a print resolution of 240 ppi in the Print Job section; this gives me enough pixels. (240 x 7″ = 1650 pixels; more if I want larger JPGs).

Of course all these settings can be saved as a “User Template”, so once you get this right once, every next time it is just one click.

Having set up my image, I now click on “Print”.

But I do not actually print: instead, I “print” (really, export) to a PDF. I select PDF from the choice menu. The PDF is created on my desktop.

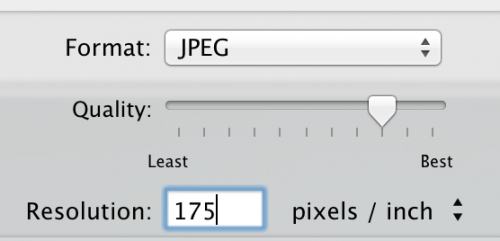
STEP TWO: I now open that PDF, and I select the FILE menu; and within that, select EXPORT. I now select export type JPG, and a resolution of 175 pixels/inch:

That gives me a JPG 1205 pixels wide Just what I needed.

(Why? Well, a “print” 175mm wide is what I selected initially. That is (175/25.4) = 6.89 inch wide. So exporting that to JPG as 175 pixels per inch gives me 6.89 x 175 = 1205 pixels.)

All this sounds complicated, but once you have set it up, it is really just a few clicks every subsequent time. And those clicks are worth it if you want your work to be distinguishable from others’. Here is another example:

Adding a little class to your work’s presentation never hurts.

PS – this works very well printed, too. Print a 4×6 on a 5×7 piece of photo paper, as we have done here in our “virtual print”, and it looks much classier than anything Uncle Fred will ever produce!


A little technique.

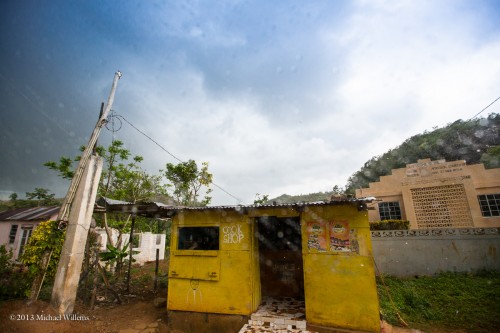
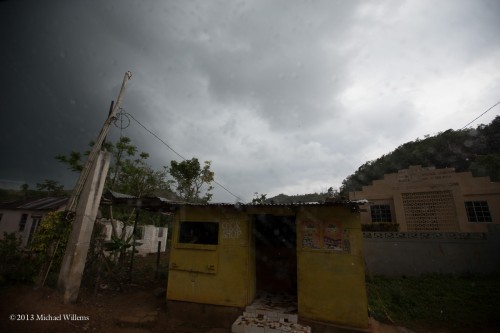
Sometimes images need a little TLC.. a little post work, to bring them back to waht you saw. Like this one, a rainy shot in Jamaica last week:

That is what it looked like. But the camera shot, taken in a hurry from a moving bus, was not quite right:

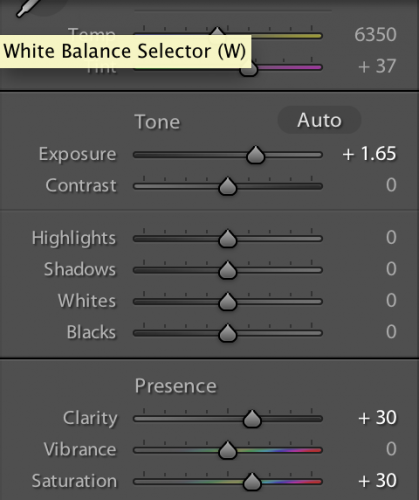
Underexposed, so the colour does not show. So I made some adjustments to bring it back:

A graduated filter at the top; then the “basic” adjustments: Exposure up; then clarity and saturation up. That way, the image looks the way it looked to me. Shoot RAW, and you can do these adjustments without any noticeable quality loss.

It is OK to change an image. “Pixels were born to be punished”, as Frederic Van Johnson says. But in general, I tend to restrict changes to a minimum; and to bring back images to what they looked like.

If you do alter images to create an effect, which I do sometimes too, then I advise you to keep it simple, and to realize that fashion comes and goes, while style stays, so keep the original!