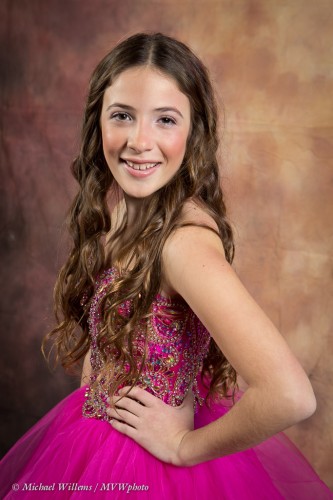
Make-Up Tip

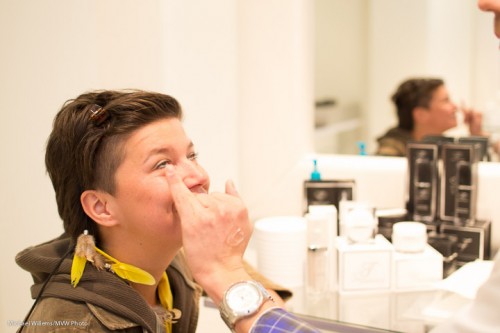
When you shoot portraits, you may want to have your model use make-up. Even with someone who normally does not need, or use, make-up. Even in many cases for men!

Why? For several reasons, as so often when you ask “why”. Or rather, when I do, for rhetorical reasons.

One is to change appearance. Eye shadow or blush can make someone look different. Different looks can be interesting.

Another reason: to make the model feel better. Confidence is a good thing and your shoot will go better.

Another is to fix oily skin. Photographers always carry powder to stop reflections from softboxes or umbrellas. Shoots can be hard work, and slightly sweaty or oily skin can cause a lot of imperfections.

So can blemishes. Yes, Lightroom (or Photoshop) can fix these very well, but take 100 shots and now you need to fix 100 images. One application of make-up is

Then there’s age… make-up can stop its visible progress.  Always a good thing, if you ask most people. Under-eye shadows are a good example.

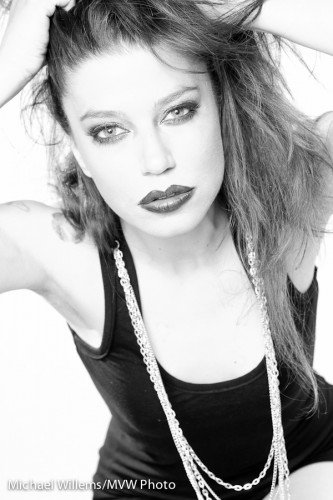
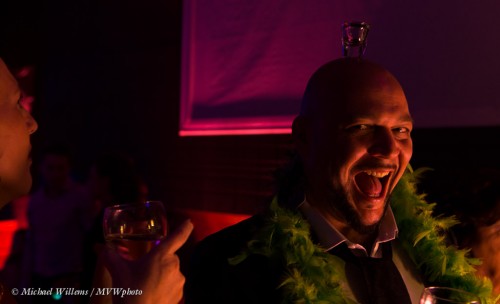
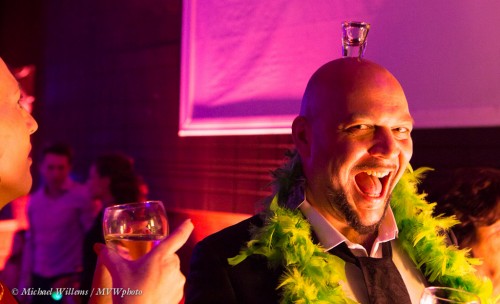
The following picture is a good illustration of how make-up can change someone’s appearance from the usual:

Detail, detail

When travelling, I like to take snaps, like any other tourist.

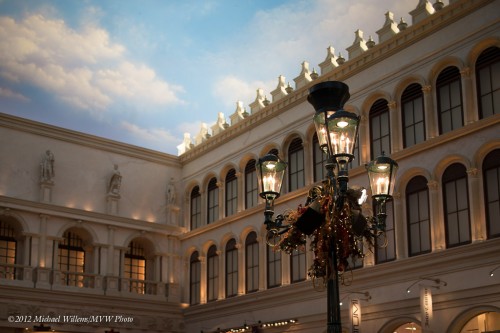
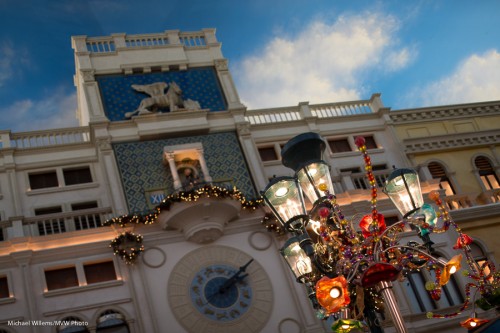
But I often make sure I get no other tourists in the snaps. I do that by tilting, zooming, and moving myself. Like these, in The Venetian:

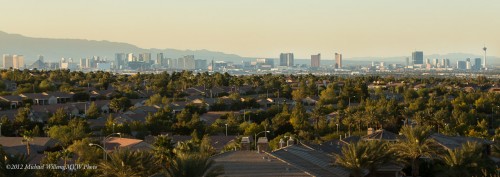
And this, the sky in Henderson, NV:


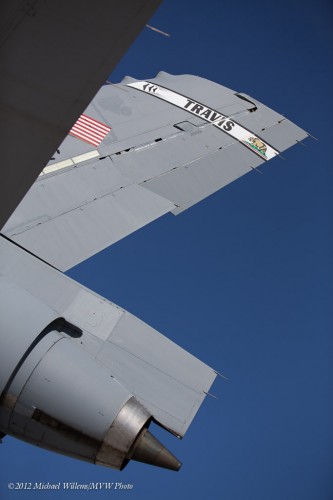
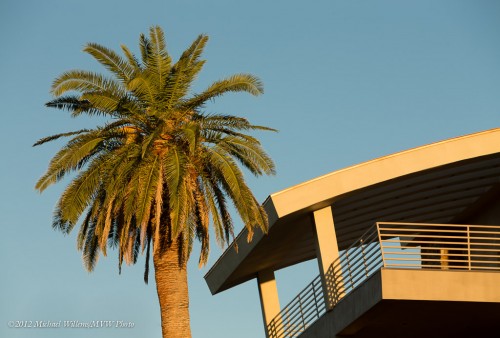
And some more:

These are nto your travel images per sé. But they are great as background, “storytelling” images. The kind you use in your book, when you make a book of the trip. Perhaps as supporting or even background images. Remember, above all: keep them simple. Simple is good. Blurry background, zooming in, tilting, all great ways to keep them simple!


Air Show Tips 2

And a few more tips for shooting events like air shows.

Avoid what happened to me above: the grey area on the bottom left is the outline of the head of another spectator. I was too late – just a quick visit, so I was not at the front.

Use a crop camera if you have one – your lens is 1.5/1.6x longer that way! And consider using an extender to make your lenses longer. I used a 70-200 on a full frame camera, so I had to crop; a longer lens would have been great. 1.4 and 2.0x entenders are good. Not cheap, and you lose some stops, but there should be plenty of light at these events.

Be half way down the runway – that’s the lowest point for many routines and flybys.

Stay where you are. Find a position and stay. If you move, you lose shots.

Look at the sun. Be aware where the light is coming from.

Bring a Hoodman Hood Loupe – so you can check your exposures.

Um.. and have fun. Though doing this must be a lot more fun than just watching it:

(Yes, he is upside down).


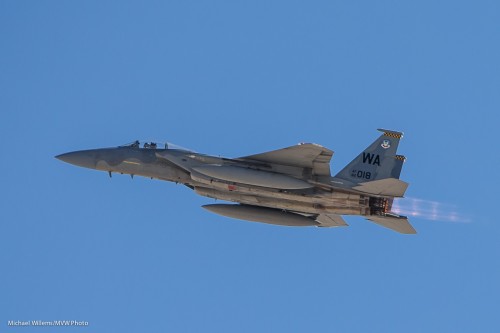
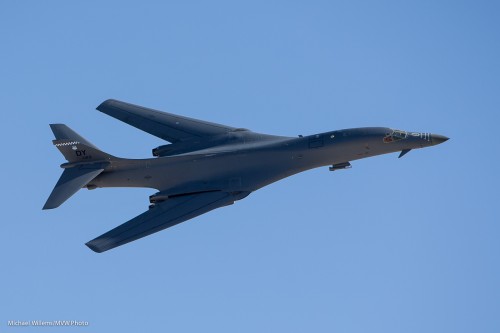
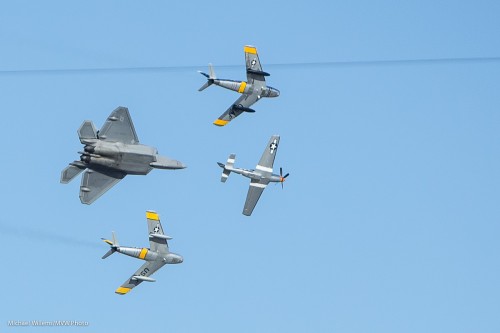
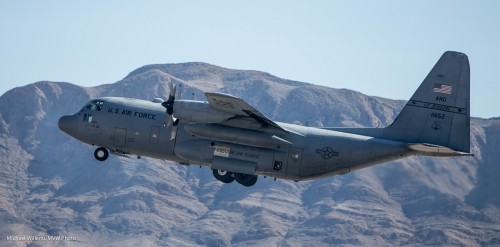
Shooting an Airshow

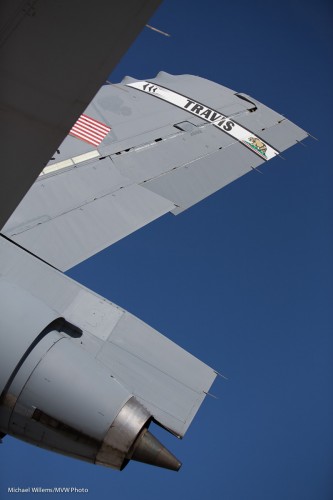
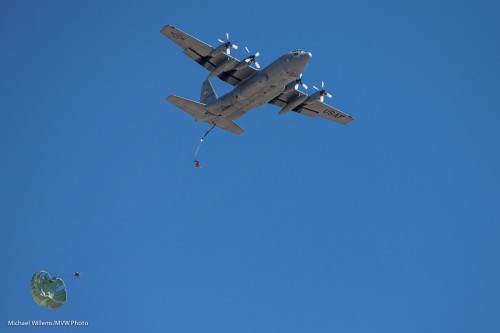
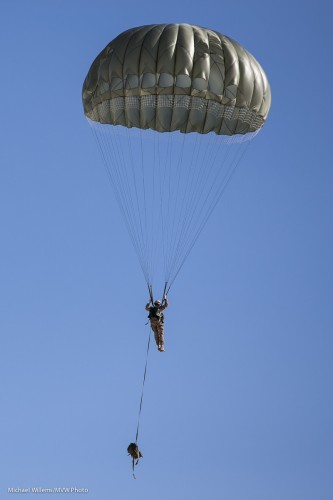
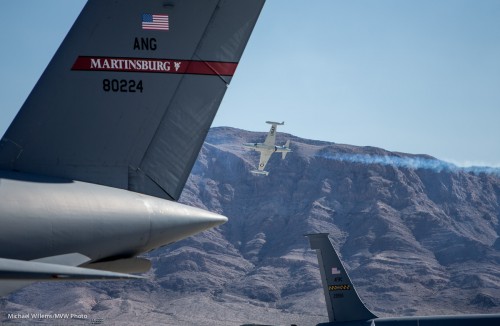
I took a few shots yesterday at an airshow in Las Vegas.

And this is interesting to you why? Because it reminds me to tell you something about shooting air shows and such.

Equipment:

  1. Use a stabilized long lens-  200-400 mm or longer is best.
  2. Set the stabilizer to “Active” or “Mode 2” if it has that option: you will be panning with the aircraft.
  3. Also bring a wide lens for close-up shots of ground equipment and parked aircraft.

Camera settings:

  1. Use manual mode. Figure out exposure for aircraft and set to that. Take into account direction – back lit or front lit, that makes a difference.
  2. Set your focus mode to AF-C / AI Servo. Continuous focus is usually best.
  3. Ensure a shutter speed that is fast enough – maybe 1/500th second for prop planes and 1/2000th or faster for jets.
  4. Use continuous shutter release mode.

A few more samples:

Other:

  1. Get close to the landing strip
  2. Arrive early and get a good spot with no-one in front of you
  3. Crop images when needed!
  4. Your bag may be searched, so keep it simple.
  5. As said above… use a wide lens for detail shots – lots of stuff on the ground.
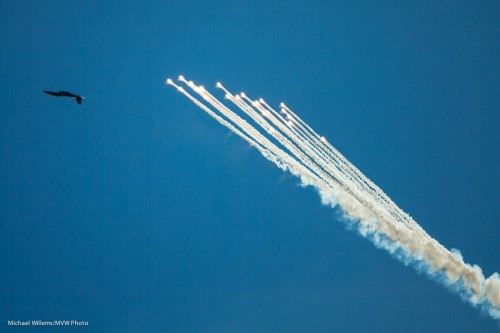
  6. I always use one focus spot, except at air shows.. only one thing in the sky. So I use the “camera chooses where to focus” way. But one thing I had not realized: the camera will try to focus on the darm smoke trails. So a smaller focus area might be a good idea.

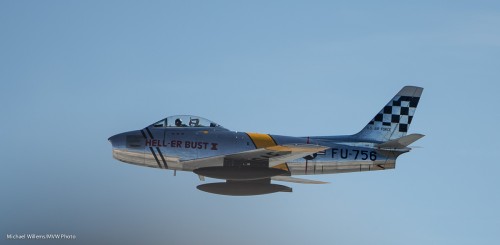
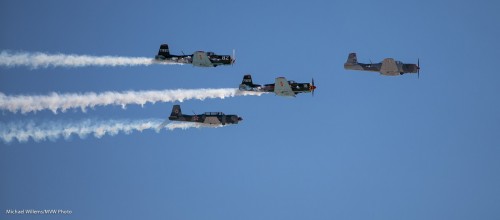
And finally, a few more samples. All at or around 1/2500th second, f/2.8, 100 ISO, with the 70-200mm lens, cropped as needed.

So.. go shoot at airshows, and enjoy shooting moving objects.


The Decisive Moment

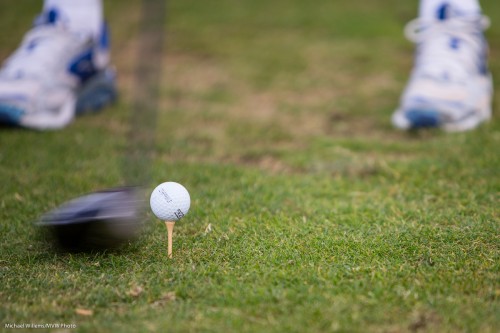
Sometimes time is the important part of an image. Like here, in this image taken yesterday afternoon of a golf ball about to be wacked:

Time is of importance here in two ways:

First, the moment. A millisecond later would have been too late; a millisecond earlier, too early. How do you capture these moments? By shooting a lot, set to continuous shooting. Shoot streams like this and if you are lucky, maybe one in five will have a good image like this. And that is with a fast-shooting camera like my 1Dx, which shoots 10 frames a second; a slower camera would give much less of a success rate.

Second, the motion. A faster shutter speed would have failed to show the club’s motion; a slower shutter speed, and we would have seen just a blur.

I shot this image with a 70-200mm lens, with the camera in manual mode at 400 ISO, f/2.8, 1/1000th second.

And for the record, I am a lot better shooting golf pictures than I am actually hitting the ball…


Techniques When It’s Tough, Continued

Tough shoots, when nothing works for you? “Gibt’s Nicht Gibt’s Nicht“, as a German acquaintance used to say.  you can always do it.

Here’s yet another way. Shoot without flash if you must, in a hurry, even with the wrong settings and fix later.

This image, from last Saturday’s Bat Mitzvah party, was taken at 1600 ISO but the flash was not ready. Nevertheless I wanted the moment and could not wait, so I took the image:

Now since I shoot RAW ( a must!), I can then pop up the exposure by, wait for it… 2.8 stops. Almost three stops and yet a very usable picture results:

Now do not get me wrong, I am not advocating making bad pictures and then trying to fix them in post. What I am saying is that you have a large number of techniques at your disposal, and sometimes even this one comes in very handy. A safety net, if you will.

___

A good photographer has all these at his or her command – that’s why you hire a pro for shoots. And those of you who want to learn these techniques: I am available for training, one or one or groups.


A ‘Tog Gotta Do What A ‘Tog’s Gotta Do

If you are an amateur or an emerging pro, be careful before agreeing to shoot an event! Events mark important milestones in life, and they should definitely be photographed. But they are tough. Very tough. Much more difficult than studio shooting.

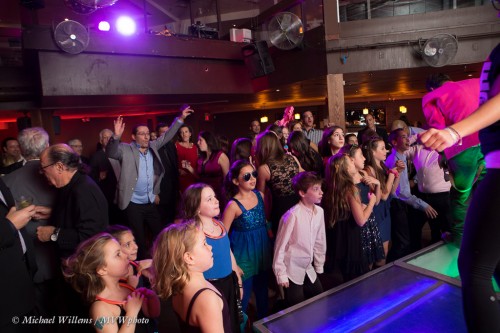
At a typical event, last night night’s Bat Mitzvah party, I need to get shots like this:

I must get this. No ifs or buts. This is a must-have: the Bat Mitzvah girl’s chair dance.

Alas, the photographer at an event like this is faced with:

  • It’s way too dark.
  • It’s also too contrasty: spotlights bright, background dark.
  • No bounce options in areas with high-dark ceilings.
  • Other areas have beams stopping my light.
  • Other areas have coloured walls or spotlights.
  • You set up for one area and then the action moves quickly to a different area – no time to redo your settings.
  • Action is too fast for me to follow.
  • You get ready and then the subjects turn away from you just as the important thing is happening!
  • In the dark I cannot see my camera’s controls.
  • In the dark I cannot autofocus.
  • It’s all moving too fast to manually focus.
  • No-one tells me when important moments are going to happen – or where!

All these and more – but failure is not an option. That’s why you hire a pro to do it.

In the next weeks I shall touch upon this subject repeatedly, with some techniques to get you started. Unless you are an experienced pro, do not attempt to shoot an event (like a wedding) until you have practiced many times. But anyway, my tips and techniques will help.

Today – what to do when you cannot bounce off a black, high ceiling? Like this:
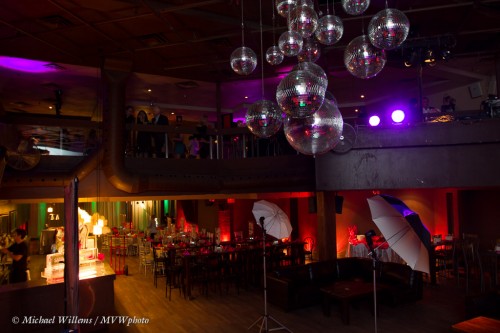
Well you can do sub-optimal stuff, like use a Fong Lightsphere (a useful device to save your behind sometimes, but not creative), or use direct flash. Ouch. Better if you get creative!

On the stage behind me, I had noticed a big projector screen:
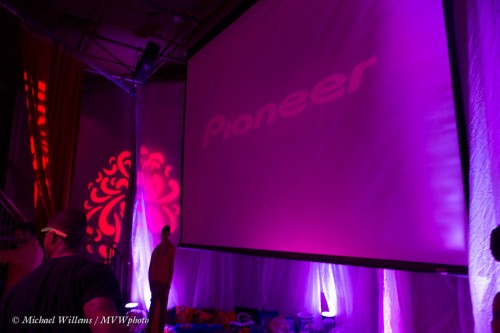
So now I have a solution. Zoom my flash in to 80mm and then aim it behind me, directly at the screen – something like this:
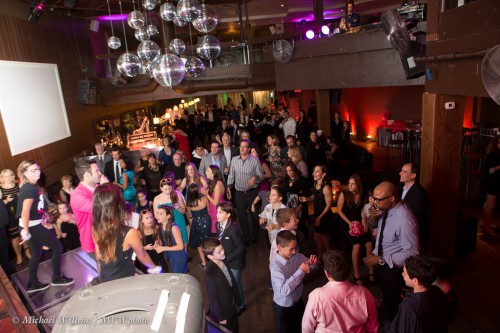
See the bright screen left? Be VERY careful how you aim your speedlight: miss the screen and you have no effect at all.

But if you do it well, you have now solved your problem: a great big softbox on the wall!
BONUS TECHNIQUE:

One I discovered a while ago by accident. But in retrospect it should have been obvious.

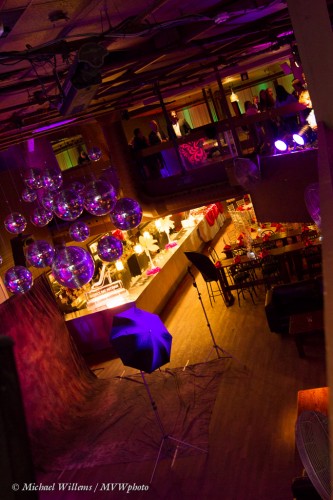
You saw, in the first shots, those disco balls? Aim your flash directly at them and you get great glittery decoration of otherwise humdrum shots:
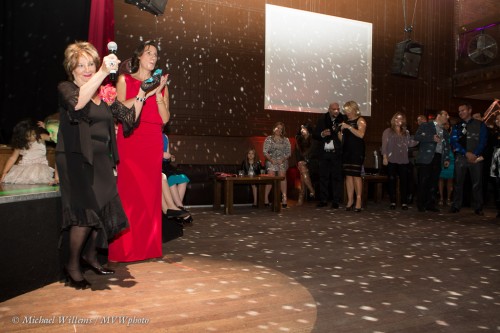
So there’s just two of hundreds of technique points for you – have fun in this festive season! And remember: don’t give up. Photography is problem solving!


“Manual”

I frequently point out to my students that there is no such thing as “manual” – there are many “manuals”. You can set (not sex) exposure manually. Or focus. Or flash power. Or focus point selection. And so on.

So today let’s talk about manual focus. When you you use manual focus?

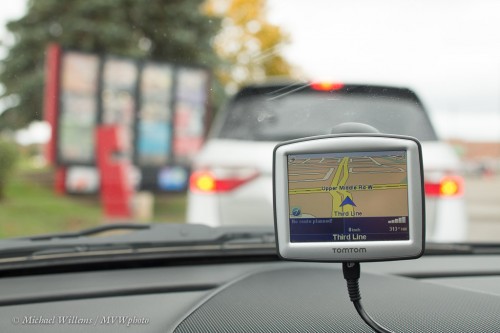
If you are me, the answer is “fairly frequently”. Like when I was picking up lunch just now:

The full list of reasons can include:

  • Because you like having control.
  • Because your lens only supports manual focus.
  • Because you are better than your autofocus system.
  • Because you are doing macro shots and accurate focus where you want it is critical.
  • Because the scene has no clear focus areas (your camera needs good light and good contract).

In my case, all of the above sometimes apply. The AF system is quicker, and pretty good; but I am pretty good also.

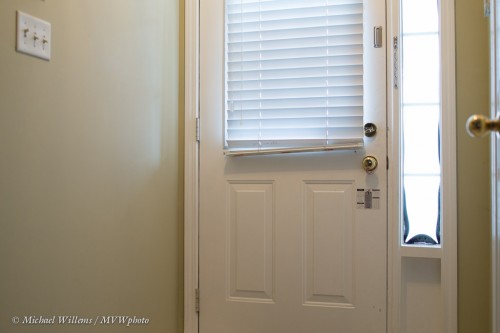
My front door, earlier today:

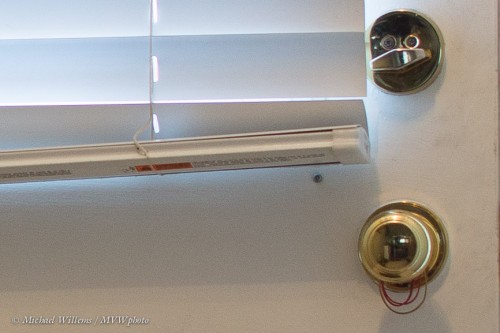
Which as you can see is sharp:

So try doing manual focus for a day. Set the switch on your lens to “M” and do it by hand.

The best technique is to go back and forth around the sharpest point, making the oscillations smaller and smaller. While this is slower then the AF system, it can rival, or sometimes exceed, its results, especially on full-frame classical SLRs, with their bright viewfinder and their clear sharp view. It is a little trickier on smaller-frame SLRs and on transparent mirror cameras like some Sony cameras, but it is still doable.

When do I not use manual focus?

  1. When the subject is moving
  2. Especially when I am using AI Servo/AF-C mode (the AF system keeps tracking the subject).
  3. When I am in a hurry.

But failing this, manual can be a good way to do it.

Oh, and my lunch? A Big Mac, and taken with the Canon 45mm Tilt-Shift lens – a lens which only has manual focus abilities.


Flash Meter

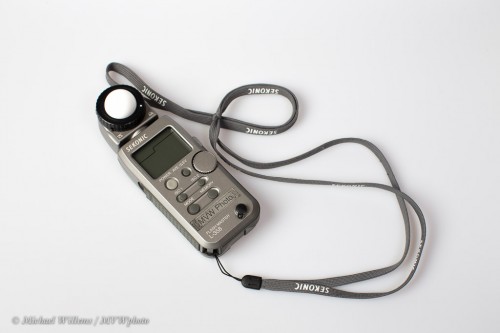
If you want to do “studio type” shooting, set your flash power manually. On strobes you have to do it that way; on speedlights you can. Then use a flash meter.

How? Here’s how.

  1. Set your camera to the desired settings. For instance, 100 ISO, 1/125th second, and f/8. These are pretty typical studio settings.
  2. Verify that a shot taken like this without the flash is all black. That means ambient light will play no role. If not, go to 1/200th second.
  3. Now set up your flash or flashes. Set the power to, say, quarter power for a start – or whatever you think might be roughly right. With experience, you will get this just about right.
  4. Holding down the the MODE button, set your meter to flash metering mode (the lightning symbol; not the sun symbol, which is ambient metering). Your meter now reacts only to flash.
  5. Set the meter to 100 ISO and to 1/125th second (if those are your desired values).
  6. Hold the meter, with the white dome extended, where the subject will be.
  7. Reset the meter with the side button – it now reads “0” for aperture.
  8. Fire the flashes.
  9. Read the value. If the value is higher than f/8 (eg f/11), reduce the flash power or move the flashes away. If the meter reads lower (eg f/4), then increase the power or move the flashes closer.
  10. Repeat steps 7-9 until the meter says f/8.

That is how you meter a studio, type shot like the one above. I usually meter each light separately and allow for that (e.g. two lights that both say f/5.6 will give you a total of f/8, if light from both hits the subject.).


Video (2)

Another note about video. Last night I shot an event: a Bat Mitzvah party – here’s a sample of the beautiful Bat Mitzvah girl:

The event was also filmed by a videographer. And that’s something I admire.

One reason people like me, i.e. stills photographers, tend to shy away from video is the time it takes. Like right now… I am importing a 15-minute drive video into iMovie. 30 fps 720p. This import is taking around 72 minutes – that’s 72 minutes during which my iMac is doing, well, basically nothing else.

And after that I need to edit. For a “real” video, that would include:

  • Choosing clips
  • Adding establishing shot
  • Making them into a coherent story
  • Transitions between clips
  • Intro, outro
  • Adding any text
  • Editing sound, adding sound, adding soundtrack
  • Then exporting
  • Then uploading (to Youtube, say).

This process could easily take a day or more, even with very simple tools like iMovie.

This is in addition to the setup work. The JVC camera makes it a lot of work: every time before starting I need to:

  1. Mount and power up the camera
  2. Select “Power supply” (as opposed to USB data)
  3. Format the camera card
  4. Reset it to 15 minutes rolling video
  5. Exit the menu
  6. Start recording

Steps 2-5 could easily be removed by JVC – hope you are listening, JVC, and I await the new firmware with interest.

In any case, video means serious work. But it’s worth doing, because at the end you get an experience which complements the stills videos very nicely. It does not replace stills at all, and it never will – stills give you the power to contemplate a moement in time, while video means these moments are ephemeral and pass by as quick as they appear. The two are complementary, and if you are interested in doing both, then learn the basics skills you need. Establishing shot, B-roll, transitions: all these are things you need to know. And especially “cutting room floor”: shoot ten times more than you use!