Macro fun

Winter is approaching here in Canada. Yes, soon.

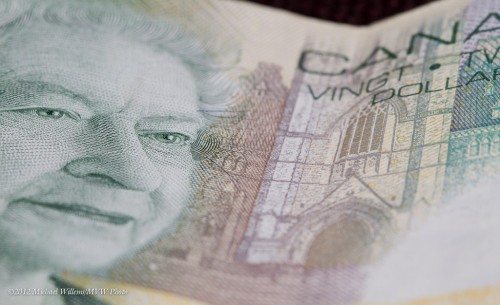
So this winter, take some macro shots. Macro (or close-up) photography is fun because you can engage in it all winter. In your own home. Even a $20 note can look interesting.

To do macro shots you need either a point-and-shoot with a mini tripod, or better, an SLR with a macro lens (a “micro” lens, says Nikon), a tripod, and perhaps wire release. Use manual focus, perhaps in Live View. Avoid wind – that is why inside is good. You may need to shoot at f/16 to f/22 or even beyond if you want depth of field.

And then see what you can come up with. Any object takes on a life of its own when viewed close-up: worlds we never normally see!

(And yes, you can use macro “filters” on top of normal lenses – much cheaper than a lens, but interior quality.)


Tip of the day…

You know how I say it is advantageous to set your white balance right when shooting? If you are shooting RAW (as I hope you are) it makes no difference-  all colour is captured and you can do it later, by clicking on a neutral white/grey in an image. But on the other hand… if you get it right while shooting, it’s less post work.

So one tip is to, when you have time, use Live View to set white balance. That gives you a pretty good view of what the colour will look like. Set it so you are happy, then after you do that, you can go back to normal shooting.


Portrait lesson

A quick portrait lesson today.

Here’s student and photographer Emma, in a coaching session on Friday:
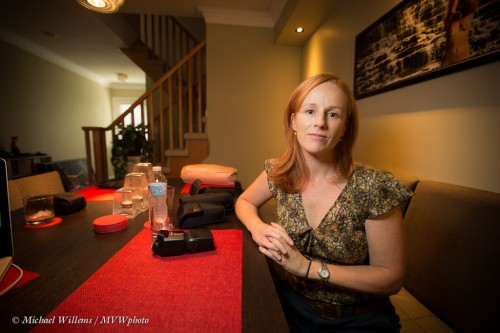
For this photo I used a 16-35mm lens, set to 16mm. On my full-frame Canon 1Dx camera, that is a proper wide angle lens – like a 10mm lens on your 5D, 60D, Rebel, D90, or similar.

So first, let’s put paid to the adage that “you cannot make portraits with a wide angle lens”. Yes you can: environmental portraits, where you do not fill the frame with the subject. Distance between subject and photographer is the only important thing, not lens angle. A wide lens gives you that wonderful “wrap around” effect that we love in this type of portrait – the subject in, and as part of, her environment, rather than as a standalone object.

So that out of the way, what about camera settings?

I used the Willems 400-40-4 rule for indoors flash. Since our indoors environments are often roughly the same brightness, a manual setting of 400 ISO, 1/40th second, f/4 will give you a starting point that is ambient minus two stops.

Which is what I want if I want to see the background, but not too brightly: just like Rembrandt, I want to make my subject the “bright pixels”. Because as a reader here you also know Willems’s Dictum: “Bright Pixels Are Sharp Pixels”.  So that means a slightly darker background.

OK,  so that is the background  taken care of: -2 stops, give or take. How about Emma?

I used an off-camera 600EX speedlight, driven by an on-camera 600EX that was set to only command the other flash (using the new radio interface). I equipped the flash with a Honl  photo Traveller 8 softbox for that wonderful light – and that wonderful circular catchlight in Emma’s eyes:

Good, so we are set.

But what about the idea of making it a monochrome image, to stop the red distracting us? In Lightroom, simply select “B/W: in the Develop module:
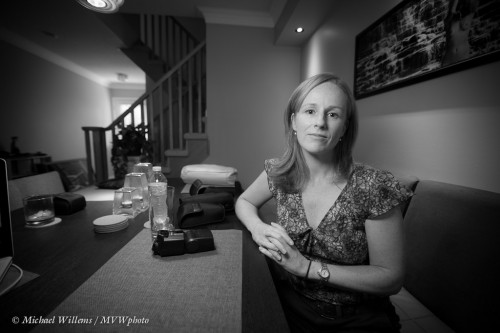
You may or may not prefer that to the colour image. If you do, then consider dragging the red to the left a little in the B/W module. That means red light will be used less in the conversion, i.e. it will be less bright in the black and white image:
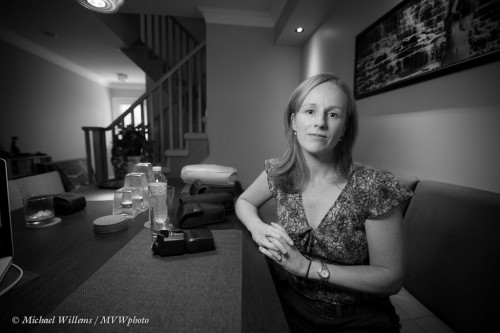
Now we have gotten rid of the red place mat almost entirely, allowing us to concentrate on Emma. That is often a good reason to go to black and white: you get very extensive creative options.

Mission accomplished, in a very simple-to-do shot that is miles beyond a snapshot.

Yes, simple – once you know how (this is what I do, and it is also what I teach).  Invest some time and effort in learning these techniques – you will love what your new photography allow you to do creatively.

 

Outdoors modifiers

Reader James asks:

I’ve read you advocating for unmodified on camera flash outdoors (as fill), and for on camera flash diffusers (Bounce card, Gary Fong,etc), but is there a reason you don’t use the techniques together? Why not use a diffuser while using fill flash outdoors? Wouldn’t that produce better images?

Good question, and one I am grateful you asked. To avoid confusion: yes I certainly do advocate modifiers outdoors.

Like an umbrella, as in this image:

(That image, by the way, was my tribute picture to Rineke Dijkstra, famous Dutch photographer whose work is in MOMA and many other museums. I was amazed that in The Netherlands, several people, when seeing this image, immediately said “That’s a Rineke Dijkstra”! Europeans really do have a great sense, and knowledge, of art.)

So why do I often advocate direct flash outdoors?

I have several reasons.

  1. Main reason: modifiers take power, and with a speedlight, you are fighting the sun at top power already; taking away a few stops of light (and you take away at least that!) is fatal: in bright sunlight you would now need to move the flash very close to the subject.
  2. Ancillary reason: It is quicker and simpler. Often, you have to move quickly; an on camera flash is convenient in those circumstances. Imagine carrying an umbrella with you when sightseeing in a foreign city!
  3. Ancillary reason: outdoors you are mixing with lots of available light, so you can get away with the shadows direct flash gives you: these are filled in by the ambient light.
  4. Ancillary reason: sometimes you want harsh shadows. Rarely, but it does happen!

And that is why I often use direct flash. But generally, modifier, softened flash is better, absolutely.


Four Flash Shots

My friend and colleague Riker from Riker VP, shot a number of ways using flash:

[1] My favourite first: Using an off-camera flash with the Honl softbox:

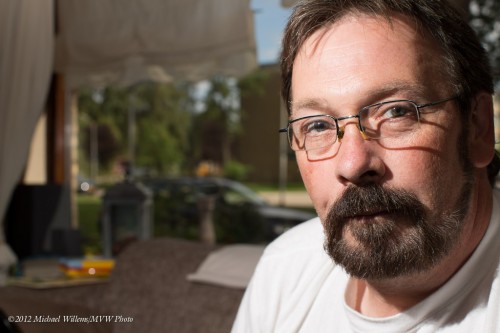
[2] Using an off-camera flash direct – not as good, harsher, with shadows:

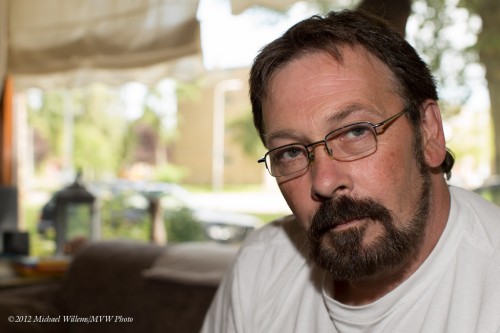
[3] Using an on camera speedlight directly aimed forward from the camera:

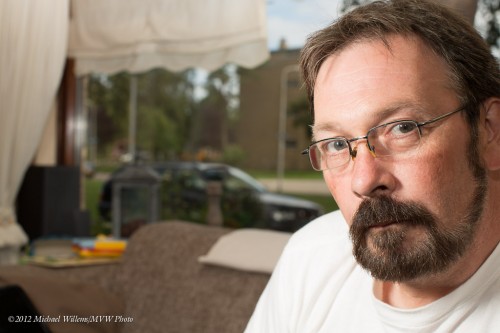
And [4] – using bounced flash off a ceiling a little way behind me:

Numbers 1 and 4 are by far the best – the choice is yours. As long as you see that 3, and to a slightly lesser extent 2, are poor. Flash is all about

  1. how soft it is and
  2. what the direction of the source is.

As long as you always think consciously about those two, you’re good.

This is part of what I am teaching in Rotterdam today… momentarily!


Looking for Textures

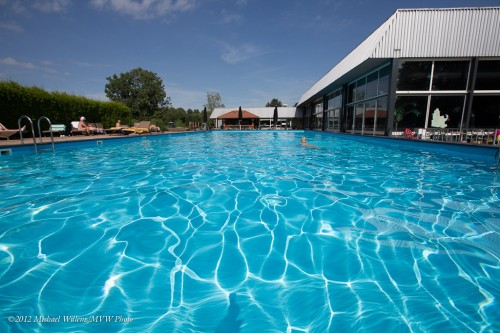
A shot from a shoot I did the other day for a magazine shows how important textures and patterns are:

Without the wonderful sun/wave texture, the picture of such an uncharacteristically nice day for the Netherlands would have been rather boring.

We find textures and repeating patterns everywhere – when I am a travel photographer, I make a point of looking for them.

In this case:

  • I used the wide angle lens
  • I pointed it down to give me that feeling of being surrounded by the water.
  • I exposed carefully, down a little to get the saturated colours.
  • Using a wide lens allowed the entire picture to be in focus even at f/5.6.

The lens also served to make the people in the shot small and hence unrecognizable, which given that they are nude is probably a good thing.

You see that even for a picture like this, some thought goes into it. Ask yourself questions and you will come up with the answers!

Roller Derby II

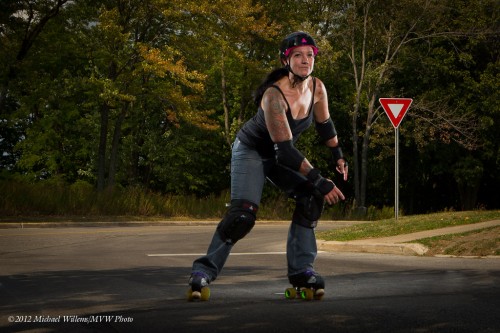
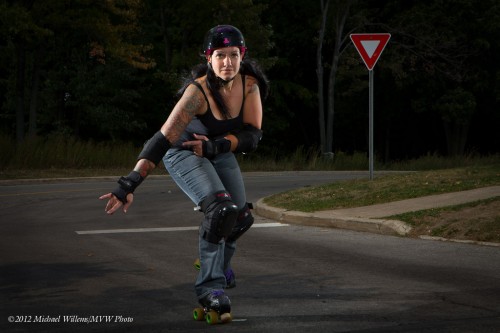
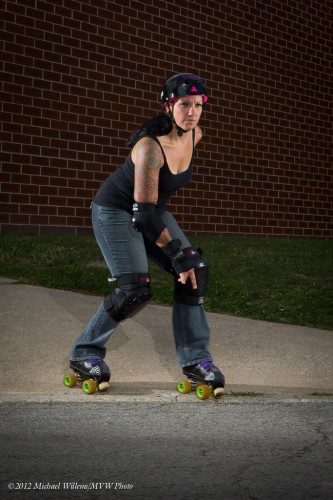
Here’s the Roller Derby Chick again, from the Niagara School of Imaging course i taught:

To give you specifics: those were taken at 200 ISO, 1/250th sec, f/16, with the flashes about 6ft away on each side, set to quarter/half power.

  • Q: Why is the second one darker? Because the sun disappeared.
  • What could I have done to get the background brightness back? Reduce the shutter speed. Not the aperture and ISO – those would also affect foreground.
  • How do I focus? I prefocus, then set to manual focus.
  • How? By aiming at the “X marks the spot” piece of masking tape.

Simple, once you realize how it is done.


Are you in the Netherlands or nearby? Sign up for my flash course in Rotterdam on sept. 1: seee www.cameratraining.ca!

Fun with lights

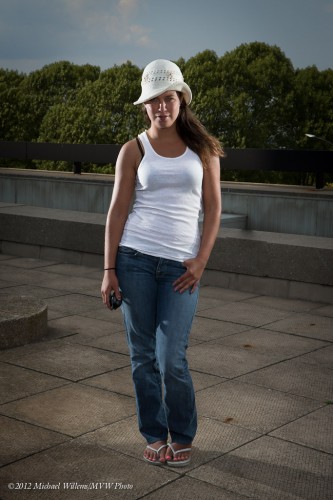
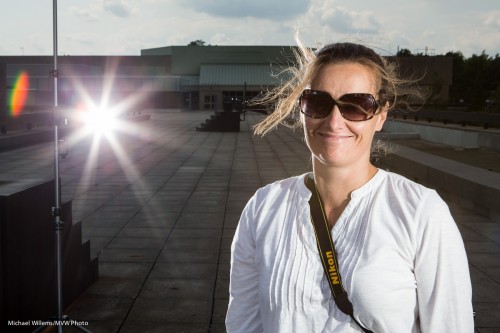
As regular readers here know, you can use speedlights for cool edgy shots that look photoshopped. Like these, taken today at my 5-day course at the Niagara School of Imaging at Brock University:

Those shots need you to take your time setting up, because you need equipment. But it can be simple equipment. like:

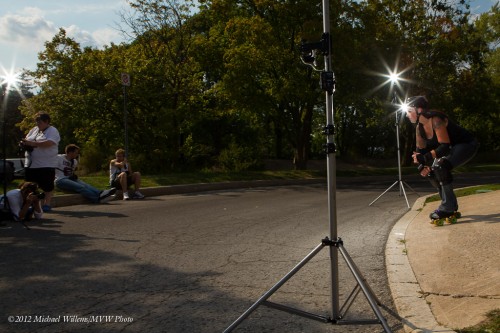
  1. Two lightstands with four speedlights driven by Pocketwizards: one right, one left, slightly behind the model. No modifiers.
  2. A lightstand with one speedlight, driven by Pocketwizard, behind the photographer. No modifiers.
  3. A pocketwizard on the camera to drive it all.
  4. You set your camera to ambient minus 1-2 stops, eg 200 ISO, 1/250th second, f/16.
  5. You set the speedlights to whatever power level you need to achieve f/16.

Like this:

Of course you need the brackets and cables and ball heads that are needed to connect the equipment together. But that is not rocket science.

Have a go – or come take one of my courses. Flash is wonderful light!


Technique and Simplicity in a shot

This is one of my students in today’s class at Niagara School of Imaging (held at Brock University).

Awesome, no?

How did I shoot that? Simple.

  1. A camera set to manual; 200 ISO, 1/200th sec, f/8. This makes the background go away, and 200 ISO and f/8 is enough to make the background look dark (it was a normal classroom).
  2. My 24-70mm lens.
  3. A Pocketwizard II Plus (Tx) on the camera.
  4. A second Pocketwizard II Plus (Rx); connected via a Flashzebra cable to a Canon 580EX II flash (any flash will do).
  5. The flash set to manual power, 1/16th.
  6. This flash is on the table, on our right; with no modifiers at all, aimed straight at the subject’s face.

Once you know, it’s simple. 1/16th power was my first guess, and it happened to be right. If it had not been, I would have adjusted.

Simple can be good enough – it can be great!


Trixies

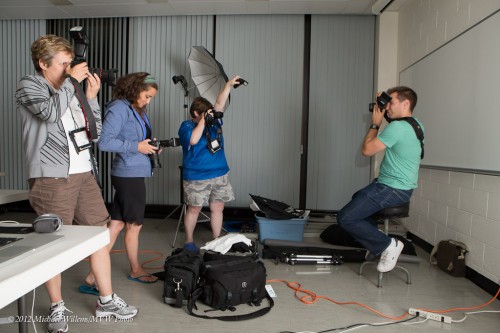
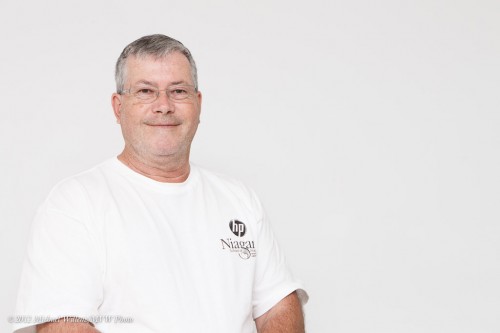
Some students today, at my five-day “Demystifying Digital Flash” workshop at Niagara School of Imaging:

Here an example of a simple one on-camera flash high key portrait: one flash on the camera aimed behind the photographer. And flash exposure compensation +2 stops.

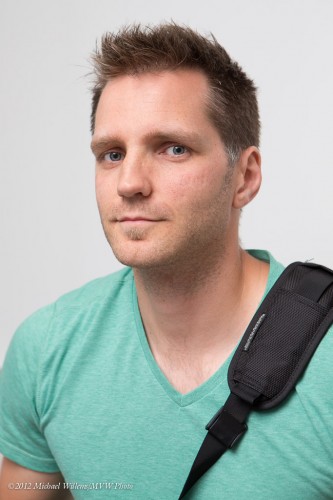
Here is another student:

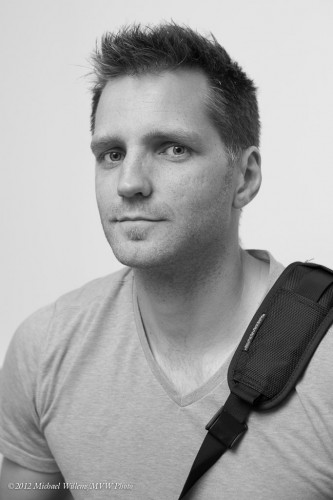
Now I convert it in Lightroom to Black and White using the BW setting.

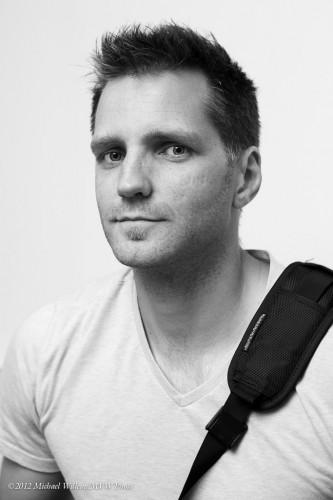
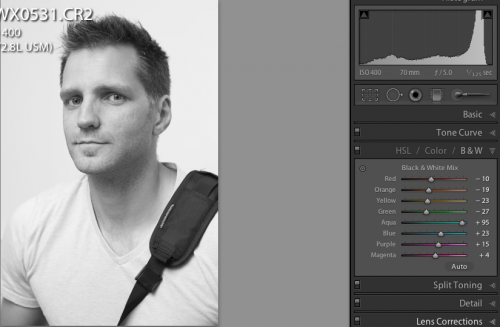
But wait. I wanted high-key? Then in Lightroom I can change the weighting of the shirt’s sea-green colour up by a few stops:

I do that as follows: I select the BW dropper, put it in the shirt area, and drag UP:

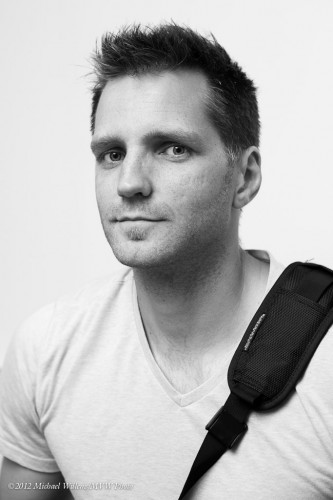
Here is the finished shot:

Powerful and simple: high key even if the subject was not wearing a white shirt. We made it white!