Tell stories

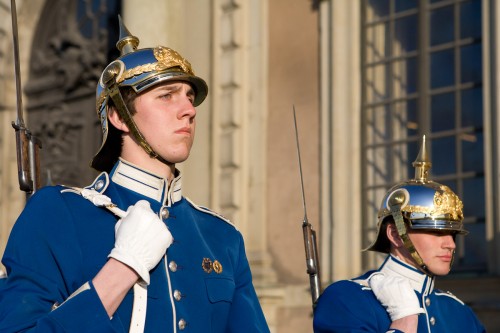
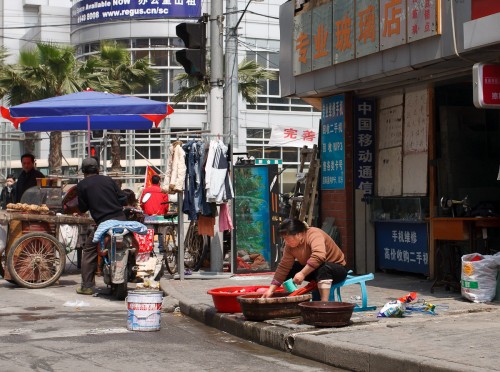
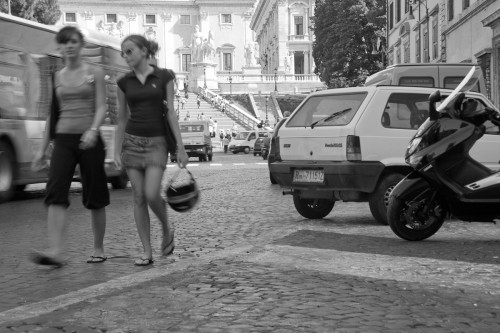
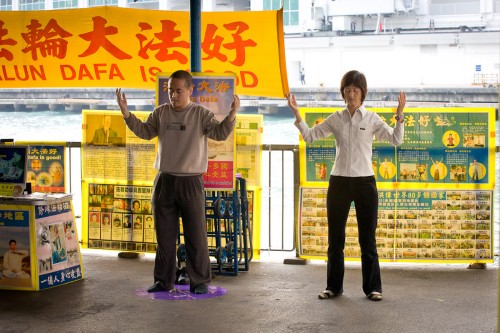
Tell stories when making travel snaps – and that includes “background” shots. Shot sthat put the rest of your images into context.

These are often close-up, “fill the frame”, even macto-type shots. Background. The “B-roll”.

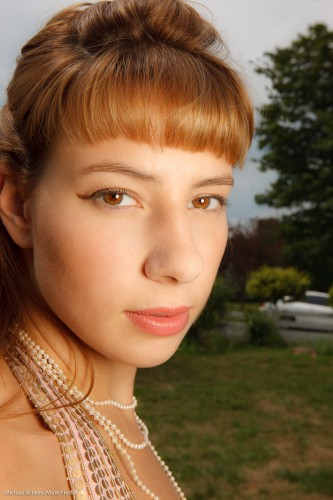
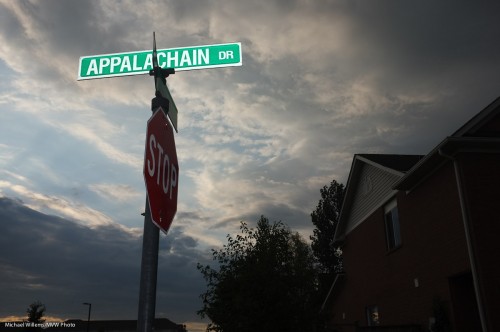
Travel image (Photo: Michael Willems)

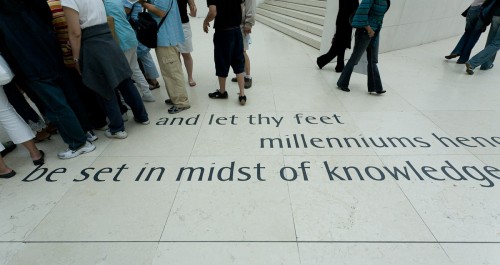
Tennyson's Advice being put into practice (London)

Travel image (Photo: Michael Willems)

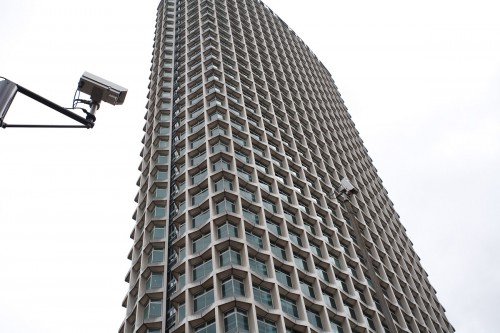
Big Brother is Watching You (London)

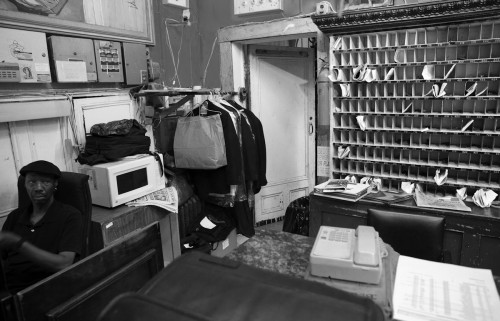
Travel image (Photo: Michael Willems)

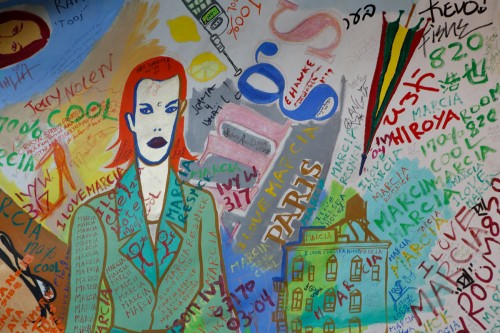
Chelsea Hotel, NYC

You’ll be amazed at how much more eagerly your neighbours look at your pictures after your return. Not that your kids aren’t cute and the hotel wasn’t good, but after three or four images you get that point!


Eyes Skyward

Want a dramatic sky?

Dramatic sky in Oakville (Photo: Michael Willems)

The simply do the following:

  1. Aim at the sky – fill your entire viewfinder with it.
  2. Lock your exposure, by pressing the “AE-L” button (Nikon) or “*” button (Canon).
  3. Aim down to compose the way you want.
  4. Focus on a close-by object (by pressing the shutter half way and holding it after the beep).
  5. Shoot!

Simple, innit?

And there are two ways to do this:

  • If you turn on your flash, the close by object gets lit up, as in the above image I took in Oakville on a walk, with my excellent Fuji X100.
  • If, on the other hand, you did not turn the flash on, the close by objects would now all be silhouettes. Which can also be nice.

You’re the boss-  which is what photography is all about!


Carib

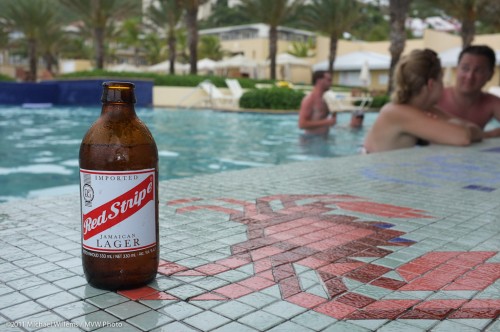
I am in the Caribbean, on the island of St Maarten, for a few hours. INcluding the pool bar, of course:

Westin Resort, St Maarten (Photo: MIchael WIllems)

But also including camera care. The moment you walk out of the hotel – bang, the camera mists up. This is due to the difference in temperature and the humidity.

Solution for tropical camera use: Before using, wait until the camera warms up.

And a very good way to do that is with the camera in a closed (tightly wrapped) plastic bag. That way, the misting up, which is bad for cameras, is minimized.

10-20 minutes and you can take as many pics as you like. Or put bag and camera on your balcony before you go out!


Fighting for light

When shooting outdoors in sunlight, it is better to turn people away from the sun, so they do not squint.

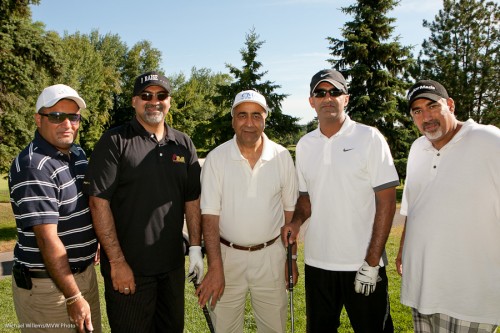
So you do it as in this recent shot (with the Hon. Minister Harinder Takhar of Ontario in the centre):

As you see, you now need a flash to light up the subjects. Else, they would become silhouettes.

And the constraining factors are:

  1. First, the power of the flash. If it is not as bright as the sun, roughly, then you will get an insufficiently exposed image.
  2. Second, metering. To check if this is an issue, turn the flash to manual, full power, and check if you are now getting an overexposed image.

In this image I used 1/250th second (the fastest I could do with the 1Ds) and f/11 at 200 ISO. Why?

  • 1/250th, since higher speeds would have meant high-speed flash would be needed, which would reduce flash power.
  • f/11, to get a dark enough background.
  • 200 ISO, since higher ISO would not have worked: lighter backgrounds would have resulted, necessitating smaller apertures

That last part is important: raising ISO is not a solution to the need to “nuke the sun”. Only more flash power is.


Haze as a benefit

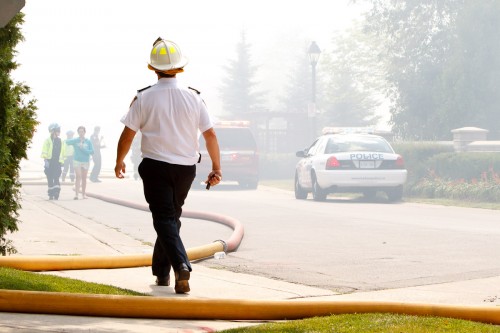
When a shot of a distant scene is hazy, foggy, or smokey, this can be a bad thing. Low contrast can destroy that ice image of the distant scene.

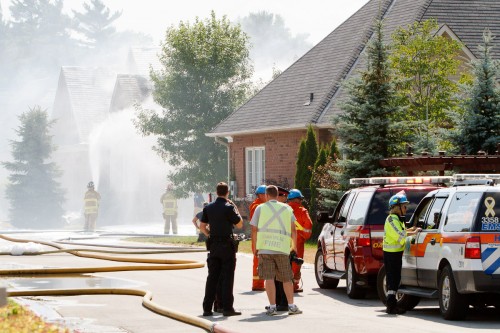
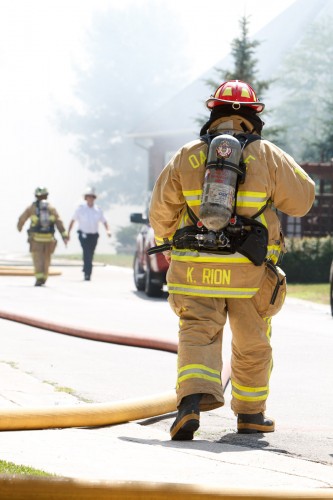
But you can also make it into a benefit. By putting sharp objects large in the foreground. Now the haze helps to accentuate and apparently sharpen the close object.

Fire scene (Photo: Michael Willems)

So now the disadvantage becomes an advantage.

Fire scene (Photo: Michael Willems)

Fire scene (Photo: Michael Willems)

So whether it is a fire you are photographing, or the Grand Canyon, or London: try to get a sharp object large in the foreground if the background is hazy.


On-camera softbox outdoors

When taking a picture outdoors on a sunny day, you may, as said many times here, want to use flash. Else you get this:
Sunlight bad. Shadows, brrr.

So instead, you use a flash.

But you all know that on-camera flash is bad. It has three major drawbacks:

  1. Harsh light.
  2. Non-directed – flat light.
  3. And the speedlite is not powerful enough.

True. But you can solve these three problems – as follows:

Harshness: use a softbox on the on-camera flash. Like the Honl Photo Traveller 8 softbox. Flash on camera; softbox on flash; aim straight ahead.

Non-directionality: a-ha. So if your model is looking to the right, say, then you turn the camera to the right, so the light is coming from the right and hitting her in the face from there. Yes, that is contrary to the way you normally hold a camera in vertical orientation! The shutter is now below, instead of on top. Bad technique normally; but here, necessary!

Power: if you want a dark background on a sunny day, you need to shoot at 1/200th second (stay below your sync speed!), 200 ISO, f/16. the only way to use a flash with that small an aperture is to be close. So you get very close!

So that is:

  1. 1/200th second, 200 ISO, f/16
  2. flash on camera
  3. softbox on flash
  4. flash aimed straigh ahead
  5. camera turned so that the flash is on the side of your subject’s face
  6. get close

And that gives you:

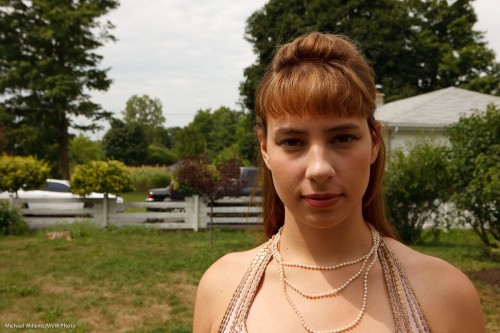
Jenna Fawcett, model (Photo: Michael Willems)

Not bad for an on-camera flash snap, huh? I used a Honl Photo Traveller 8 softbox, which was essential in this shot. It also gives you those wonderful round catchlights. Beautiful.

(I took this shot as a demo for students in the all-day Creative Light workshop we did Saturday. Stand by for more dates soon. ou can do this – it’s a matter of knowing the technique!)


Hay there girl!

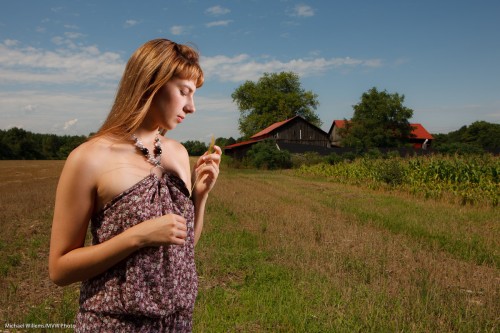
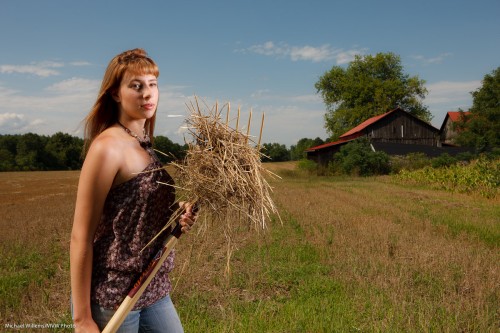
Here is model Jenna Fawcett, as I photographed her in yesterday’s Creative lighting workshop:

Model Jenna Fawcwtt (Photo: Michael Willems)

To make a picture like this, several things must come together.

Namely:

  1. A location. Simple, beautiful, with red and green and blue together. You have heard me before: red, green and blue in one shot, especially if saturated, make for a good picture.
  2. A subject. In this case a model, and clothing-make-up, props.
  3. The right equipment – camera and lens.
  4. Now, first of all, exposure set to expose the background properly.  Meaning nice and dark – “saturated” means “not overexposed; not mixed with white light”. The camera’s meter points at, say, -2.
  5. Light to light up the subject. Meaning flashes-  in the case of a sunny day – biiig flashes, with octoboxes, umbrellas or softboxes. Battery-powered if you are in a field in Ontario. One on the right; one on the left.
  6. Proper exposure of this flash light (this may need a light meter). Becasue you underexposed the background, your subject, if exposed “normally”, will now stand out wonderfully.

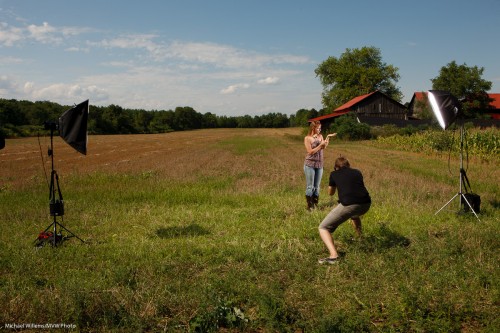
And that’s the story. This setup looks like this:

Model Jenna Fawcwtt (Photo: Michael Willems)

Is a sunny day better for these shots? No – a sunny day is much more difficult. Nasty shadows, and you need very high power to be able to “nuke the sun”. So for a sunny day you need strobes, and power.

Why did I call this post “Hay there”? Here’s why:

Model Jenna Fawcwtt (Photo: Michael Willems)

Can I learn this? Yes. Easy – follow the rules above.

Yes, you need to learn lots of finicky stuff about aperture, shutter, and ISO – but it’s worth it. Read this blog daily. Try. Take a course. And take one of the workshops Joseph and I do – they are quite the experience, and include beer and wine and portfolio shots – and great images to take home!


Excuses, excuses. Eat!

Every time I have dinner, I try to use that as an excuse to do some food photography, before I eat it.

And often I can. In those cases, as on the evening of August 10, I do the following:

  1. I whip out my 35mm or 50mm prime lens;
  2. I go to manual or aperture mode;
  3. I set a very large aperture – a small “F”-number, like f/2.0, or in this case, f/2.5;
  4. I compose carefully, to remove distractions. So I tilt, get close, move things, and blur out backgrounds, all to get a simple image;
  5. I get close! Cutting off half the plate is good. Fill the frame!
  6. But I include some of “plate, fork, glass”: things to indicate that this is food in a nice setting.
  7. I expose well, ensuring a fast shutter speed;
  8. I turn the plate, or reposition the food on the plate if needed;
  9. Ideally, I want open, soft light, and backlight. So I reposition the food to obtain that, if at all possible.

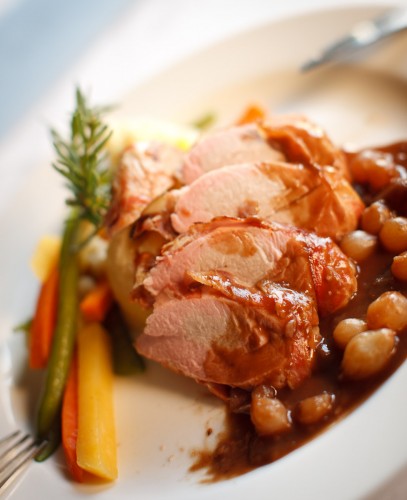
If I do this right, I now get this:

Pork Tenderloin ( ©2011 Michael Willems Photography)

And then I eat (Pork Tenderloin – yum).

And while the food lasts mere minutes (knowing me, seconds), the image lasts forever. I thus see restaurant food as an investment. I eat, and I get a stock photo into the bargain.


Yesterday

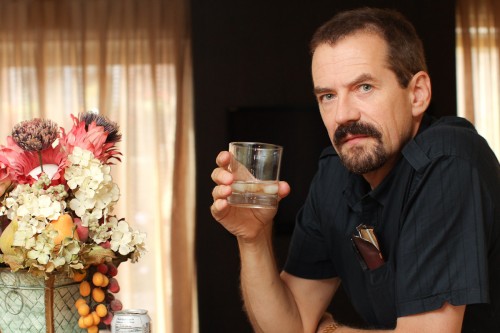
A student took this snap of me yesterday:

Photographer Michael Willems

He did this as follows:

  • He used his Canon 60D with my 50mm f/1.2 lens.
  • He used his new 580 EX II speedlight, bounced off the ceiling behind him.
  • The camera was set to manual exposure, f/5.6, 1/30th second
  • He selected 400 ISO.

Typical “indoors flash” settings.

The 50mm lens was set to f/5.6, so that means you could have done the same with any lens in the range of 50mm. This kind of lens length (meaning 80mm on a full frame body) is great for portraits. Which is why the 50mm (crop body) or 85mm (full-frame body) are such popular lenses.

If you do not yet own a 50mm prime lens, go get one. 50mm f/1.8, or if you can afford it, f/1.4 – or go all the way as I did, and get the 50mm f/1.2, but you will not using it at f/1.2 much.