Hippie Chick and Death Star

From today’s NSI course:

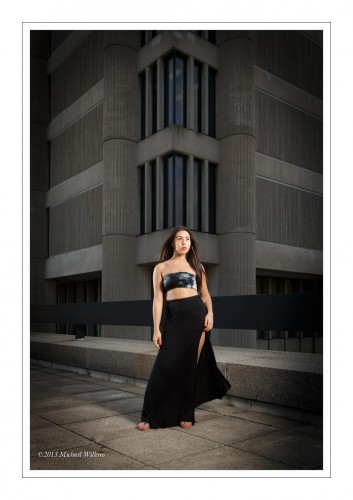
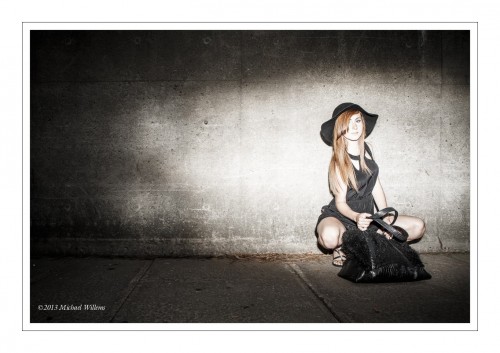
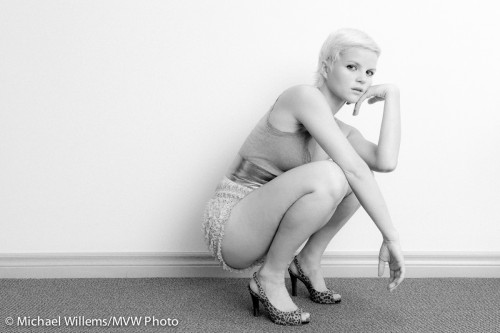
The pretty woman in front of the dystopian death star. The background underexposed by two stops, as usual.

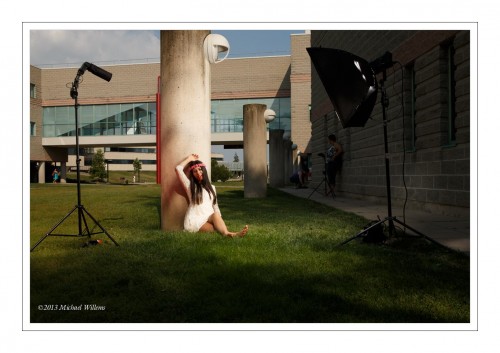
This was done with a softbox on our right, and two more speedlights, on on the right and one on the left.

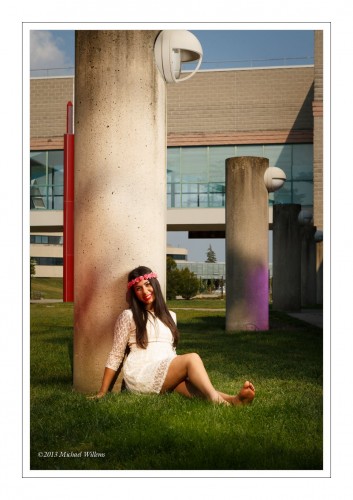
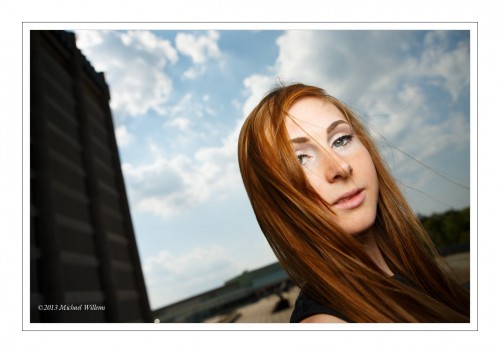
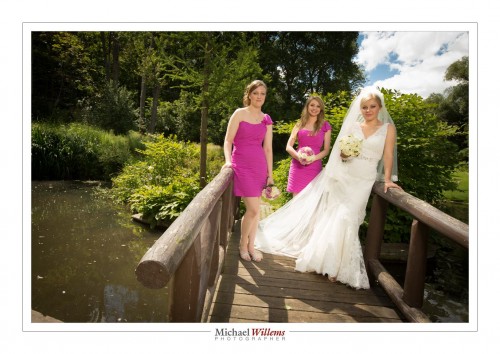
This was shot in a similar way:

The secret: underexpose the background by about two stops. 1/250th sec at 100 ISO at f/10; and then set the lights to give you those values.


Niagara School of Imaging

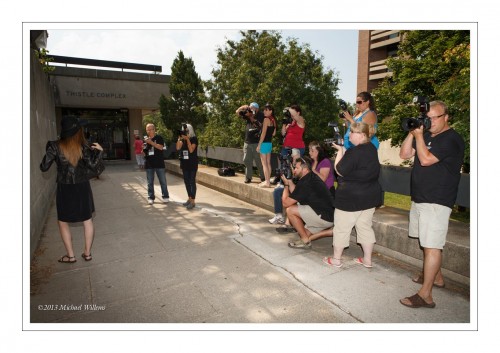
This week, the NSI – Niagara School of Imaging. We are having a blast – my 12 students and I. Here’s today:

This image puts paid to the thought that “you cannot create good pictures with one on-camera flash”. YES YOU CAN!

1/250th sec, 100 ISO, f/8

Thats the flash zoomed in, the lens zoomed out, and the flash aimed to the right while I aim straight ahead. Simple once you know how.

And this, with one on-camera straight-ahead flash using hi-speed flash and a softbox on the flash:

1/2000th second, f/4, 100 ISO.

Simple once you know!

But yes – one flash can do GREAT stuff!

Old pic, same stuff

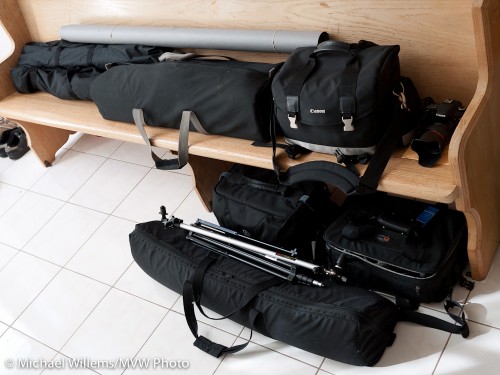
Michael's Gear - part of it

Michael's Gear - part of it

I am packing my car for a wedding I am shooting. I am bringing basically the same gear as here – a car full. Some shots later tonight, I imagine. But meanwhile remember: there’s no substitute for having the right gear, and bringing it.


Using Your Screen

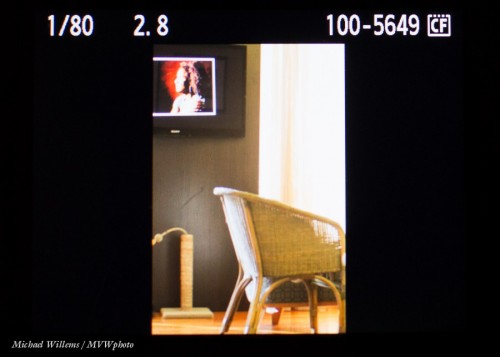
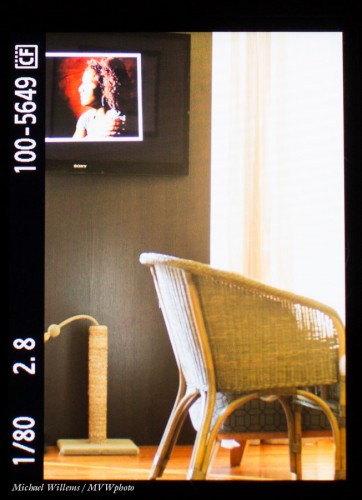
When you use the screen at the back of the camera for playback, you may have noticed that for portrait-orientated pictures, you get just a small “letterboxed” view:

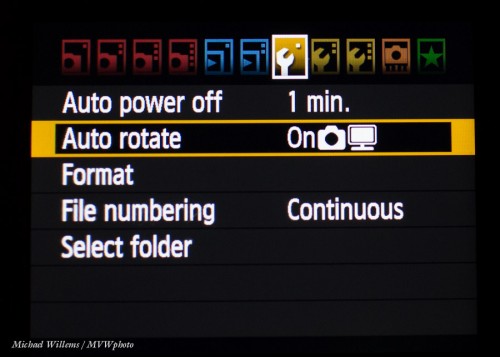
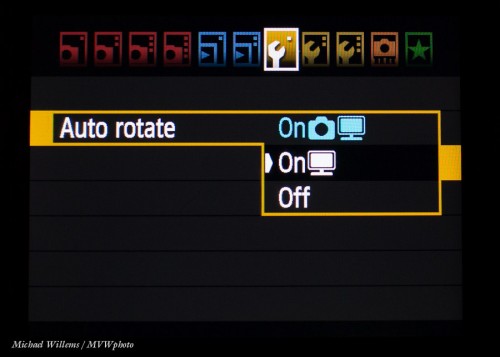
The solution is simple on most cameras. Go to the menu and find the display rotation function. On Canon, you can choose “what happens in the picture” and “what happens on the back of the camera”.

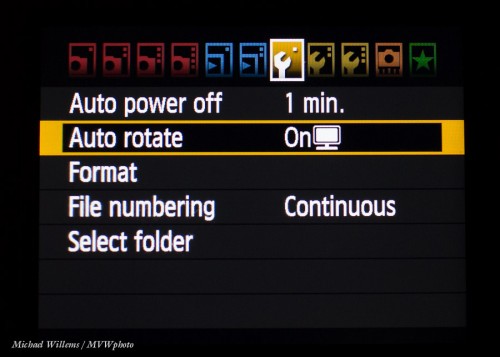
I set my Canon cameras, that have this ability, to rotaing in the image, but not on the camera screen:

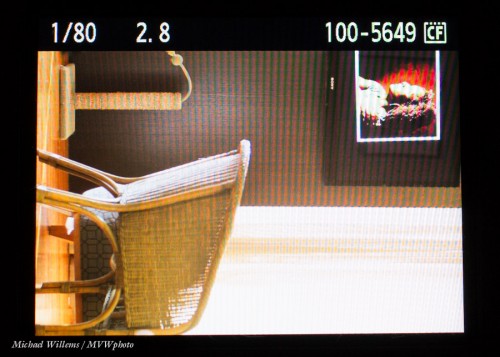
So now while the image is unchanged, I see this:

Now when reviewing just turn the camera 90 degrees:

..and now you are using the entire screen real estate, not just a part of it.


More than looking pretty

When I photograph people, there is often a conflict involved. There usually is, I might even say.

Why? Because I want to show the person’s character. Their inside; their conflicts;perhaps, their deep issues; their happiness, or lack thereof; their age; their life experience. I want the image to be evocative, to raise questions, and even, if possible, to tell stories. But mainly, I want it to raise eyebrows and to make people think.

The person photographed, on the other hand, usually wants to look like a supermodel, or like a person younger or happier or thinner (usually, all three) than in fact they are. And that is often in direct conflict with what I want.

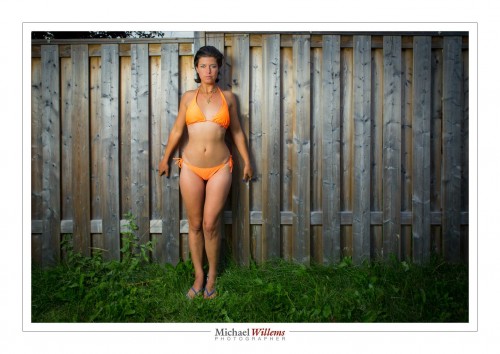
Take a photo like this, from 2012:
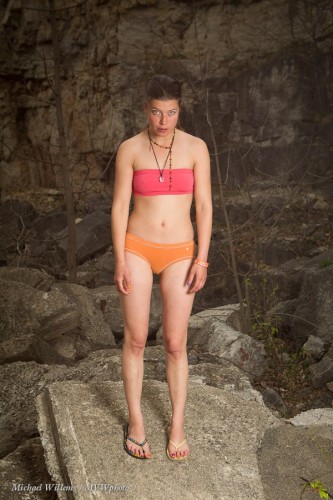
That photo is in fact a tribute to Dutch artist Rineke Dijkstra (see here). In it, the model does not look like a glamorous model; instead she looks almost like an insecure teenager. There’s insecurity, embarrassment almost, awkwardness for sure, body awareness, also.

Of course, the model does not like this portrait, and nor do her friends. (As I mentioned here last year, I was amazed that in The Netherlands, several people, when seeing this image, immediately said “That’s a Rineke Dijkstra”! Europeans really do have a great sense, and knowledge, of art.)

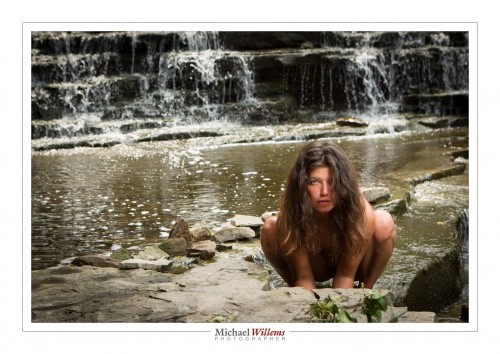
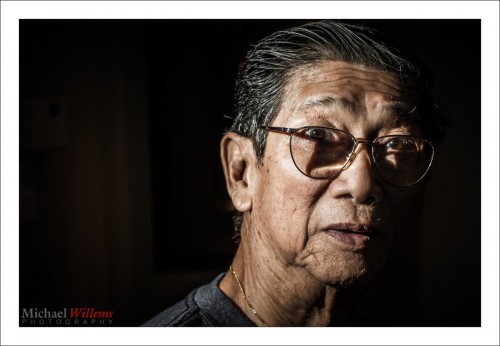
This portrait shows someone with life experience:
This shows a young woman thinking, and not happy:
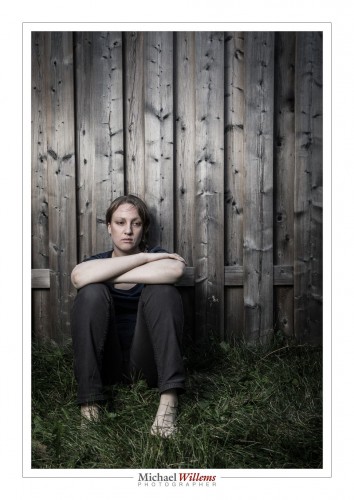
None of these are happy snaps (no smiles, see?). But they are good portraits. And here’s me in a few of last year’s self portraits:
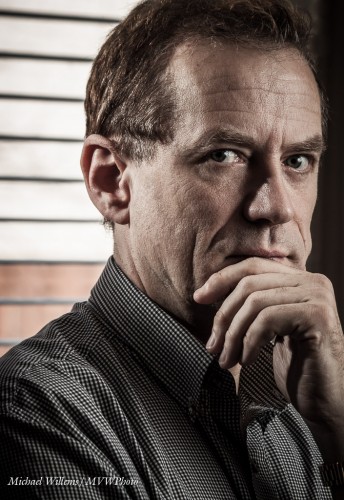
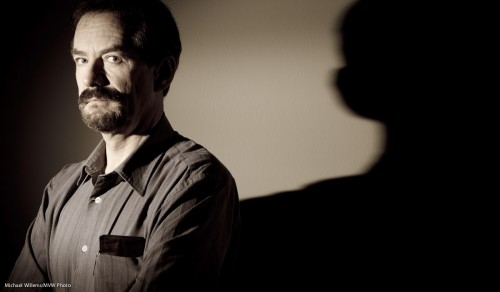
So when you are about to make a portrait, first ask yourself the most important question:

Whom is this portrait for?

It could be:

  • You.
  • The subject.
  • The subject – but 20 years from now.
  • The subject’s kids.
  • People who read a magazine the picture will be in.
  • Future generations.
  • Colleagues and friends.
  • An art competition’s judges.
  • Some combination of the above.

Then, when you are clear on that, decide what you want. The audience will lead you to the picture. Yes, you should also ask what the person portrayed wants – but it does not always matter. Karsh’s famous Churchill portrait was made seconds after Karsh removed Churchill’s cigar, and shows his resulting grumpy expression.

Then decide on a way to do the portrait – perhaps a compromise, or just for one party, or whatever – as long as the answer is not “I dunno”, because then, no great work will result.

Very often, just asking and answering this question will lead to a good photo.


Learn Photography – what and how?

Learning photography entails more than just knowing the camera, but it starts there.

Look at a few photos to get you in the mood:

Rule of Thirds, by Michael Willems

These, and all other photos that are worth looking at, rely on you to know a whole bunch of stuff:

  1. The camera and its operation, modes and menus
  2. Basic photography: Aperture, Shutter, ISO
  3. Lenses and their use
  4. Supporting tools (from light meters and pocket wizards to light stands and tripods)
  5. Flash
  6. Computer techniques
  7. Light and colour, in general
  8. Composition
  9. A little history and art
  10. People.

And then mix at all together and practice.

A CURIOUS OBSERVATION: Men usually start at 1 and work their way down; women tend to start at the bottom and work their way up. And guess what? I don’t care which approach you take. You need both for consistently good pictures.

And it is easier than you think. Which is why I help:

  • Here on www.speedlighter.ca. Read back to the start, and learn everything I know in bits. All I ask is: tell all your friends.
  • By buying and reading and practicing my two photography ebooks.
  • On photo walks like my August 25 walk: maximum ten students, so book soon.
  • Aug 18-22 you get the chance to learn from me in a very intensive 5-day workshop at the annual Niagara School of Imaging, held at Brock University. There are still a few spots open: book now if you dig flash as much as I do.
  • By coming to one of my courses in Hamilton and Oakville: www.cameratraining.ca
  • By doing private training, the best way to get there quickly.

Take advantage of these opportunities and make your life last forever by creating great art.

And I have a special offer for you to help you get started: Until the end of September I offer a two hour individual portfolio review and general review of strengths and weaknesses (and help with the latter) for $99 (normally, $190) plus tax. You can do this at my Oakville location or via the Internet using Skype/Google. Simply pay via e-transfer or via http://www.michaelwillems.ca and send me an email to pick your time (24/7 in principle). You will find this an excellent way to kick start your photography!


Equipment Pays

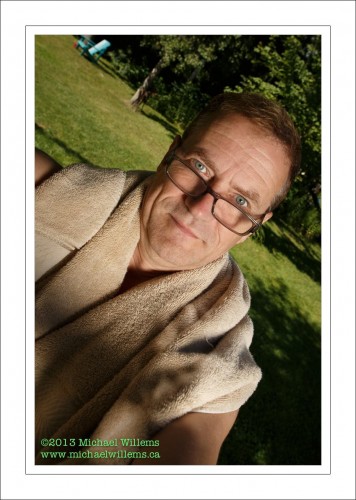
I made pro portraits of people last weekend. The setup was a large strobe with a softbox, and a Canon 1Dx camera with a 24-70 f/2.8L lens.

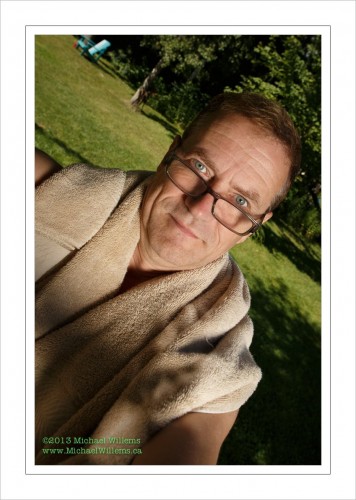
That gives me this kind of shot (this is a self-portrait to test):

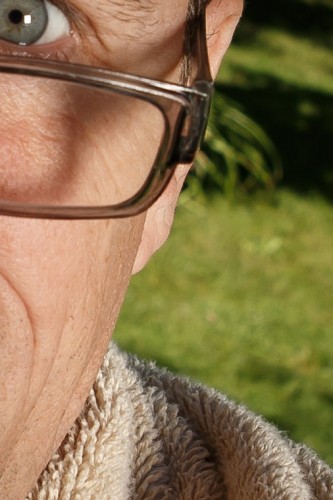
But it is not until you view this at real pixel level that you see how great this kind of equipment is. Even in this picture, which was slightly back focused (it is impossible to focus accurately on yourself), look at the hairs around my ear, and at the towel:

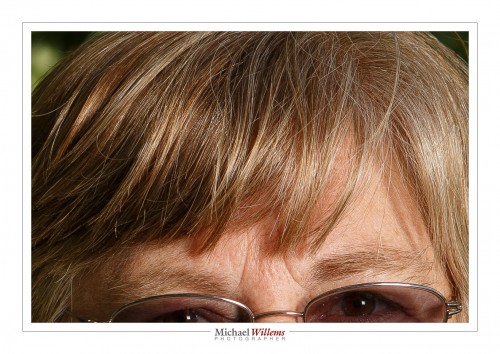
But better still, look at this small cut from a picture of one of the people pictured:

Now click on that, and then select “full size”, and if necessary on your computer, click on any “+” buttons to view this at its actual size (of 1200+ pixels wide). Then you see how incredibly sharp this is. Basically, DNA level.

So when you think your “kit”-lens does OK, or your iPhone does OK – that is true when viewed small. But when viewed large, or better, when printed (and you really should print your photos!) then the difference between basic equipment and professional gear really shows up. I wish I could show you all these photos on my large

And that is one reason (one of many) to have your portrait made by a pro.

Other reasons are the printing itself – when I print for you, I make “giclée” prints, using permanent pigments on non-fading acid-free museum-grade paper. Not Wal-mart prints that, while they only cost a few dollars, will discolour and fade after just a few years – let alone decades.

Please – have me or some other pros make your portraits. We are only on this earth once, and the older “us”, as well as the generations after us, should be able to recall you as you are today. I have only a few photos of myself as a child. In fact just one, I think. As I said in the workshop I taught the same day: it’s the only time travel we will only do. What’s a few dollars to keep your “today’s self” frozen in time forever?


Shaky Top Ten

…or rather, I will teach you how not to shake it all up. What do you do to avoid motion blur? A quick repeat of a common beginner’s lesson here this morning: the Top Ten techniques to avoid motion blur due to camera shake in your pictures.

First, make sure you distinguish motion blur from lack of focus. If it is motion blur, it has “streaky” lines.

If indeed you are experiencing motion blur, it means the shutter is slow with respect to the angular speed. And to avoid that, you can do the following:

  1. Ensure your shutter speed is fast enough. A rule of thumb is “one divided by the lens length” – so for a 50mm lens, stay faster than 1/50th second, and for a 24mm lens, stay faster than 1/24th second – etc. So ensure you stay well above these speeds – increase your ISO if needed, or use a faster lens (one with a lower “f-number”).
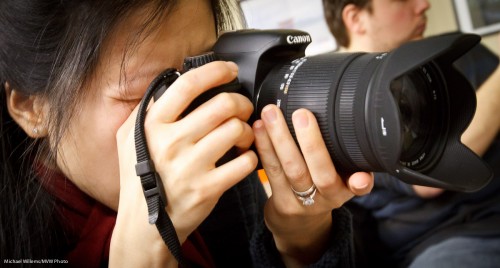
  2. Hold the camera with an underhand grip, not the amateur’s overhand grip. This is more stable. It also makes you look like a pro. See the picture below.
  3. Use the viewfinder, not the screen on the back of the camera.
  4. Hold your eye against the camera, now away from it.
  5. Steady yourself; elbows pressed into your sides, legs slightly apart.
  6. Do not breathe, or just steadily breathe out, while shooting.
  7. Use a wide angle lens! The longer your lens, the more motion blur you will see. The wider the lens, the less you will see.
  8. Use a tripod! Unless your subject is moving, of course.
  9. Use a stabilized lens. VR (Vibration Reduction) / IS (Image Stabilization) are great technologies, worth every penny – they give you several extra stops of usable shutter speeds.
  10. Take several shots, if you cannot avoid slow shutter speeds. One of them will be sharp, accidentally. 🙂

How to hold a camera properly

Once you do the above properly, you will no longer have motion-blurred pictures. It is as simple as that.


Test Shot

I spent yesterday shooting portraits. And here is my test shot:

Why “a test shot”?

For outdoor portraits, I set up a single softbox. I check my ambient light and underexpose that slightly: I start with 100 ISO, 1/250th second, then see what aperture that needs. Then I set my flash to the desired brightness to give me that aperture.

But then I do one single test shot – that is all I need. I check:

  1. Is the background dark enough? (*)
  2. Is the foreground bright enough? (*)
  3. Do I see a catch light?
  4. Are glasses free of reflections?
  5. Are the shadows in the right places?

(*) I judge this by means of using a Hood Loupe, and/or using the histogram, and the “blinkies”. Not just visual inspection of the rear LCD in bright sunlight!

Of course here since I am holding the camera and a pocketwizard, my expression and the composition are not quite right, but that is not the point. The light is right.

And provided I do the setup right, one test shot is all I need.

Come to NSI to learn more – Sunday-Thursday next week!


A small adjustment

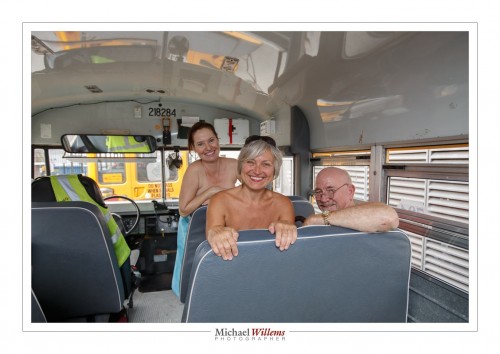
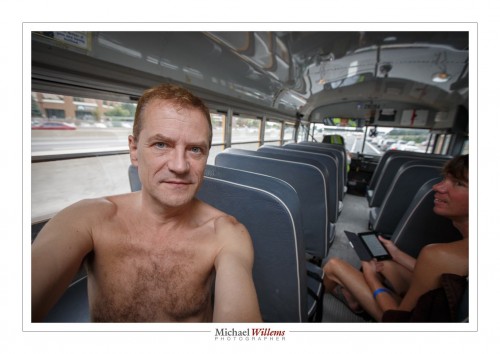
If you photograph people against windows, as in this “Bare Bus” picture of two days ago, between Bare Oaks resort and Toronto’s Hanlan’s beach, what happens?

Usually, you will either get silhouetted subjects or blown out windows, i.e. you do not get a well-balanced picture like this:

In that picture, the background is not overexposed. Same as in this one:

So – how do I do this?

Either of:

  1. Expose for the background (using, if you like, a spot meter) and light up the foreground with (bounced) flash.
  2. Overexpose the background a little, yes, but use RAW, so you can drag the “Highlights” back in Lightroom (and the “shadows” up). This minimizes the difference between dark and light. I.e. keep it within limits, so you can fix the issues in Lightroom.
  3. A combination of (1) and (2) above.

And that is what I do when I shoot: I keep it under control so I can fix any issues later. I.e. make sure that if you overexpose, you only overexpose a little, and the same for underexposing.

Here, one more sample – this one even more difficult because it was a self portrait:

Note that for a self portrait I will let the camera choose where to autofocus – and that is very rare. Normally, I choose, But when I am not looking, I cannot choose. So the camera chooses – and it chooses the closest subject.

This, by the way, was a special bus tour, leading to a beach visit with photos, and a photography course the next day; and portraits Saturday. Stay tuned for more.