KISS

As in, “Keep It Simple, Stupid!”

One of the most important things about an image is to keep it simple. Simple means “everything in a photo is meant to be in it, or it’s not there”.

You can do this while shooting or afterward, by cropping.

A few shots from Montréal, yesterday:

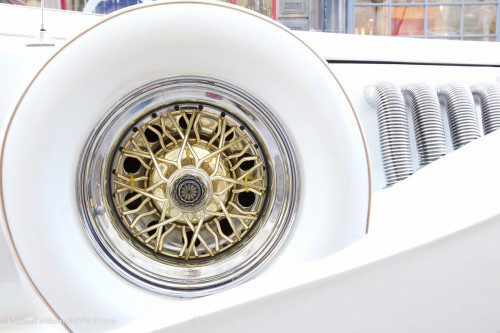
Wheel

Wheel

Ship, Montreal

Ship, Montreal

And one more:

Ship, Montreal

Ship, Montreal

What do you think? Simple good?

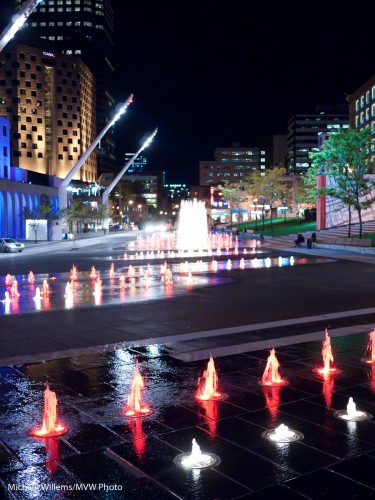
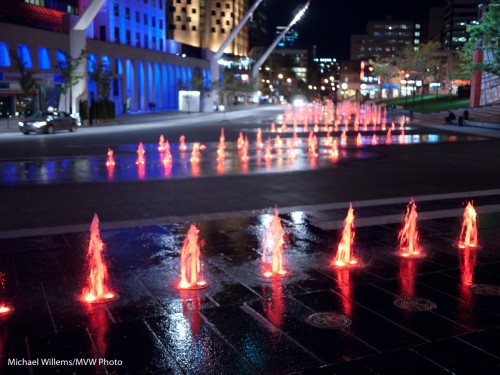
Night.

In Montréal. Last night!

Montreal, 9 Oct 2010

Montreal, 8 Oct 2010

Taken at 800 ISO, 1/30th sec, f/1.7.

Because of the fast (f/1.7) 20mm lens on the Lunix camera I was able to shoot at 800 ISO. Had I had a regular point and shoot, I would have had to shoot at a higher ISO speed, much higher.

Here’s another one:

Montreal at night, 8 Oct 2010

Montreal at night, 8 Oct 2010

So the tips for today are:

  • Use a tripod if possible.
  • If not, then open your aperture as wide as you can.
  • And go to a wide angle if you can.
  • Use exposure compensation if needed, usually -1 to -2 stop. Ensure the black sky is black.
  • Go to a high enough ISO so you get a reasonable shutter speed.
  • Hold still.
  • Shoot multiple times.
  • Select the best shots!

And above all: bring the camera. And have fun.

Wide and close

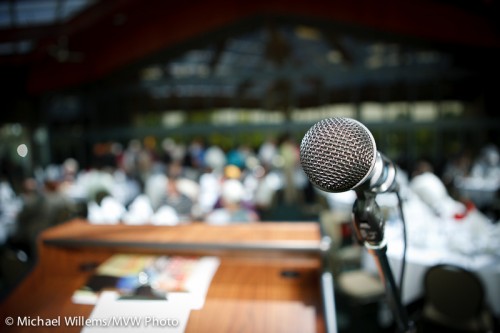
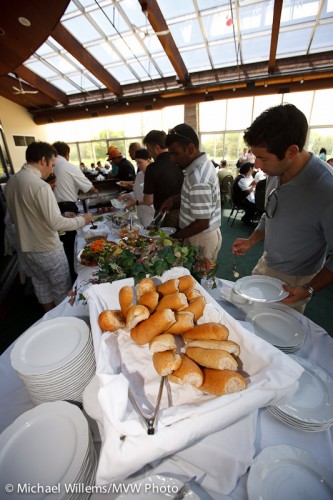
You have heard me say it before: go wide, get close, open up.

24mm f/2.8:

Microphone

Microphone

16mm (on a full frame camera, meaning 10mm for most SLRs):

Buffet

Buffet

24mm:

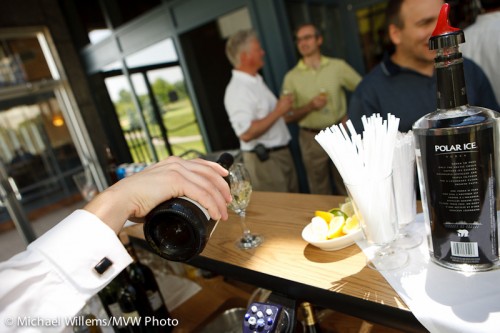
Bartender

Bartender

None of these pictures are to be seen by them selves: they support the story. And they do it by showing detail and by maing the viewwer think.

So: Wide angle, Lens open to maximum aperture. Get close.

Yellow balance

Just a quick note today, since I am travelling to Montreal and Quebec City.

White balance is the process your camera uses to make white white.

But you can also use it to distort an image’s colours to your liking.

To turn white yellow, for instance. This shot is Tungsten light, but shot with the camera’s white balance set to flash:
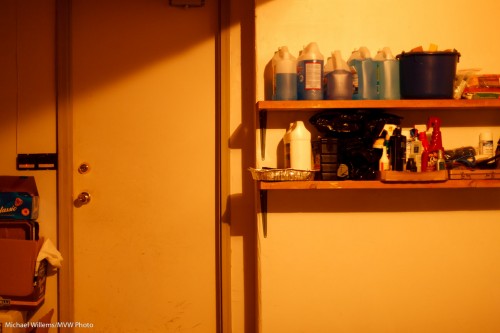
White or orange?

White or orange?

You can, and should, experiment with white balance! Turn images blue or orange. Play a little!

Of course if you are only using one light source and you shoot RAW, this makes no actual difference, but it is still worth setting, if only (as I have pointed out here before) because you save timelater – and becasue you get to see an idea of what the image will look like in the end.

Light creatively

After last Sunday’s Creative Lighting workshop, and working up to next week’s Henry’s Digital Imaging show, at which I will be presenting for three days, I am thinking about light. As I always do.

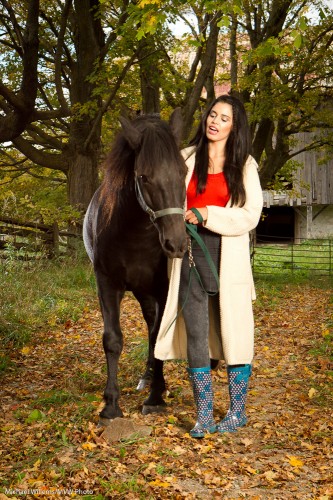
Look at this shot from last weekend: model and friend:

Model and horse

Model and horse

Lit by natural light?

Not on your life.

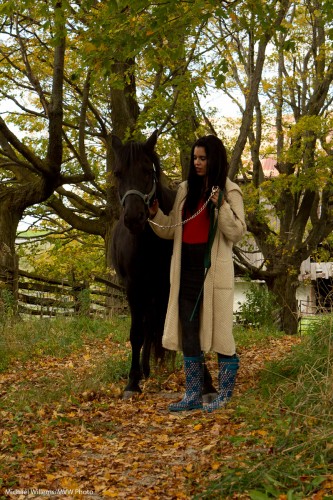
Here is what they look like in available light:

Horse and model - available light

Horse and model - available light

Now you see why we use softboxes, kicker lights, and so on.

Used in the first shot:

  • Softbox with a monolight, to our right.
  • Small speedlite with Honl grid, to our left – see the sheen on the horse’s coat?
  • Pocketwizards (2x) and Flashzebra cable (1x)

Simple, innit?

Well, maybe not that simple, until you are shown. Come take a full-day lighting workshop and I will teach you this, and come see me at the upcoming Henry’s show also, where I will do tethered portrait shooting to demonstrate all this.

Portrait note

One more from Sunday’s course.

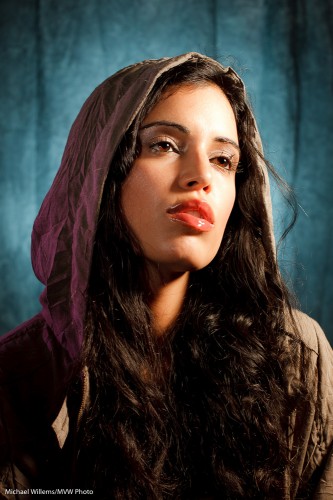
This time, a portrait of model Tara that I made to help explain multiple flash TTL. Straight out of the camera it is:

Multiple-flash TTL lighting

Multiple-flash TTL lighting

How was this made?

With a small Traveller 8 softbox on the main light, a gridded gelled flash for the background, a snooted flash for the fill light, and a gridded gelled flash for the edge light.

Four speedlights, and all using TTL.

A few things to remember in such portraits:

  • You need a catch light in the eyes.
  • Set your white balance to “flash”.
  • If you have space, longer lenses are good (in this case, though, I use a 50mm prime lens).
  • Avoid the ambient light doing any work: choose 1/125th second at f/5.6 or f/8, say; and be sure to disable “Auto ISO”.
  • Lighting is all about what you do not light: avoid bathing the room in photons. Think about what you light, and how.
  • With Canon’s e-TTL or Nikon’s CLS/iTTL, you only get two or three groups of light. So if you have four lights, some of them will have to be in the same group. My fill and edge light are thus both in group “B”.

Keep those in mind and your portraits will be well lit.

Gearing up…

…for the Henrys Digital Imaging show! It will be held 15-17 October at the International Centre right by Toronto’s Pearson airport.

See the show web site (scroll down and you’ll see my name). I shall be presenting short versions of workshops throughout all three days.

This show is great: just about the entire imaging industry turns up and you get to hear interesting speakers, see new releases, try out all the cameras and lenses you might be interested in, and I am sure there will be deals also. Also – there are so many experts that any question can be answered.

If you are interested in photography, this is a must-see. Worth spending an entire day: I hope to see those of you who can get there, there. Come say hello!

A shot from the course

At the Mono “Creative Light” workshop,  we do different portfolio shots every time.

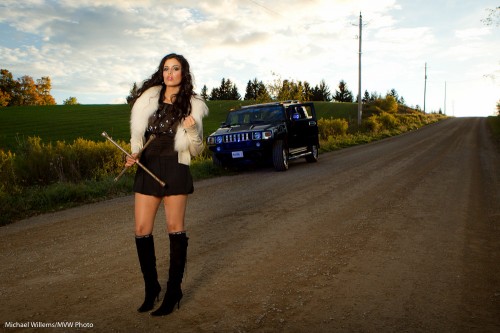
So imagine our delighted on Sunday when a student turned up in a Hummer. This was immediately put to use by model Tara:

Tara Elizabeth and Hummer

Tara Elizabeth and Hummer

That was lit how?

This is how: with a softbox, to our left. And a small speedlight to our left aimed straight at the car – with a blue Honl gel. Both were fired using pocketwizards (the speedlite using a Flashzebra cable). Metered using a light meter, of course.

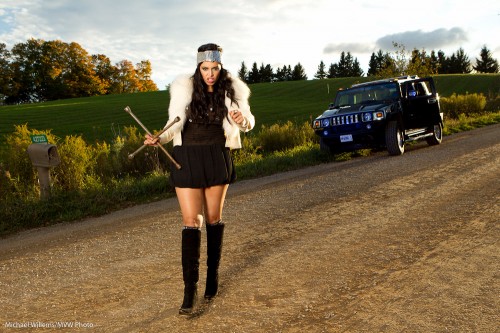
Here is an alternate take:

Angry Tara Elizabeth, with Hummer

Angry Tara, with Hummer

That was taken just a few minutes before. Can you see how every minute counts when shooting in beautiful late day light?

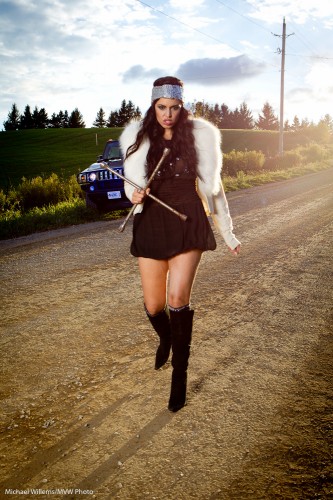
Okay, one more. Just to show that lens flare – which should normally be avoided – can sometimes be OK:

Angry with tire iron

Angry with tire iron

You avoid flare by:

  • Using a lens hood
  • Shielding the lens with your hand
  • Avoiding lens filters
  • Pointing slightly away from the light source

Have fun!

Yum

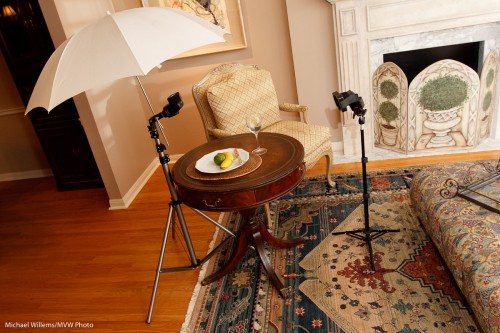
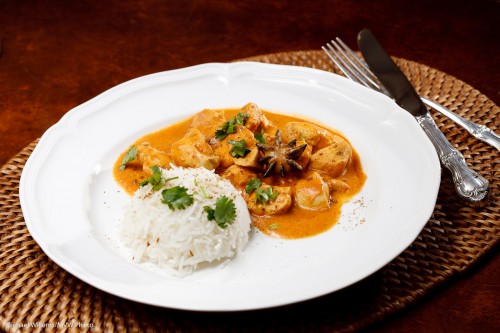
Today, I have a quick starting point for food photography for you.

Food Photography

Food Photography

  • Lighting: small speedlights are good.
  • Use one umbrella on top, and one gridded light from behind to add accent (and to light the steam. If there is steam, try to use a dark background)
  • You may want to shoot from a low angle.
  • Blur out backgrounds.
  • These backgrounds can contain a cup or glass, cutlery, etc.
  • Prepare the food: If you have no food stylist, you are it. Every detail counts. Make it look great. Add some “green stuff”. Use a brush with oil to make surfaces shiny and yummy.

And do not forget to eat the food, afterward.

Indian Food Photography

Indian Food Photography

(Although you would be surprised how many food shoots use fake food. Ouch!)

One more, for good measure (I shot these for West of the City magazine early this year).

Indian Food Photography

Indian Food Photography

Glasses

When you photograph someone with glasses, especially in a studio, watch out for a couple of things.

  • If they make the eyes look smaller, be careful not to turn the head too much. If you do, you will cut chunks off the face. In that case, a more head-on view will often work better.
  • Reflections! Tilt the head down a bit, or move the light source up or sideways slightly more. Always check after a shot that the reflection gremlin has not got you.
  • Some photographers use glass-less frames to avoid these. Today, I do not think that is necessary.

By observing these simple precautions, you can get good photos of someone wearing glasses. Not complicated: as so often it is in the “paying attention”.