Mistakes are how we learn…

….and I can make them too. Today is an example.

I just bought a used Canon ST-E3-RT wireless flash control transmitter. A great piece of engineering. And also a good piece of business, for Canon. And also a mistake, for me.
20161011-1dx_1235-1200 20161011-1dx_1236-1200 20161011-1dx_1237-1200

Because as I told the seller, “This one does radio as well as IR, IIRC”.

If I had only looked that up instead of relying on my recollection! Because no, it does not do light/infrared control. It only does radio control. Meaning I can control 600EX flashes, but not the six 580EX and 430EX flashes that I own. My only 600EX is faulty and needs an expensive repair or replacement.

So I have a controller that is a marvellous piece of engineering, but it only controls 600EX flashes that I do not own. Review some time when I do own 600EX flashes!

And careful when you rely on recollection. “IIRC” (if I recall correctly) implies that you might be wrong. Which I was.

Why is this flash, as I put it, a great business move? Because it forces photographers like me to buy only new 600EX flashes, and yo discard their 430EX and 580EX flashes. Which would be fine if it was one flash… but I have six of them!

Moral of the story? Check things before you trust your recollection; every time you say “IIRC”, realize you could be wrong.

(PS: Anyone looking for an ST-E3-RT? 🙂 )


High Key Flare

Since a student today asked me about “High Key”, I thought perhaps I would share a repeat of a 2014 post. As well as pointing out the “search” field in www.speedlighter.ca, a rather useful resource. Anyway, without further ado, here’s the 2014 post:


I did a portrait session yesterday, of another photographer, the talented and beautiful Tanya Cimera Brown.

Tanya wanted a high key portrait with blown out background and flare. A portrait that looks like it was taken in front of a bright window.

Flare, eh? Like this?

Yes, like that.

So how did I get that?

Flare is basically “lens imperfections with strong incoming light”. Like bright back light. It gets worse with some lenses (like the 70-200) and conditions (like filters). But instead, I used my 85mm lens. Not much flare there.

So I did it like this:

Five flashes: Softbox, umbrella, hair (strobes); then background, flare (speedlights). Flare? Yes, see that speedlight hanging down? Hardly visible? That is because it is shining toward me. And that with the bright background (speedlight left) gives me what I want, if my lens is in its light.

Done. A bit of logic always works. Logic rocks! Here’s one more.


How can you be sure?

“How can you be sure you used a flash?”, asked a student. She meant in this image:

20161007-mw5d1126-1024

Several ways:

  1. I remember.
  2. The wheel would be dark without a flash.

But most of all: just look. Zoom in. and you see:

screen-shot-2016-10-09-at-03-44-19

Et voila! See the photographer? C’est moi. Avec un… quick, what’s a flash in French?


Little things.

I taught a 2-hour presentation in London, Ontario on Thursday night. The London Camera Club made me feel welcome, and was very receptive to my message about flash photography. Lots of members bought my e-books, and several signed up for my flash courses on 16 and 23 October.

(Both courses are now full: if you wanted to take part, send me an email: I will repeat the workshop again in the next weeks, if there’s demand).

Nows for tonight’s tech tip. Look at this image from today, when I was shooting a horse farm in Adjala, Ontario:

20161007-mw5d1126-1024

I shot against the sun, so I used a flash to light up the Camaro—else, the wheel would be dark.

Consider the star-shaped reflection in the bumper. And there’s the star shaped sun rays. Why the star shape?

The answer is simple:

If you want a distinct star shape in your hot spots, stop down to a small aperture (high f-number).  So this was shot at f/16.  And one more tip: shooting against a light source like this, leave off your “protective” lens filters. Otherwise you will not get this: all you will get instead is flare. 


Near London? Come see me 6 Oct 2016

Do you live west of Toronto? Anywhere near London, Ontario?

Then see www.londoncameraclub.ca – you can hear me talk about flash tomorrow night (or tonight, depending on when you read this), Thursday Oct 6, 2016. Come hear some advanced tips and tricks and come meet me. 7:30pm; $10 charge for non-members of the club.

Also keep in mind, 23 October, another small (5 people max, some spaces left) hands-on Flash workshop. See the meetup.com web site.

Now back to my presentation.No rest for the wicked. 

Oh vanitas vanitatum, omnia vanitas.

An ancient Latin saying. Obviously ancient if it’s Latin.

And a self portrait, obviously not ancient, unless perhaps my age puts me into that category.

Michael Willems

Oh vanity of vanities, all is vanity.  Manual focus on an object that is sitting where I will be. Then use the timer shutter release. Camera on a tripod. or on a table.

So is this a “vanity” photo?

No, it is more of a storytelling photo. Photos can be more interesting if they imply that there is clearly a story behind the photo, and it is not a straightforward one like “happy clown”.

If you are on my course: much more coming. If not: get the books, come back here, and keep reading. Enjoy!


Dutch Master Classes

The Dutch Masters of the 17th century created visual art the likes of which the world had never seen. In what you might call an explosion of creativity, they changed visual art, its accessibility, and its popularity forever.

It turns out that they had certain commonalities. In particular, they combined the following:

screen-shot-2016-10-01-at-23-30-32

  • An amazing amount of technical knowledge.
  • Fortuitous timing: technology, education, trade, and societal wealth were all on their side.
  • A great degree of creativity.
  • A great emphasis on light.
  • A love of realism.
  • Clear picture storytelling (“narrative directness”).
  • A love of portraiture.
  • Great informal rapport with their subjects.
  • Master Classes, held by experts for their apprentices.
  • An inquisitive and exploratory nature. A number of Dutch Masters travelled to Italy to learn Light Theory.
  • The Masters carefully painted some nudes—as much as the times allowed.
  • They engaged in speculative art: for the first time, they created art without a sale, in the hope it would sell later.

It turns out that these are exactly the things that makes photographers great. Hence the Dutch Master Class theme: you can learn from history. The Dutch Masters would be delighted that their art, their learning, their creative insights are being used and taught today, almost 500 years later. In my Dutch Master classes, that is what I do: by continuing the tradition of many centuries, I set your creativity free.

I am therefore happy that this message is catching on. This blog is widely read; my workshops are popular (The October 16 Hands-On Flash workshop has just one spot left), and my non-DRM e-books are read worldwide.

These are great days for photographers, whatever doom and gloom messages you may hear. Sure, there will be change, but photography is not about to become less popular. Today, there is an easier-than-ever path from a vision in your head to a beautiful print on museum paper (or an image on your screen). Allow me to help you achieve that dream, the dream of being able to visualise your artistic vision and create lasting art.

And this blog will help, as will the other ways in which I teach. Stay tuned and see you on one of the seminars.

How bright should my screen be?

A student of mine, a working photographer, today asks a simple question whose answer turns out to be not all that simple:

Michael: How bright should I have my screen at when editing?

Great question, which I shall attempt to answer here. And that answer takes up a few pages.

First of all, you need to ask this question about each display throughout the workflow. That means the LCD displays on the back of the camera as well as the Lightroom “Develop” displays. If the back-of-camera “playback” display is very bright, for instance, it could lead you towards underexposing all your photos. It also means each physical display: if you have two monitors connected to your computers, ensure that both of them are set correctly. Not as simple as it might sound.

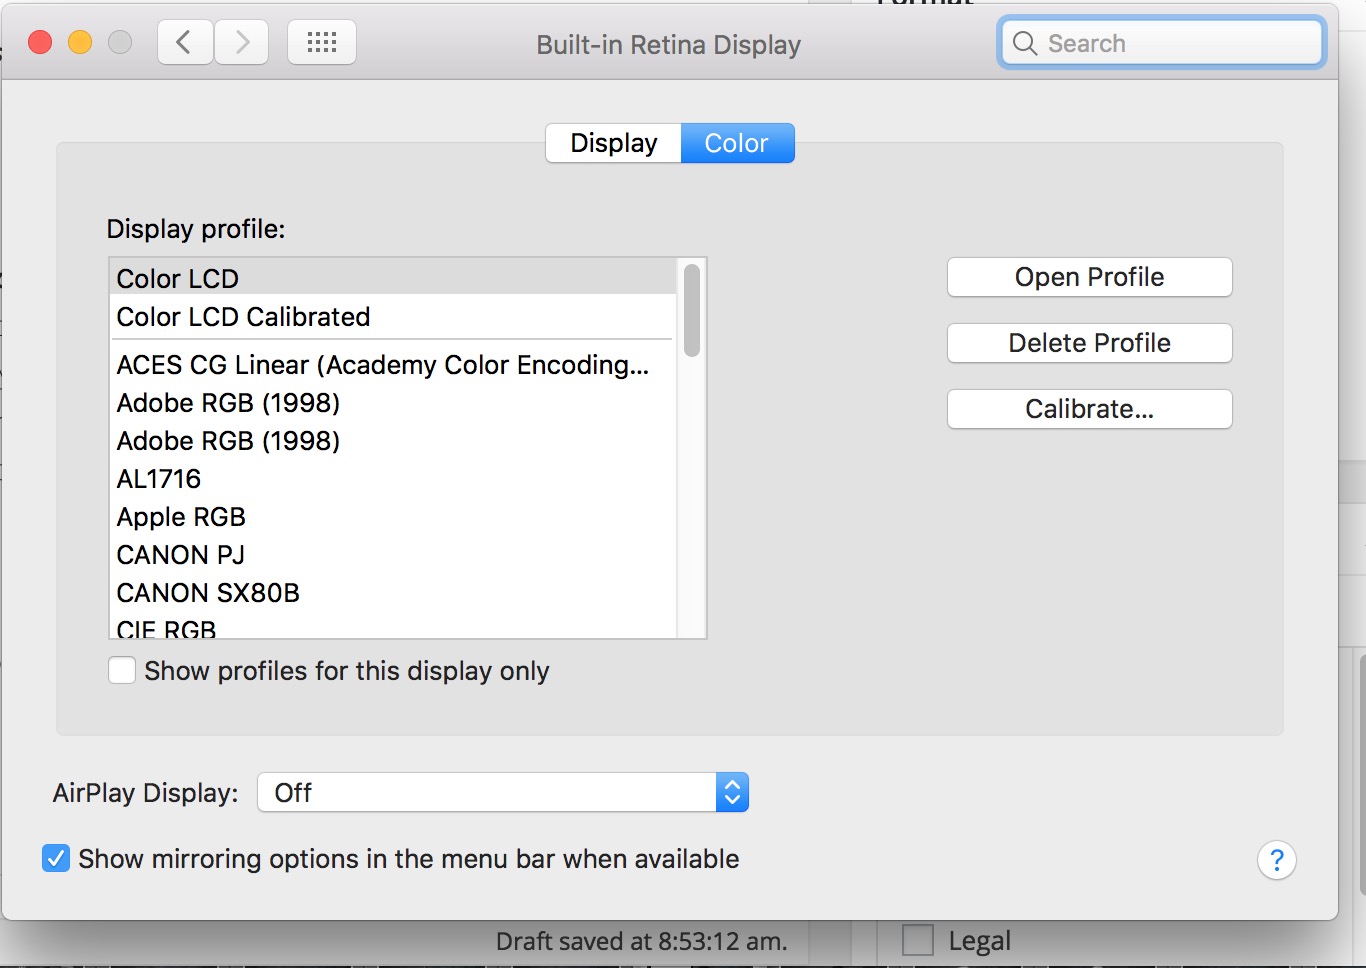
Second, there are other variables than just brightness to set correctly: notably white balance; and then there’s gamma, […etc]. On a Mac, you can use Apple’s built-in System Preferences—Display section: click on “Calibrate” and follow on-screen instruction. Here’s a good s=explanation of the process. Or you can use a “spider” hardware-software combination like the Huey that I use. Either way, set all the variables correctly.

screen-shot-2016-09-30-at-08-53-15

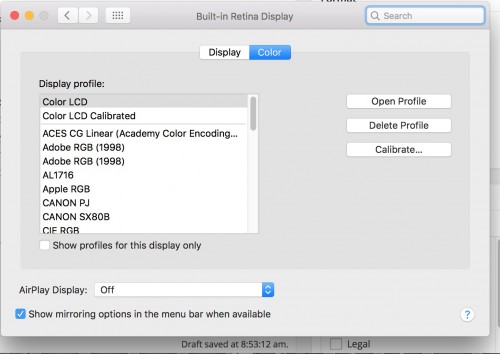
Click on “Calibrate…” if you wish to calibrate your screen. Note that depending on OS version, to get access to all settings, you may need to use Option-click on “Calibrate”. 

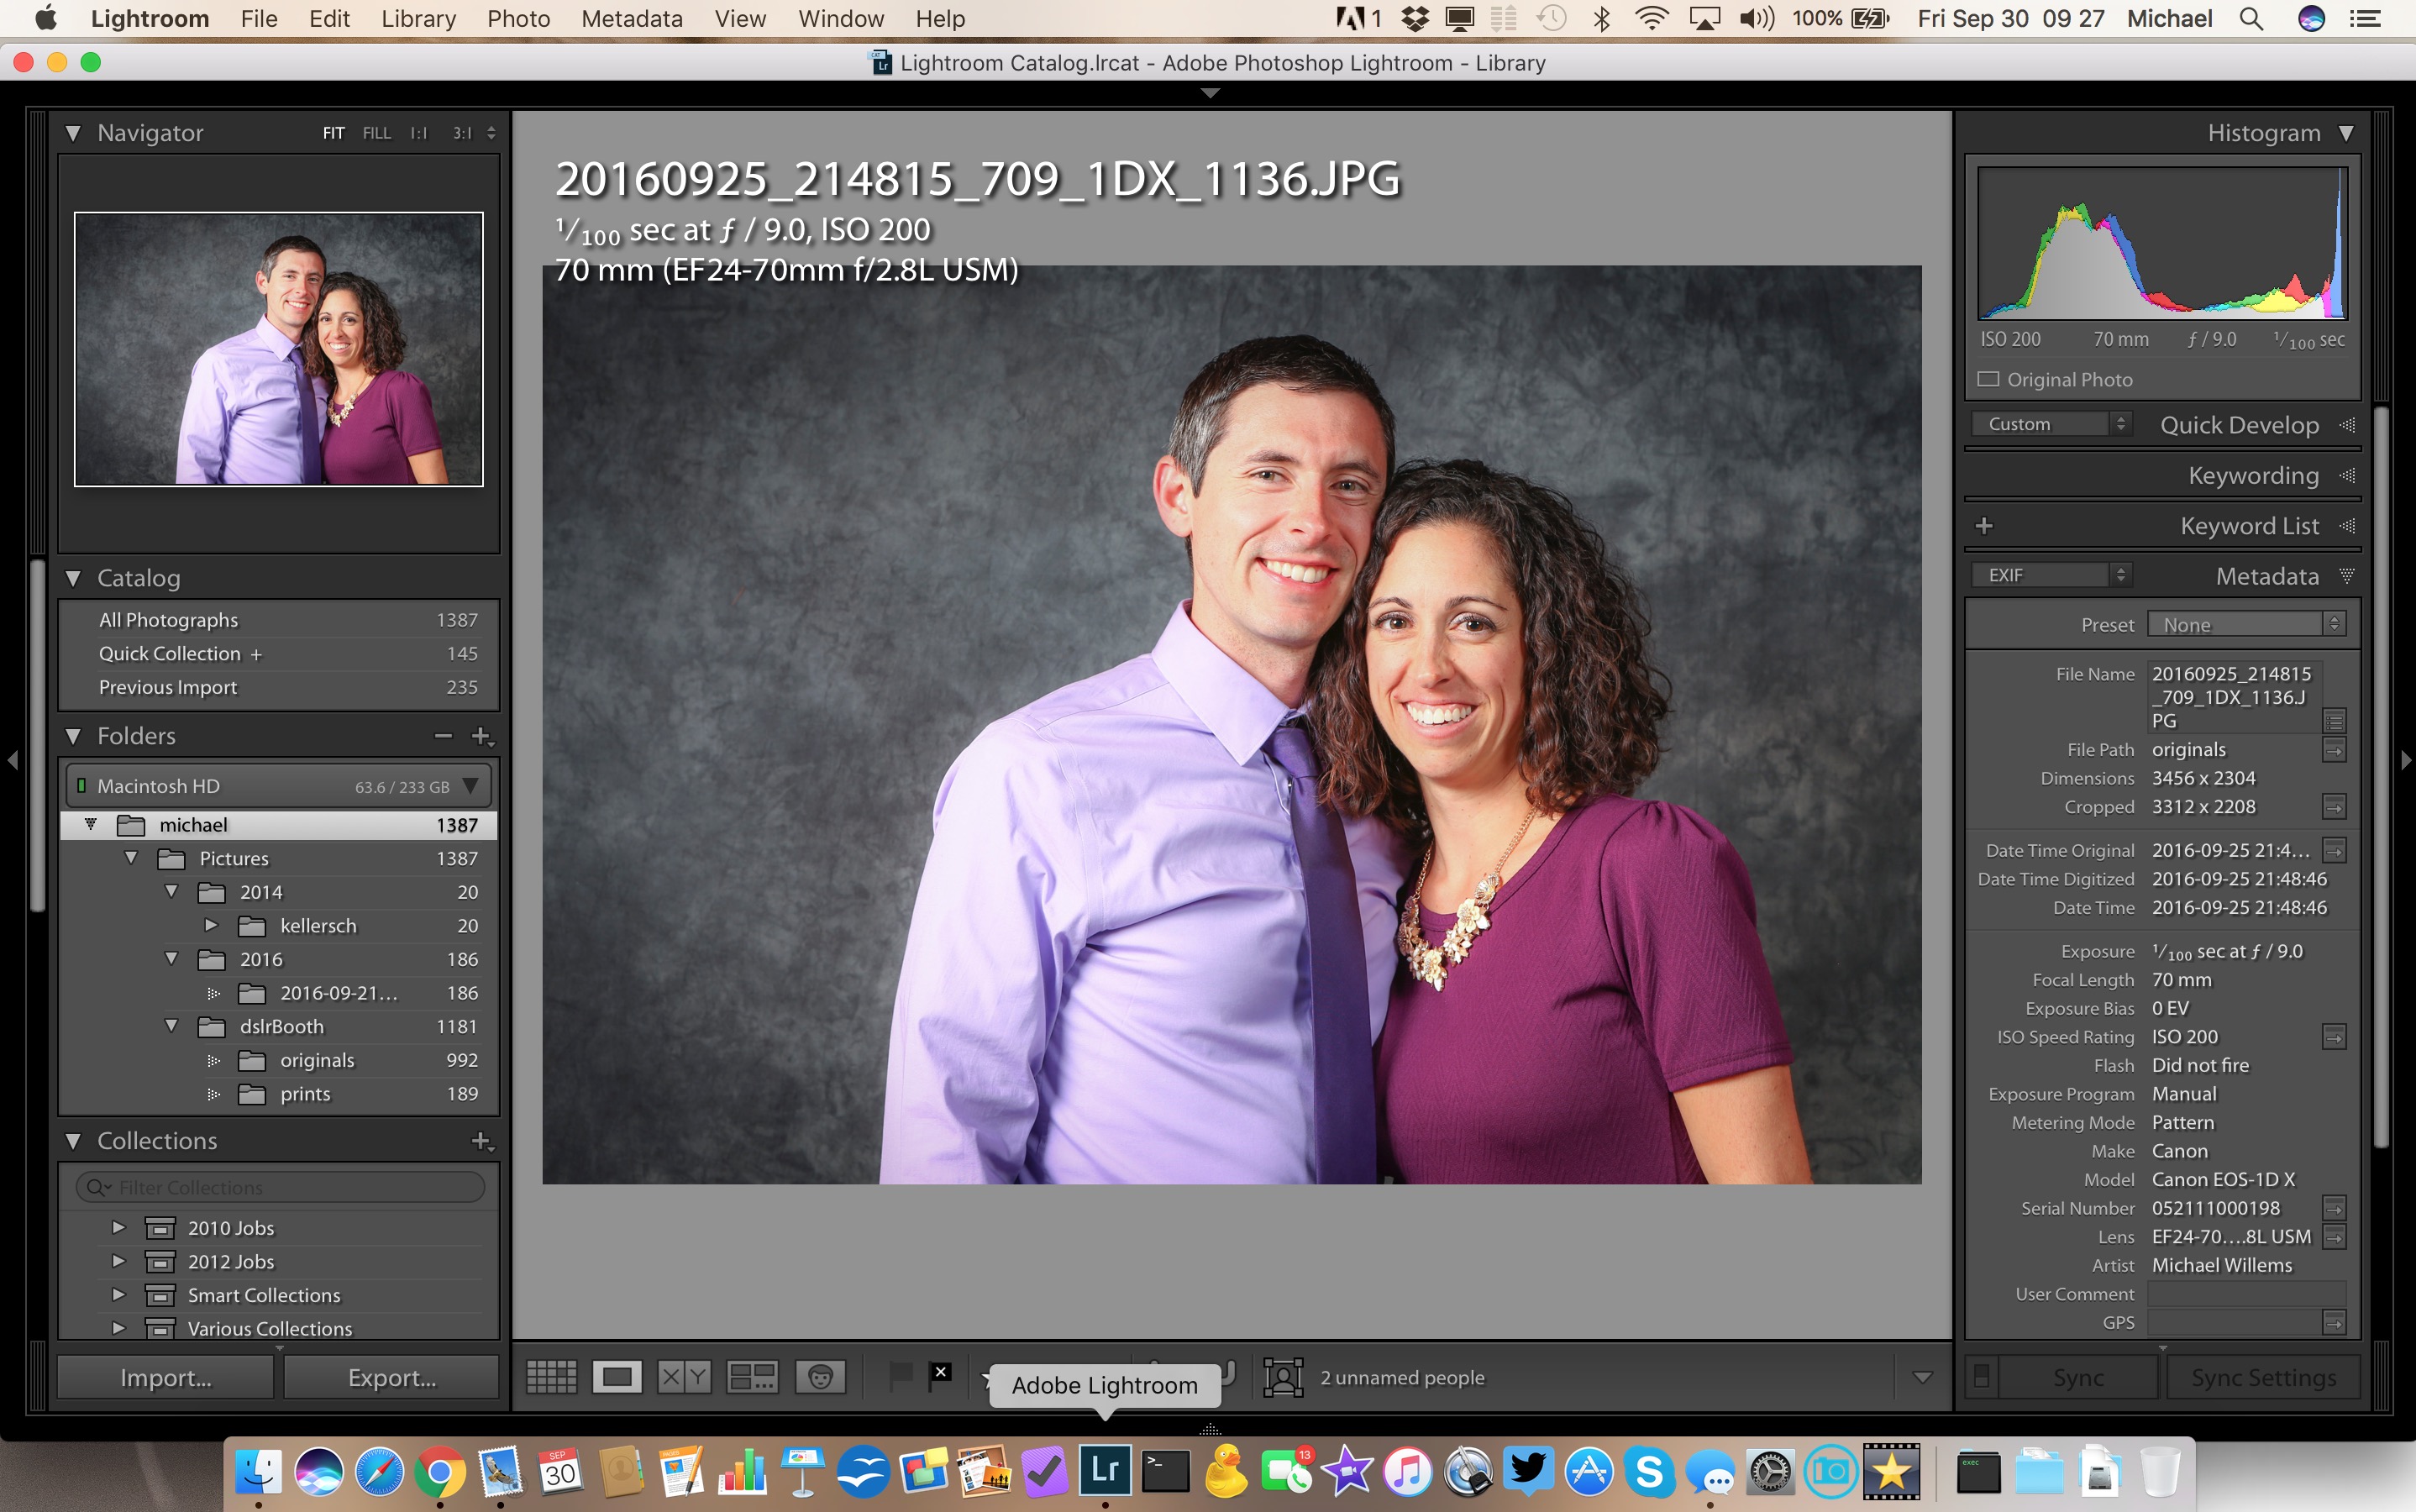
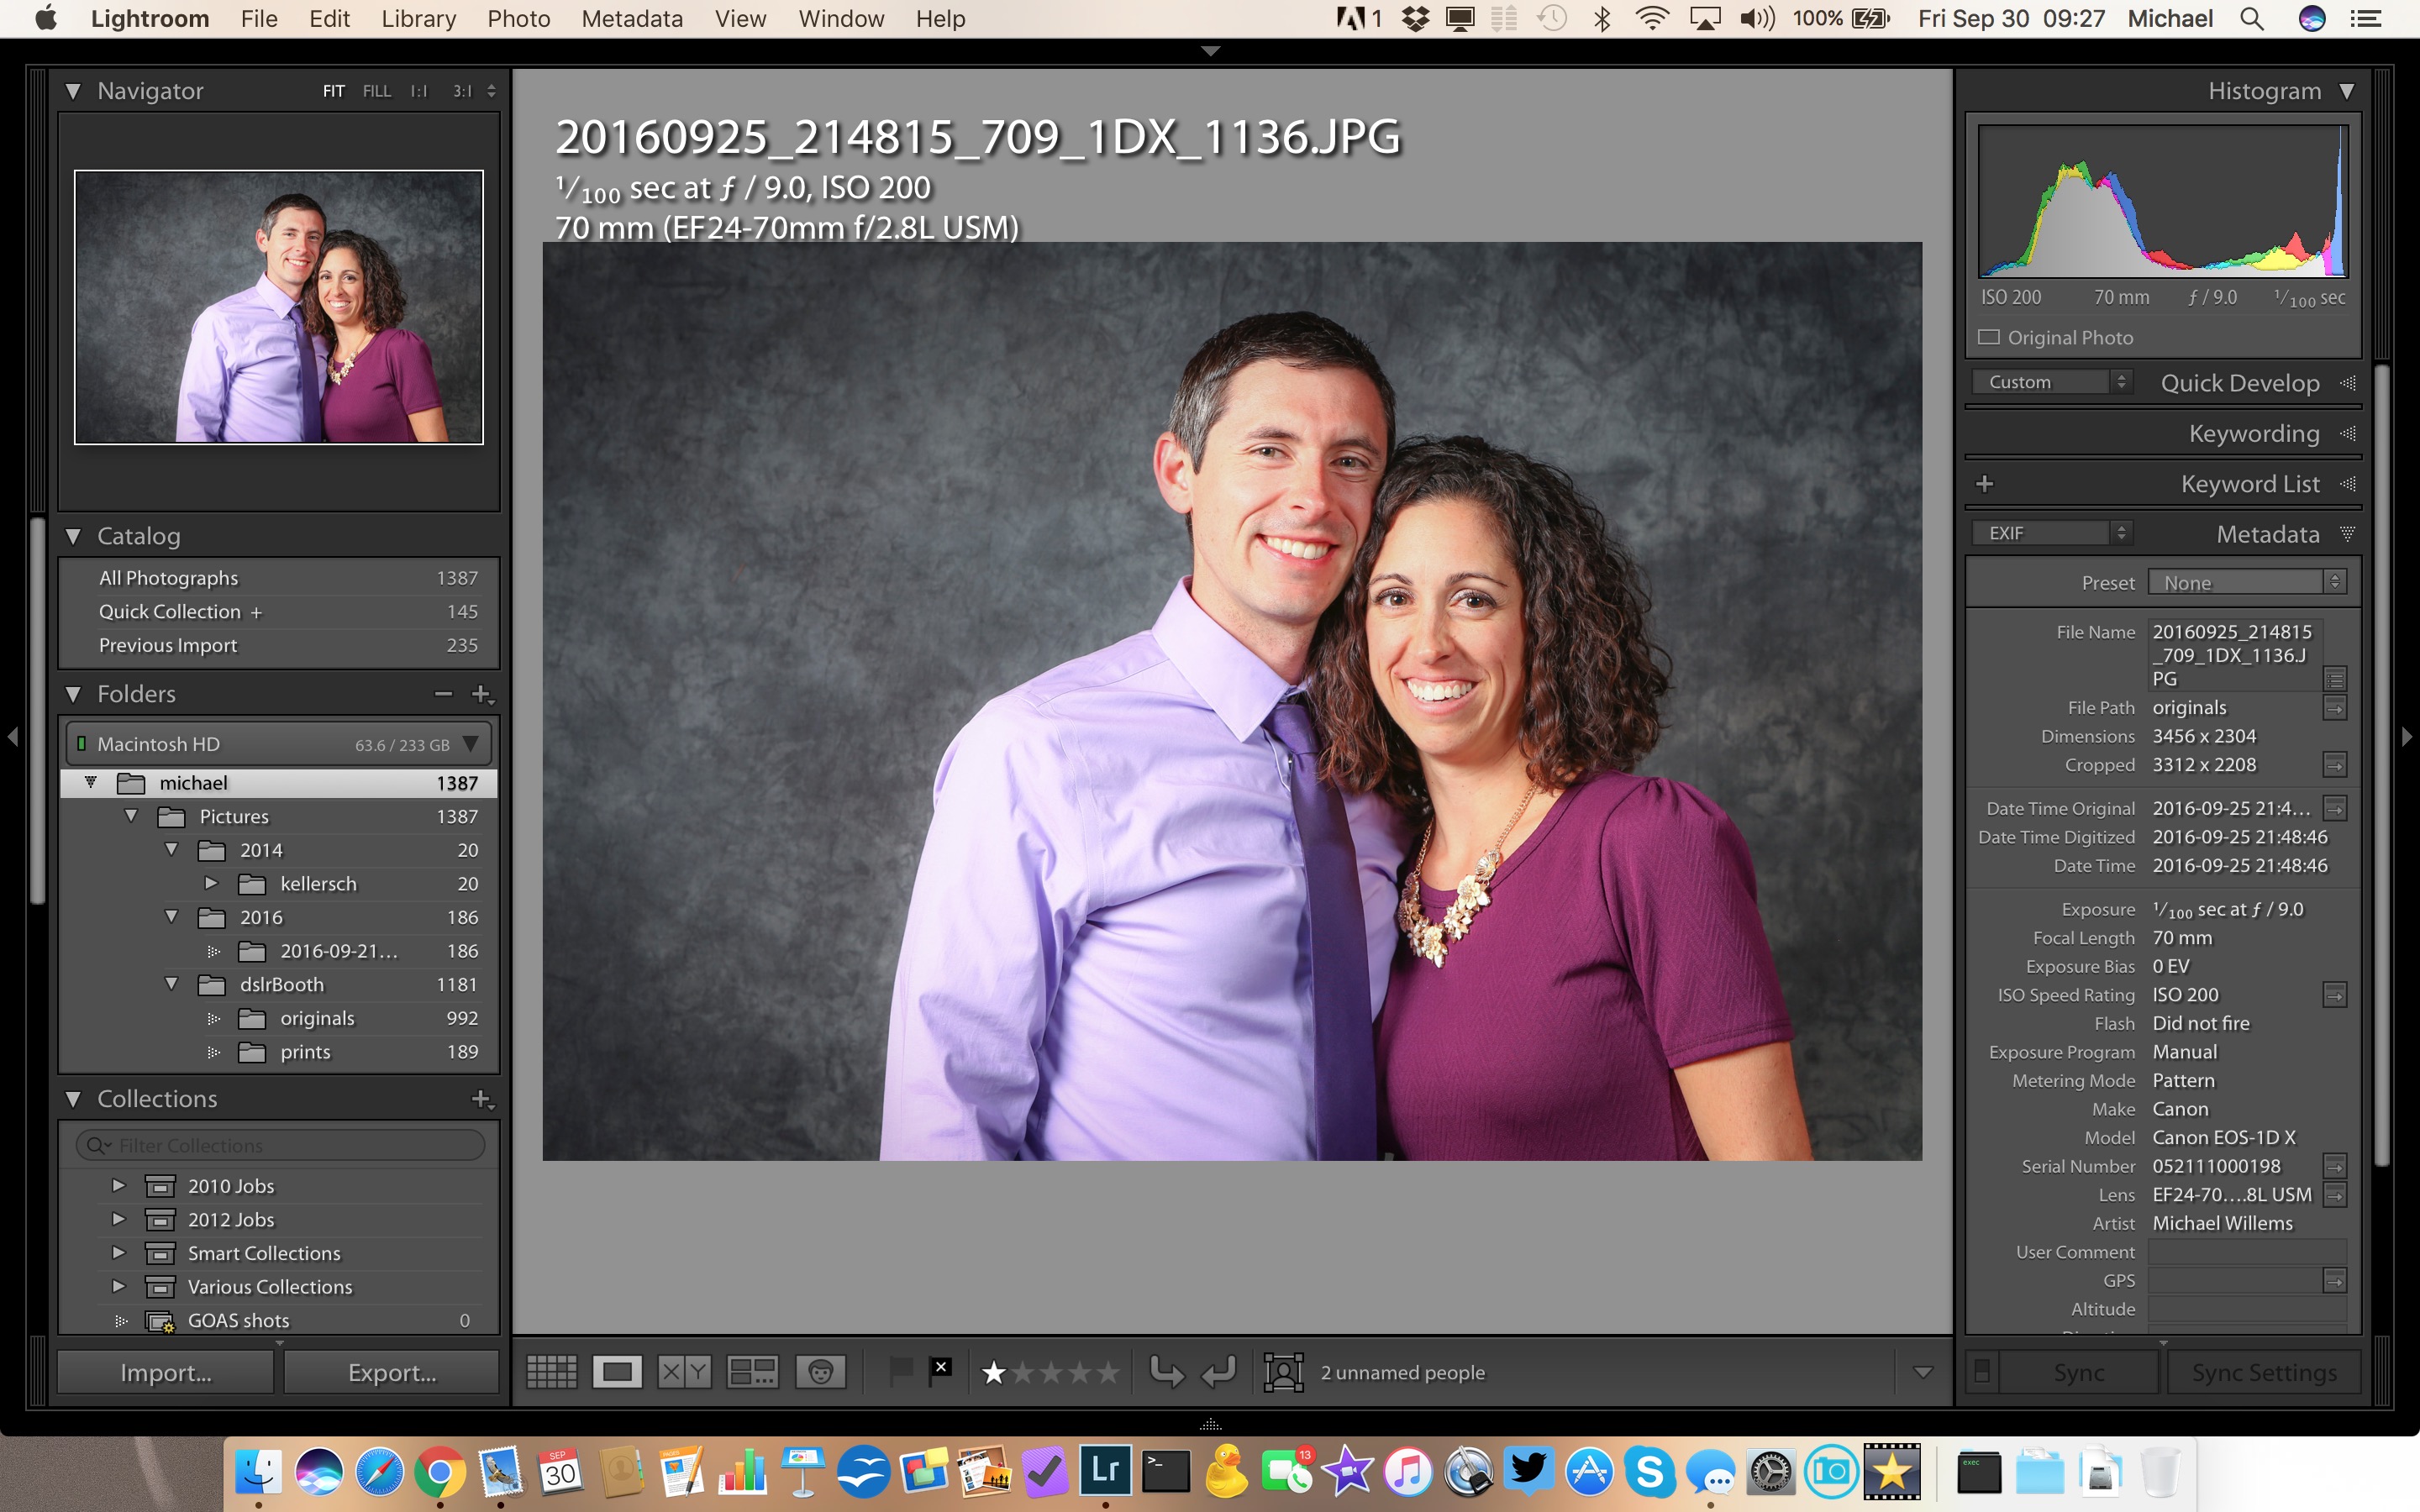
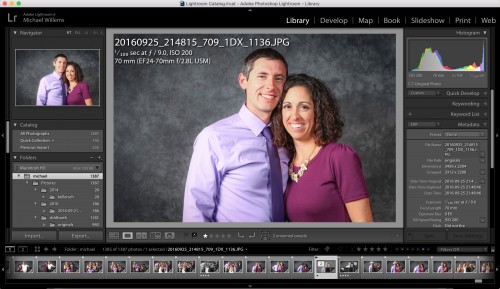
Next, you need to remove distractions. Because accurate editing means concentrating, for which you need to avoid a bunch of “other stuff” on your screen. Various options are available. First, what I call “the F-toggle”. Occasionally you should briefly look at “only your screen”. Normally you see this:

screen-shot-2016-09-30-at-09-17-37

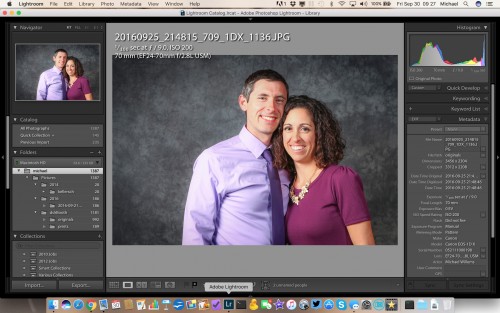
But press “F” and you get this:

screen-shot-2016-09-30-at-09-17-47

Nice. And pressing “F” again gets you back to your original edit screen.

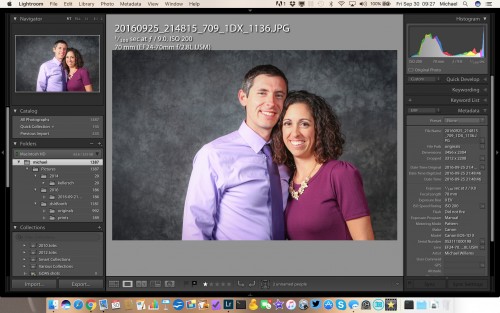
There is another option as well: the Shift-F Toggle. 

Again. normally you see this:

screen-shot-2016-09-30-at-09-27-17

Press Shift-F, and you see only this:

screen-shot-2016-09-30-at-09-27-26

And one more Shift-F gets you just the bare (bear?) necessities:

screen-shot-2016-09-30-at-09-27-37

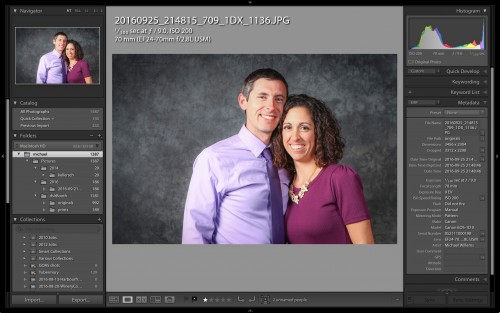
(To get to the pulldown menus, move your mouse up to the top of the screen and the menus appear.)

And finally, another “Shift-F” back to where you started:

screen-shot-2016-09-30-at-09-27-17

And finally, an answer to your actual question. Almost. Whew!

Your screen should be at about half brightness. More importantly, however, it should be consistent. Never use any “Auto”-settings, such as the “Auto LCD Brightness” setting that some lower-end cameras allow. If your display itself also contains some such setting, disable it. It should always be consistent.

So there you have it. Surprisingly, the answer to the actual question is not all that important: an answer like “About Half Way”, or “Turn up until you lose detail in the brightest areas, then pull back a little” will do. It is the other settings that are more important. Avoid distractions, make sure it is predictable, and get basic screen calibration settings right. All right?


Flash—Change

I have made a change to the Hands-On Flash Workshop schedule (see two days ago): Oct 2 is cancelled and is added to Oct 16.

(Re-?) familiarize yourself with flash and come to the Sunday afternoon workshop in my studio in Brantford, Ontario:

  • Sunday Oct 16, 2016, noon-5pm: HANDS-ON SESSION: Master On- and Off-Camera Flash, Manual & TTL. $199, Limited to five students; there are only three spots left. View details/reserve your spot

20160923_212342_318_1dx_0879

The Workshop Program:

Prerequisites: You need basic camera knowledge and a DSLR camera. Bring that camera, and IF you have it, your flash. I supply all studio equipment, snacks and drinks. If you have a Sony camera, you may need a converter to standard flash hotshoe.

What we do: In five hours, in a combination of lecture and lots of hands-on, I will free your creativity by showing and teaching you:

  1. The minimum required technical knowledge. This includes a quick review of camera basics and flash background knowledge.
  2. How to think about a flash photo. My unique method suddenly makes it simple!
  3. The four (and only four) types of background exposure.
  4. The Three Magic Recipes: “studio”, “event”, and “outdoor”.
  5. How to fire remote flashes using your camera’s system (Canon, Nikon).
  6. How to fire remote flashes using Pocketwizards.
  7. TTL or manual? How you decide.
  8. Strobes or speedlights? Pros and cons of both.
  9. Alternate radio triggers: Yongnuo.
  10. Bouncing a flash.
  11. Lighting a portrait.
  12. Using a flash meter.
  13. Using modifiers: Beauty dish, softbox, snoot, reflector, grid, and gel.
  14. Special techniques: ring flash, etc.

Bring a camera, and a flash if you have one, and the rest is provided. You will leave with knowledge and real life, confidence inspiring, hands-on experience.