Designing a one-light self portrait

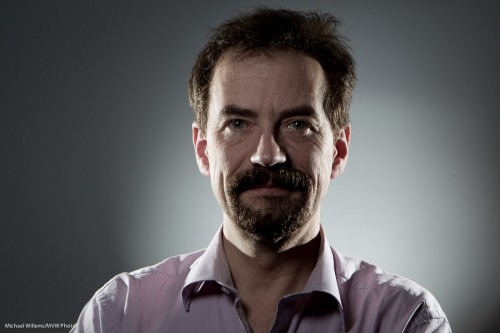
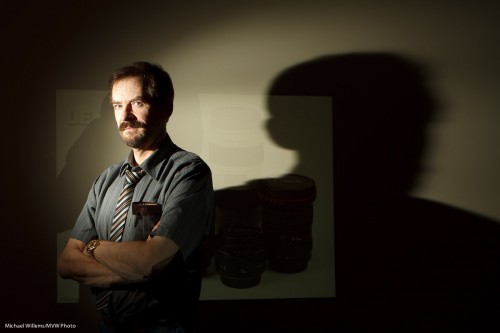
Here is a self portrait, and the process that went through my head making it. I thought that would be good to share. Here’s how to make a dramatic self-portrait in ten steps.

  1. First, I thought “let’s do a quick self portrait, indoors, lit by simple TTL flash”.
  2. I then thought “But let’s make it off-camera flash”.
  3. I went on to think “I want a dramatic image, so let’s use only flash light: available light should play no role”.
  4. To achieve that, I set my camera to manual exposure,  1/125th second, f/5.6, ISO 100. I took a test shot: black. Good, just what I wanted.
  5. Next, I aimed a single 430EX flash in slave mode at the wall diagonally from the side.
  6. Next, I attached a 1/4″ Honl Photo grid to the flash to avoid lighting up the whole wall; instead, I cast a nice parabola. That grid is my most used accessory, I think.
  7. I added a projected image of a set of lenses, only just visible.
  8. Now I put myself into that parabola: light straight into my face. Diagonal to the camera.
  9. I selected an almost-standard lens length (28mm on a Canon 7D, meaning a “real” 45mm) and off-centre composition, with a heavy shadow dramatically cast by me onto the wall.
  10. Finally, to take the shot I would have used a tripod, but since I had a student available, I asked her to shoot for me (Kayleigh, you know who you are).

And the result? Here it is.

Photographer Michael Willems

Photographer and educator Michael Willems, Oakville, 16 May 2011

(For best results, click and  view at original size)

What do you think? Me to a T, eh? This entire shot took just a few minutes to set up. You can do this too!

 

Direct flash

You cannot use direct, unmodified flash.

Oh wait.

Yes you can. and sometimes you have to.

Like when you are outdoors and you want to reduce the ambient light, and light your subject with flash. This gives you control over the light. But it is not simple, at first.

  1. You want to reduce ambient exposure.
  2. You do this by setting your aperture , ISO and shutter to give you a darker background.
  3. You start with choosing a low ISO and fast shutter speed. But your ISO cannot go below 100, and if you wish to add flash, your shutter cannot go beyond 1/200th second, if that is your “flash sync speed”. So you set those values. 100 ISO, 1/200th second.
  4. But… too much light still, on a sunny day.  So now you must reduce your aperture to what you are happy with – say, f/5.6.

When you do this you will find that you get darker backgrounds. All right. Not as dark as you would like but not bad.

Now the challenge will be: at 100 ISO and f/5.6, how far will your speedlight reach? The answer: not far. Not if you add softboxes, umbrellas, reflectors or other modifiers, anyway.

So now we are where I thought we would get: you need to use a bare flash.

And that is fine. But take it off camera.

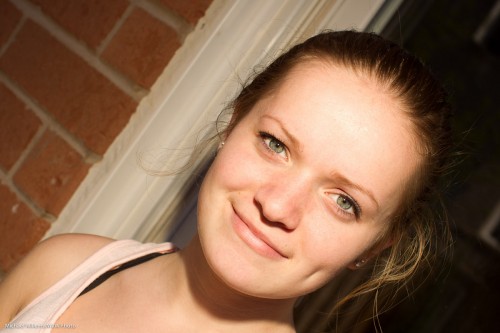
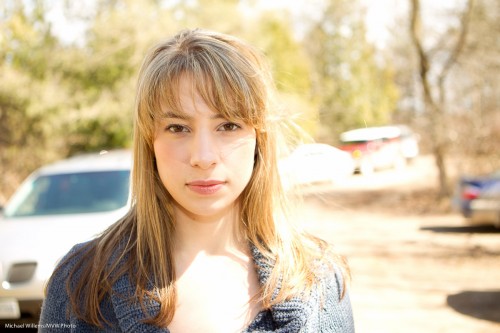
Direct flash is just “OK” if the flash is near the lens. Like in this image of volunteer model Vanessa in today’s class:

Not bad, and well eexxecuted. But there could be more shape to the face, no?

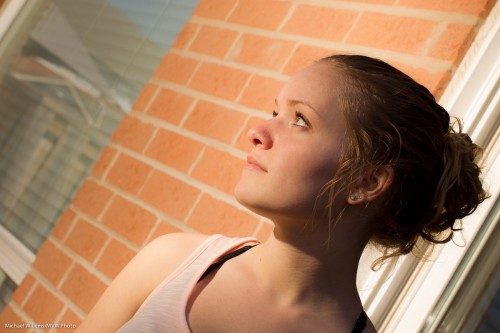
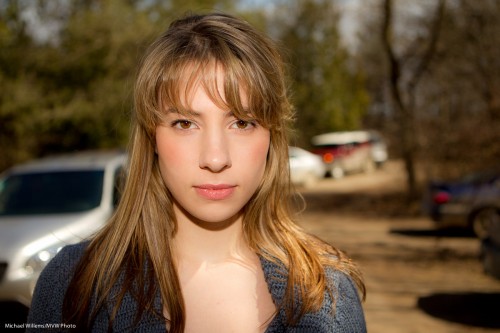
That is why it is often nicer when the light source is off to the side. The face now gets shape, like in this example:

Now, to be clear: light straight into the face is OK – just as long as that is not also where the camera is!

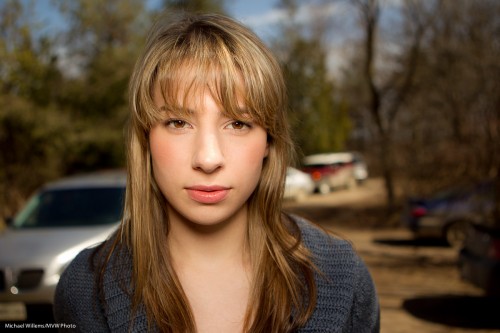
Like this example – this is just fine:

And that is direct flash, unmodified.

So yes – you can do this, whatever anyone else says. Just as long as the light is not in line with the lens.


In the eye of the…

Take a day outside. You want to shoot a snap of a pretty model.

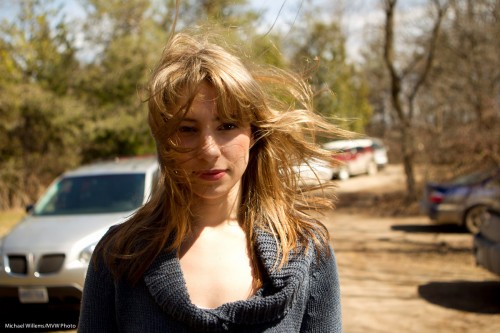
If you are Uncle Fred, you shoot in the “AUTO” mode. Or in Program, or even in Aperture mode, with a large aperture (low “F”-number), to blur out the background. OK, here we go. SNAP:

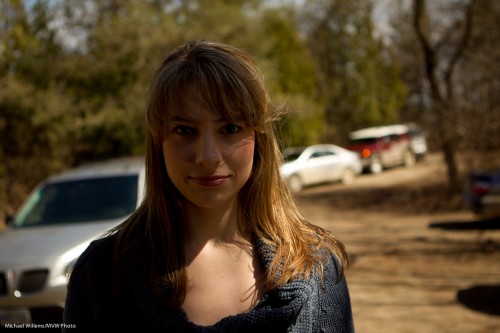
But because you read Speedlighter.ca, you realise that background should be darker. So then you shoot again, after setting exposure compensation down two stops (-2). That gives you 1/1000th second, and the image looks like this:

Mmm. So now you need to turn on the flash (and again, you know this because you are a Frequent Reader here).

So then you do this – and you get this:

Oh. That’s right. The flash sync speed is 1/200th second, so your camera will not allow the 1/1000th second shutter speed you need. So the image is overexposed, at 1/200th second.

OK-  so now you use Fast Flash (“High Speed Flash”, on Canon, and “Auto FP Flash” on Nikon). And you move close, very close – or you have insufficient power.

That gives you this:

Nice.

But could that shadow be softer? Yes. So you put a Honl Photo softbox on the flash – yes, you can use a softbox like this on the on-camera flash – and now (after once again ascertaining you are close enough – even closer now, since the softbox loses some light too), you have the image you were after in the first place:

Compare this excellent image with the snapshot image at the top and you see why it pays to know flash techniques, and you see why I am passionate in teaching them.


“One step at a time” lighting technique

You have heard me say it many times: “bright pixels are sharp pixels”.

Let’s say you want a picture of a lady. Just let’s say that.

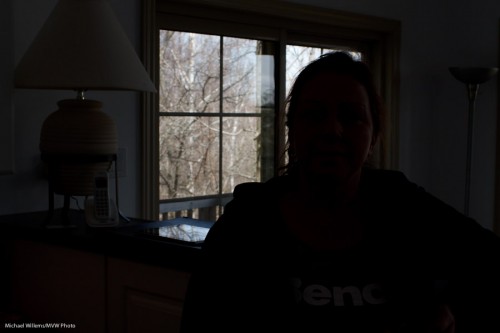
So then you put a lady by the counter. Because there’s a bright background behind her, and you know your camera, you use Exposure Compensation to avoid her turning into a silhouette. I used a Canon 7D with a 35mm prime lens. And hey presto, here’s the snap – and that is all it is, a snap:

The background is now too bright, and the person is “dark pixels”, meaning the picture misses that crisp sharpness you were after.

So now let’s take it in steps.

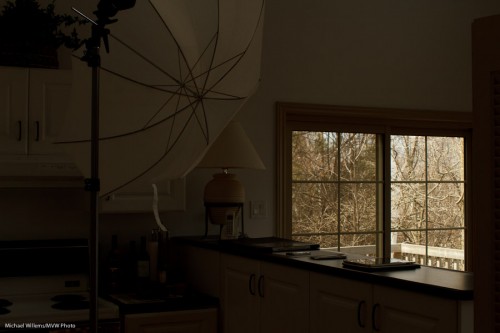
First, decrease the exposure to get the background right. Use manual, or use exposure compensation (minus!). In my case, it was manual exposure mode, 200 ISO, and 1/200th second at f/8, which gave me this (and that should not be a surprise to those of you who know the “sunny sixteen rule”):

Better – for the background. Now we have a nice dark background, and we can see the trees, and so on.

Now the next step: to light up the foreground!

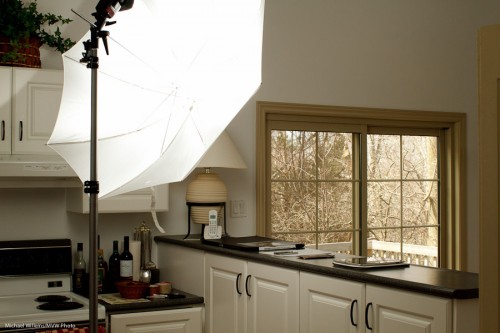
Flash is evidently called for. So I used a light stand with a flash-and-umbrella mount on top, with a simple 430EX flash on it, shooting through an umbrella:

Now I do the following:

  1. I set the flash to “slave” mode (“remote” on Nikon”)
  2. If I have a 7D, or a 60D, or a Nikon, I use the popup flash to fire that remote flash in TTL mode. If I have another Canon, I use a 580EX on my camera to fire the remote flash.
  3. In both cases, I ensure that the on-camera flash (popup or 580) is disabled, other than sending commands.
  4. Since the background is white, and I am using TTL rather than manual flash, I use flash compensation, +2/3 stops.
  5. I set my White Balance to “flash”.

And now when I fire, the umbrella lights up:

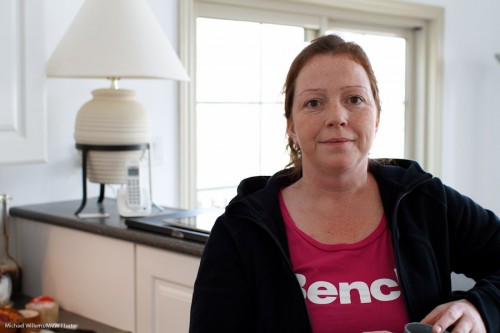
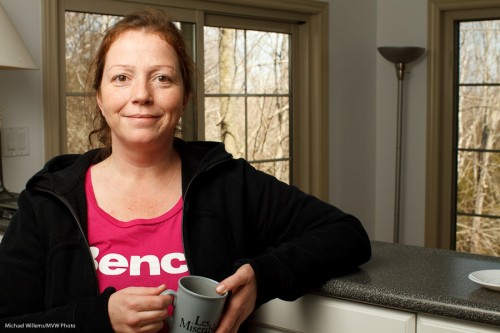
Which, finally, once we ask the lady to stand by the counter again, leads to this shot:

(Thanks for being the patient model, Lita!)

I have now achieved what I wanted: Lita is “bright pixels”, and the background is nice and colourful. Other than explaining, this all took just a few seconds, of course.

The technique above is just one of the many things students learn on my Flash courses. The last Mono, Ontario course ever is “Creative Lighting” with Joseph Marranca, on April 23rd – and there are only a few places left. Just saying!

A product shot or two

Today I taught Merav, a student, a few product photography tricks. Perhaps I can share one or two insights here and take you through how to do this.

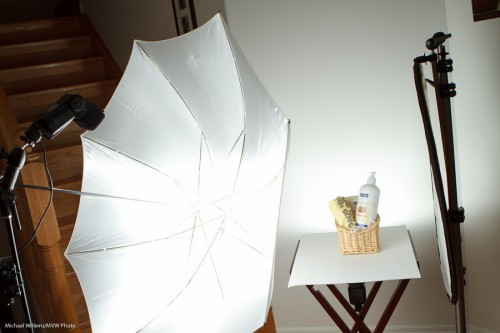
The brief was: shoot some products using simple means. “Simple” to me means speedlights (bad knee – don’t ask). So the setup I decided on was simple: a table, a white cover, and the product. The white wall serves as a backdrop.

And the lights?

  • We used one main light, a 580EX flash controlled through a Pocketwizard, through an umbrella. (A Flashzebra cable was used to connect the Pocketwizard to the SB-900 flash).
  • The fill light was simply a reflector. Held in place with a stand.
  • We lit the wall behind the product with a Nikon SB-900 flash in SU-4 mode.

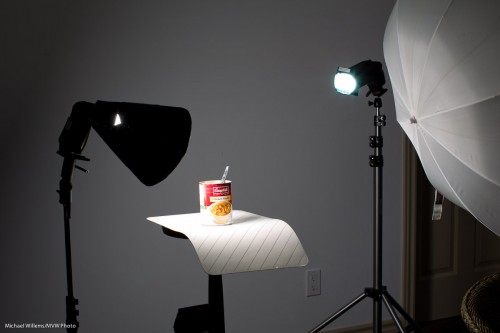
The setup was thus:


You can make out the background flash behind the product.

  • You first set the camera to f/8, 1/125th sec, 100 ISO.This means the ambient light does little or no work, just the way you want it.
  • Then try the main flash at, say, 1/4 power. Meter using a light meter set to flash mode, 100 ISO and 1/1/25th second.
  • The light meter showed a close-enough value (f/6.3). Moving the main light closer made it f/8.
  • The reflector was just moved closer to make the light nice.
  • The background light was set at 1/8th power, so the background blew out completely (but only just). A bit of trial and error and the “blinkies” on the camera LCD display was enough to get this done: no metering was needed.

Bingo, end of setup.

  • Now make sure every product is the same distance away (even an inch farther = darker!)
  • Focus carefully, using one focus spot.
  • Use a tripod to ensure all images will have the same layout.
  • Do not forget to minimize distortion by using a long-ish lens (70mm on a crop camera, in this case).

The resulting shots looked like this:

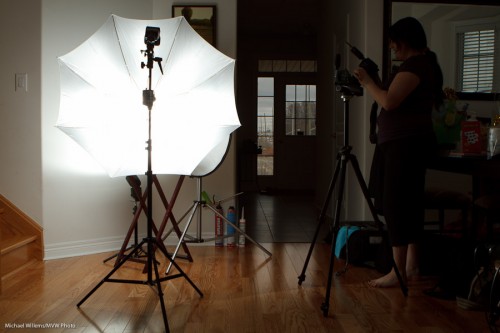
Easy, and portable. And it can all be done in a living room:

If you have never done product photography, please give it a go. It is fun and rewarding.

Speedlight tip

If you take portraits with speedlights you may well need to see where that light goes. Remember last night’s portrait? Here is one last version of that:

As you see, I have now finished the picture by adding a background light. Another speedlight, with a snoot (the 5″ Honl snoot). The snoot aims light on to one part of the background only.

To see where that area is, you need to fire the flash.

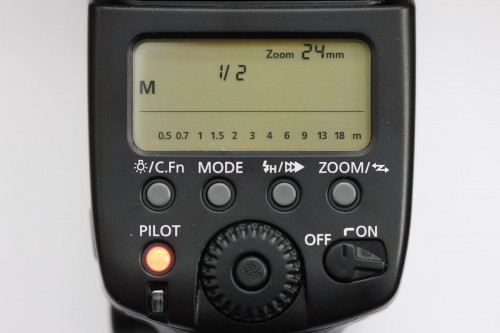
And one good way to do that is to fire a test flash. See that red button on a Canon speedlight?

That’s right, button. That red light is not just a red light. It is also a test button. Press it and the flash fires, so you can see where the light will go.

Since you asked…

Since some of you asked: a few more things about that type of flash portrait I talked about yesterday (and that David Honl and I showed some of you during Saturday’s workshop):

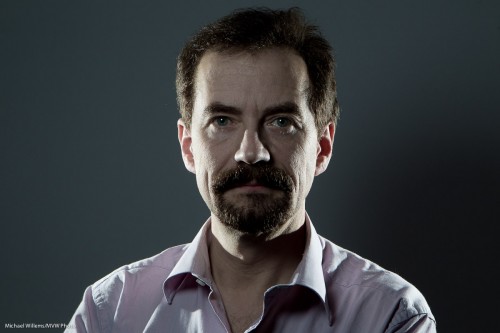
Photographer Michael Willems

Photographer Michael Willems, Self-portrait

Here’s how this shot was made:

  • It is lit with two speedlights with a grid (left and right)
  • …as well as a speedlight above and slightly off-centre in front, equipped with a Traveller 8 softbox.
  • I fired all three flashes with Pocketwizards.
  • The camera was set to my standard studio settings of 100 ISO, 1/125th sec, f/8.
  • Side lights have a grid fitted, and are overexposed by about a stop.
  • The fill light is underexposed by about a stop.
  • To achieve this, side lights were set to 1/16nd power.
  • And the front light to 1/32nd power. Why? They are all about the same distance away – why so high? Surely that should be lower, like 1/128th power? Ah – no. The softbox loses you a stop or more, so you need to increase power to compensate for that.
  • TIP: the flash in the softbox should have its “wide” adapter out.

This is done in my case by trial and error and experience, but you can of course meter the lights to get really accurate settings.

How did I manage to focus on myself? I focused on a light stand, then set focus to manual and used the 10 second self timer and while it was counting down, moved myself where the stand was.

Finally: in “post”, I used the HSL “saturation” setting to decrease orange saturation somewhat. That makes this into a “desat” portrait.

And now I am already preparing for the next few workshops: “The Art of Photographing Nudes” with Joseph Marranca on April 2, “Shooting Events” on April 3, and the last Mono workshop, “Advanced Creative Lighting”, also with Joseph, in Mono on April 23. Booking is open for all three, and they are all strictly limited in numbers.


It’s all about…

….what you do not light.

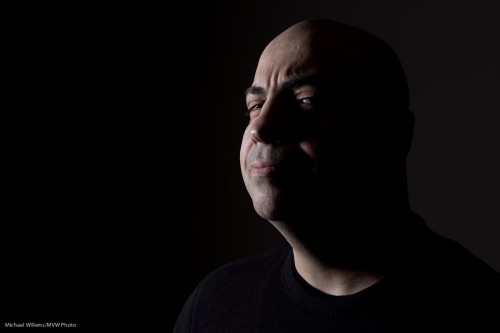
Here is a shot of impromptu model George, who was on the course:

David Honl and I lit George from the side with a single 430EX flash using a Traveller 8 softbox, during the”Advanced Flash” workshop Dave helped me teach Saturday in Toronto.

This shot illustrates the “it’s more important to think about what you do not light” principle you often hear me mention.

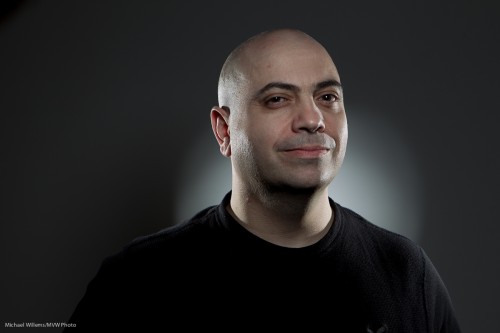
The following shot illustrates another principle: “light from the sides, fill from the front”. Here, we are lighting George with two 430EX speedlights, each with a 1/4″ grid, from the side. Another gridded speedlight is aiming at the background, and a final speedlight, in a Traveller 8 softbox, is aimed at his face.

We used manual flash for all these shots, and the flashes were connected to pocketwizards via Flashzebra cables.

Since we are using only flash (ambient plays no role), the settings are the standard 100 ISO, f/8, 1/125th second.

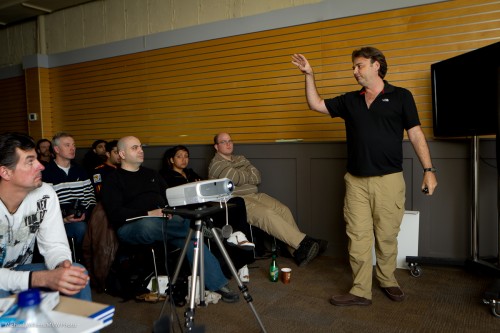
All these shots can be set up in just a couple of minutes, as Dave is explaining here to some of the students in this packed workshop:

If you were one of those students, I hope you’ll add some comments here about what you found most useful or most fun. I know many of you read this blog daily!

Lunch time!

And when you are a photographer like me, you may take that as a photo op. I cannot even look at a can of soup without thinking “Hmmmmm….”. In terms of photos.

And that leads to this quick setup:

The remainder of lunch about to be photographed with speedlights (Photo: Michael Willems)

The remainder of lunch about to be photographed

That setup was a TTL setup, to save me time. (Connecting Pocketwizards and so on would take a few minutes. Hey, I was hungry – what can I say).

I have, here:

  • Main light, on our left, a 430 EX II speedlight with a Honl Photo Speed Snoot
  • Edge light, a second 430 EX speedlight with a Honl Photo Speed Snoot and a blue/green gel.
  • The umbrella is merely being used as a reflector, to fill in the right a little.
  • A striped place mat for the subject to sit on.
  • A wall, far enough away to be dark, as background.

The camera is a 1D Mark IV with a 580EX II speedlight on it.

And that gives me…:

Lunch, lit with speedlights in wireless TTL mode (photo: Michael Willems)

Lunch, lit with speedlights in wireless TTL mode

So now to bed quickly: I am teaching “Advanced Flash” with Guest Star David Honl (yes, that David Honl) today Saturday 11am-3:30pm in Toronto.

The Colour Purple

I always try to use colour appropriately. What that means is up to me – and up to you. Photography is art, and there is no arguing over art. But there are some simple things to keep in mind.

First, consider using colour, period.

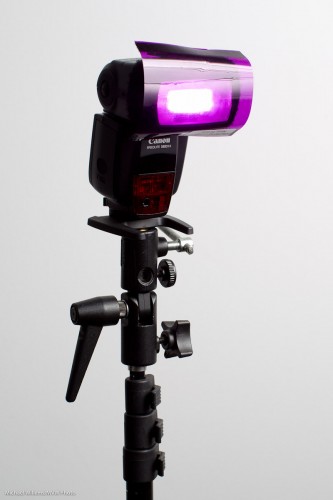
You do this with gels, when you are using flashes. For small flashes the gels are simple: you use the affordable, simple-to-use and extremely sturdy Honl Photo gels, like this one on my speedlight:

Simple. And I often use to use such colour in my backgrounds. To do that, the steps are as follows:

  1. First, make sure the background is dark enough. “Saturated colour” means “colour not mixed with white light”. Either move back from the wall, or use a dark wall or backdrop.
  2. Test this.
  3. Then add background light. Choose your colour well. I use complementary colours, usually.

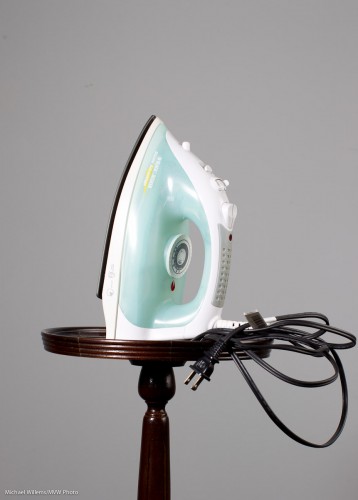
So here’s an iron with no background light and a dark enough background (Step 2):

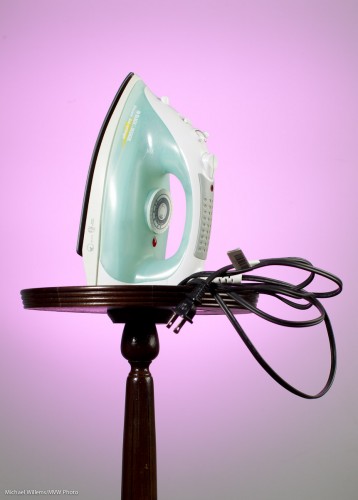
And here it is with a bit of complementary colour added (a gridded speedlight):

For that sea green, I used Rose Purple as a background colour.

Tomorrow, Saturday at 11AM in Toronto, David Honl, the inventor of those gels, joins me as Guest Star for my signature “Advanced Flash” course. You can possibly still book, I think here are a couple of spaces left: click here.